
Fall Color Challenge: Copper Wall Sconce
You guys. This is serious. I cant stop making things with copper. I don’t want to stop. It is such a pretty and inexpensive material and is everything that my hopes and dreams are made out of. **sob

So before you guys schedule an intervention, I thought it would be prudent to point out that I am not the only one that loves copper. EVERYONE loves copper. (Do you know where this is going?!) Yep, it’s time for the Fall Color Challenge!!
If you are new, you are in for a treat. Me and 5 of my blogging besties team up quarterly to inspire you in every area of your life with one common color. This round? You guessed it, COPPER!!

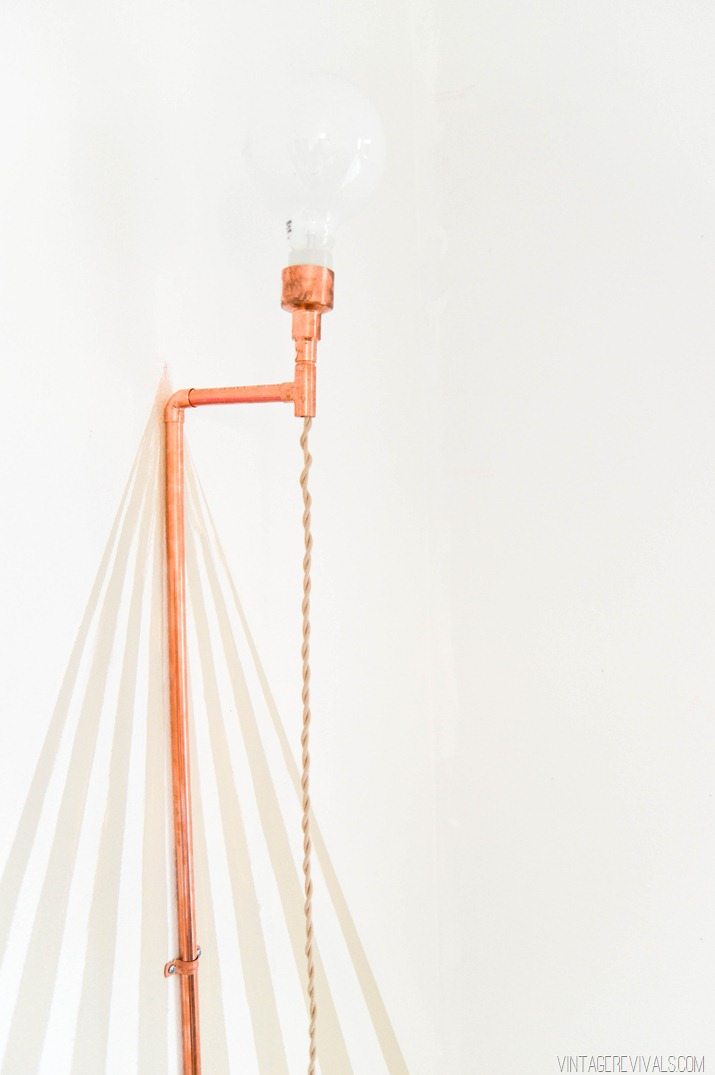
A little later this week I will be showing you a fun weekend paint project that we did in Ivie’s room, but today you get a little sneak peek and the most basic light building tutorial on the planet!

I had a few left over parts from the wood and copper chandelier that I made for Ashy’s room, so I thought it would be a good idea to use them before I lose (errrrr….lost?) them.
This project is totally inspired by these copper sconces that Courtland made on Design Star. I just love how simple and pretty they are!!

You just need a few supplies:
1/2” x 3/4” Reducing Coupling
3/4” x 1/2” Fitting Reducer
1/2” 90 degree elbow
1/2” T
1/2” Copper Straps
10’ of 1/2” Copper Pipe (its much cheaper if you just buy a 10’ piece!) cut to:
5”
2”
8’ (or the desired height of your light)
Pipe Cutters
Wall Anchors
Lamp Wire
Porcelain Socket
Plug
5 Minute Epoxy
Start by connecting your Reducing Coupling to your Fitting Reducer. (Use a small amount of Epoxy to stick them together.)

Take your porcelain socket apart and glue the bottom metal piece to the inside of your Reducing Coupling.

Then add your piece of 2” pipe into the fitting reducer on one side and the T on the other. (Make sure to glue this!)

Glue the 5” piece into the middle of the T, and add the elbow downturned onto the other end.
Glue this onto your 8’ piece (or however long you choose to make yours)
That is IT!
Freak yes it is!!
Wire your light socket (more detailed instructions on that can be found in this post!) Thread the wire through the open hole on your T, underneath the socket.
If you are lucky (or smart) the holes that are in the copper straps will line up with a stud. If not, you will need drywall anchors. This will hold your light tight against the wall without any sagging or loosening.
I CAN.NOT. WAIT for you to see this whole project!! But until then, you will most definitely want to check out what the other ladies have been up to!

Feel free to confess your love for copper below, it will make me feel better about the problem I am having…


The post Fall Color Challenge: Copper Wall Sconce appeared first on Vintage Revivals.