
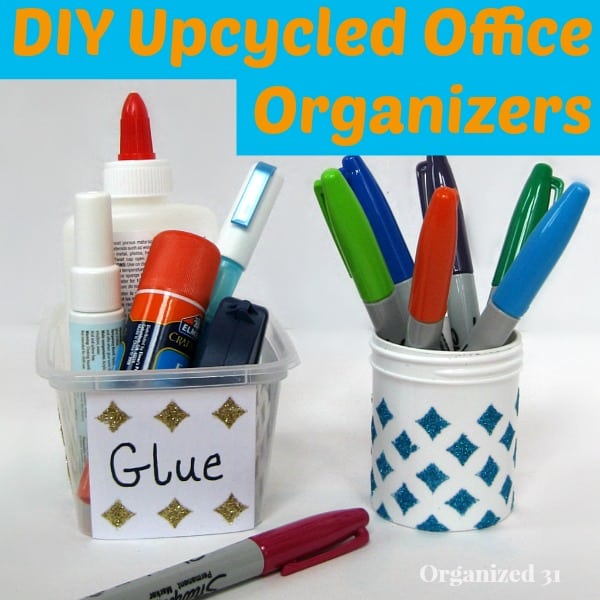
DIY Upcycled Office Organizers

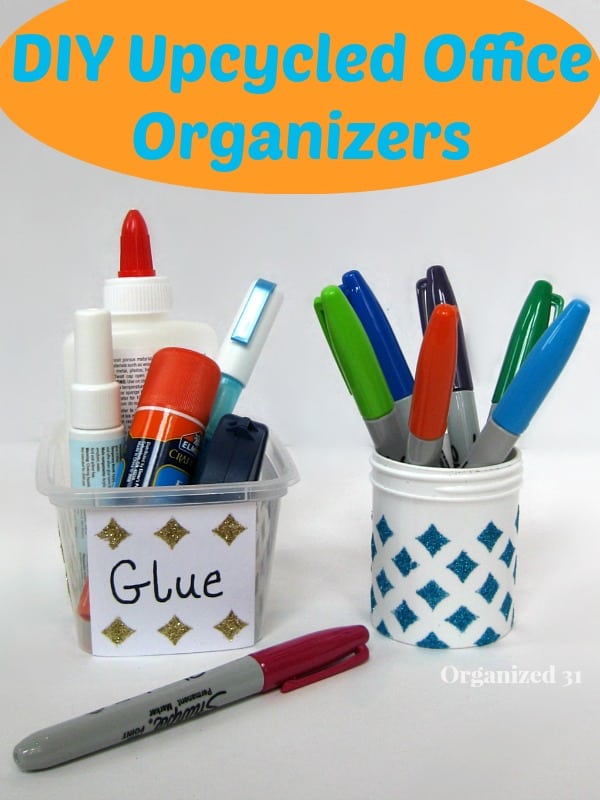
An easy way to personalize and organize your office with Mod Podge Rocks stencils and DIY Upcycled Office Organizers.


I recently had the opportunity to try the new Peel and Stick Mod Podge Rocks stencils from Plaid and created by Amy who blogs at Mod Podge Rocks. To quote my son, “How cool that the Mod Podge lady has her own product line!” I chose the Starlight stencil (I was channeling the retro 50′s vibe that day and this stencil seemed to fit my retro mood). The stencils are slightly sticky on the back so that they will adhere well and allow you to use Mod Podge and glitter to create a fun design. The great part (for my hate-to-throw-things-way self) is that they’re reusable. So imagine all the great projects you can create from the same stencil.

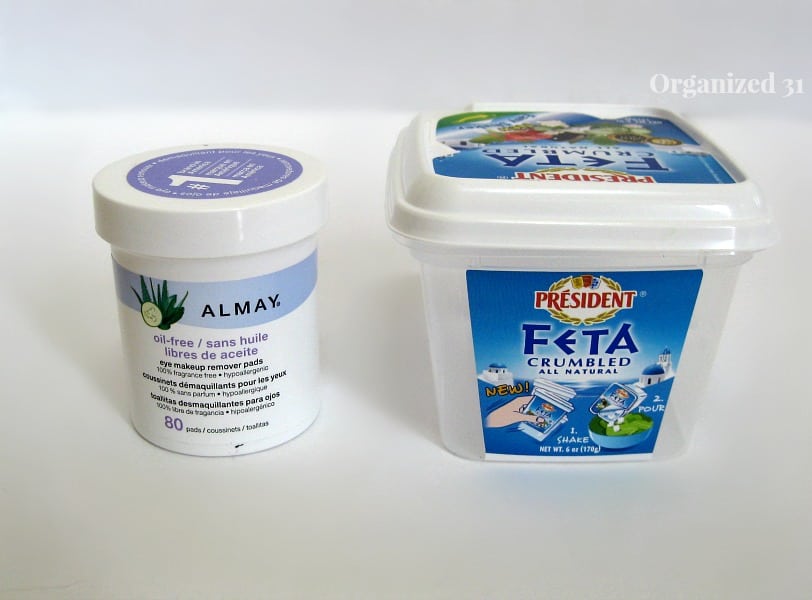
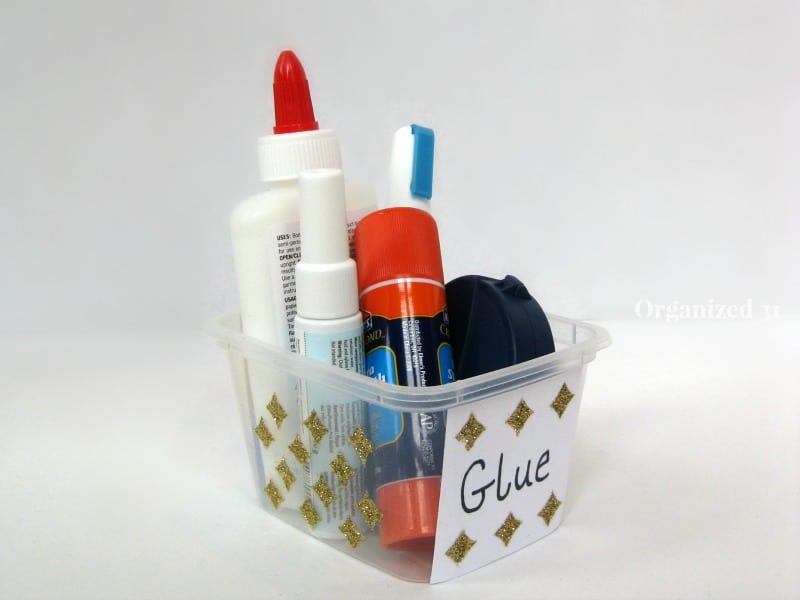
Of course, I wanted to try the stencil on a repurposed container (no surprise there, huh?). My friend, J., came over to craft with me and we gave the stencil a good trial run by making several different projects. The stencil does a great job of adhering to a flat surface. I wanted to use the entire pattern and when we tried it on a curved and graduated surface it couldn’t accommodate both the curve and the angle. I recommend you use the stencil on flat surface or a curved one (like a jar) with straight vertical sides, because then the stencil adheres well and you can use the entire repeating pattern.


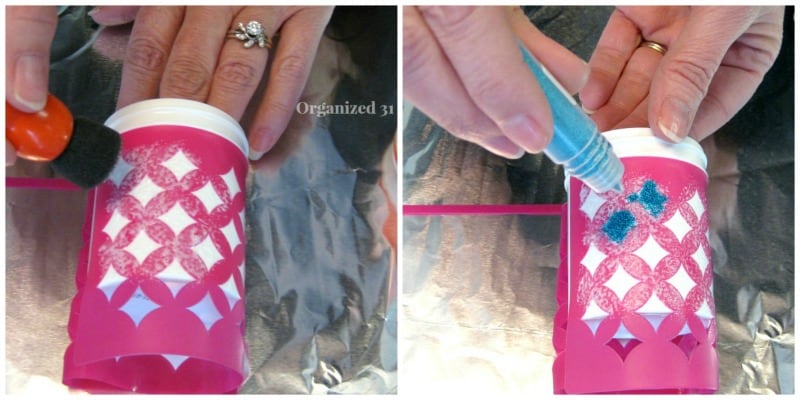
Once you have the stencil adhered to your surface, you simply add the Mod Podge to the stencil. Using the spouncer made it easy to get the exact coverage we wanted, but you could use a sponge or paint brush. Mod Podge dries fairly quickly, so as soon as you finish applying the Mod Podge, immediately add your glitter. This was my first time using Mod Podgeable Glitters (the glitter in the little tube) and it works perfectly for being able to apply the glitter exactly to the details of the stencil.

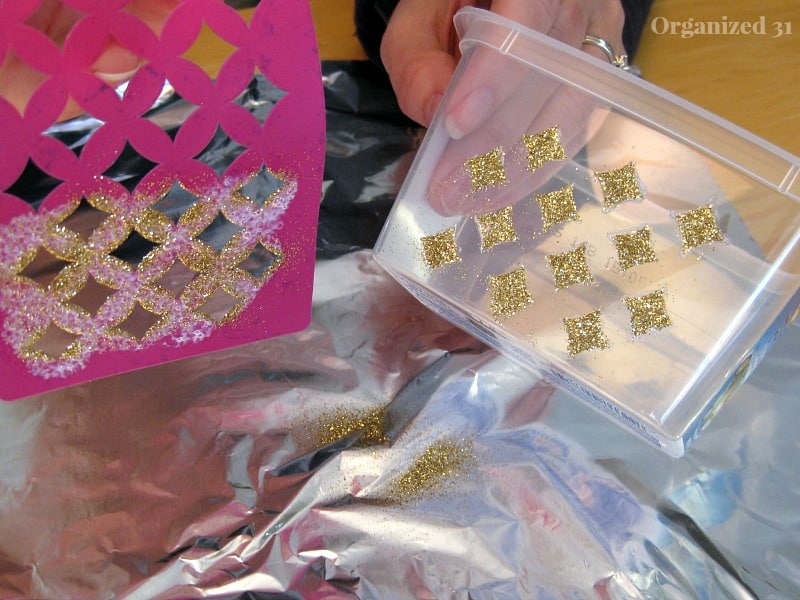
Once you’ve added your glitter, immediately remove the stencil and wash it before the Mod Podge dries. J. and I used a cotton swab to wipe away any stray glitter, but I was impressed with how sharp the image turned out.

I’m pleased with how my Upcycled Office Organizers turned out. They’re just what I need for my soon-to-be new craft room – cute and functional organizers. The Mod Podge Rocks stencils were very easy to use and I love the Starlight stencil pattern. J. and I created these cuties in less than 30 minutes (and that was with some chit-chat mixed in).

Confession time. I’m really not much of a glitter girl (go ahead and try to find another craft project around here where I used glitter, there aren’t any). I could have reviewed the stencil using sand, but I figured it was time to try something new around here. And honestly, I really like the way the blue glitter turned out. I like the pattern of the gold glitter, but the gold is just a little much for this girl.

I do like the blue glitter with the Starlight pattern enough that J. and I made another project that I’ll share with you next week. Meanwhile, I’m off to organize some office supplies with my new DIY Upcycled Office Organizers.
You can find Amy’s line of Mod Podge Rocks stencils at Michael’s craft stores or online.

The post DIY Upcycled Office Organizers appeared first on Organized 31.