
Quilt Ladders ... An Attempted Tutorial

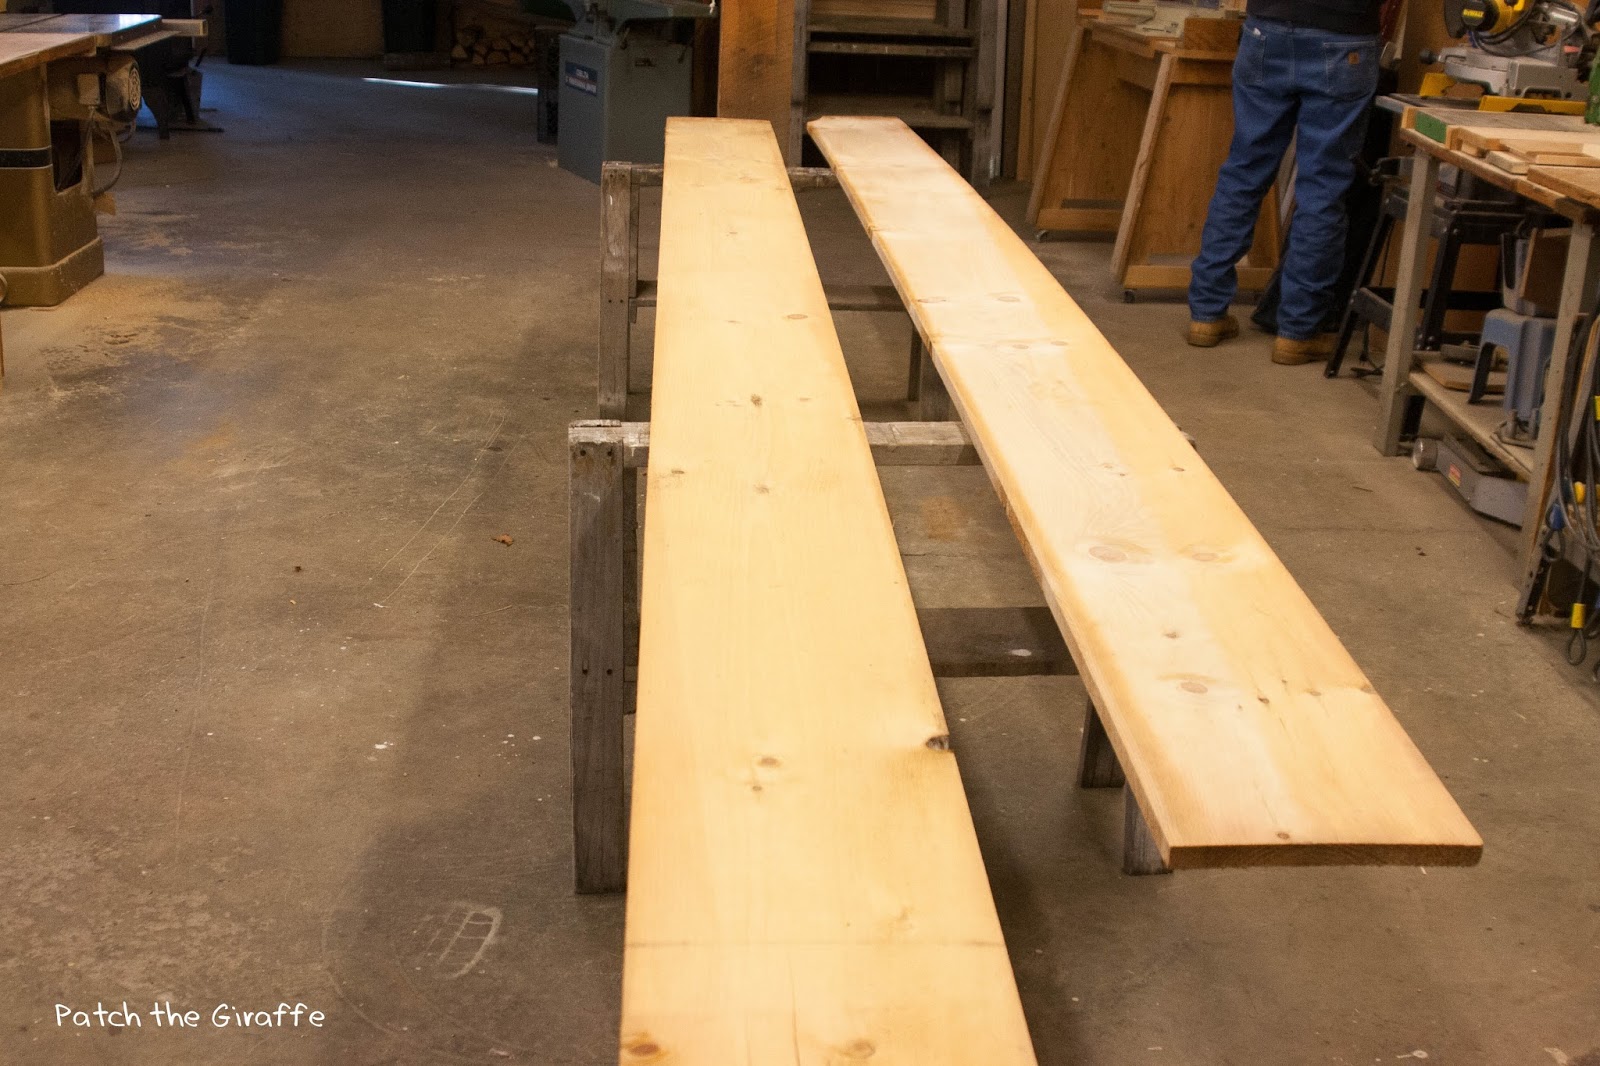
This post was supposed to be a quilt ladder tutorial, but let's face it, every time I turned around I was lost. My father was doing some unexplainable thing, had some jig that just appeared, was using this crazy machine. It finally got the point where I gave up all hope of having a high quality tutorial to share. So unless you have a full wood shop at your house you just might not have the tools to complete this project. Here is my feeble attempt to accurately explain what happened as Dad completed 80% of the work and me with a camera desperately trying to put in my 20%. We made 4 ladders at the same time. Mom couldn't wait to get her's loaded on Christmas day, hence the photo. To start, we cut two 16' x 12" x 1" rough-cut boards into 5' sections, and sub-cut the boards into 4.75" strips to make the side rails, 2 side rails per ladder.


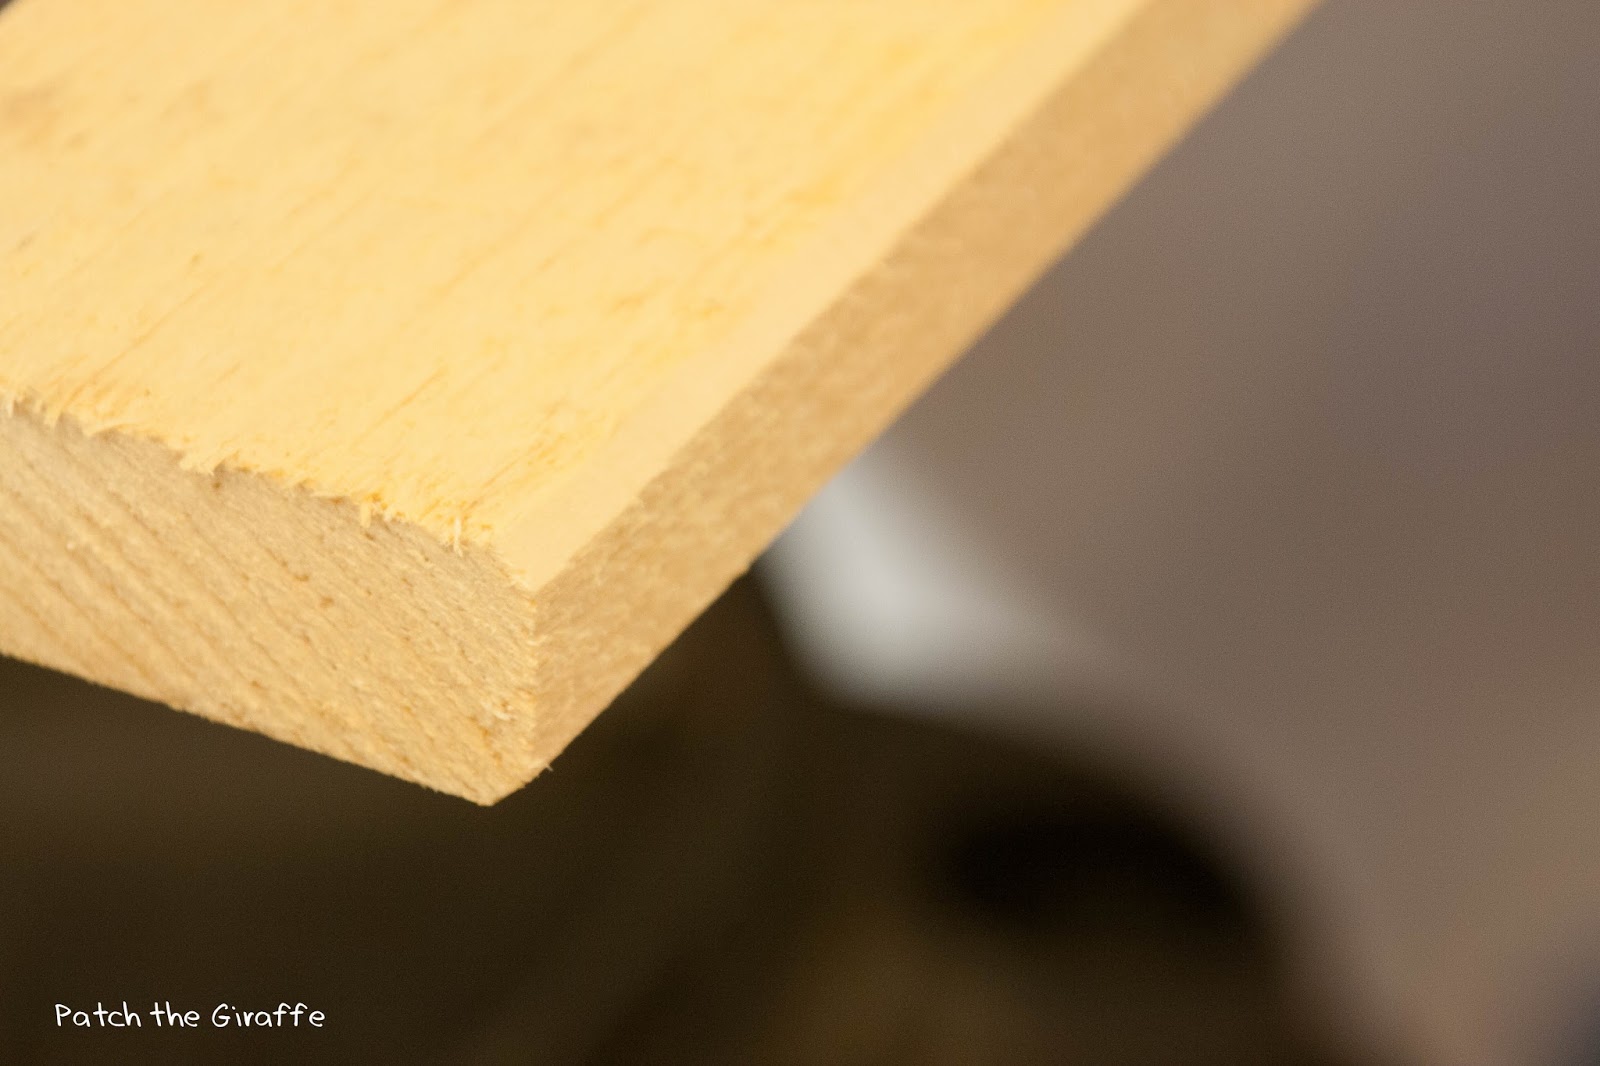
Then each of the side rails went through the planar to take the edge off, you can see the detail below. A router would also work but would create a more rounded look.

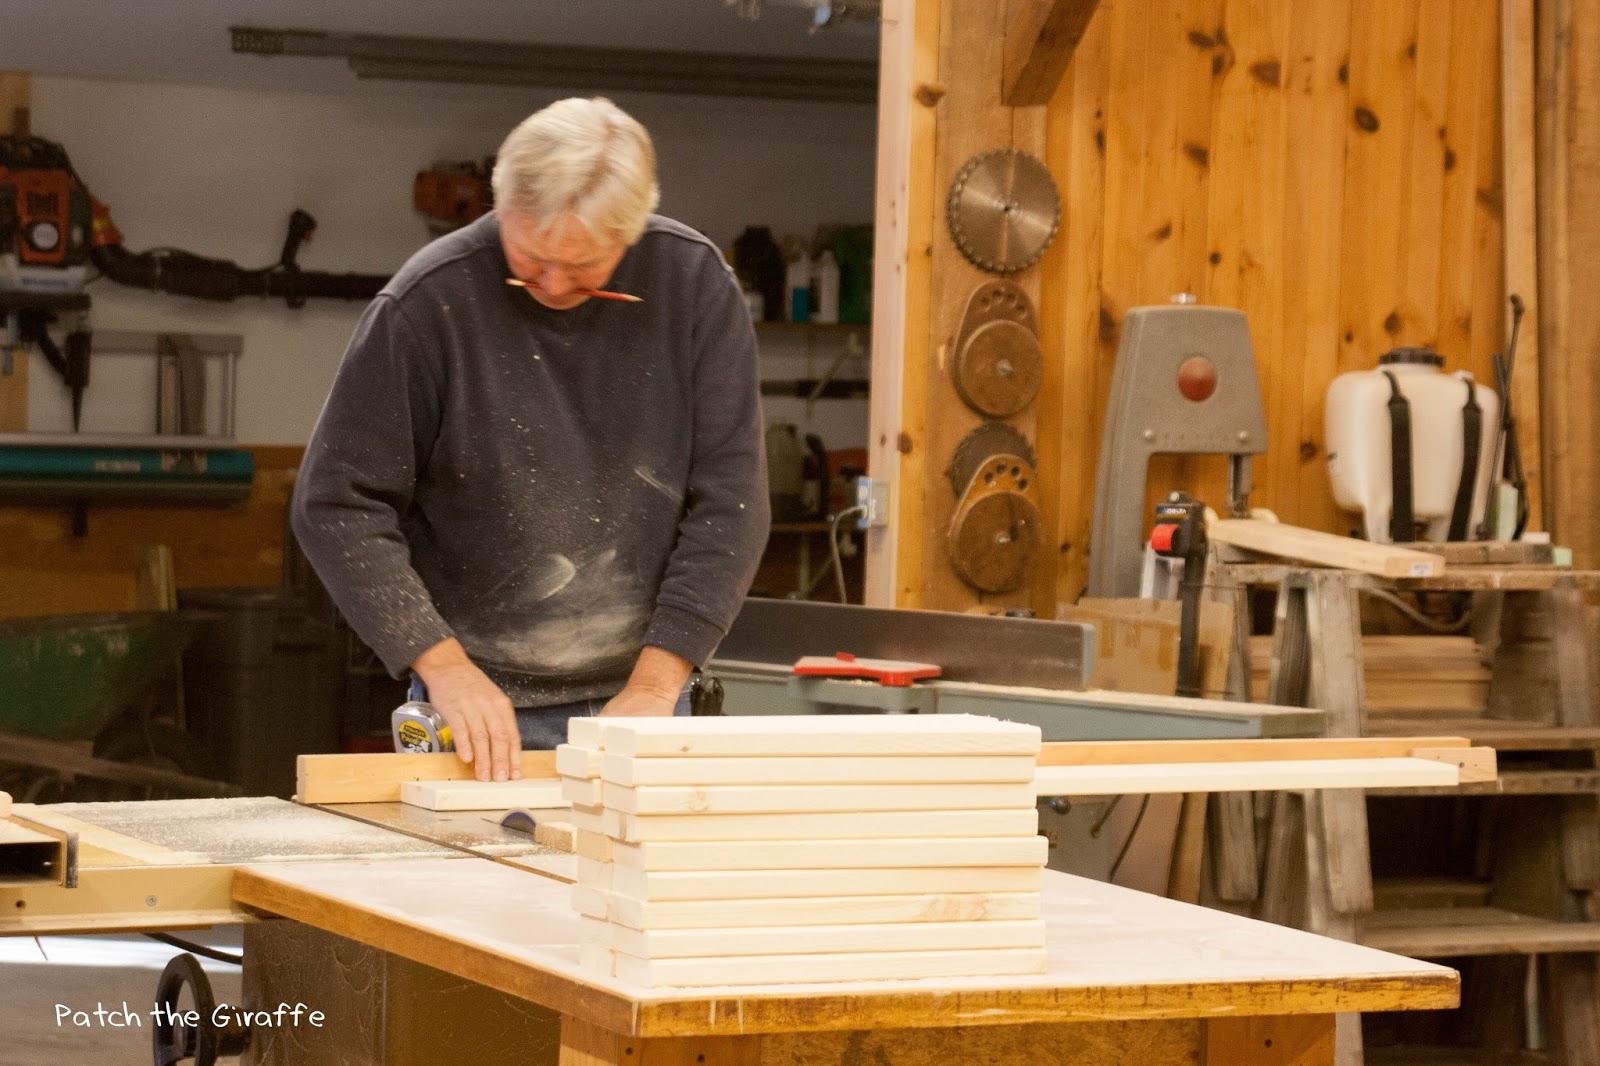
Then to power sanding. The boards are rough cut, so not too much sanding but enough to smooth them up a bit. After I got going, Dad had all the rungs cut. Each ladder needs 4 rungs, each measuring 17" x 3.25." I can't even begin to tell you how that got done! Dad has a sander that hooks up to an air compressor, so the thing is a beast and went quick.


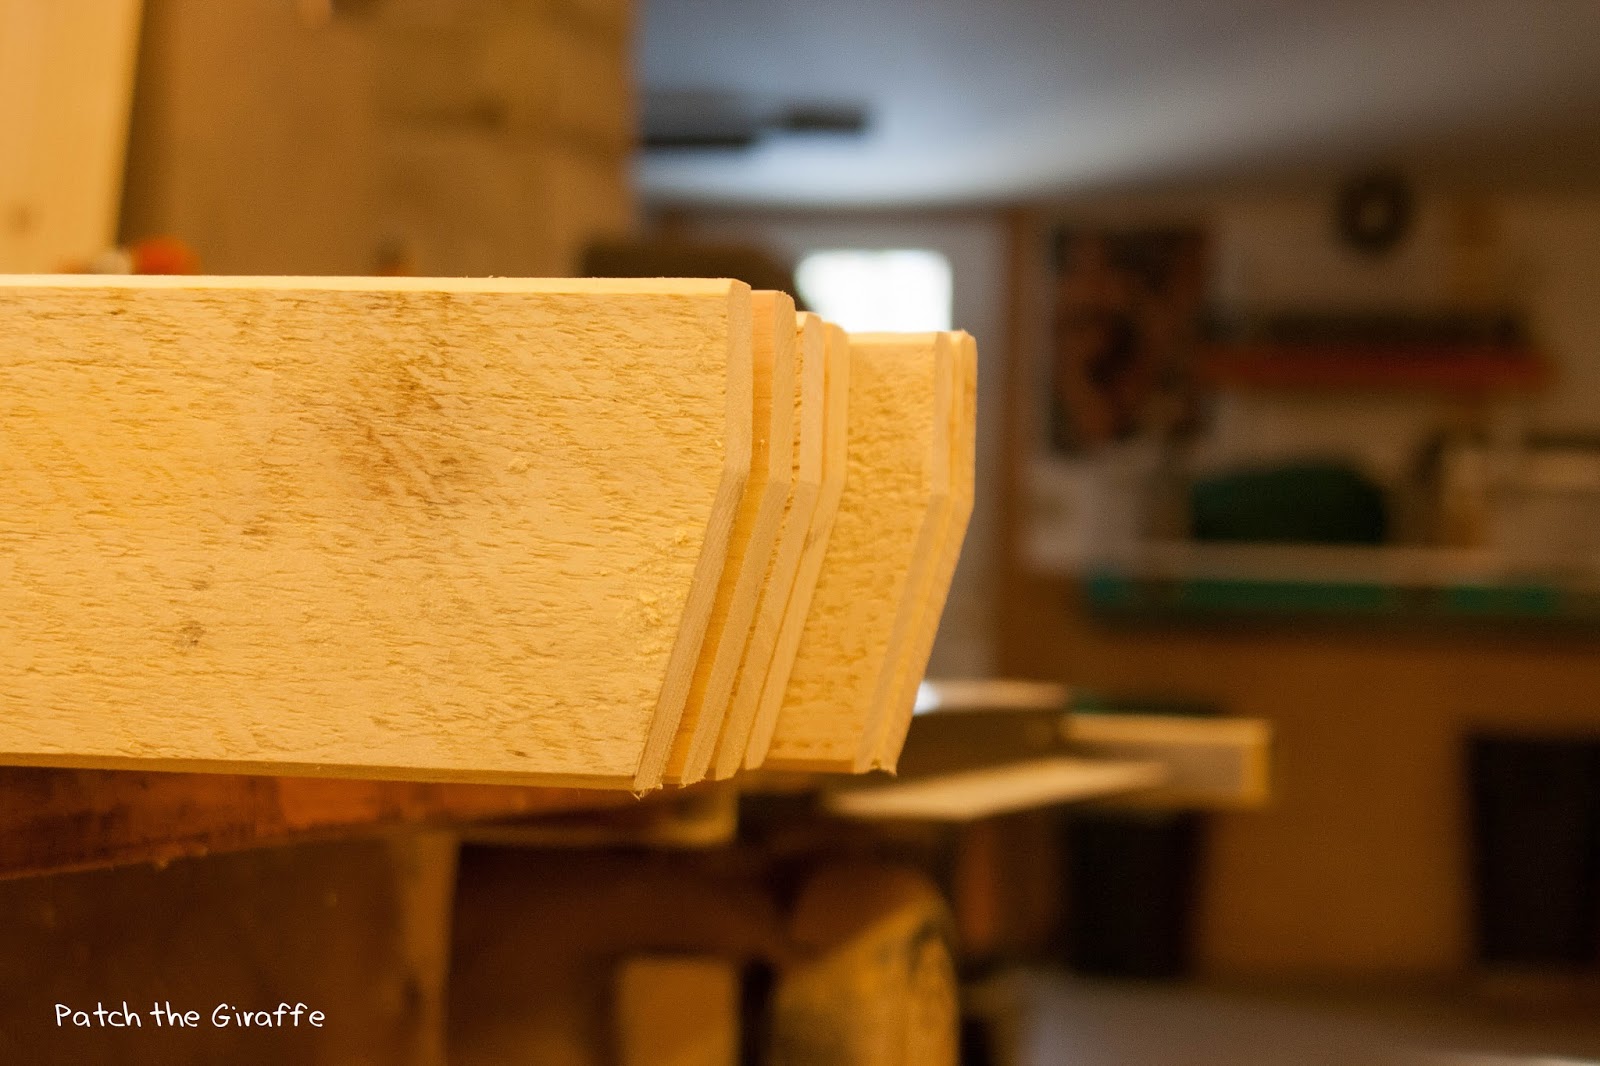
Then there was a jig to cut the legs down to the final size, yep it just appeared! After all the legs got chopped to the same length he took 27 degrees off the bottom using a chop saw (Yes, something I know). This is so they will rest out from the wall. Detail below, say hi to Dad above!

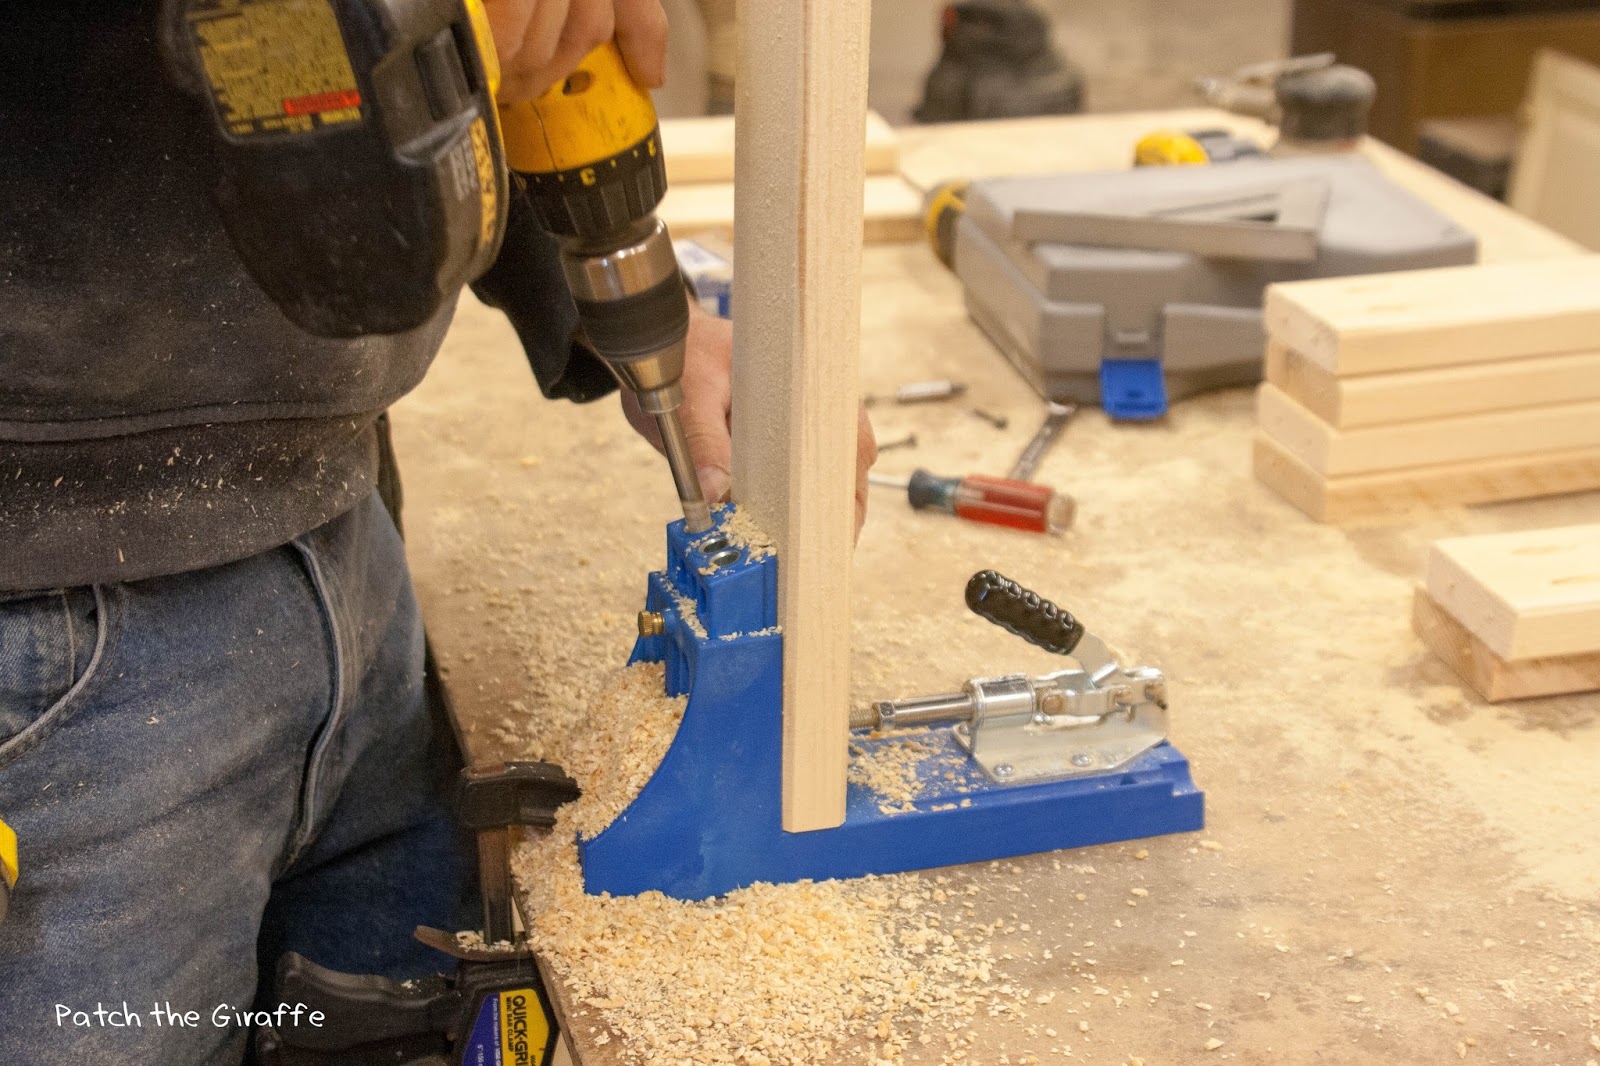
After all the parts got cut he put the rungs into the Kreg Jig, this one you can purchase, to make pocket holes. He put two pockets on each rung one inch in from each side. It made a mess!

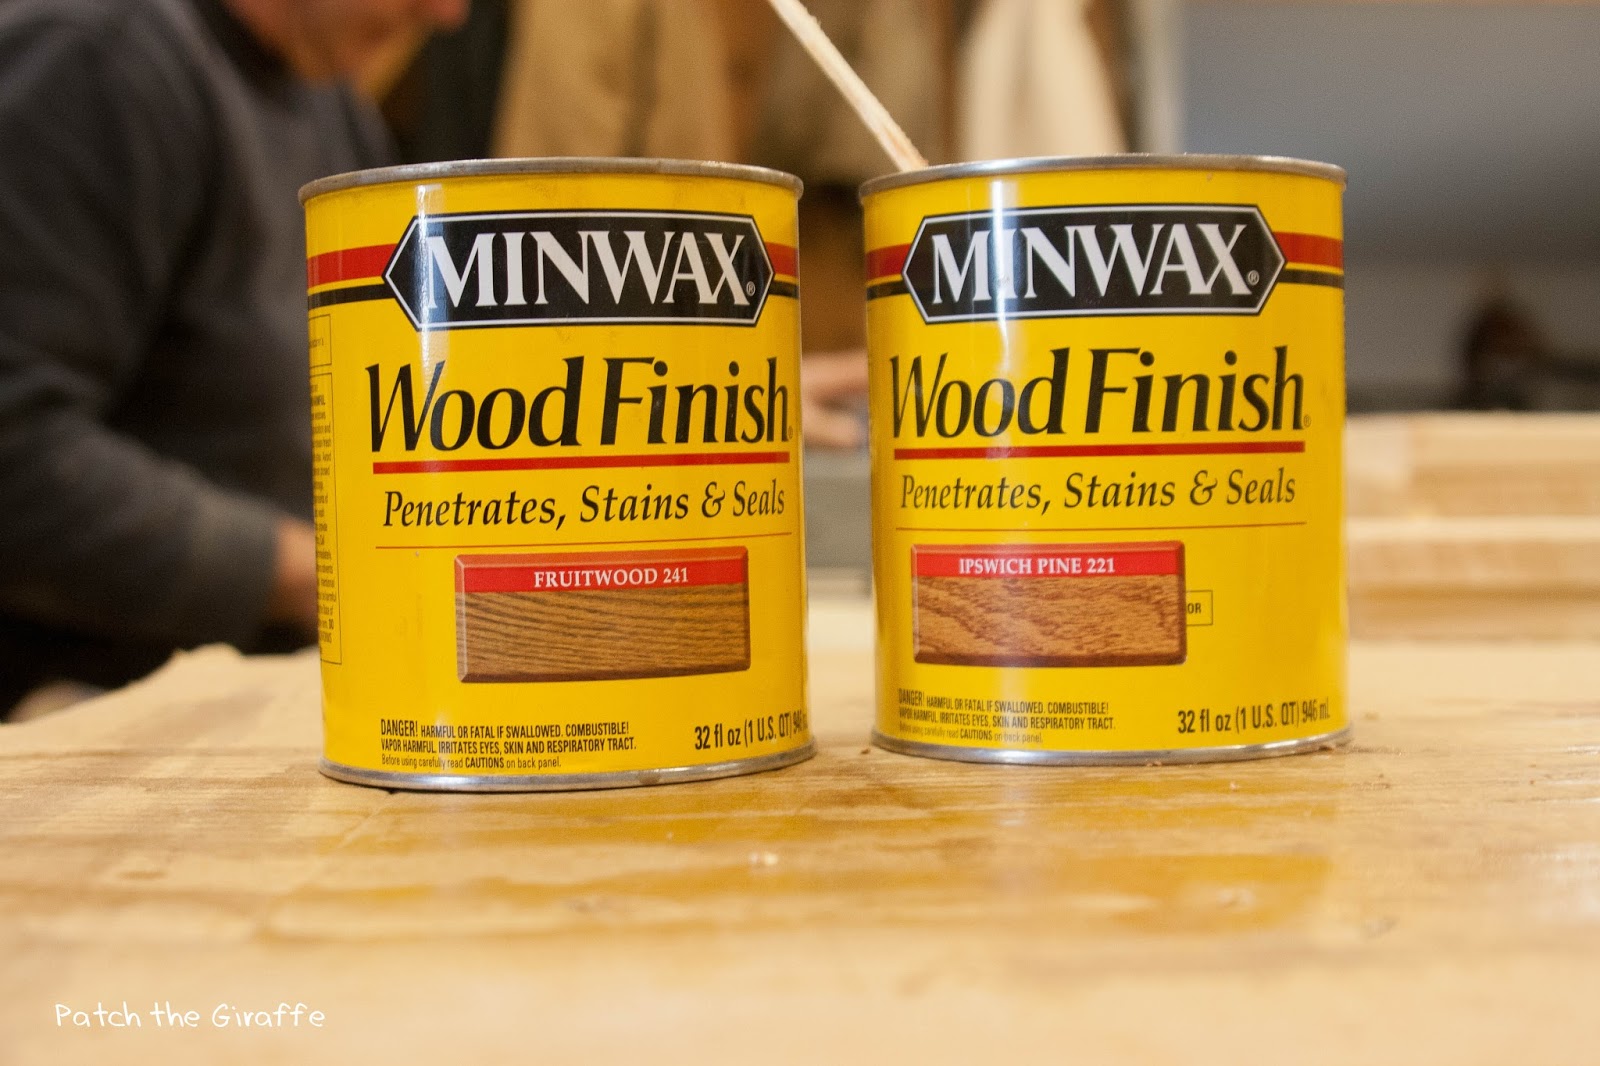
As Dad was working, I was picking out stain. I decided on Fruitwood (left) and Ipswich Pine (right), from Minwax. Or in his opinion, futzing around.

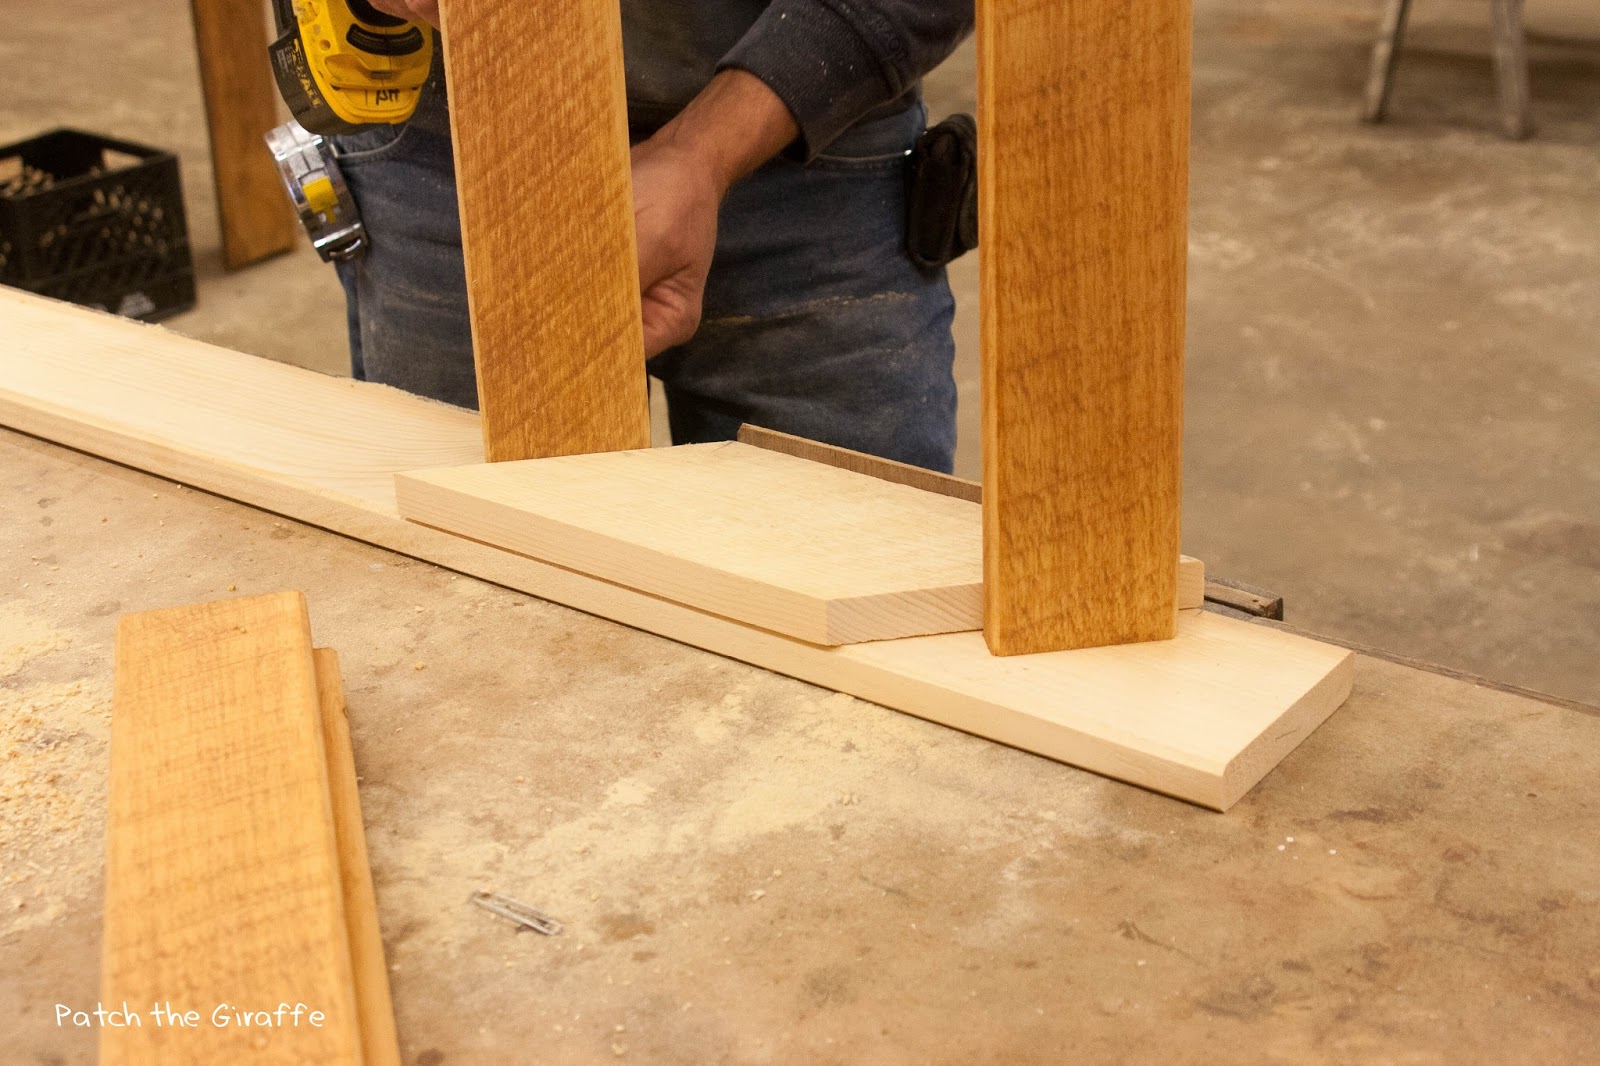
Then once again a jig appeared. He cut this jig at a 45 degree angle at 11" long. Once we marked 3" inches down from the top this would perfectly place each rung. It did make putting the four ladders together quick. There is picture of the jig below, he marked one inch in to show where each rung should line up on either side. I was staining as Dad was assembling. I love how the stain took to the rough lumber.

Then we did the same thing for the other side. Once the whole ladder was assembled I finished staining the side rails. Oh, we used the Kreg 1.5" pocket screws to attach the rung to the rails.


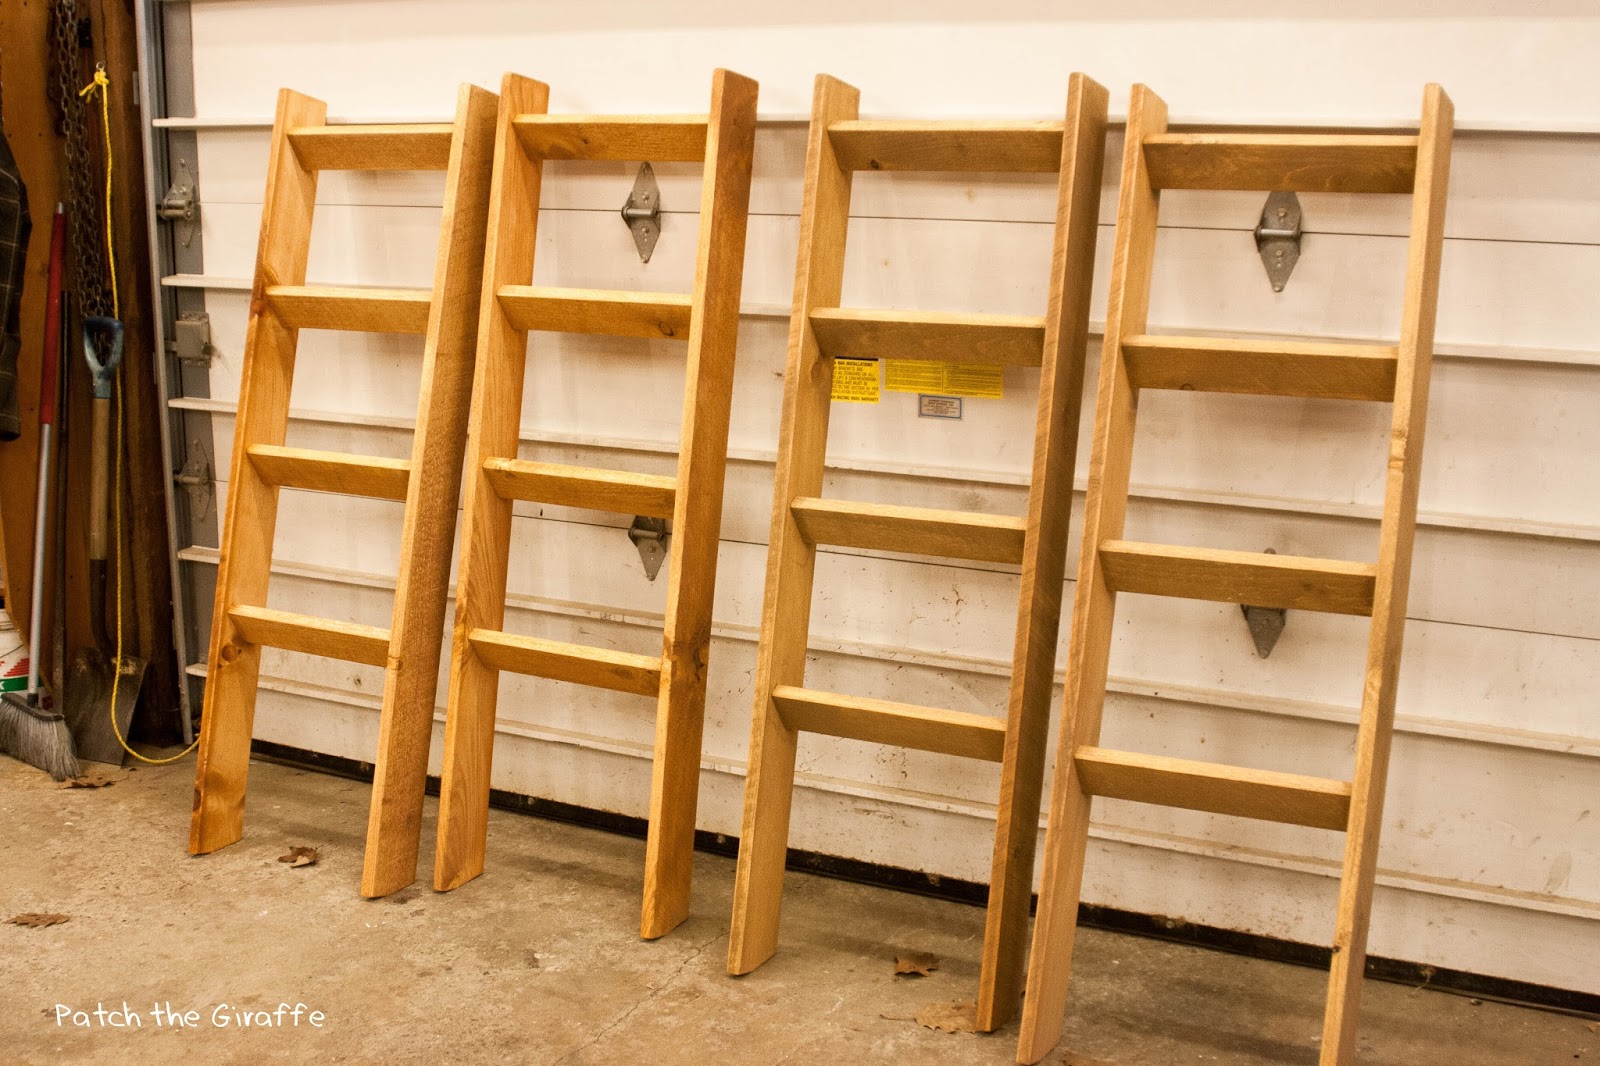
Here are all the ladders done. Two done in Ipswich Pine on the left, and two down in Fruitwood on the right. Now they are off to get 3 coats of polyurethane, the rough cut lumber required an extra coat! I also learned some yankee construction talk. Holiday: an area that is light or missing polyurethane. Let's say round one had a lot of "holidays."
Pretty sure you are probably way more confused as to how these ladders are made. If you have any questions, ask! I can send them along to my Dad. They turned out super amazing and all who received them were very impressed!
- Dad & Chels
More posts from Chelsea Huckins