
A DIY Baby Gate
When we moved into our first home, Greta was about 14 months old and we used one of those cheap baby gates for a brief period of time–maybe a month?–before she got the hang of the stairs. I was so happy to put that thing away! Now, Faye is 8 months old and getting very mobile, so we knew we would want a baby gate for the top of the stairs for her and for Charly, too, (without going into too much detail, Charly isn’t allowed downstairs when we’re not home for, ahem, sanitary reasons) for the next good while. Our stairwell is extra wide and after looking at our options, we decided to just make a “built-in” one ourselves. Because, let’s be honest, there just aren’t very many attractive baby gates out there. Here’s what we came up with!

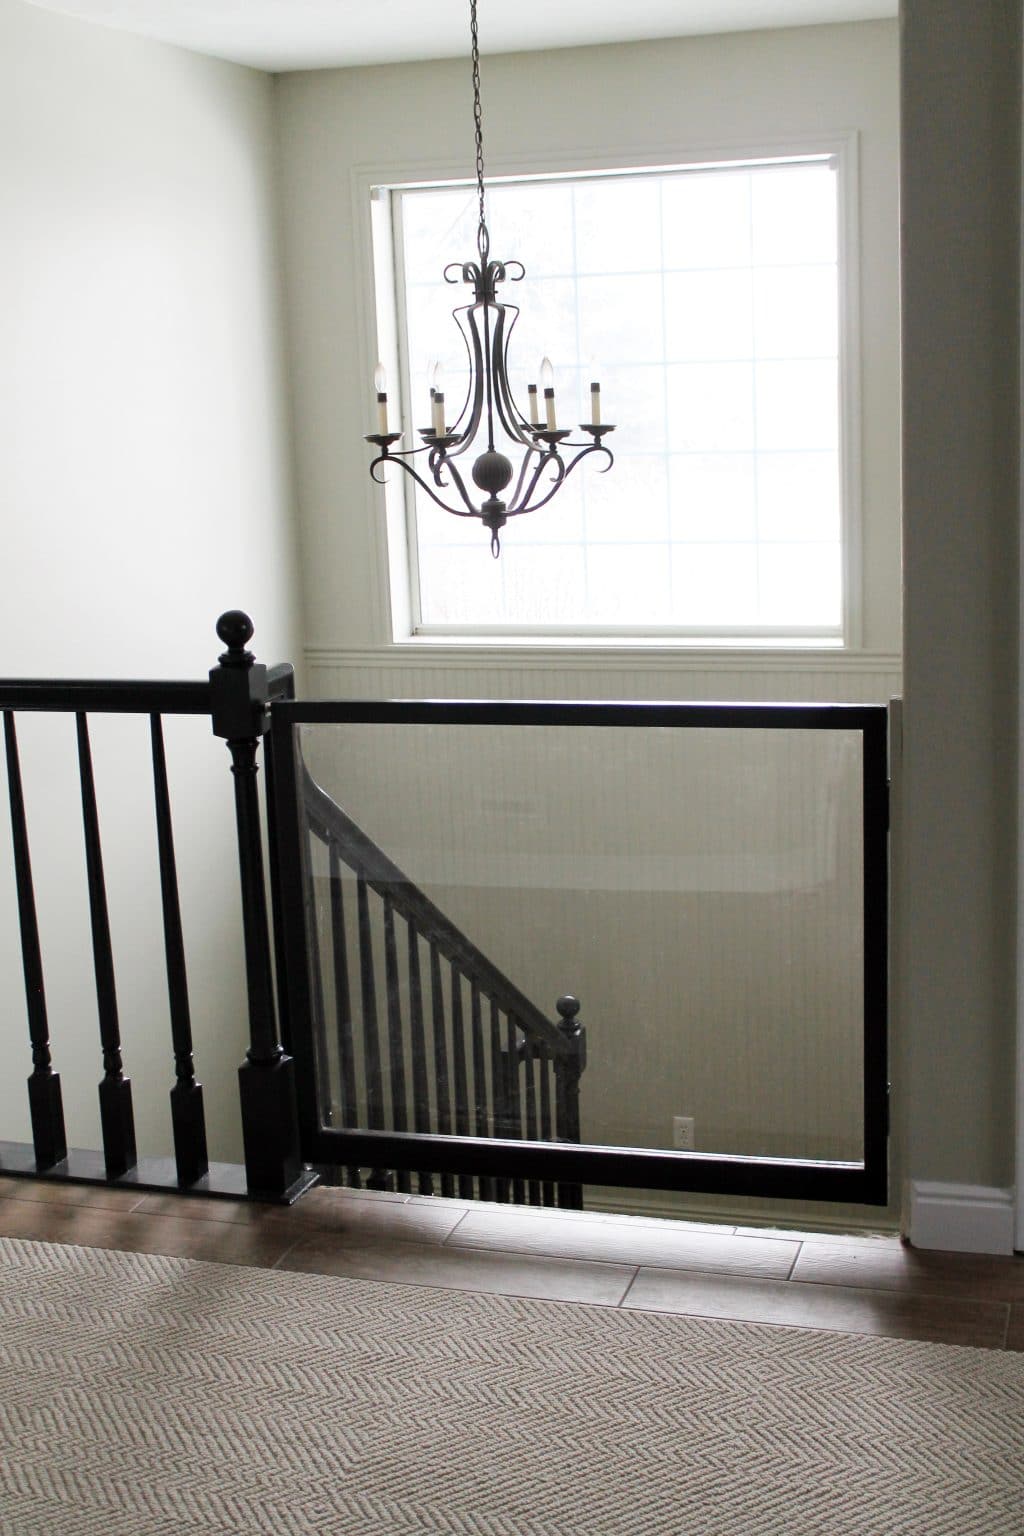
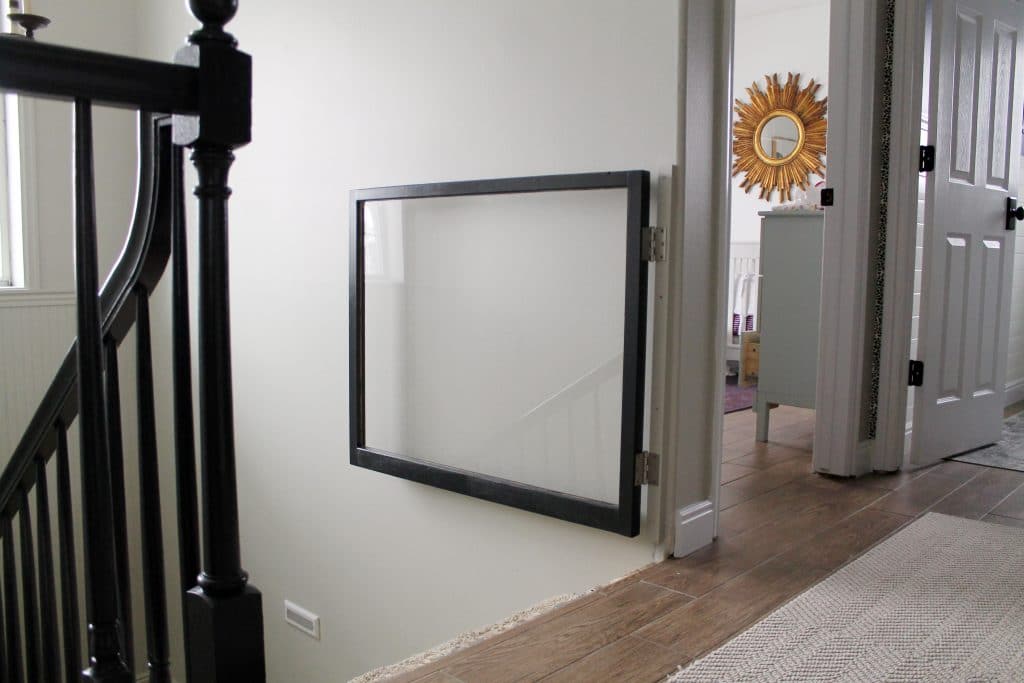
Since this entry area is already pretty spindle heavy, we wanted to keep the gate as non-existent (but still safe, of course) as possible. That’s how we came up with the idea of using heavy duty plexi-glass in a wood frame.

It’s there. It’s sturdy. But it also blends very nicely, too. I didn’t take a ton of in progress pictures because we busted this out during Faye’s nap (read: as fast as possible!), but here’s how we did it:
Materials Needed:
(1 8ft) rounded edge 2×2 pine board
(1 8ft) squared edge 2×2 pine board
(1 6ft) 1×2 pine board
(1 8ft) 2×3 board
(2) hinges
(1) latch
screws
wood filler
medium grit sandpaper
table saw or router
1/4 inch plexi glass (we picked ours up at our local Ace. They cut it to size, too!)
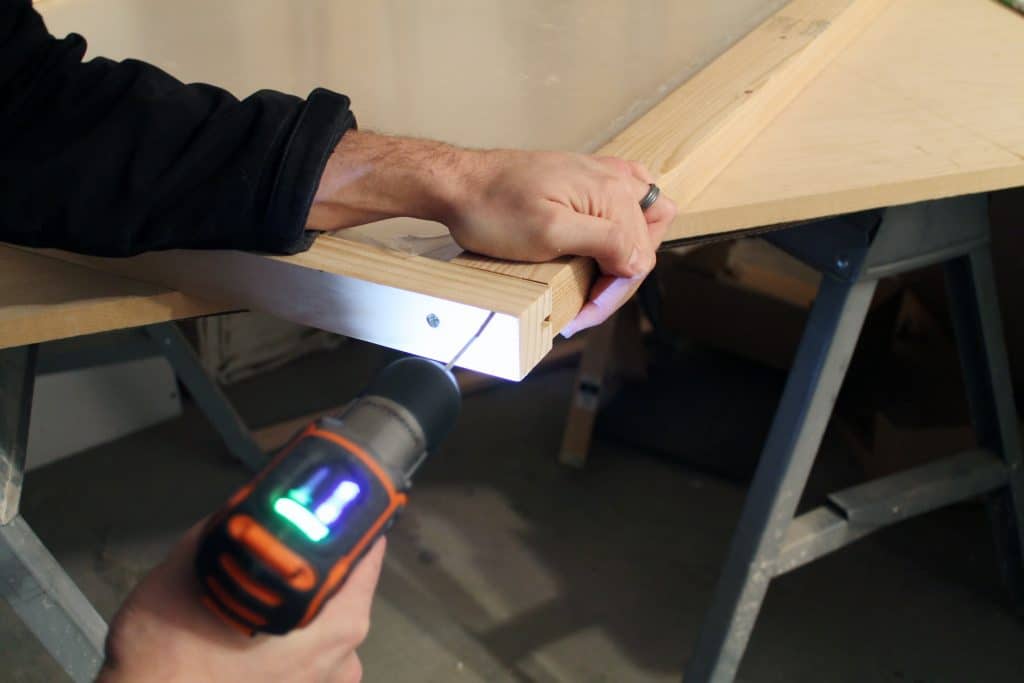
Our gate is basically a thick sheet of 1/4″ plexiglass in a wood frame made of 2x2s on three sides and a 2×3 on the bottom. Once Chris cut each board to size (our baby gate is 42″x34″), he routed out the wood 3/8″ deep and wide enough for the plexi to sit inside. He opted to use our table saw for this, repeatedly running it through until the groove was wide enough, but you could also definitely use a router if you have one.

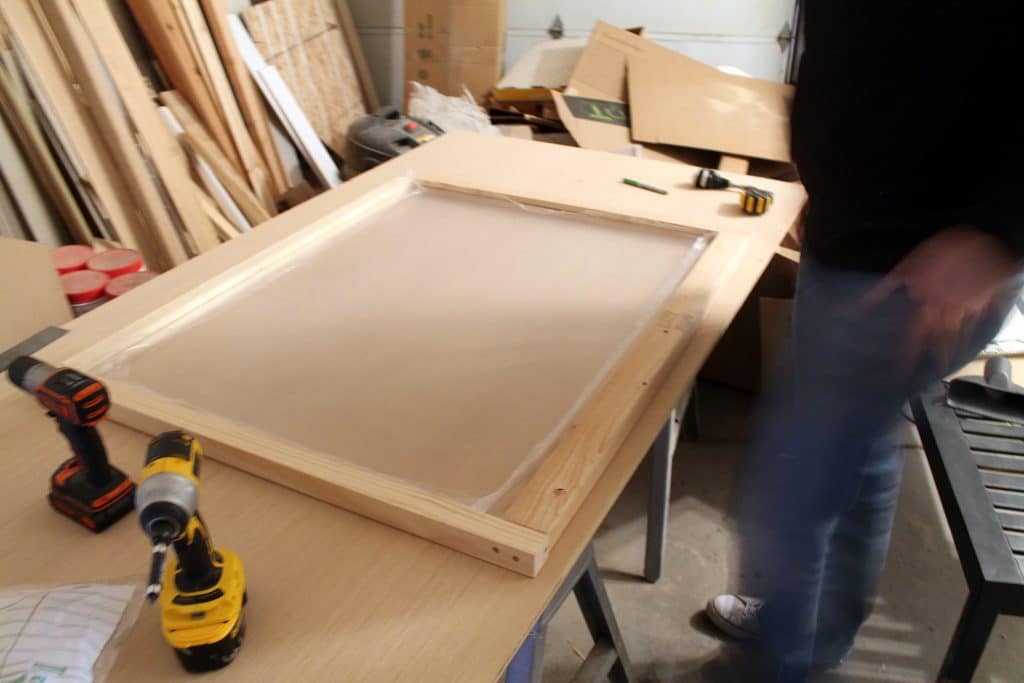
Important note! This is when you might want to paint/stain your frame. Right now. BEFORE you screw it all together. We made a rookie mistake and waited to paint it until it was all together, so you can see some of the unpainted routed groove at some angles. Not a huge deal, but save yourself the face palm.

Since the sides of the gate are almost always hidden because it is closed, we thought that would be the best place to drive the screws in. We pre-drilled the holes so we wouldn’t risk splitting the wood, and although you can still see where the channel for the plexi was routed out on the edges here (see image above)–that is on purpose. It was nice to see where the routed part was for this step, so we could be sure to avoid hitting the plexi while screwing it all together. Afterward came wood filler for those holes and other imperfections, then sanding it all smooth.

We kept the protective plastic covering on the plexi during this whole process to, well, protect it, but pulled it back just a couple inches so it wouldn’t get stuck in the wood. After everything was sanded smooth, we put on a couple coats of the same paint we recently used on our banister: Clark Kensington Exterior High Gloss paint in TomCat. Originally we talked about staining the wood, but because we wanted it to be as seamless and camoflauged as possible, introducing another color or wood tone to the mix might just draw more attention than we wanters.


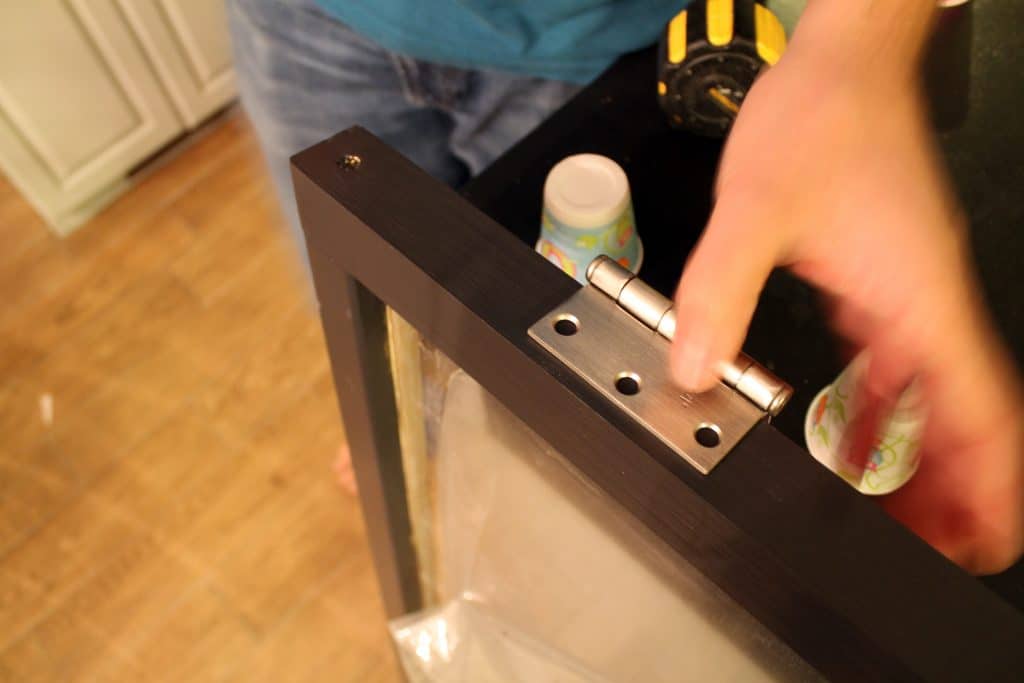
For the hinges, we used these stainless steel 1 inch door hinges so that we could rest easy knowing our gate wasn’t going to sag or rip off of the wall. For extra measure, we attached a 1×2 (painted the same color as the wall) to the wall for support and also so the gate could swing more freely.

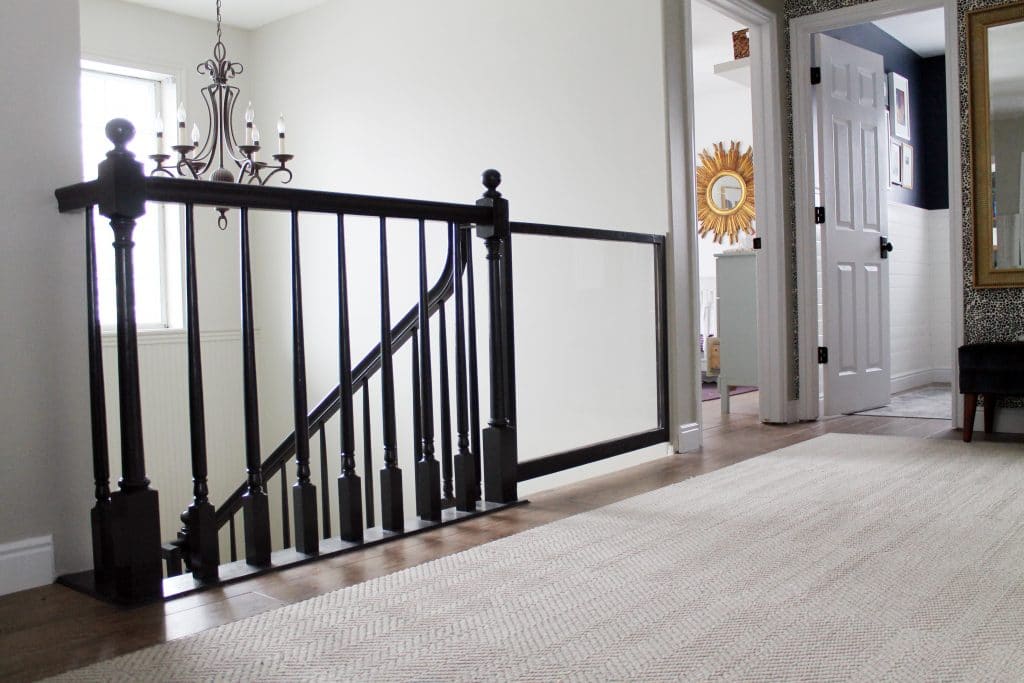
During Faye’s naps and through the night, we leave it open and it rests nicely against the stairwell wall.

It actually latches on the stair side of the gate. Greta can reach it from the opposite side, which we wanted. We did screw the eye of the latch right onto our banister, but it’s nothing a little wood filler and paint won’t fix once we’re done with it.

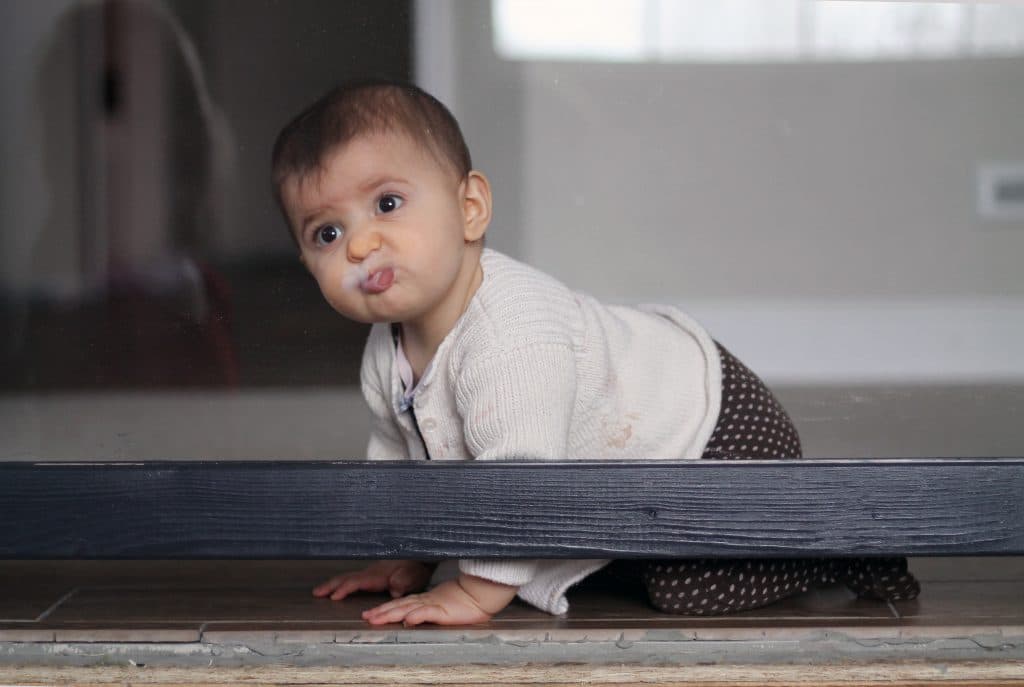
Truthfully, Faye hasn’t been too interested in the stairs (or strangely the tree!) yet, but we are at peace now knowing we can run to grab something from the other room or change a load of laundry without fearing her making a break for the stairs.

Though we went back and forth on how we wanted to build the gate, we’re so happy with how it turned out, and especially happy it only took a couple hours. A simple project, with little visual change but a big safety impact–exactly what we wanted. Though Faye may be having mixed feelings about her new restrictions.
