
NETTIE SEWALONG PT 9 – FINISHING THE BODYSUIT

Alright! Back to work! Today all you bodysuit baberonis will actually be COMPLETING your Netties. Bust out the firecrackers.
This will be an image/text heavy post. I was thinking about breaking it up into two but I’m sure y’all are impatient to finish up so let’s just power through, shall we? Today’s agenda:
- Marking our leg openings
- Pinning our leg bindings
- Sewing the bindings and topstitching
- Attaching the optional snap crotch
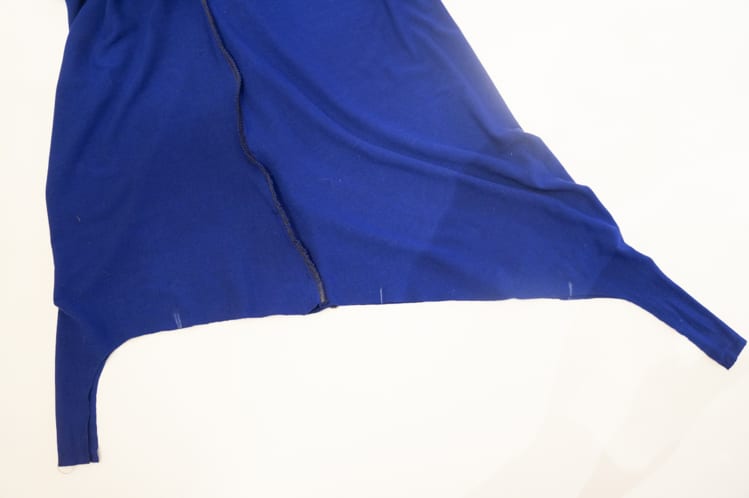
MARKING LEG OPENINGS
We are basically following the same method we used to mark our necklines. Measure the leg opening and divide the number by 4, making a mark at every quarter.


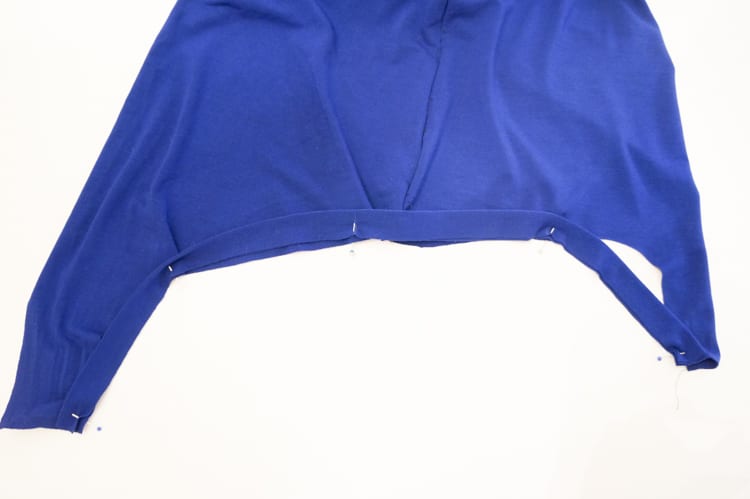
PINNING LEG OPENINGS
When we cut and ironed our bindings way back when, we should have marked them as well. Now we will match up the marks of the bodice and bindings and pin, with the binding on the right side of the fabric, all the raw edges aligned.

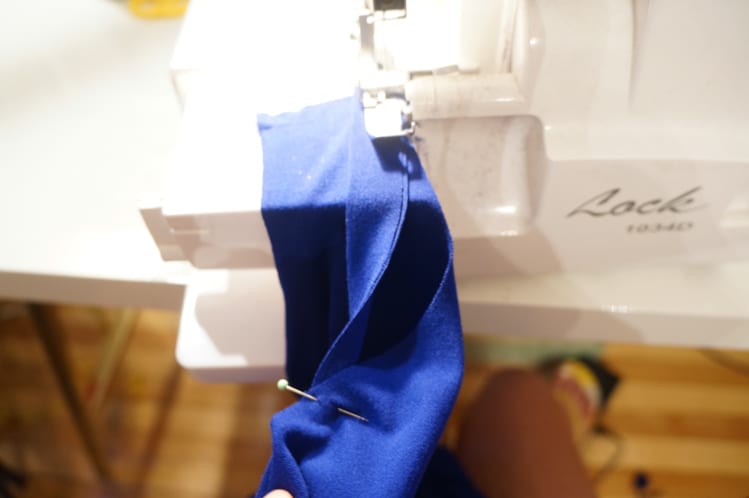
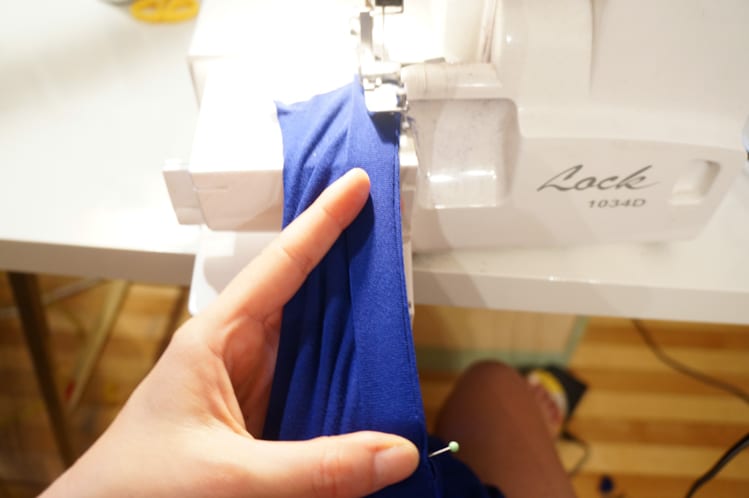
ATTACHING BINDING
You should feel more comfortable attaching these now that you’re on old pro after the Nettie neckline. Keep in mind that these bindings are a bit tighter. You will have to be mindful when you are sewing around the curves to make sure the fabric is stretched evenly without creating ripples at the seams. A heads up – I made one Nettie with a very lightweight rayon knit and the fabric was just not substantial enough to handle the stretch. The seams puckered like crazy. If this is a problem for you, you may have to cut slightly longer bindings.
Start your initial stitch to anchor the binding to the body. Once it’s secure, you can gently stretch your binding so that is the same length as your seam, mindful not to stretch the bodice, and careful going around those curves!


If you’re serging, be mindful of your pins. I like to slow down as I am approaching them and stop sewing a little bit before the blade so that the binding stays as evenly distributed as possible.
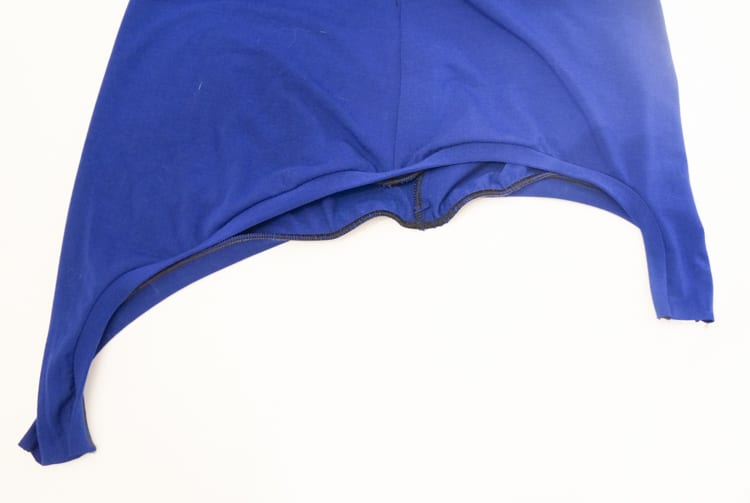
When you’ve finished both sides, your Nettie will look something like this:

We want to gently press the seams flat with the seam laying against the bodice fabric so that they can be topstitched down later.

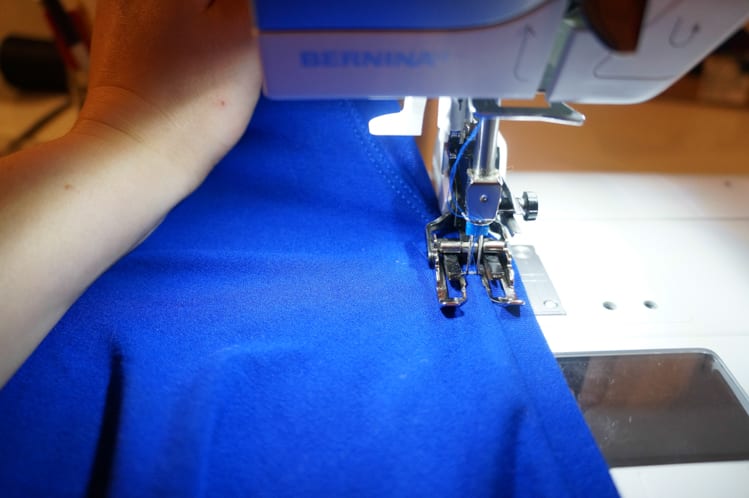
TOPSTITCHING BINDINGS
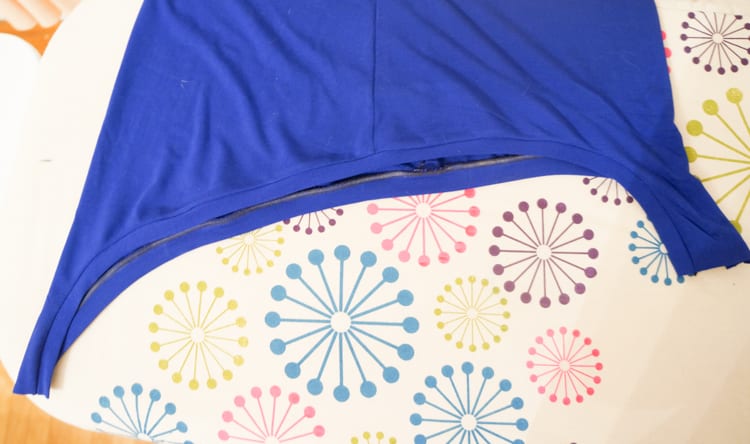
Now it’s time to topstitch! While top-stitching your neckline is not strictly necessary, I really recommend it here. Because there is a lot more movement at these seams, you will have more problems with your bindings laying flat against your body if they aren’t stabilized. Y’all know how much I love a double needle, but you can also use a zigzag stitch here. A single stitch will be poppin’ and lockin’ so I do not recommend it!


It may appear a little wavy but rest assured, it will perfectly stretch against your body!
ALTERNATIVE BINDINGS
Now would be a good time to talk about alternative seam finishes. I like fabric binding because it’s cheap and clean and doesn’t dig into the skin. I find elastic at leg openings can give me pretty bad panty lines, but I have a big ol’ booty to think about. You can absolutely use elastic if you wish! Check out this post from the Bombshell Sewalong – it’s the same principle. Please keep in mind that you need will need to add width to your leg opening so that your crotch is not too narrow (not a good feeling, or a good look). I recommend adding a centimeter and a half on each side since you will be folding the elastic into the fabric.
You can also use fabric to encase the seams (this is more traditionally referred to as “binding” – technically what I recommend in the pattern is called a “band” but I just got into the habit of calling the band a binding and it stuck!) Rachel just made a gorgeous Liberty Print Nettie using this method and it works a treat. Add a centimeter to your leg openings to keep the crotch a good width.
I haven’t had a chance to experiment with fold over elastic yet but that is definitely another option! It will create a very minimal panty line, but again, you’ll have to add a centimeter of width at the leg openings.
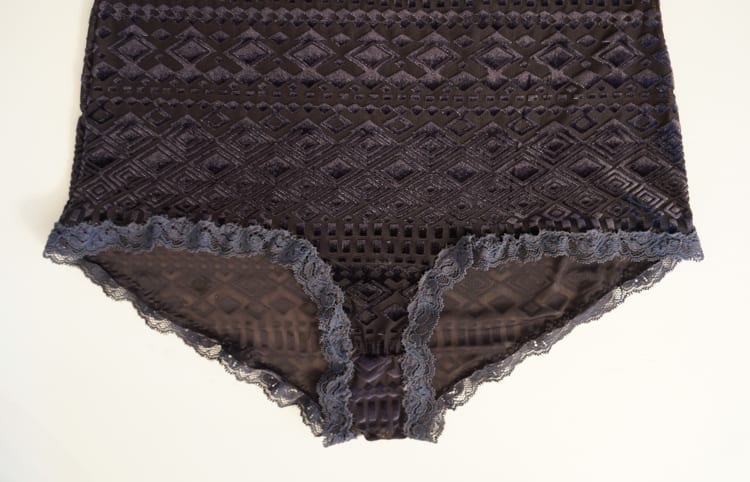
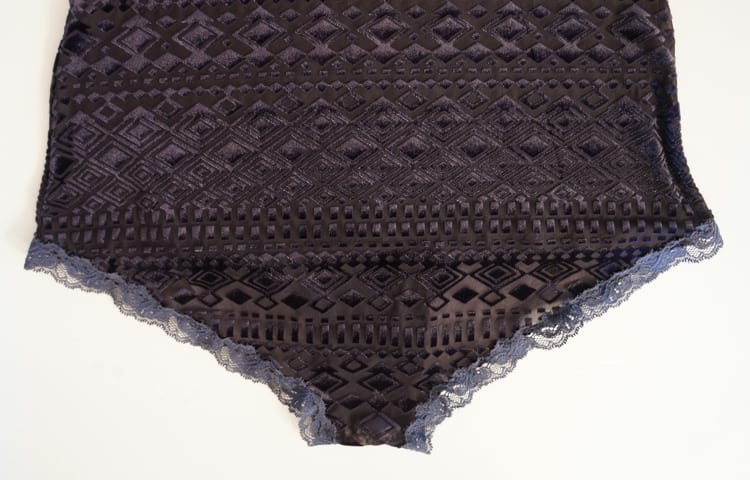
If you want a truly seamless finish, you can’t go wrong with stretch lace elastic. Maddie made a real beauty using this stuff. Just zig zag it around the edges (stretching it ever so slightly around the curves). I think it will be tricky to install the snap crotch with stretch lace though – you’d have to fold the lace in at the crotch edge because your crotch lining will not be secure if sewn to the edges of the lace, if that makes any sense.


Finally, you could be blissfully lazy and use nothing at all. Stretch fabric doesn’t unravel so although it will be “unfinished” it also won’t give you any grief (although you may have issues with rolling). And zero pantylines, so bonus.
ATTACHING THE SNAP CROTCH
This might be the trickiest bit of sewing for this pattern. Some of you may choose to skip it entirely and just sew your crotch seam together permanently (you rebels). Personally I find taking my shirt off to pee very annoying, and would rather take the time and make my life a little easier by making a quick release, as it were. Also, I’ve been informed by a few folks that romantic partners find the novelty of the snap crotch… entertaining. It’s like basketball tearaway pants for your hoo-ha!
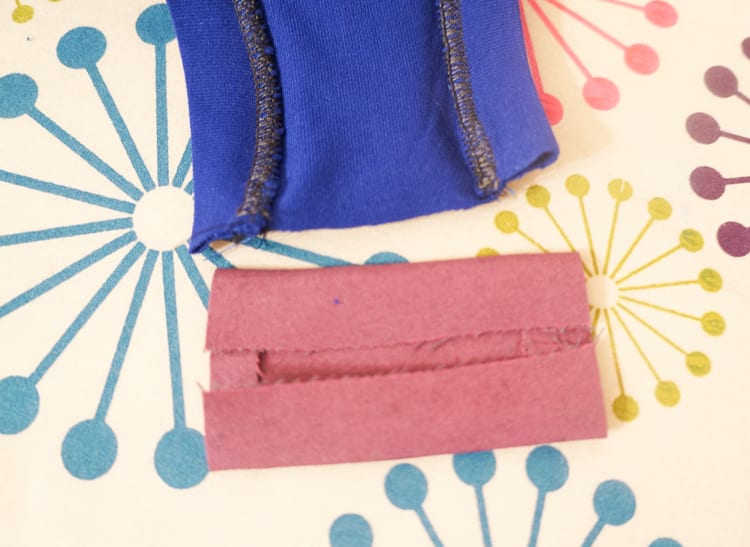
If you haven’t already cut out your snap crotch lining, do it now. This is why it’s good to hang on to your scraps – you never know when they’ll come in handy!! You can use any lightweight fabric; voile, quilting cotton, silk, rayon challis. Silks can obviously be trickier to work with but it’s a nice touch of luxury near your lady parts.
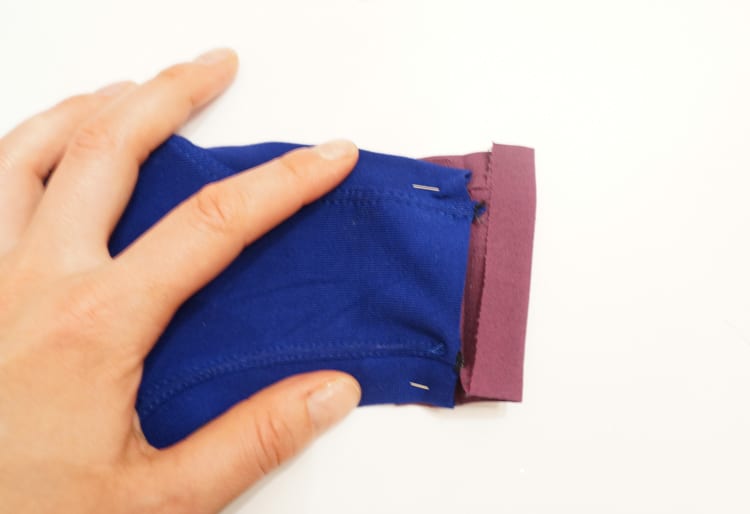
For this bodysuit, I used some rayon challis I had in the stash. You want to fold the short ends so they match the width of your raw crotch seam (I hope I never have to put the words raw crotch together again in my life). Press them nice and good. Now fold your long ends in so they almost meet in the middle.


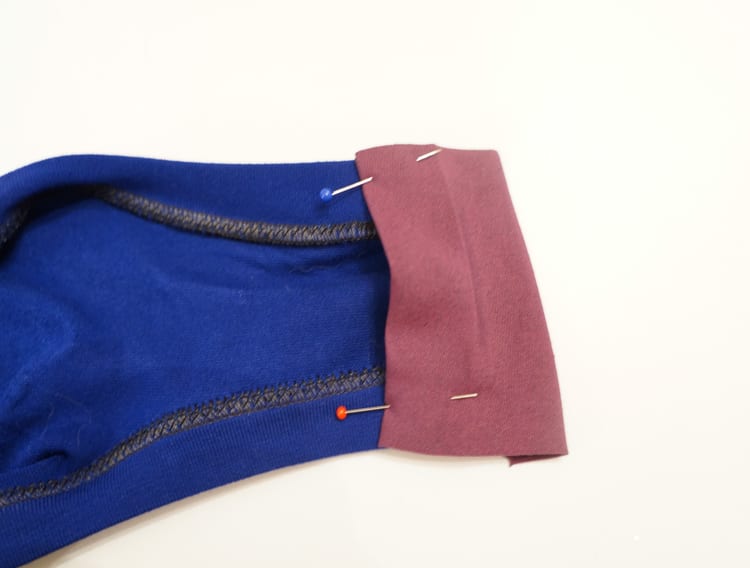
Now you want to fold those rectangles evenly in half and press. This piece will slip over your crotch seam and encase it.
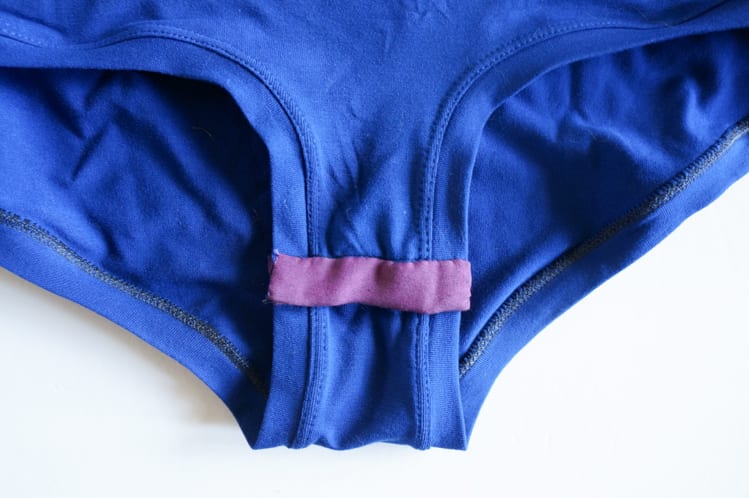
Take a moment to think about where you’ll put your snaps. I prefer to have the front crotch piece laying on top of the back crotch piece. It’s easier to take on and off. We are only going to sew one side of the lining down for the moment. This way, when we sew our snaps on, we won’t see any of the stitching on the visible side of the snap crotch lining.
A note about snaps: you can absolutely use hammer-on snaps or snap tape. The choice is yours, but I chose this method since snap tape can be hard to find and I know a lot of people have sew on snaps in their stash already. If you do use sew-on snaps, try to avoid the plastic ones. I’ve found they don’t hold as securely as metal ones. If you’re unsure try pulling them apart – they shouldn’t come undone without a little effort.
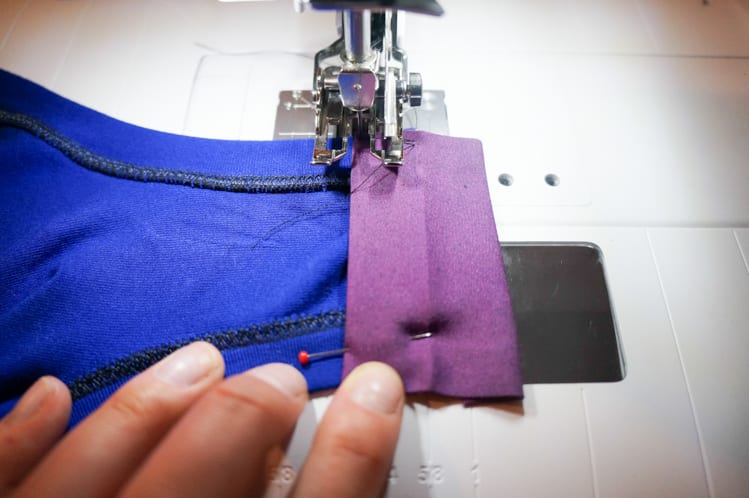
When we sew our linings to the crotch pieces, we will sew one to the wrong side of the front piece and one to the right side of the back piece. That fabric is where we will be sewing our snaps down. Carefully pin your lining to the crotch piece, aligning the raw edge with the fold. If you have any corners popping out, trim them on a 45 degree angle. Here we are looking at the front crotch piece:


With the lining facing you, lay the piece on your machine starting with the left hand side; I use a straight, medium stitch. Backstitch the first stitch and slowly start sewing. When you get to the corner, keep your needle down, lift your presser foot and rotate the seam 90 degrees. Lower your presser foot and keep sewing.


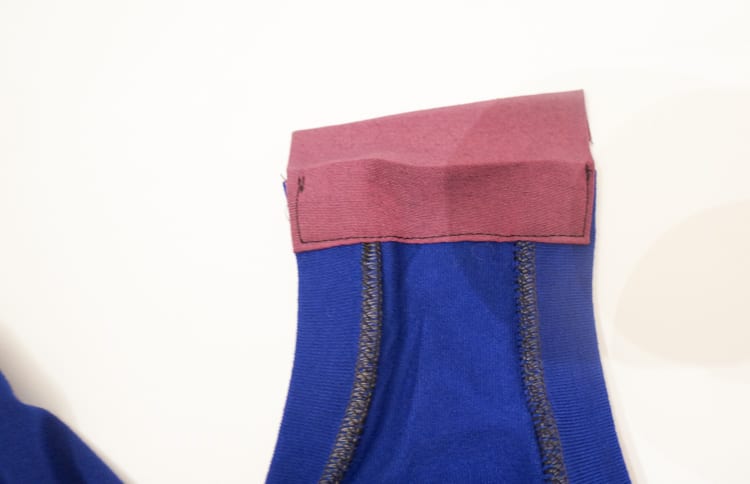
Repeat for the back crotch piece, making sure you sew the lining down to the good side.
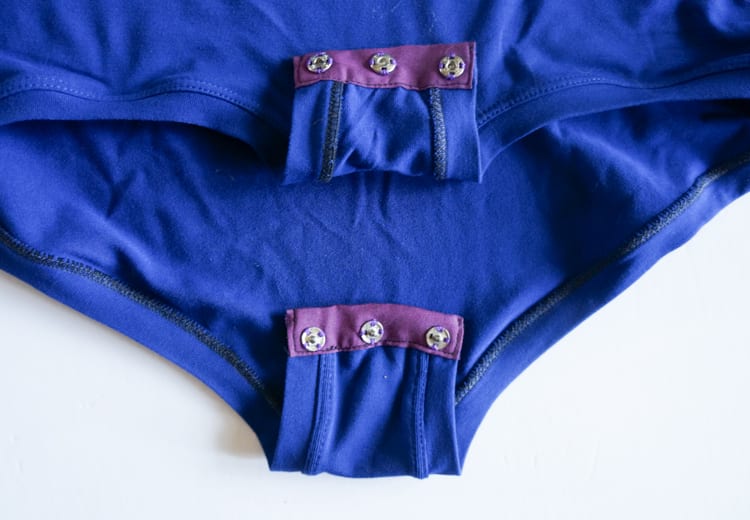
Now you can sew or hammer on your snaps. I like to put the “male” snap on the front crotch piece and the “female” side on the back crotch piece. I’m sure there is a crass joke to be made here, but I’ll leave that to you. I generally sew down 3 pairs for maximum snap crotch strength.
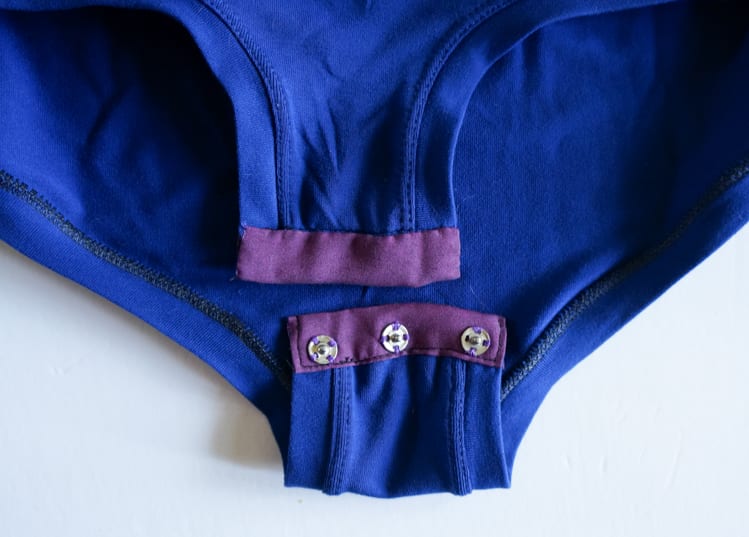
When you’re done, you can machine stitch or slip stitch the free crotch flap down. I like slip stitching since it gives a cleaner finish and I find the snaps a pain to sew around with a machine. It would be a little easier to do so with a zipper foot.


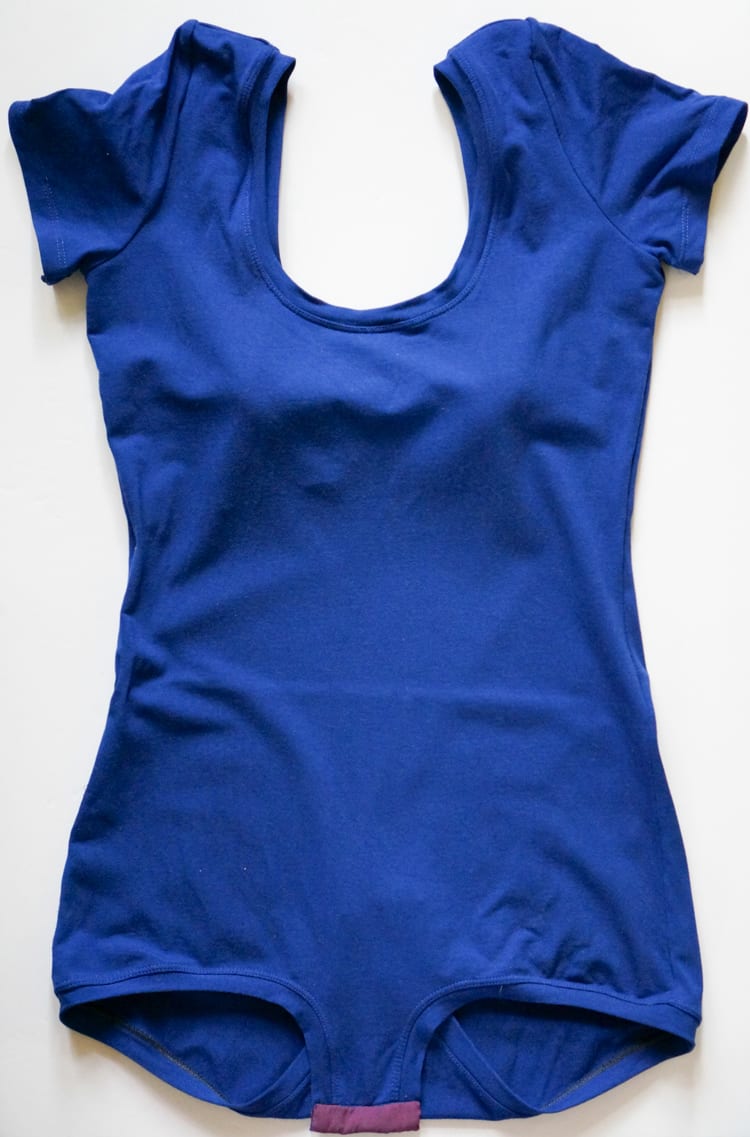
Can you believe it? WE’RE DONE!!!
I hope you’ve enjoyed this sewalong as much as I have! I’ve seen some really lovely Netties popping up around the internet; I’ve been collecting them on this Pinterest board if you care to take a look. I’m loving all the super creative Nettie hacking – I have a few versions I’d like to try myself this summer.
Don’t forget to enter your make into the Nettie Contest! You can add yours to the Flickr group here.
I’ll be sharing one last Nettie related post in a few days – I hacked her into a super cute high waisted bikini for one of my girlfriends. Until then, enjoy your weekend!
The post NETTIE SEWALONG PT 9 – FINISHING THE BODYSUIT appeared first on Closet Case Files.
Related posts:
- BOMBSHELL SEWALONG PT 6: INSERTING ELASTIC INTO LEG OPENINGS & FINISHING VIEW C
- BOMBSHELL SEWALONG PT 9: FINISHING VIEW B
- BOMBSHELL SEWALONG PT 8: FINISHING VIEW A