
GINGER SEWALONG PT 11: SEWING THE WAISTBAND

Today we’re installing the waistband on our Ginger Jeans. There are a number of ways to do this but after making a dozen or so pairs this is my favourite method for getting a clean, strong waistband.
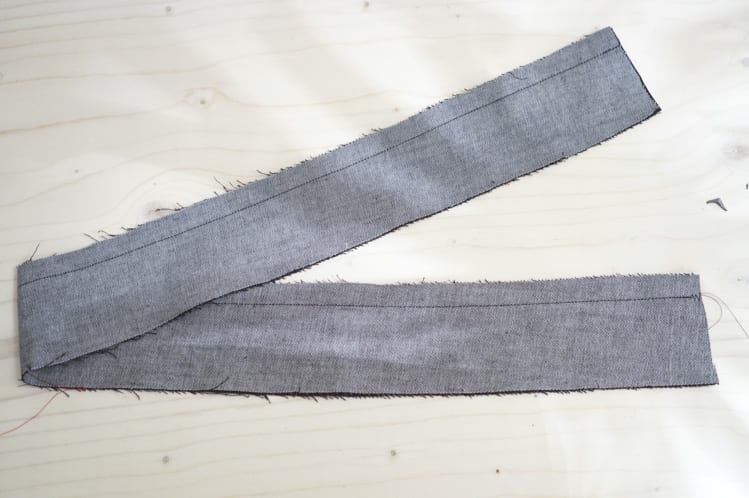
Gather your waistband and its facing. Like we discussed earlier, the facing can be cut from your denim or a stable lining. It really just depends on the effect you want. For this example, I am using two layers of my stretch denim with no interfacing since I prefer a softer, stretchier waistband for the high waisted version of Ginger.
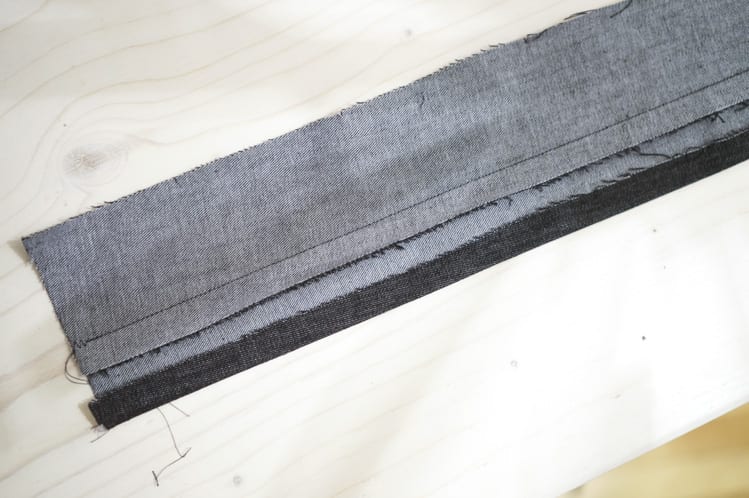
To start, sew your waistband and facing together against the shorter curved side. Sew a line of stay-stitching along the seam allowance of your facing, and press the seam allowance towards the facing.


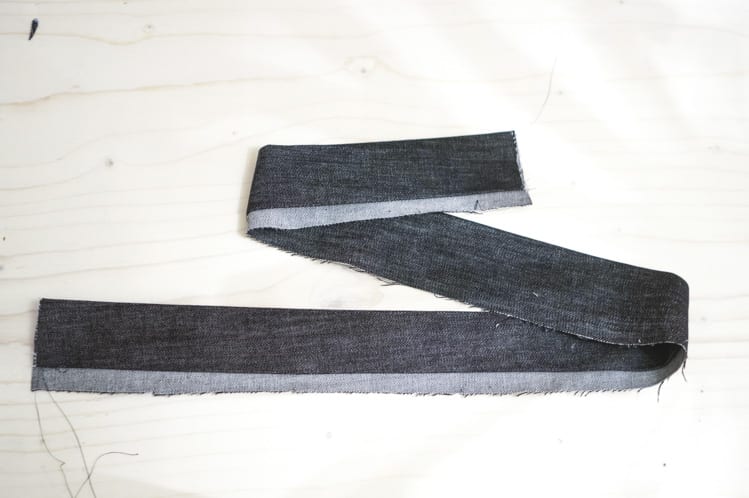
Press the seam allowance of the facing along your stay stitch line, and then fold your waistband along the top seam and press flat.


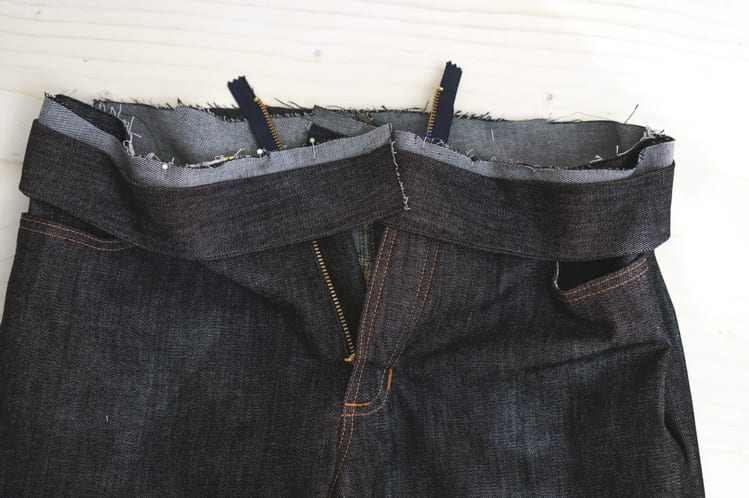
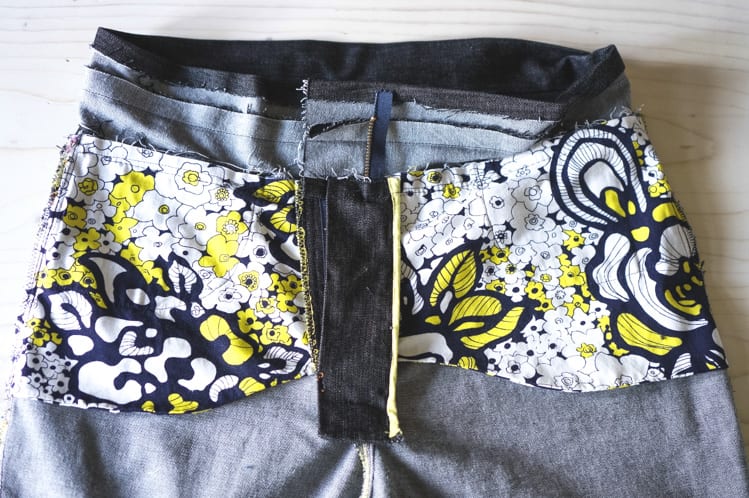
Sew the entire length of the band at your 5/8″ seam allowance. When you are starting and ending the waistband, use a basting stitch, but a medium stitch everywhere else. We need to make sure the waistband is meeting up evenly when the jeans are zipped, so a basting stitch makes it easier to remove stitches if necessary. You will be sewing over zipper tape; you may use pliers to remove the teeth on your zipper that extend past your seam, but I never bothered. I just sew really carefully over the teeth and have never broken a needle.

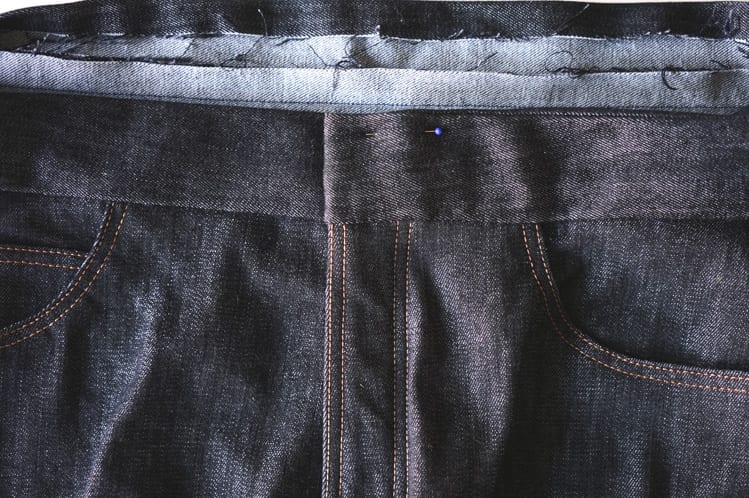
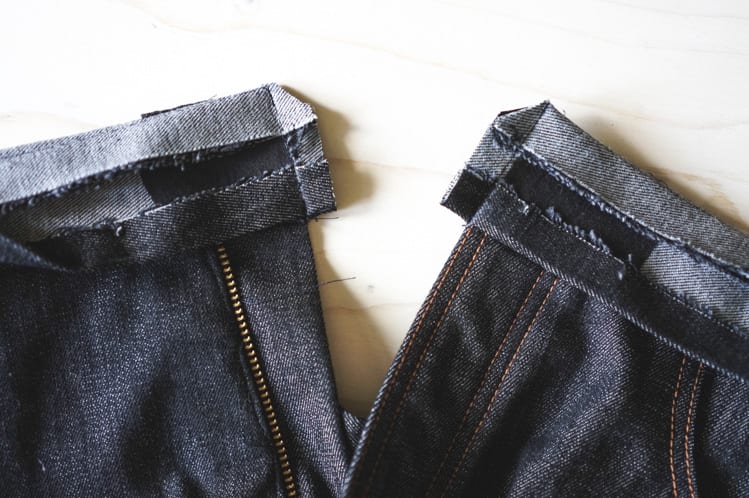
Fold your waistband flat and do the zipper up. You want the waistband on either side of the zipper to be perfectly even. If one side is a little wider, remove the basting stitches and adjust. Once you are sure the band is even, you can sew permanent stitches along each end. If your denim is quite thick or you want to remove bulk, grade the seam. Leaving the waistband alone, trim the top edge of the jeans to about 1/4″. Press the seams up and trim off the excess zipper tape.

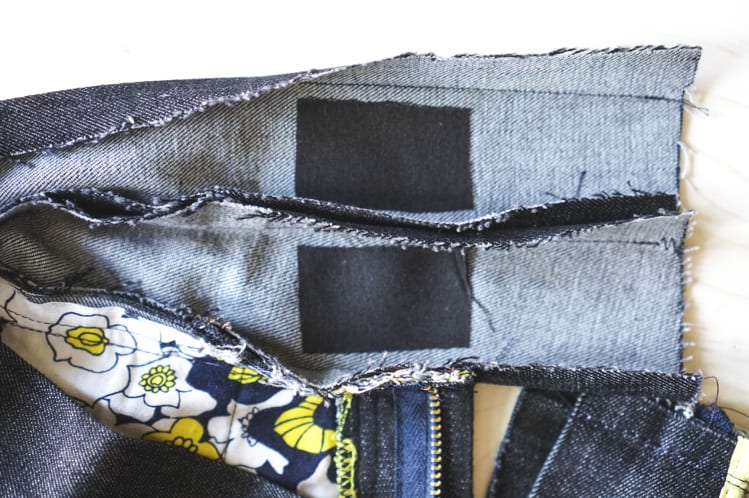
If you haven’t interfaced your waistband, you’ll want to add a few squares where your button and button hold will go. I mark the locations with a pin and then press interfacing to the waistband and facing on each side.

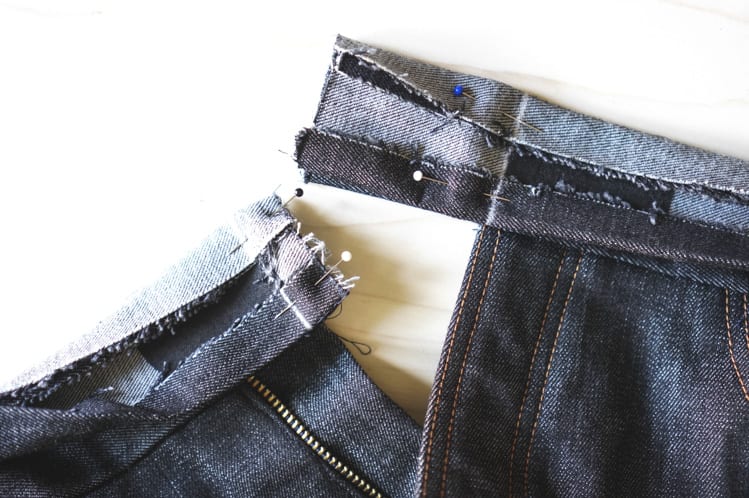
Flip your waistband inside out and pin closed at the fly, so that all of the seam allowances are facing you. Using a ruler, draw a straight line along the ends of the waistband to align with your fly; this is your sewing guide.

Sew along this guide, trying to get as close as possible to the edge of your fly without actually sewing it. Trim your seam to about 3/8″, and cut off an angle along the top corner.


The trickiest thing about sewing your waistband is getting an even, squared off line of topstitching around the finished corners. Use a marking tool if it will help you know where to stop sewing. From the outside, pin your waistband closed, making sure the folded edge of the facing is laying flat inside your jeans.

We are going to start sewing on the left side of the jeans just above the fly topstitching. The facing can be a little fiddly here so pin as necessary to make sure it lays flat. Start sewing about 1/8″ away from the edge and backstitch to secure. This part is highly visible so take your time.

Continue sewing all around the entire perimeter of the waistband about 1/8″ from the edge, making sure you are catching the facing with your stitching (I try to hold the facing in place with my fingers while I’m sewing). This is a great time to pull out your edge-stitch foot. Try to do this in one step since it’s really obvious when you start a new line of topstitching over an old one. When you get to a corner, keep your needle down, raise the presser foot, turn the fabric and continue sewing. At some point you will have the bulk of the fabric on the right side of the needle which is a little annoying. Stitch slowly at this point and try to keep your stitch straight. When you get to the very end, backstitch to secure.


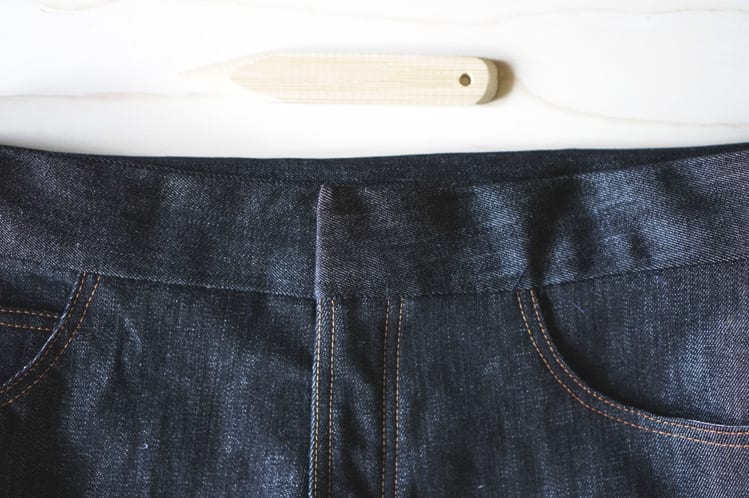
Your waistband is now done!
Next up: back pocket placement and topstitching!
Related posts:
- GINGER SEWALONG PT 10: SEWING SIDE SEAMS & BACK POCKETS
- GINGER SEWALONG PT 12: BACK POCKET PLACEMENT
- GINGER SEWALONG PT 13: BELT LOOPS, HEMS & BUTTONHOLE