
Tessellation Sew Along – Week 5

Welcome to week 5. as we sew up the Tessellation quilt pattern by Alison Glass and Nydia Kehnle. This week’s block is nearly the same as last week’s, so let’s make quick work of it!
Every Monday, I will post a quick photo tutorial for each week’s block for those of you that are new to foundation paper-piecing (however, you will still need to purchase the pattern in order to complete the quilt – I will not be providing any templates on my blog).
If you are sewing along, feel free to post your progress photos on your preferred social media (Instagram, Twitter, Flickr, etc.) and use the tag #TessellationSAL and #alisonglass so we can see what you’re making!
The schedule:
- July 14 – Get your pattern (and optional triangle ruler) here. Select your fabric, and begin by cutting all ‘A’ triangles.
- July 21 – Assemble all ‘B’ triangles.
- July 28 – Assemble all ‘C’ triangles.
- August 4 – Assemble all ‘D’ triangles.
- August 11 – Assemble all ‘E’ triangles.
- August 18 – Assemble all ‘F’ triangles.
- August 25 – Complete the quilt top. I’ll share some ideas for quilting.
- September 1 – Enter your completed quilt top to be eligible for PRIZES!!

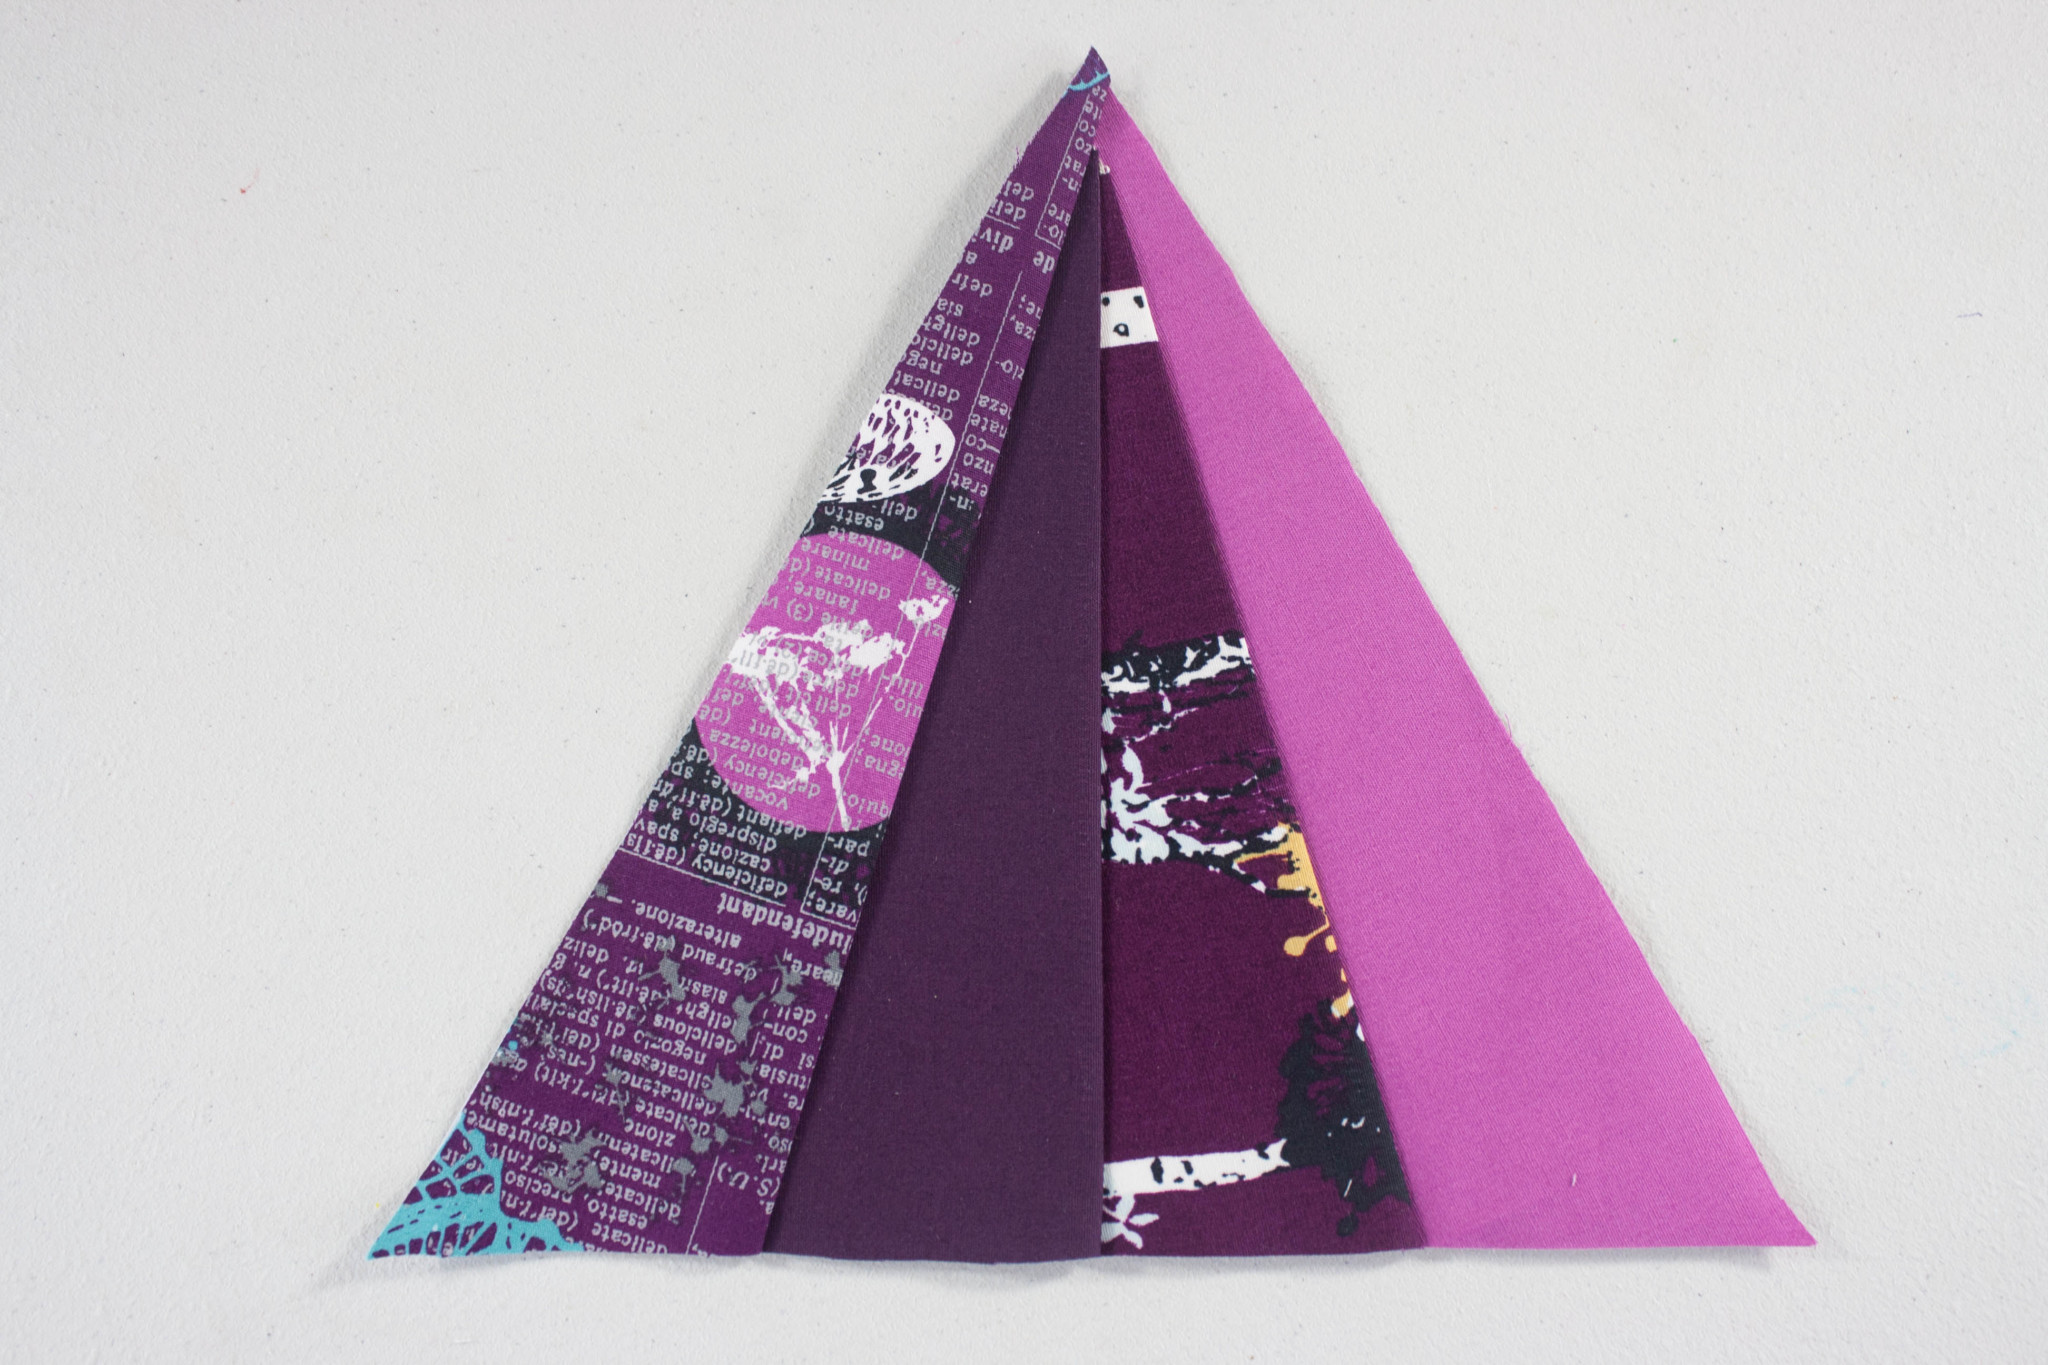
This week, we are working on all of the ‘E’ triangles, which are nearly the same as last week’s, except 1 extra fabric.

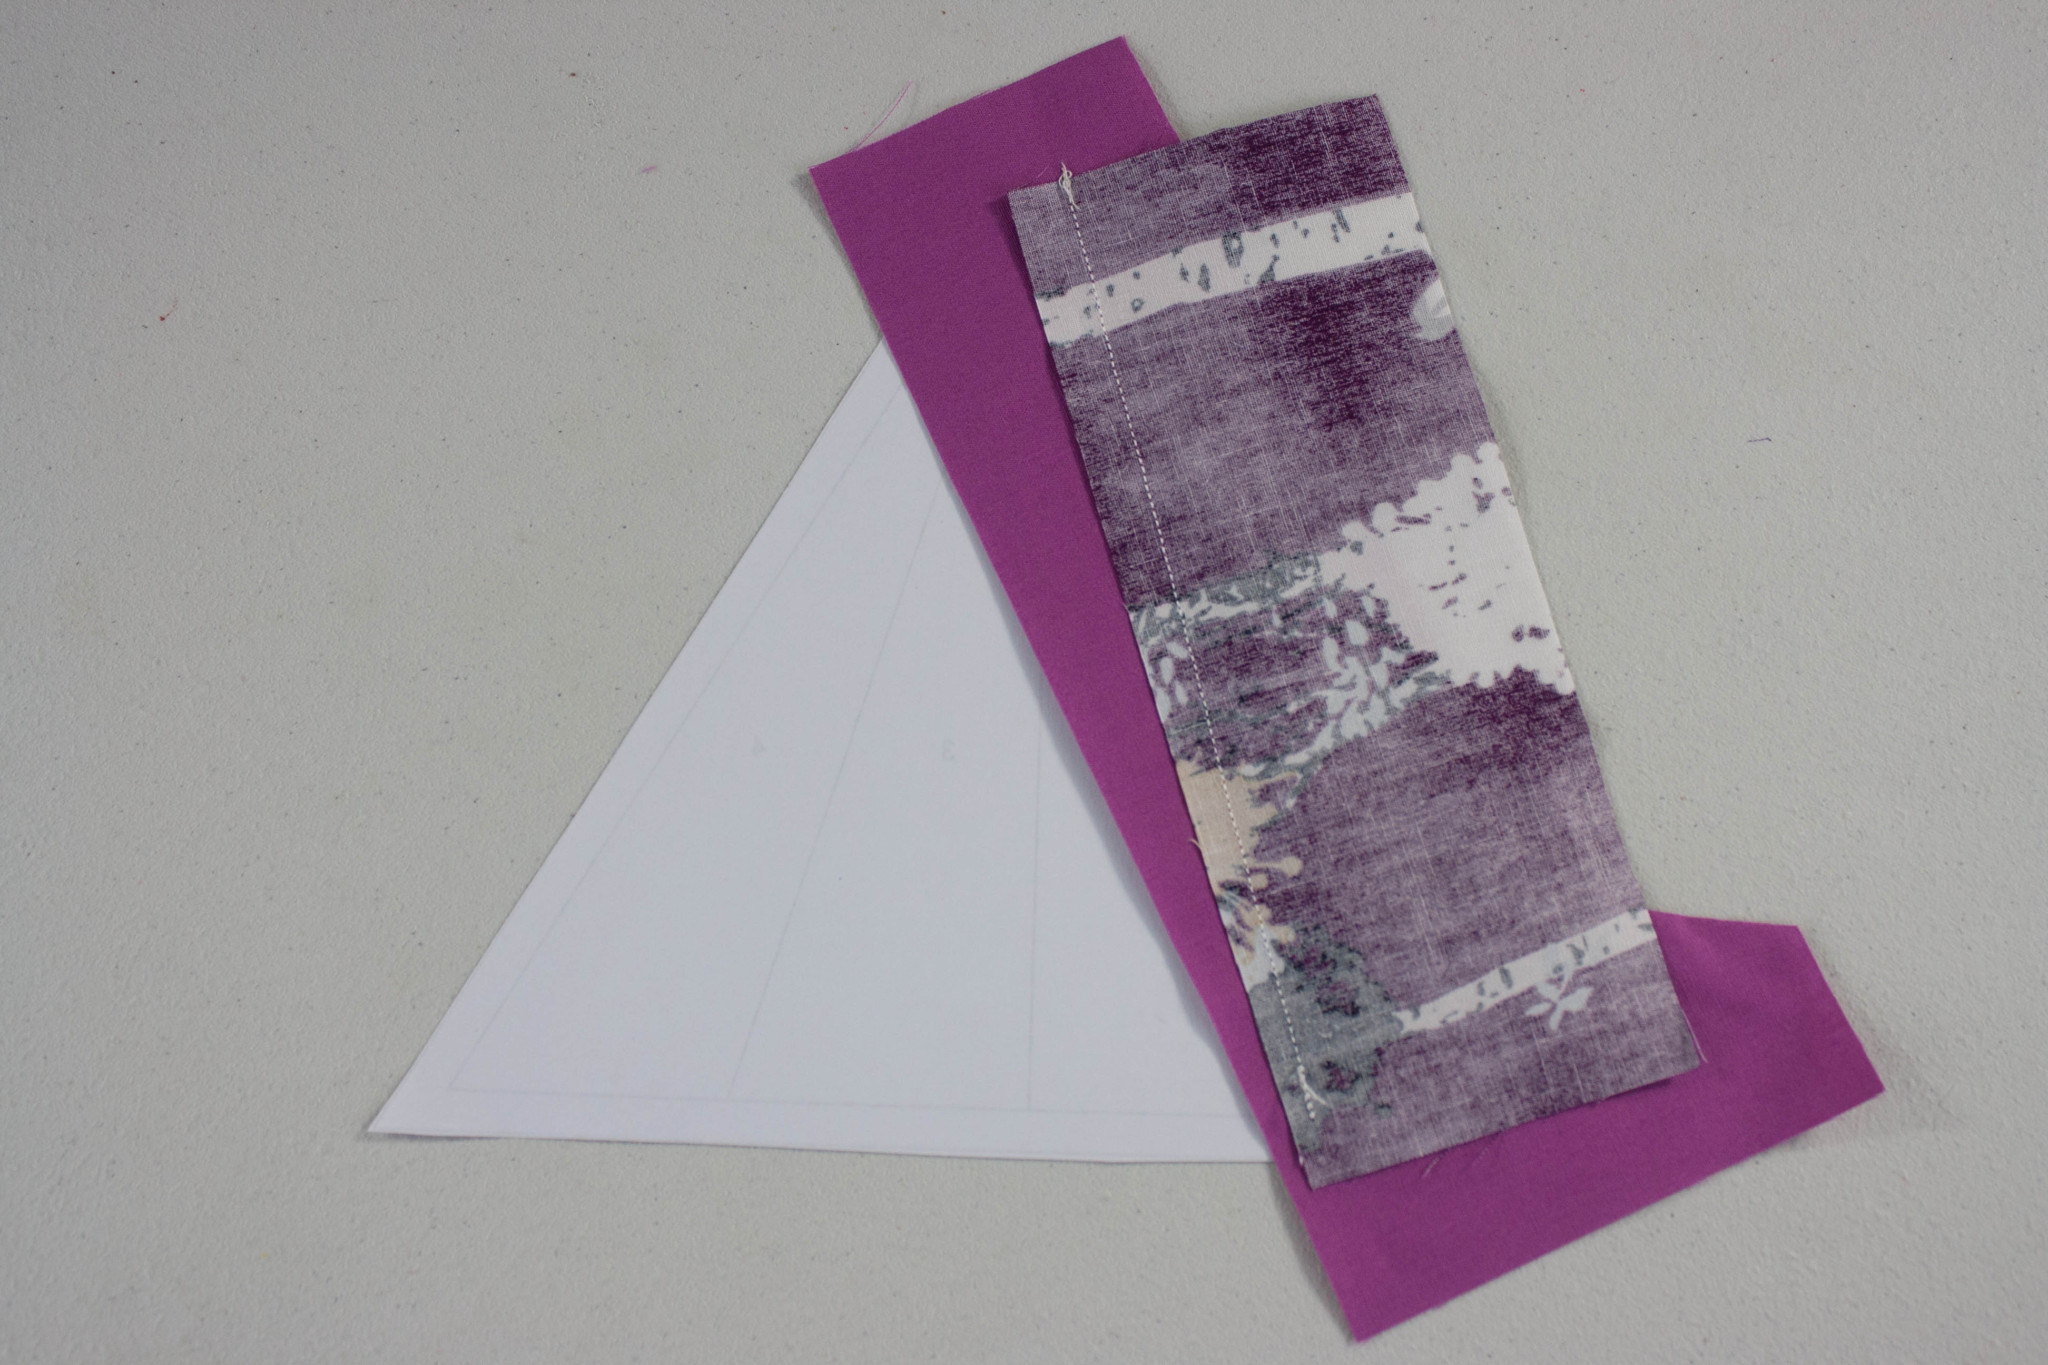
First, I placed my fabric #1 and fabric #2 right sides together, making fabric #1 covers segment #1 completely, and that fabric #2 overlaps the line between segment 1 and segment 2 by 1/4″. You can use your light source or fold at that line to make sure that your second fabric will cover segment 2. Sew directly on top of the line connecting segment 1 and segment 2. Trim the seam allowance to 1/4″ and press fabric 2 toward the 2nd segment.

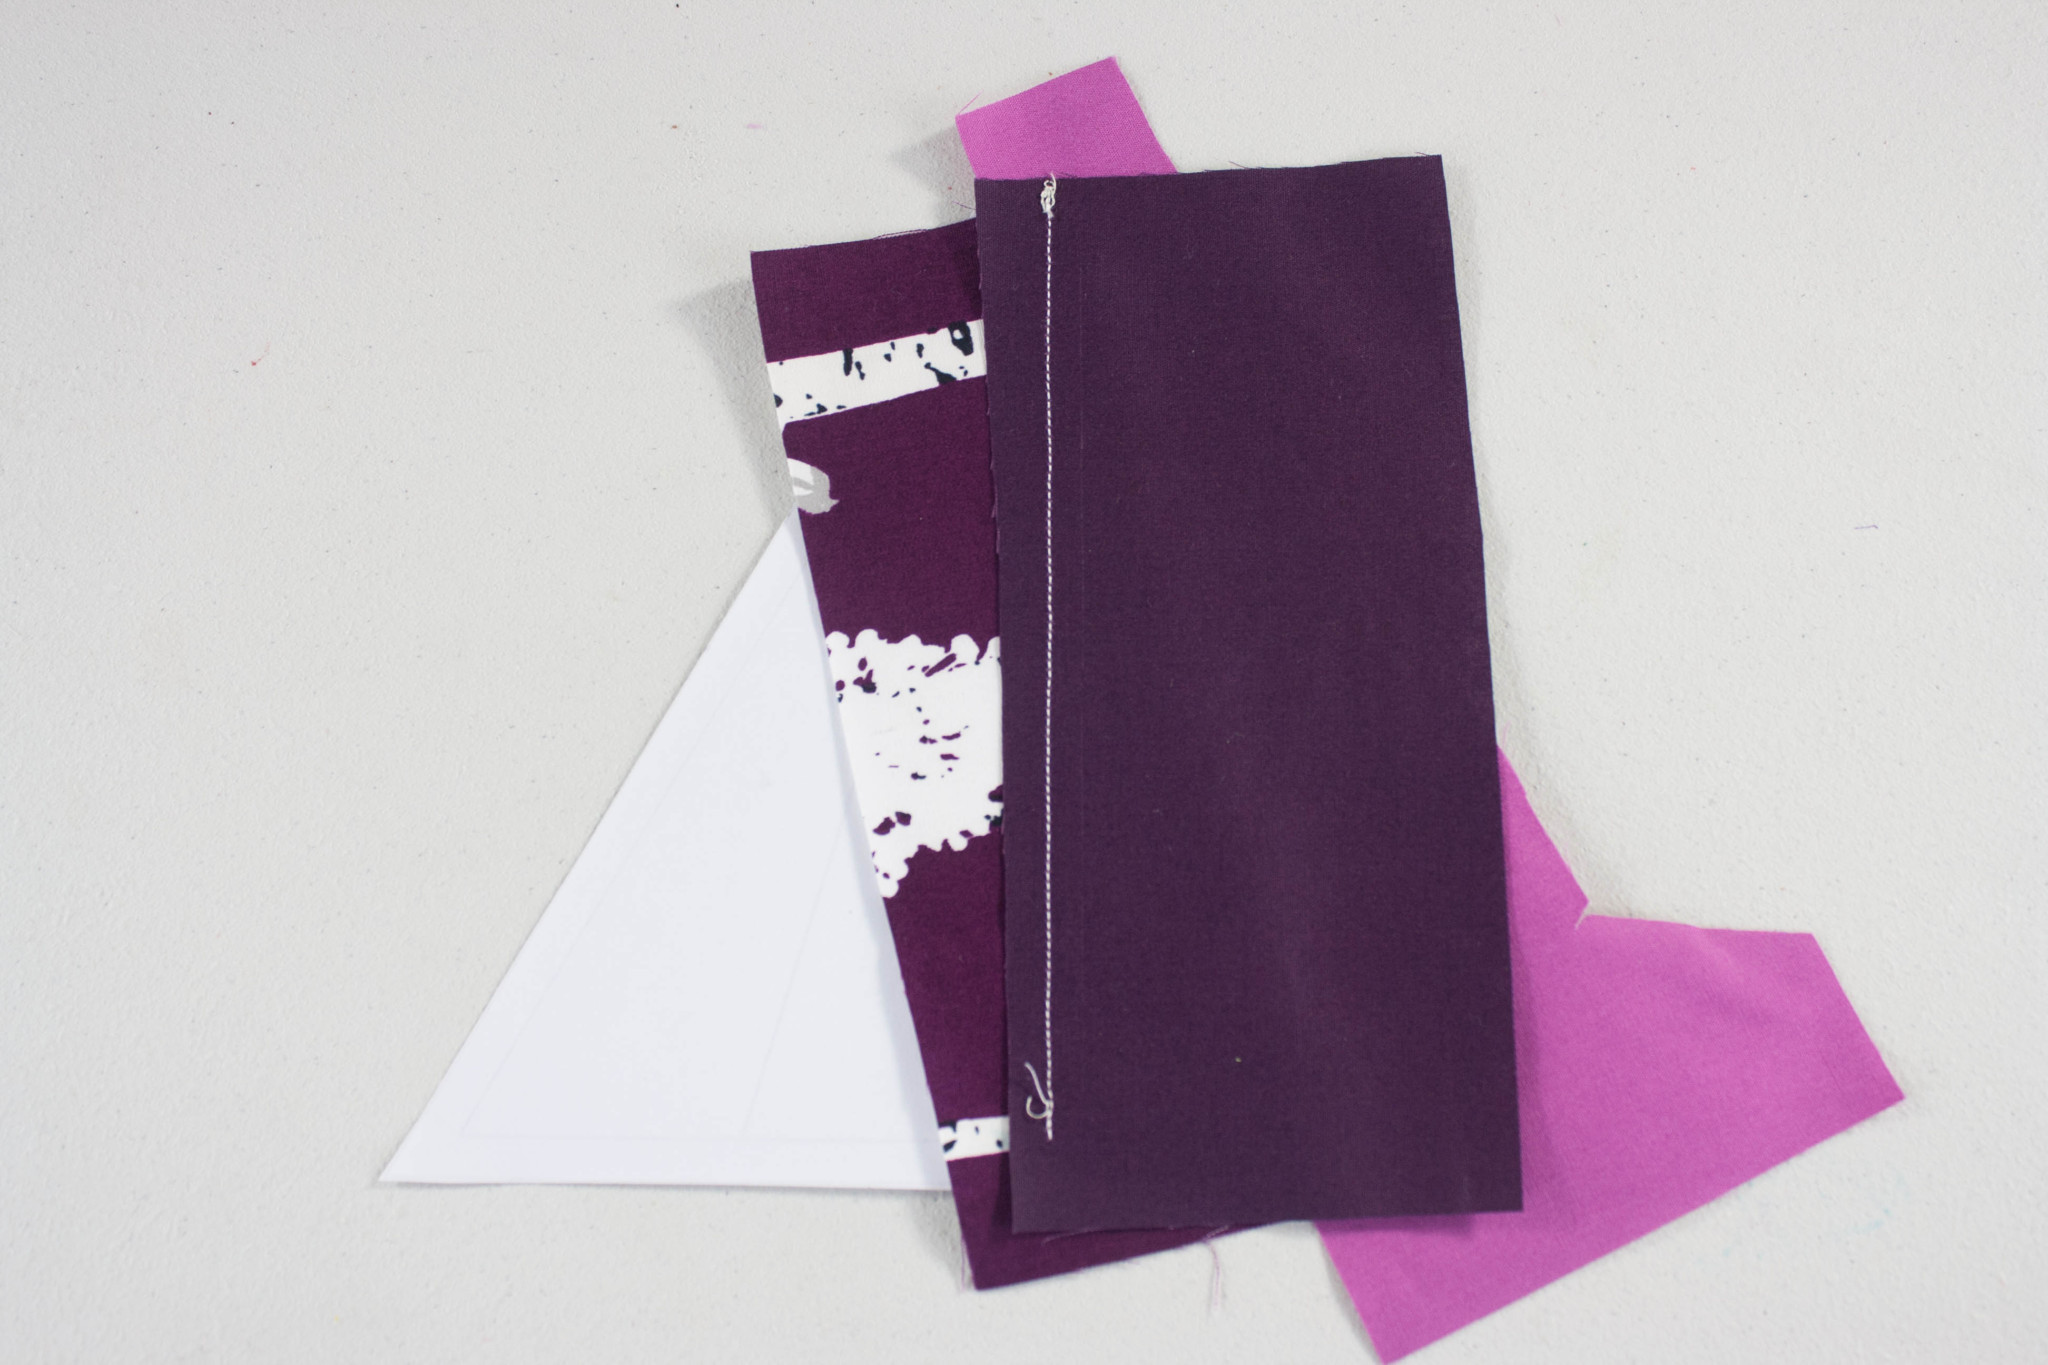
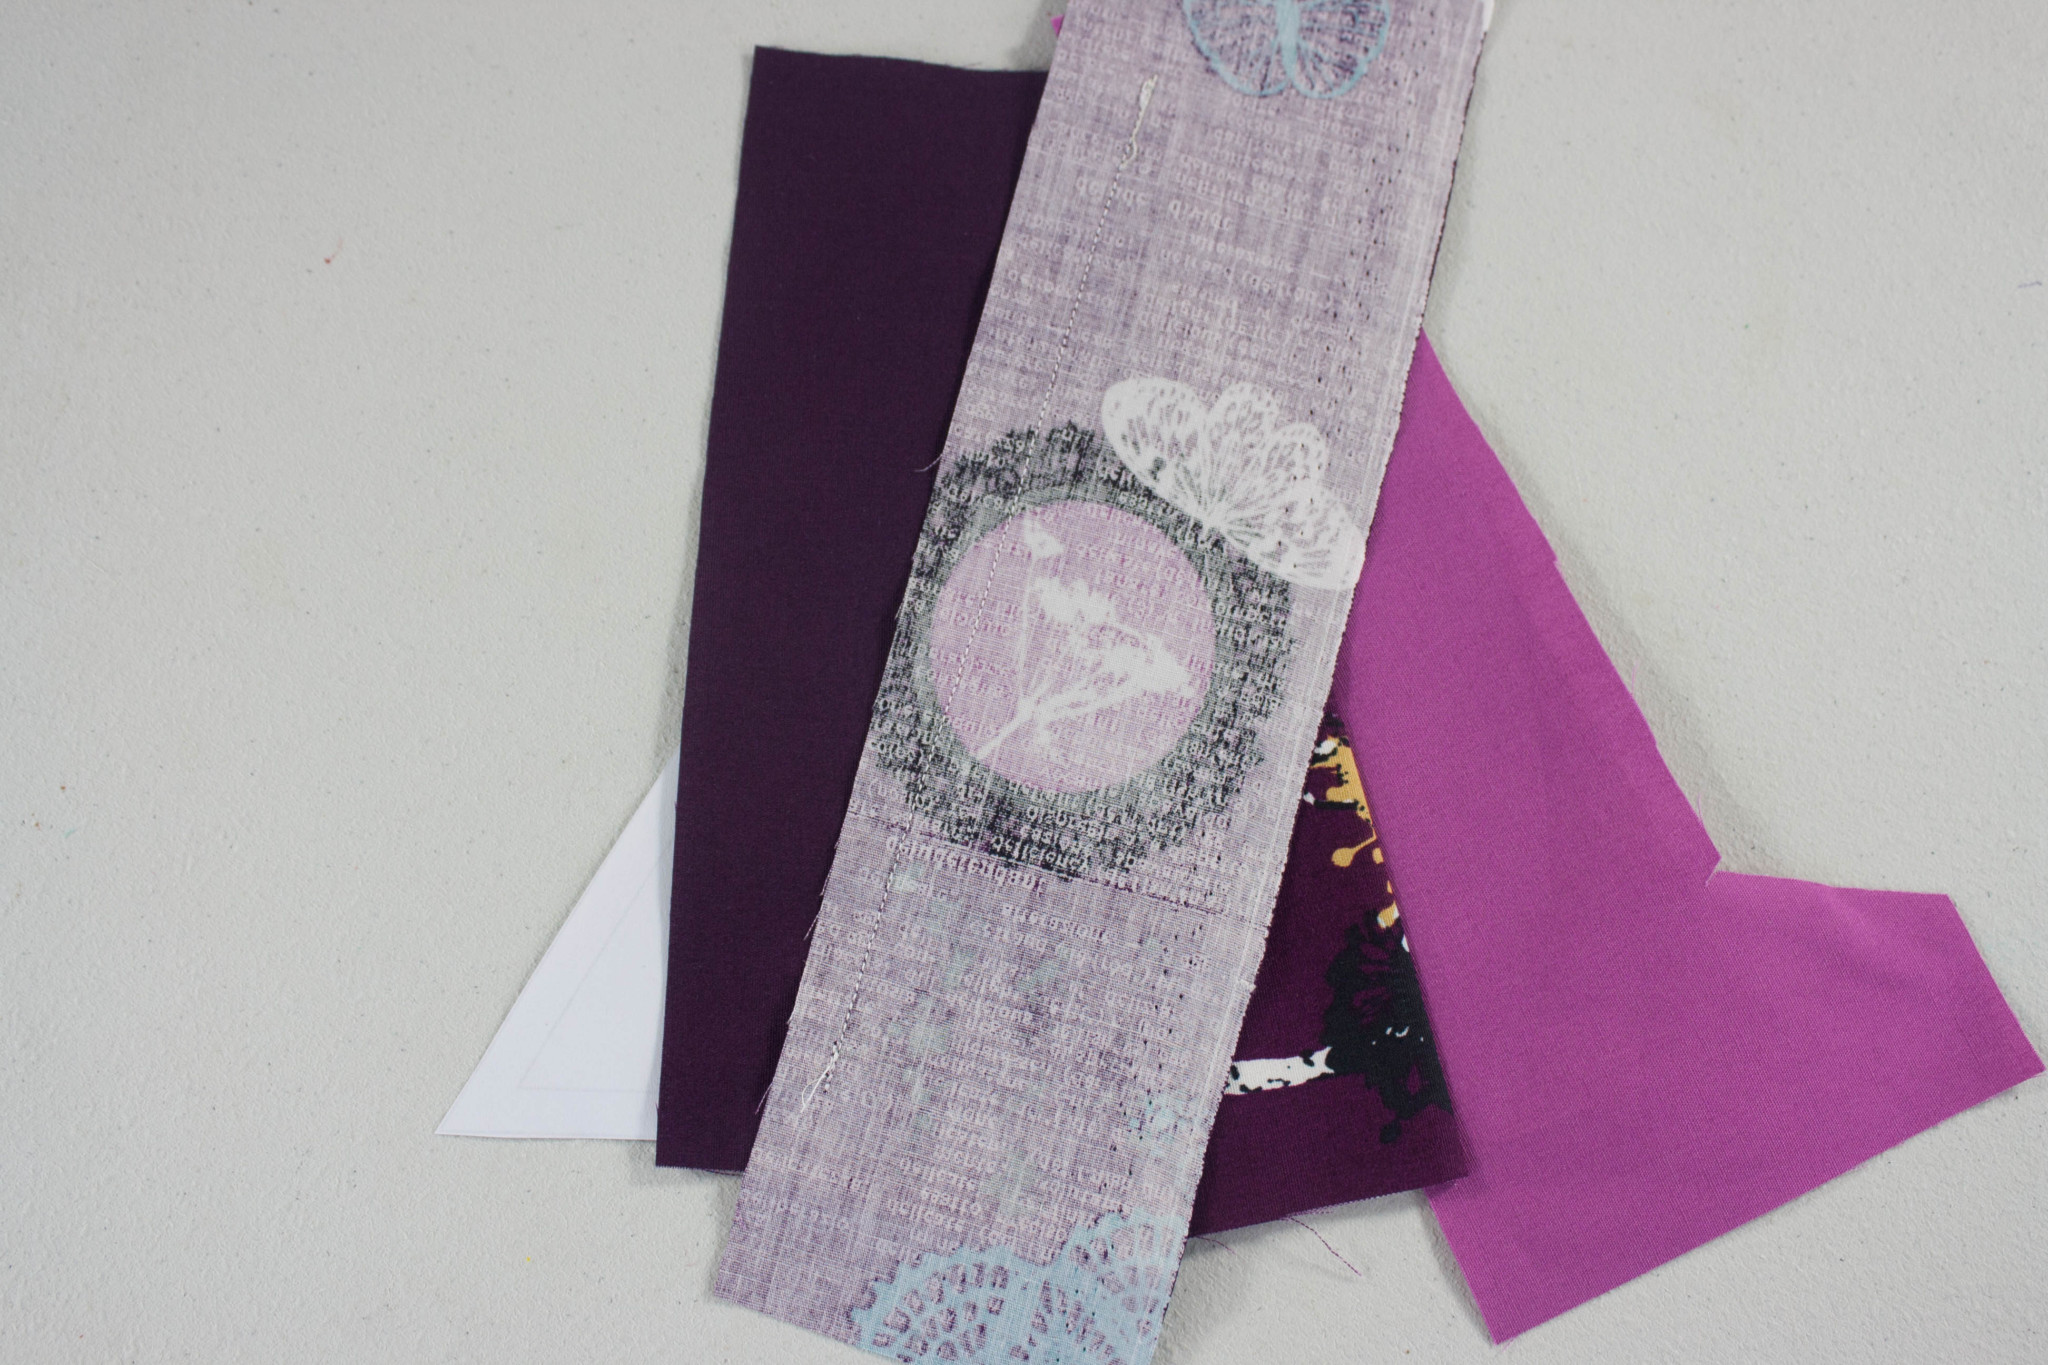
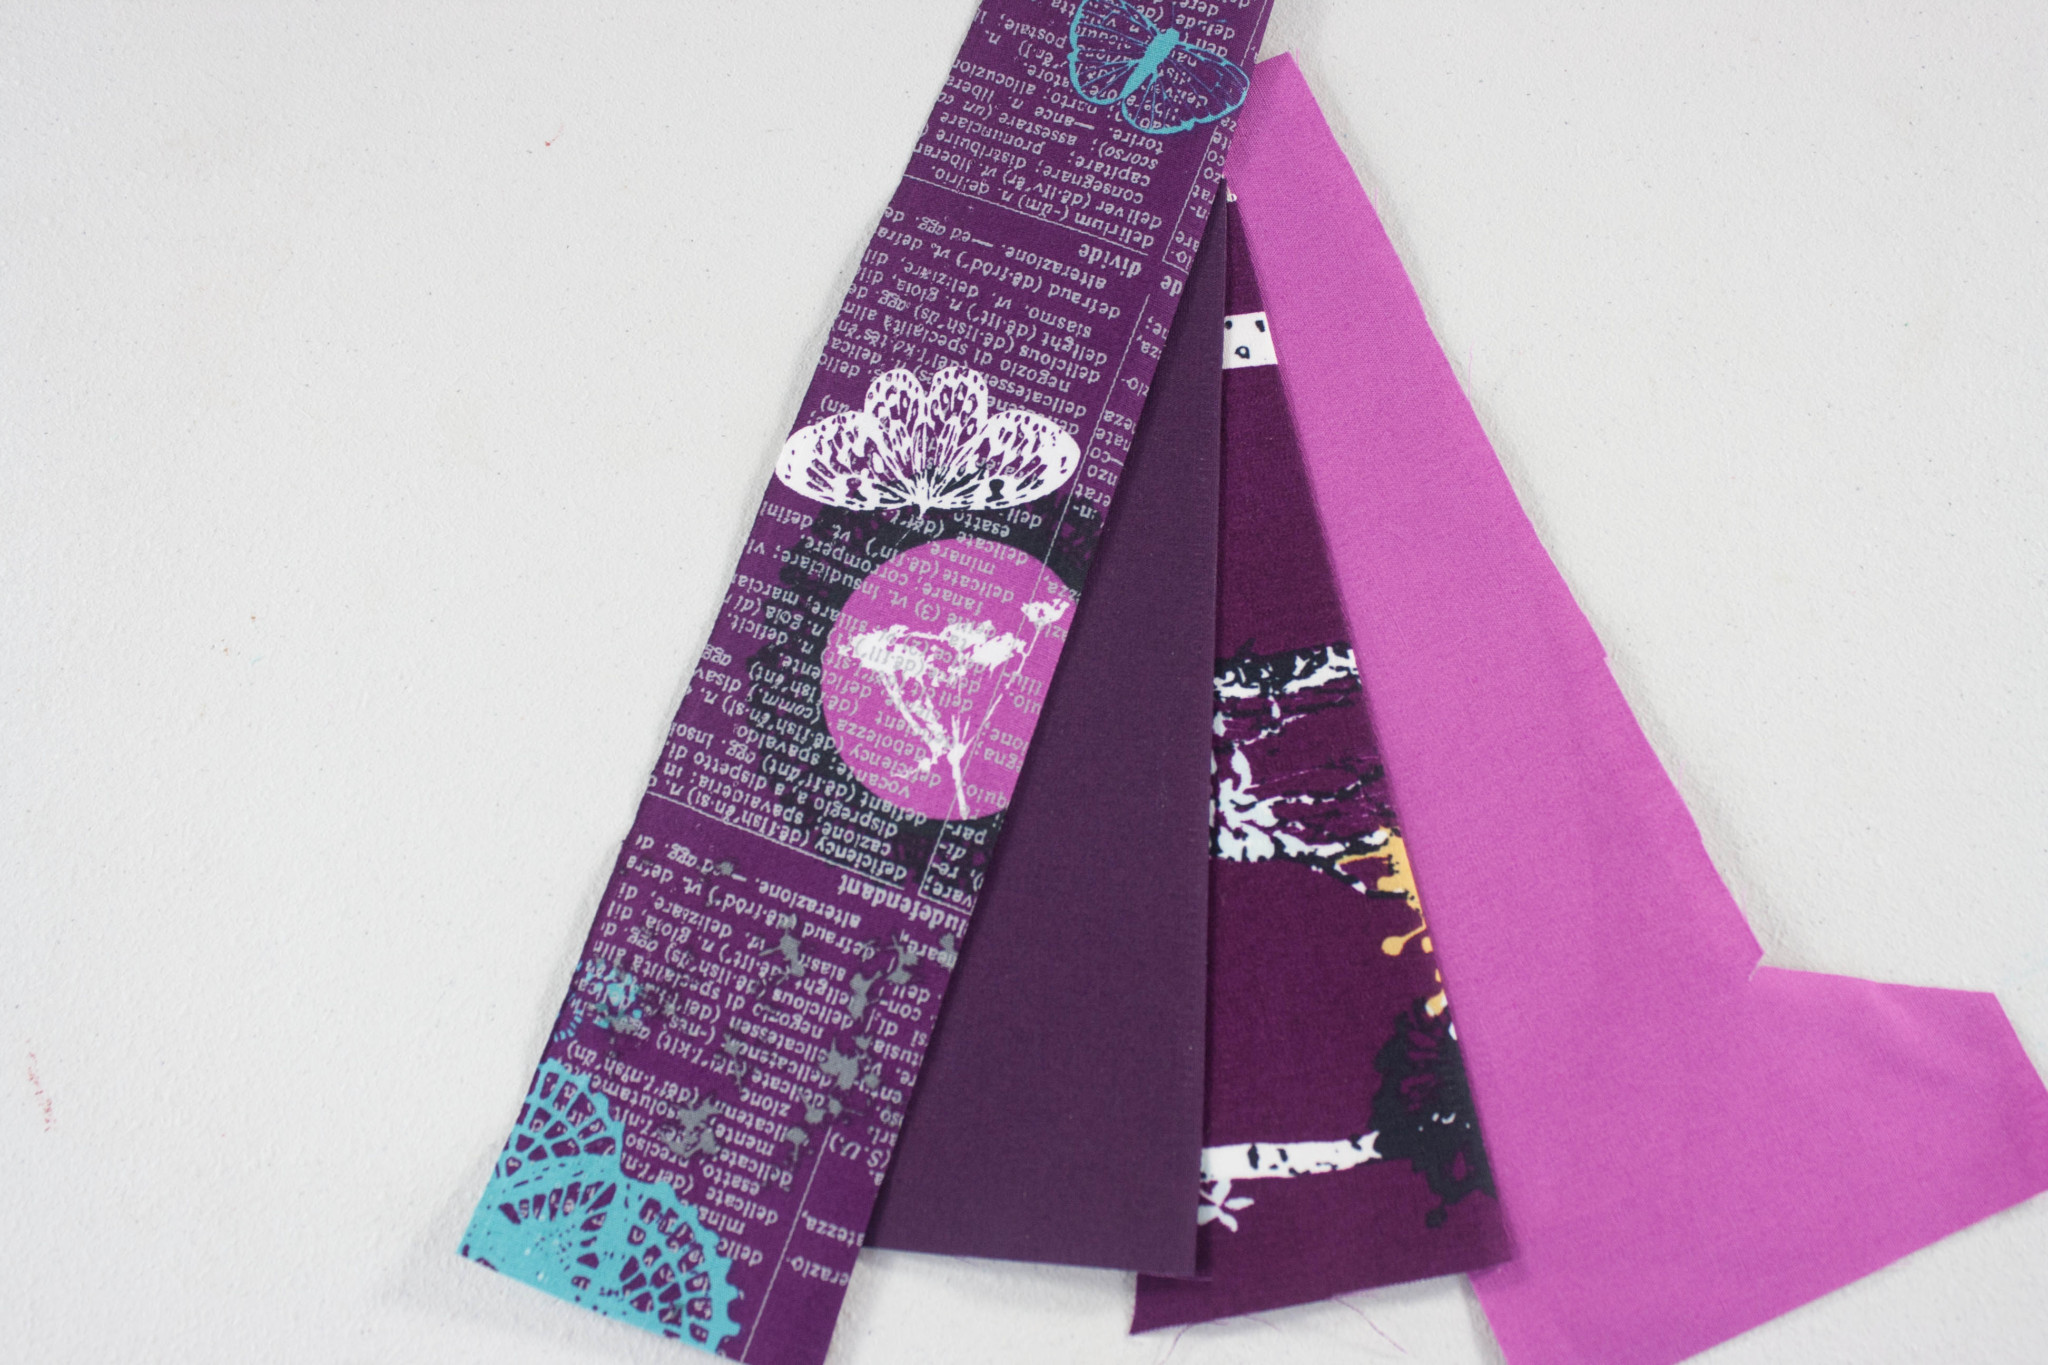
Add a 3rd fabric strip. I decided to make my ‘E’ triangles all in the same color family, going with all purples. Make sure fabric #3 overlaps the line between segment 1 and segment 3 by 1/4″. Trim the seam allowance to 1/4″ and press fabric 3 toward segment 3.


Flip to the printed side of the template, then use your ruler and rotary cutter to trim the fabric even with the paper. That’s the ‘E’ triangle!
Check back next Monday for the final triangle that needs to be completed, the ‘F’ triangle!
Don’t forget to tag your progress photos on social media with #TessellationSAL and #alisonglass !
The post Tessellation Sew Along – Week 5 appeared first on Sew Sweetness.