
Tutorial: Adjustable Strap with Swivel Clip

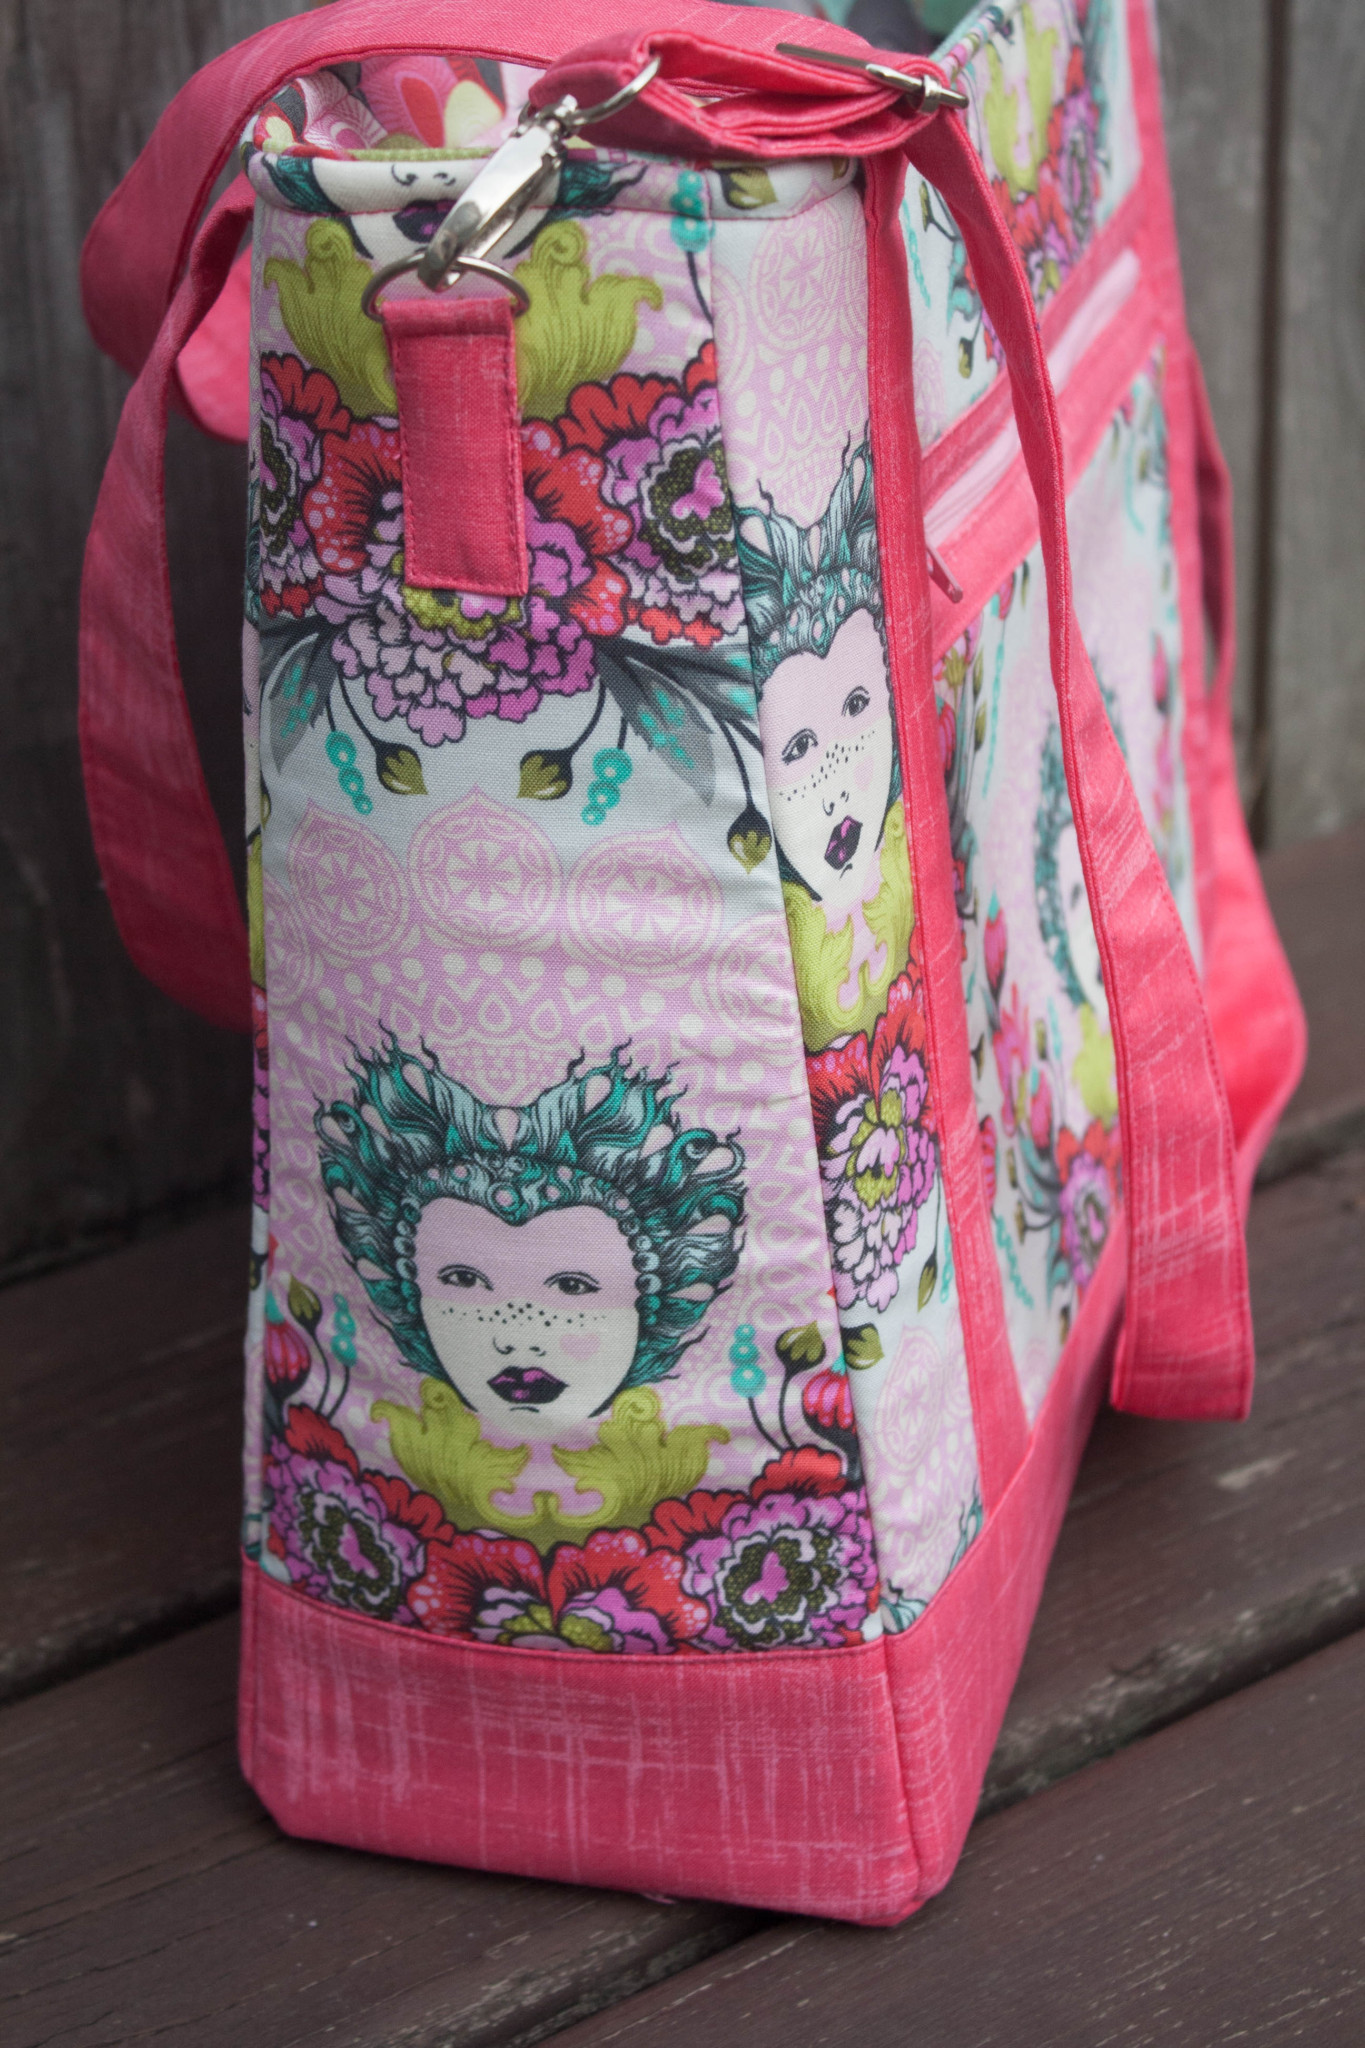
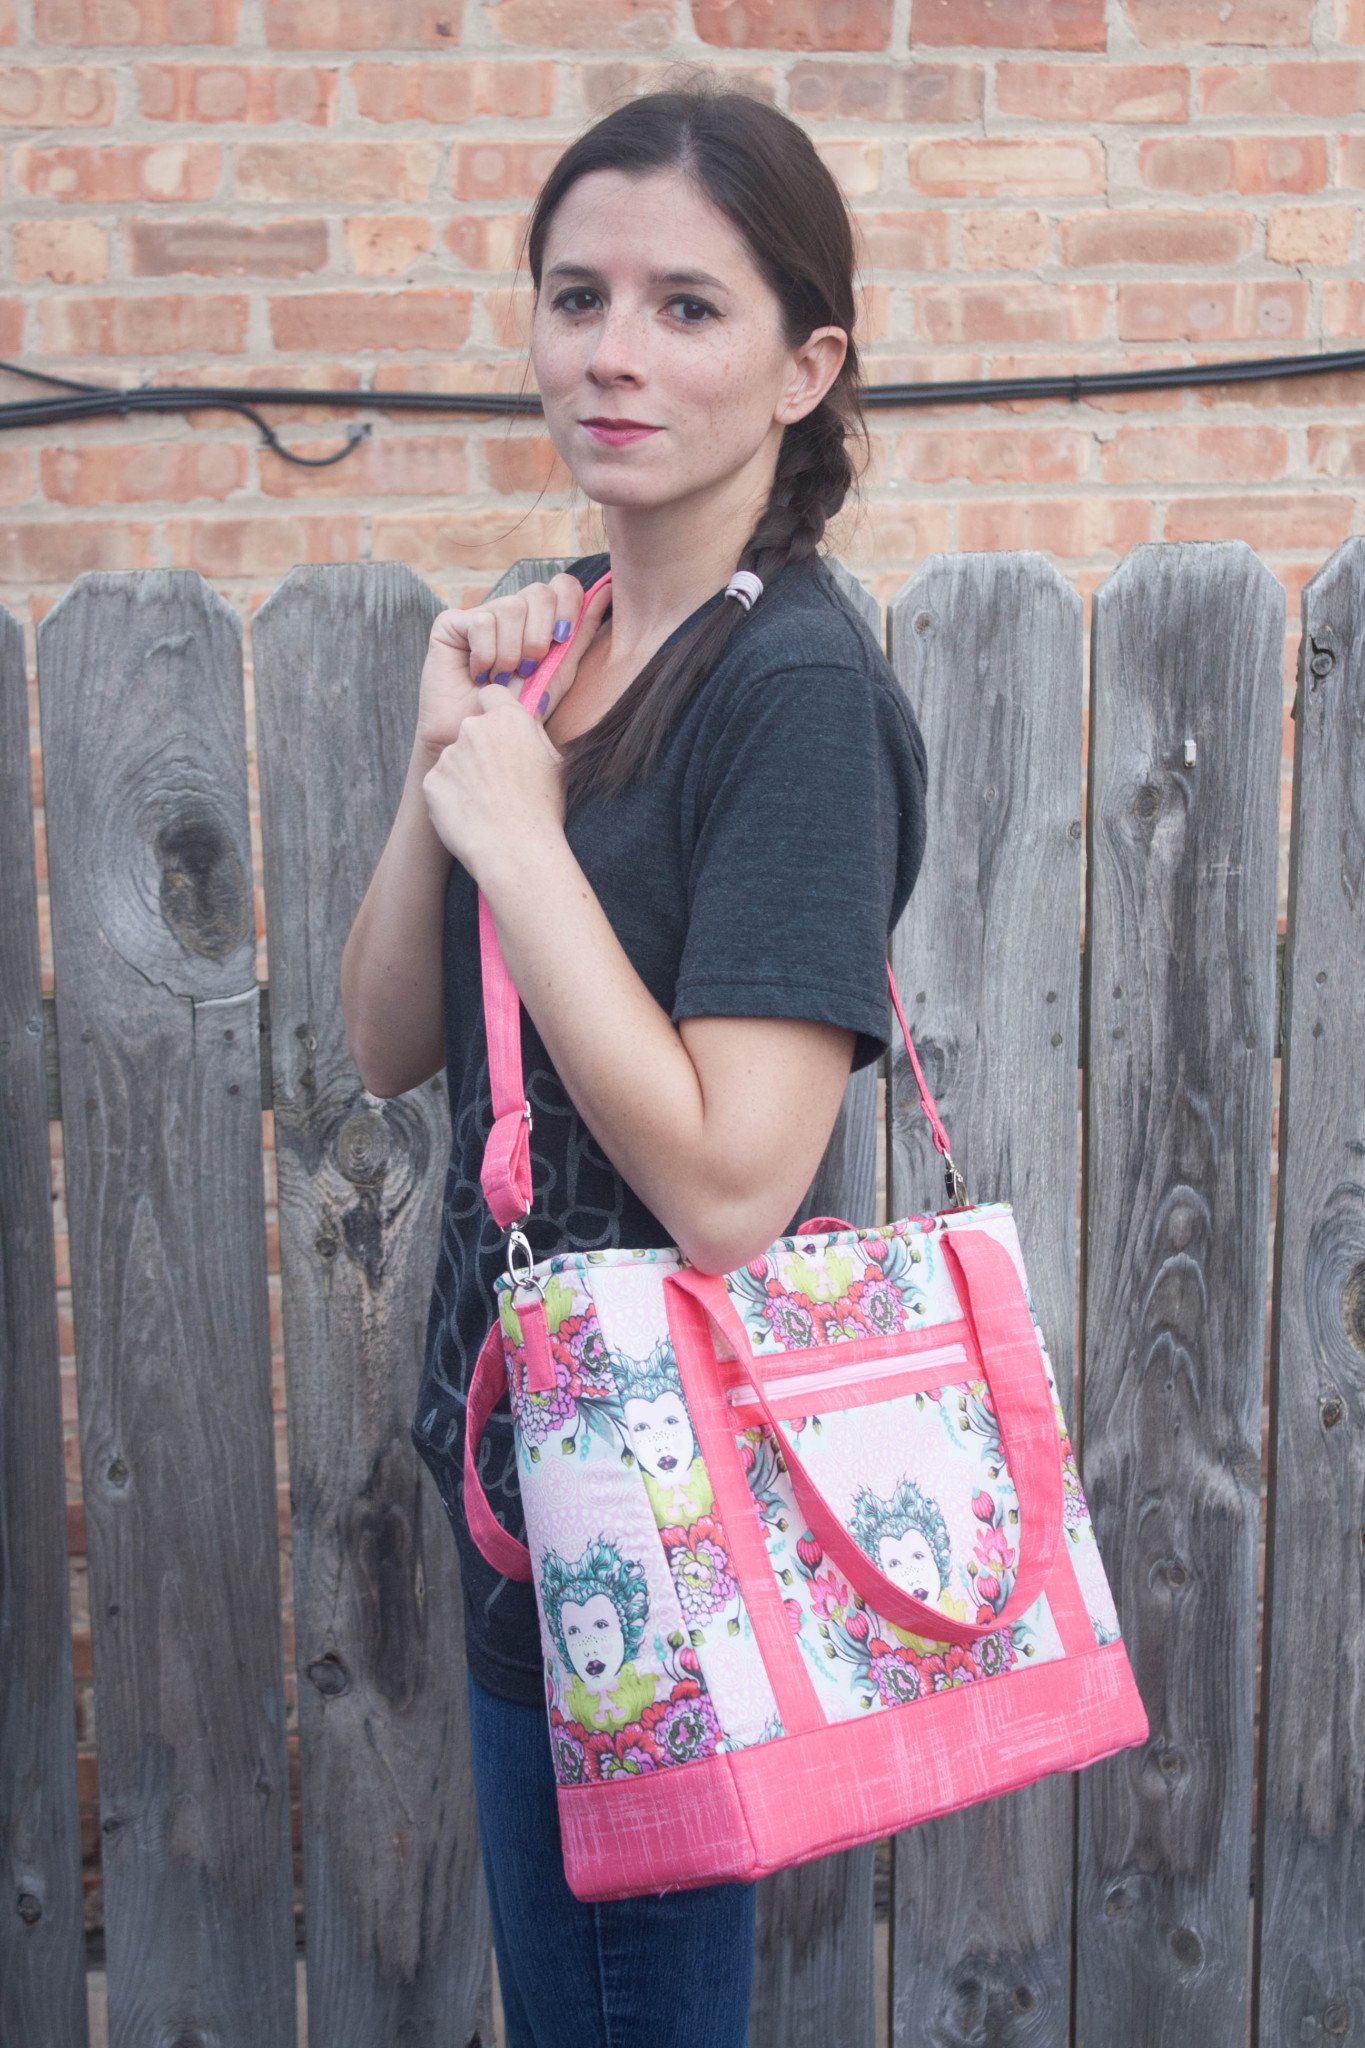
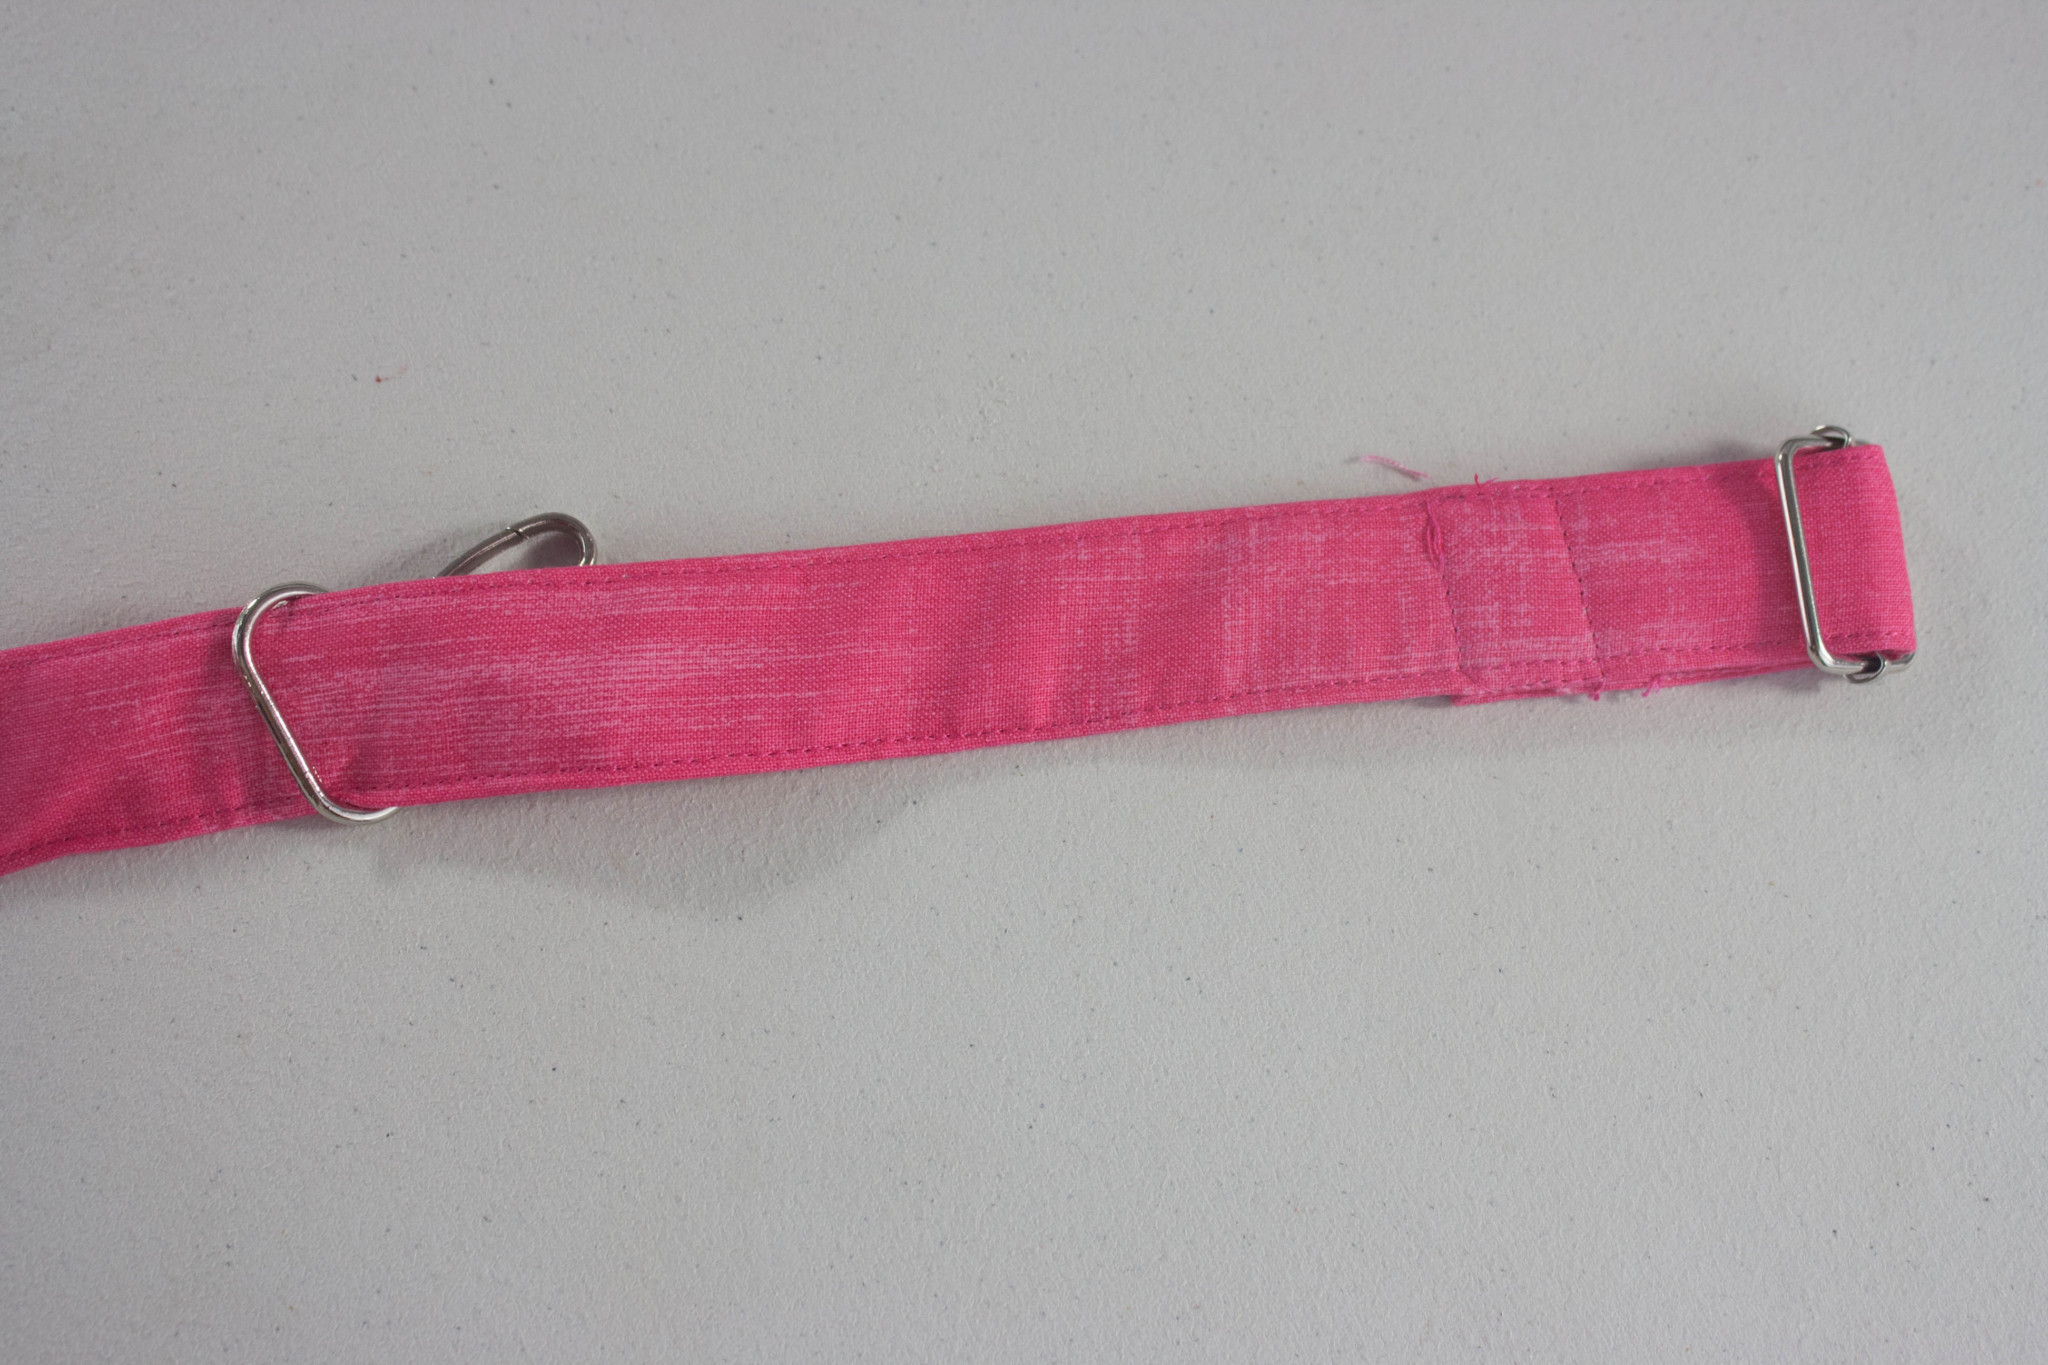
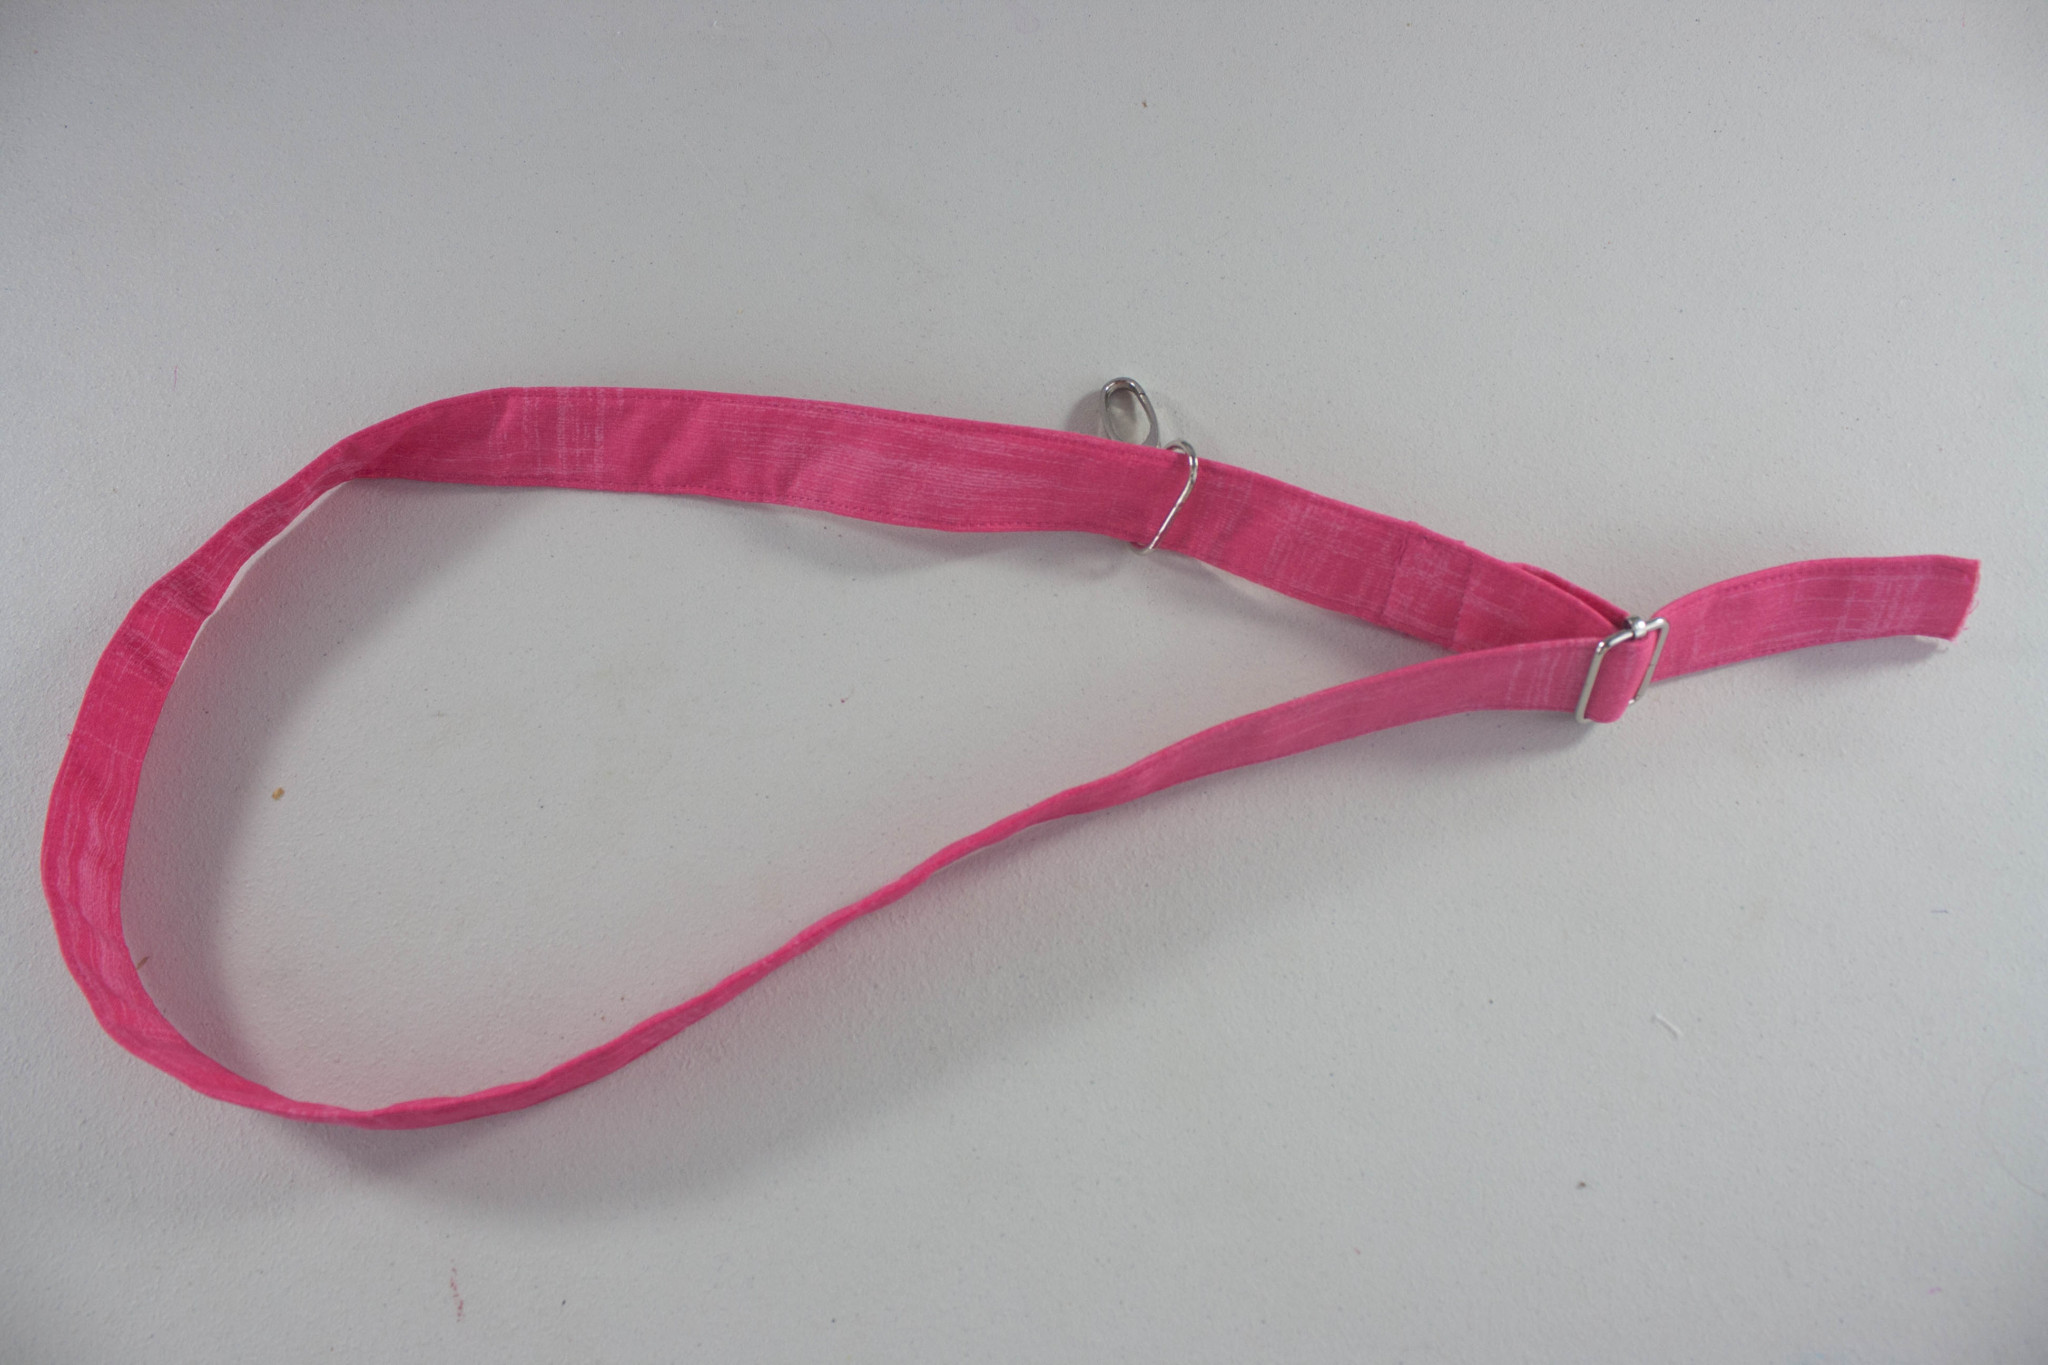
An adjustable strap is great, but what happens when you want to add an adjustable strap to a bag that has swivel clips on both ends? Today I wanted to show you how! I used this method in my upcoming pattern for the Tudor Bag. I made this version in delicious Tula Pink ‘Elizabeth’ fabrics.

Supplies Needed
- Strap Fabric (I cut mine at 4″ x the width of fabric for a 1″ wide finished strap – if you would like to end up with a 1-1/2″ wide finished strap, cut your fabric instead 6″ x width of fabric) *
- Fusible medium-weight interfacing (I use Pellon SF-101 Shape Flex fusible woven interfacing), cut to the same size as the strap. If you are going to lengthen the strap as below, make sure that you lengthen the strap as directed below *first*, and use the fabric piece to cut your interfacing.
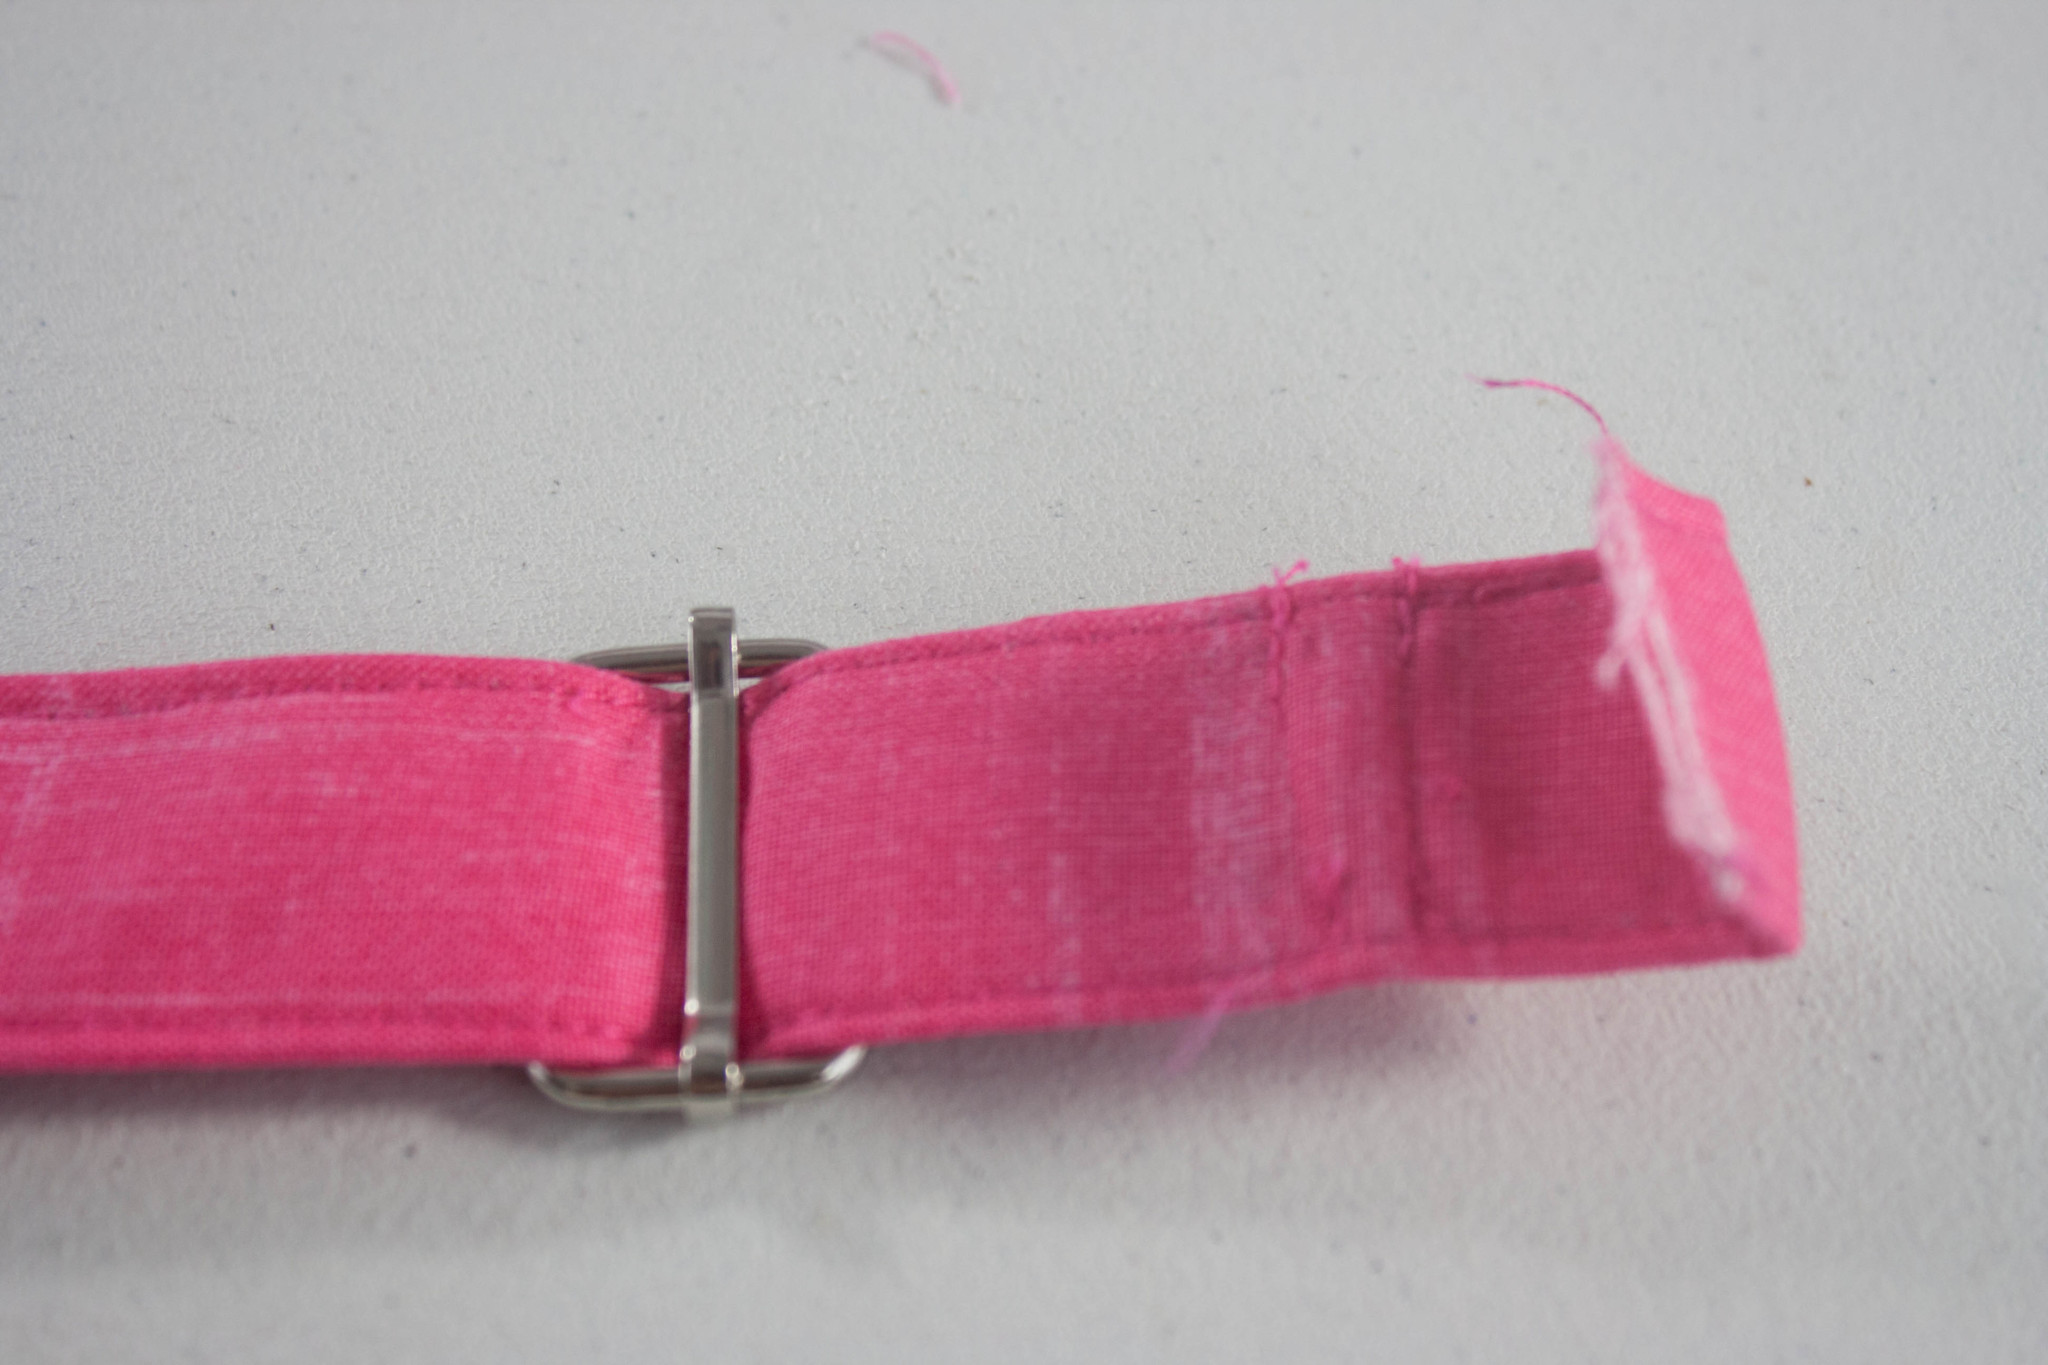
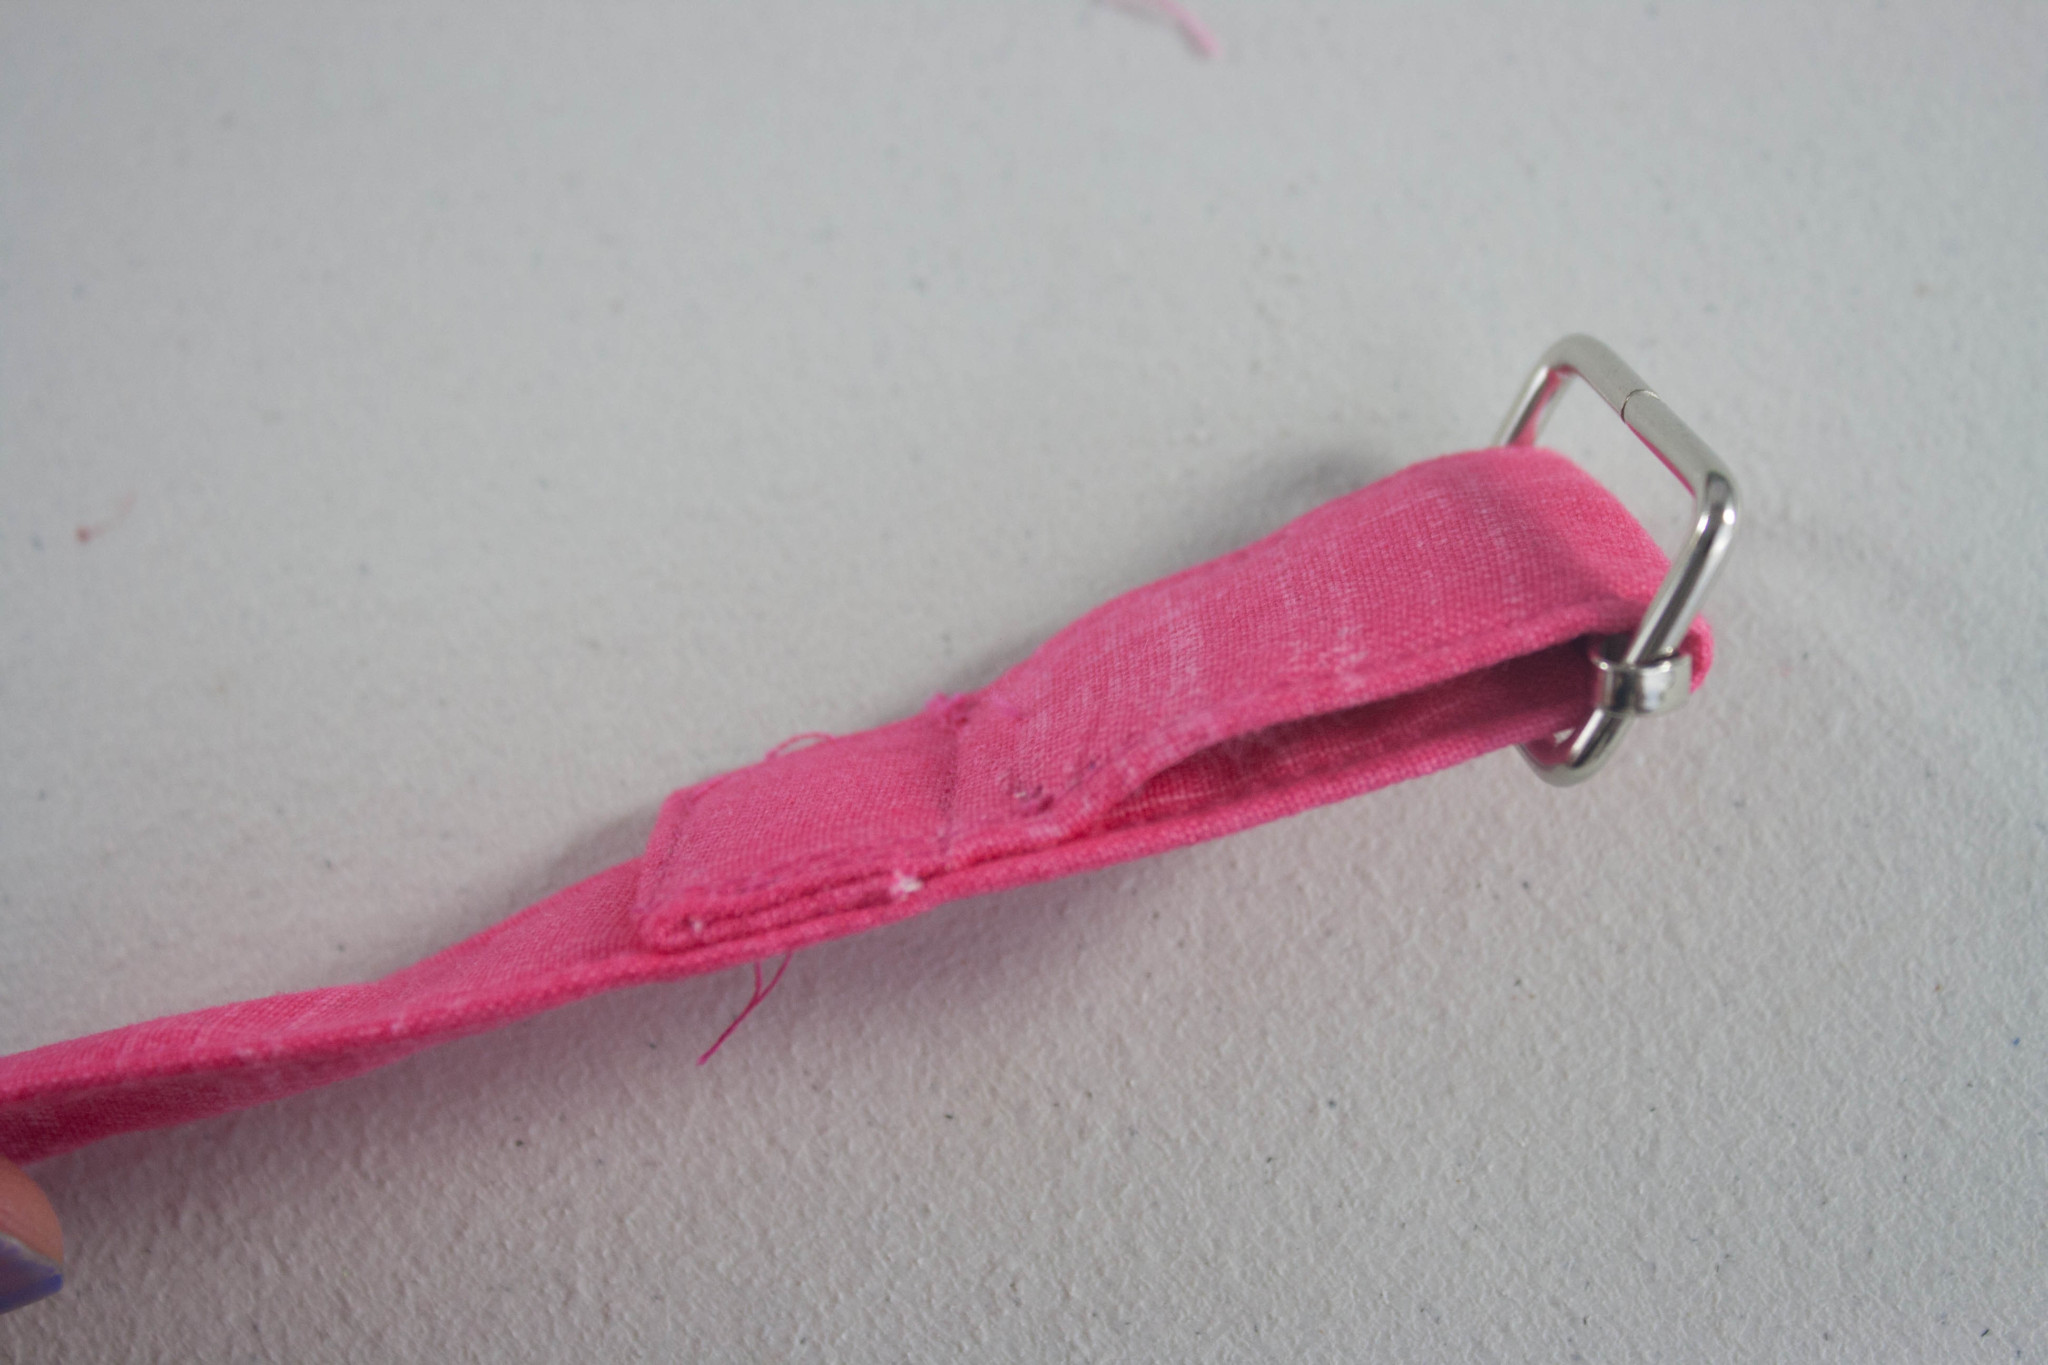
- Metal rectangle slide (either 1″ wide or 1-1/2″ wide)
- Two swivel clips (with opening of either 1″ wide or 1-1/2″ wide)
* The strap in the photo above is all the way extended. If you are tall or to accommodate a cross-body carry across a large bust (neither of which I am), you may want to extend the length of your strap. To do this, I would suggest cutting your strap fabric plus an extra piece (either 4″ x 15″ or 6″ x 15″). Sew the short piece to the width-of-fabric piece, right sides together at one short end, and press the seam open. This will give you a longer strap.
Let’s get started!
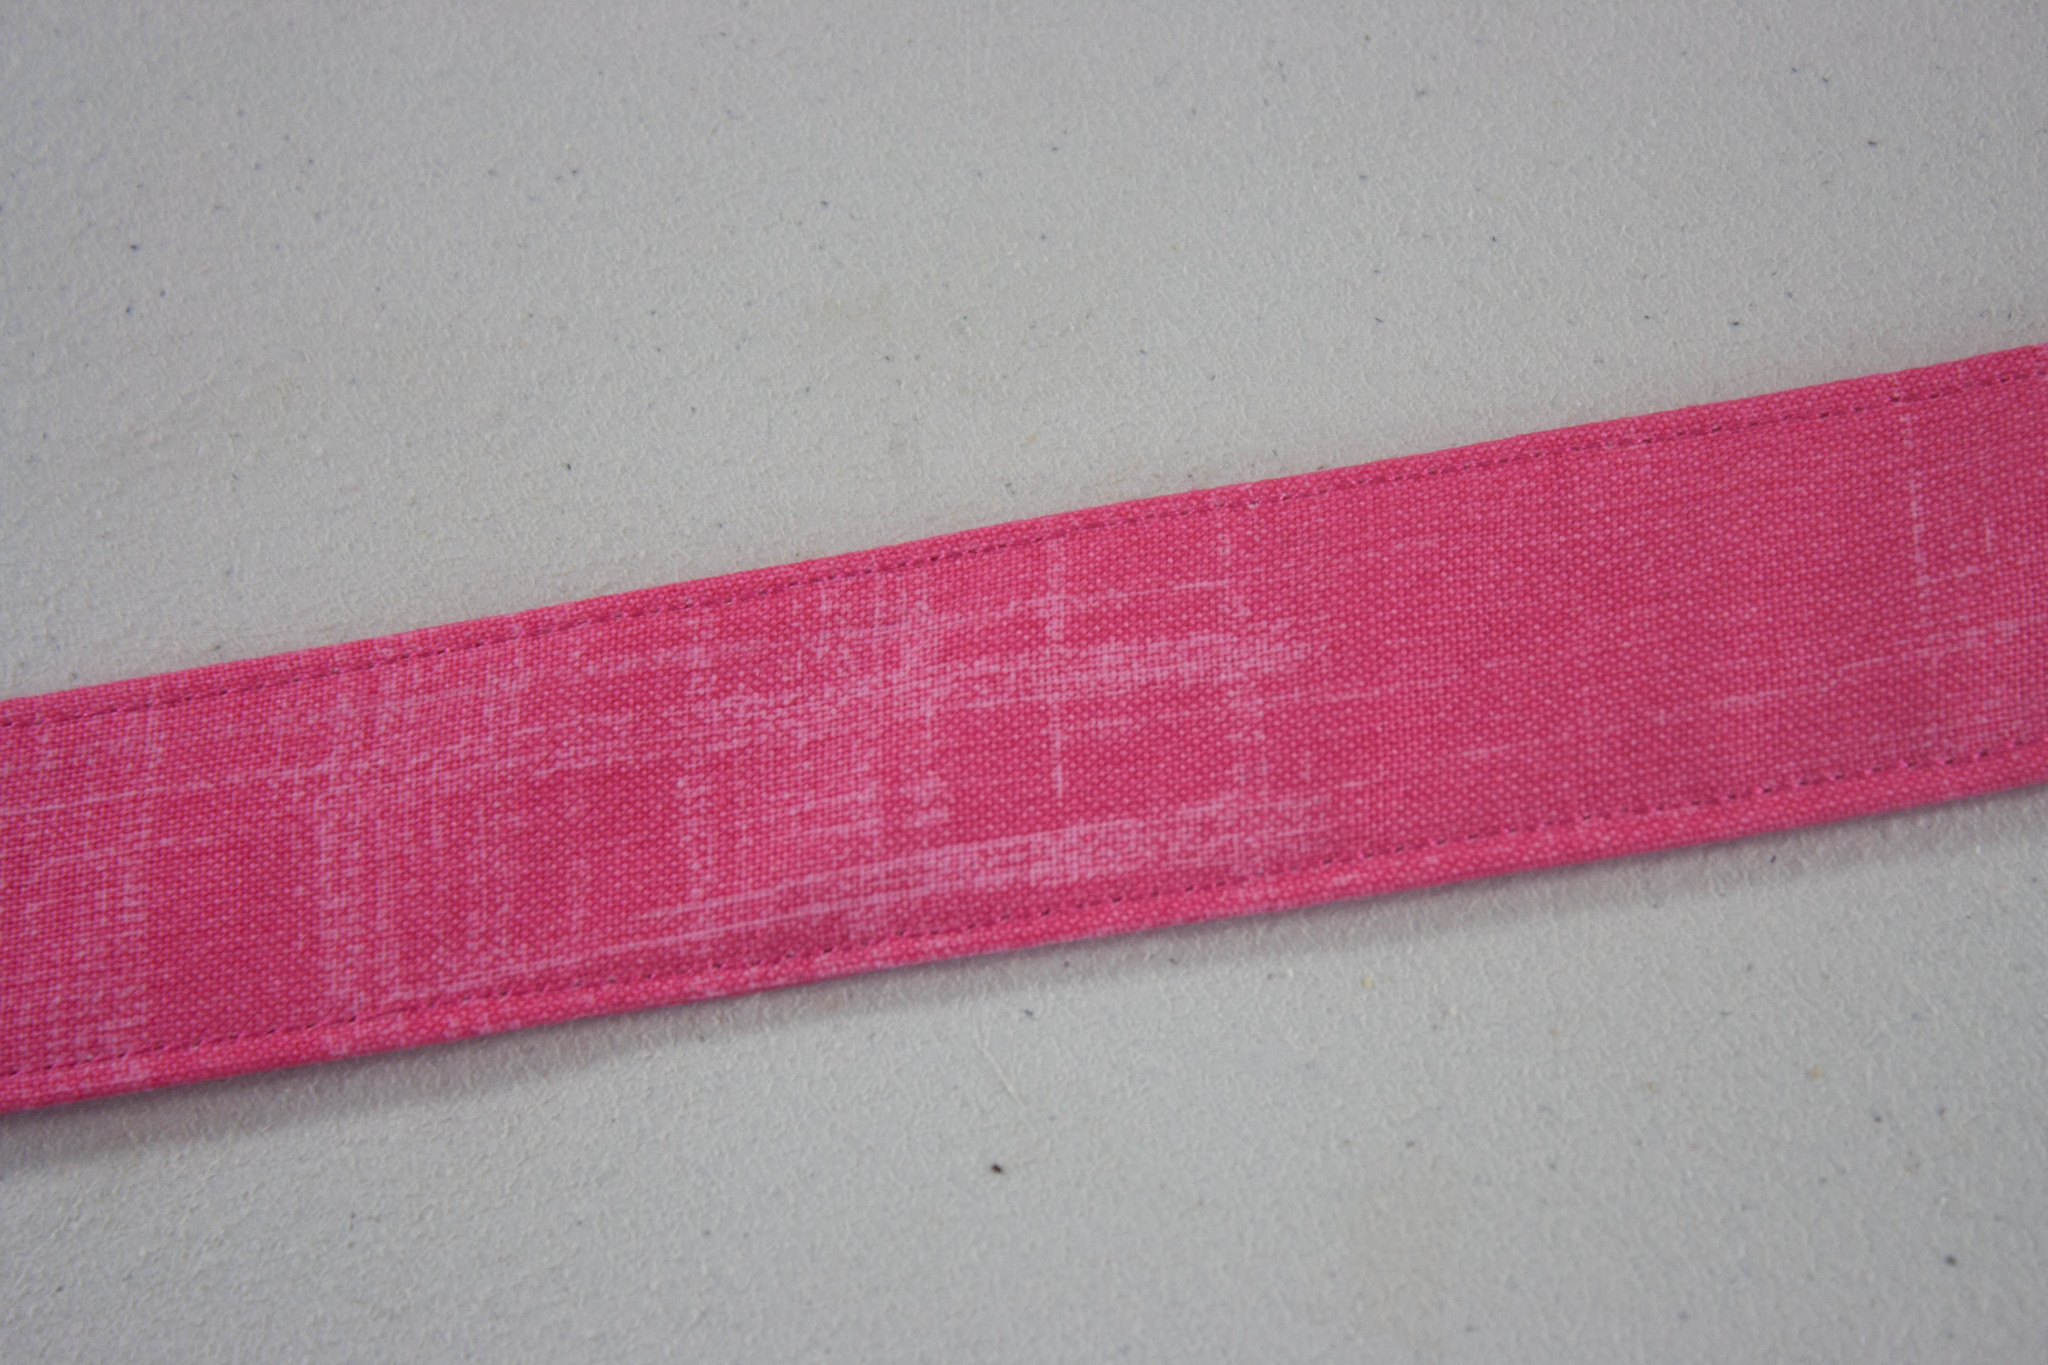
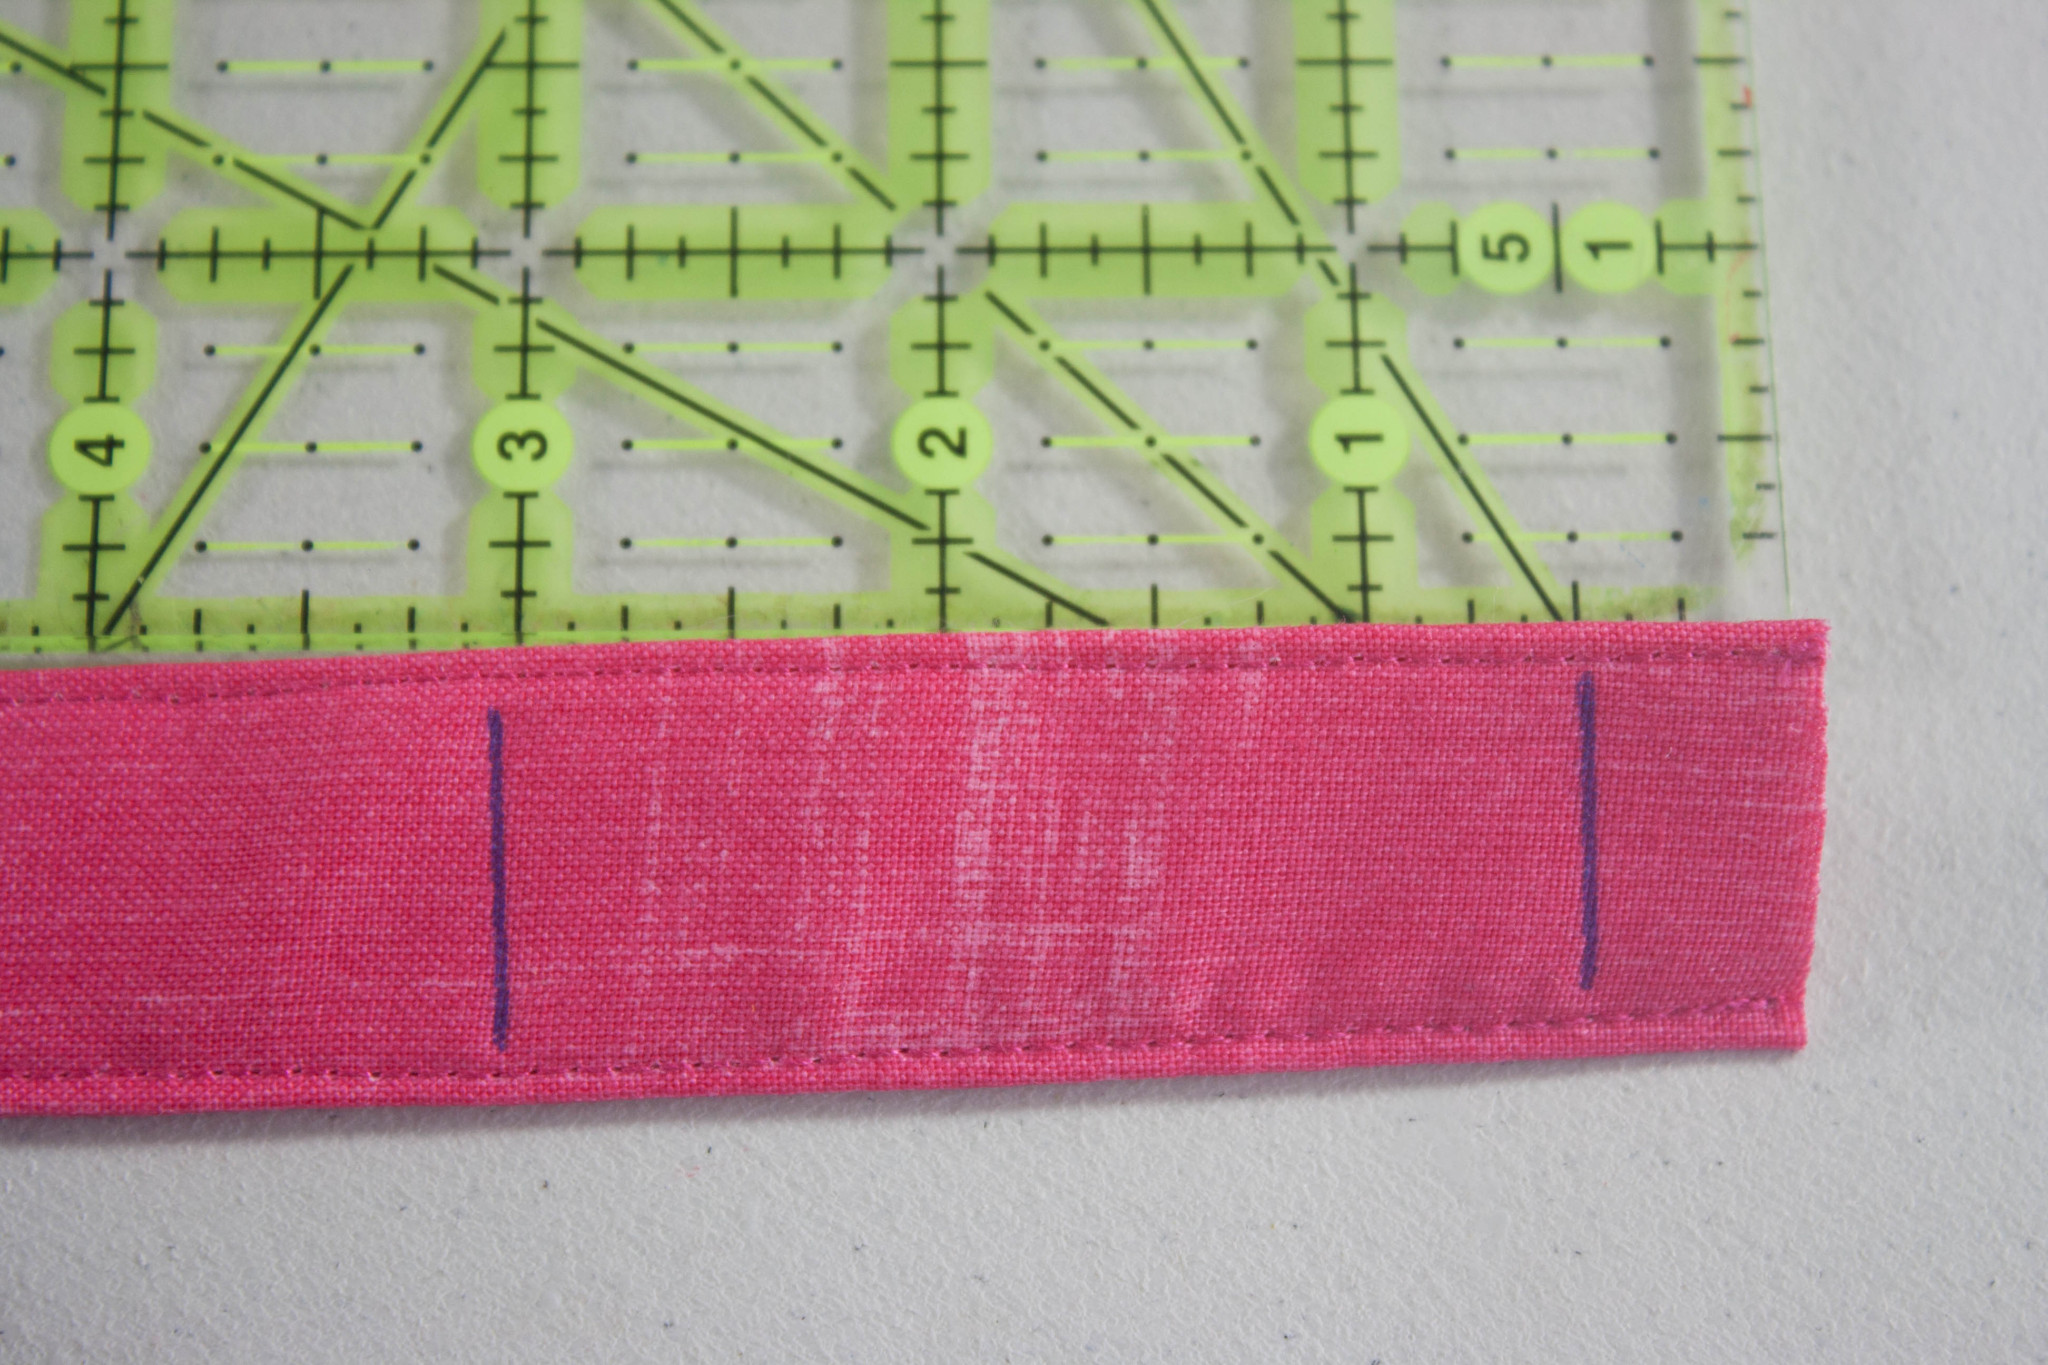
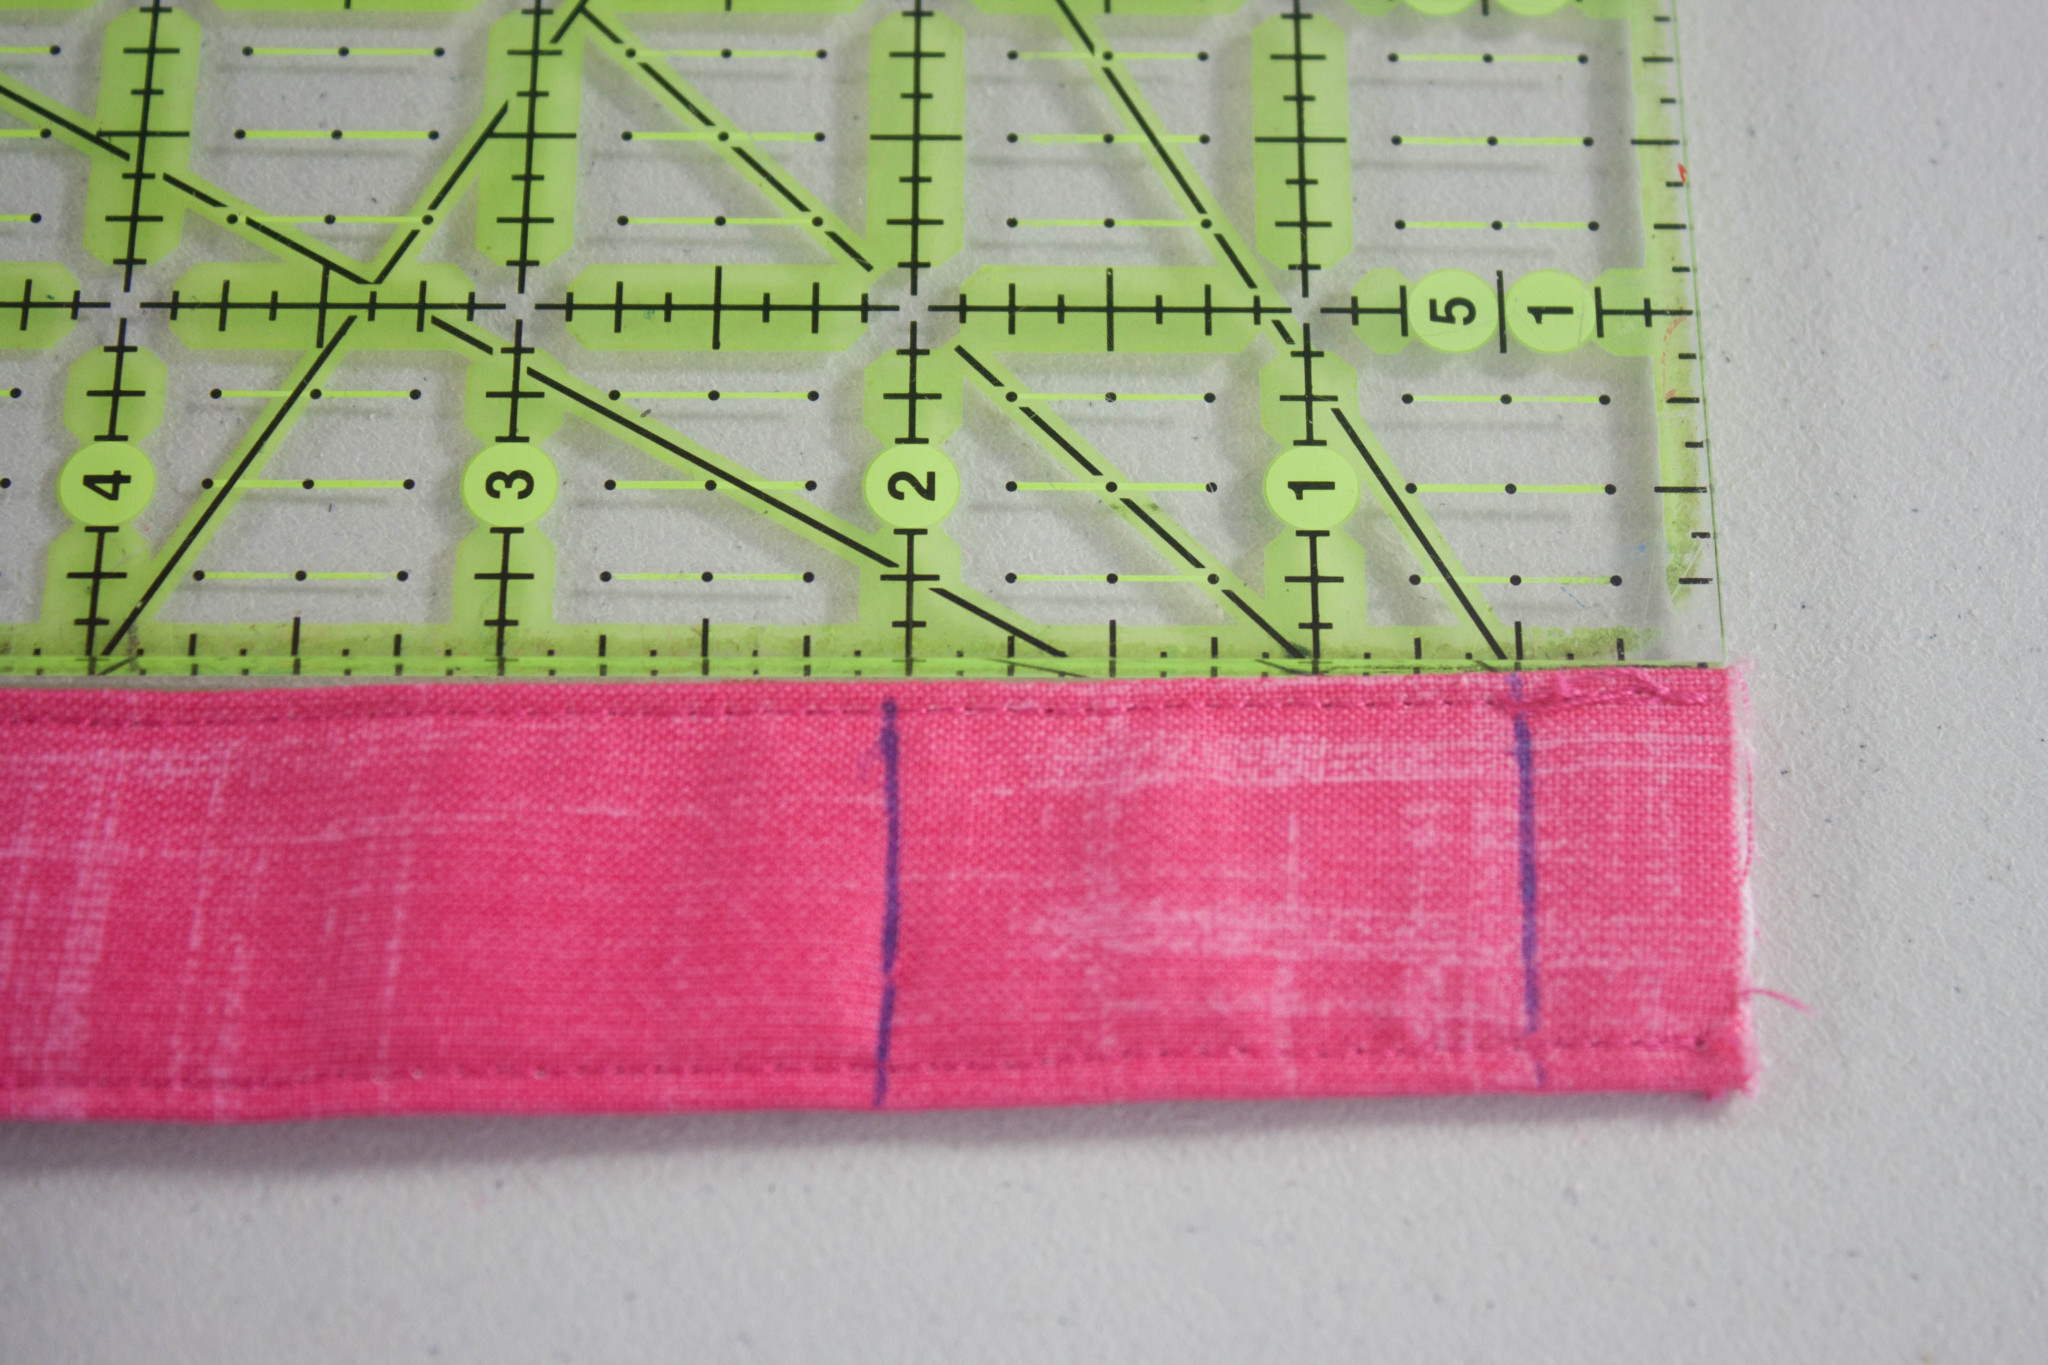
1. Fuse the interfacing to the wrong side of your strap fabric using manufacturer instructions.


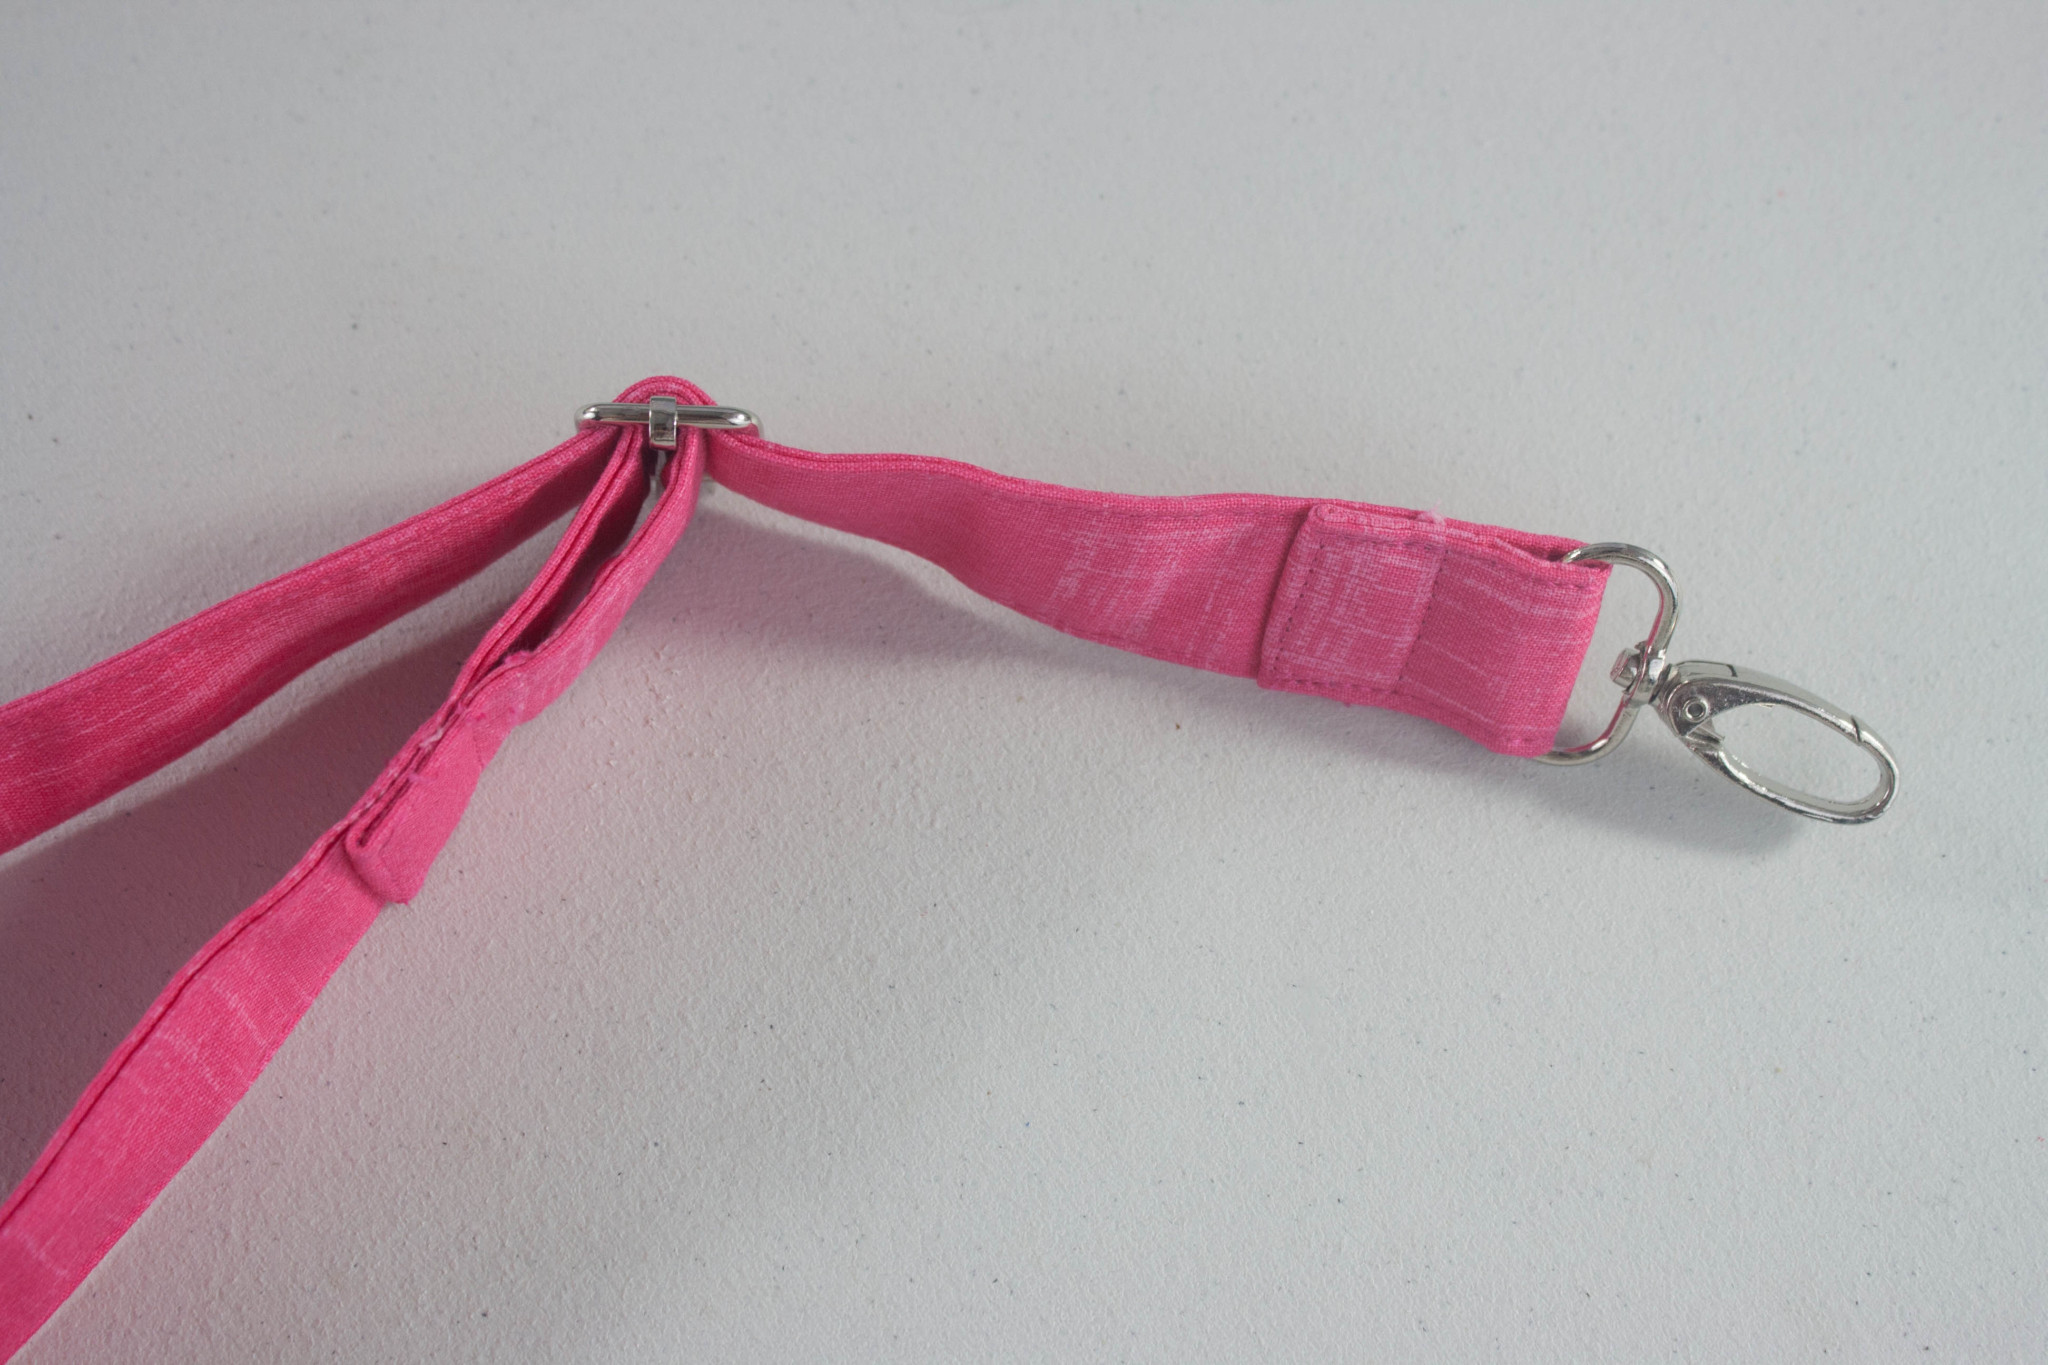
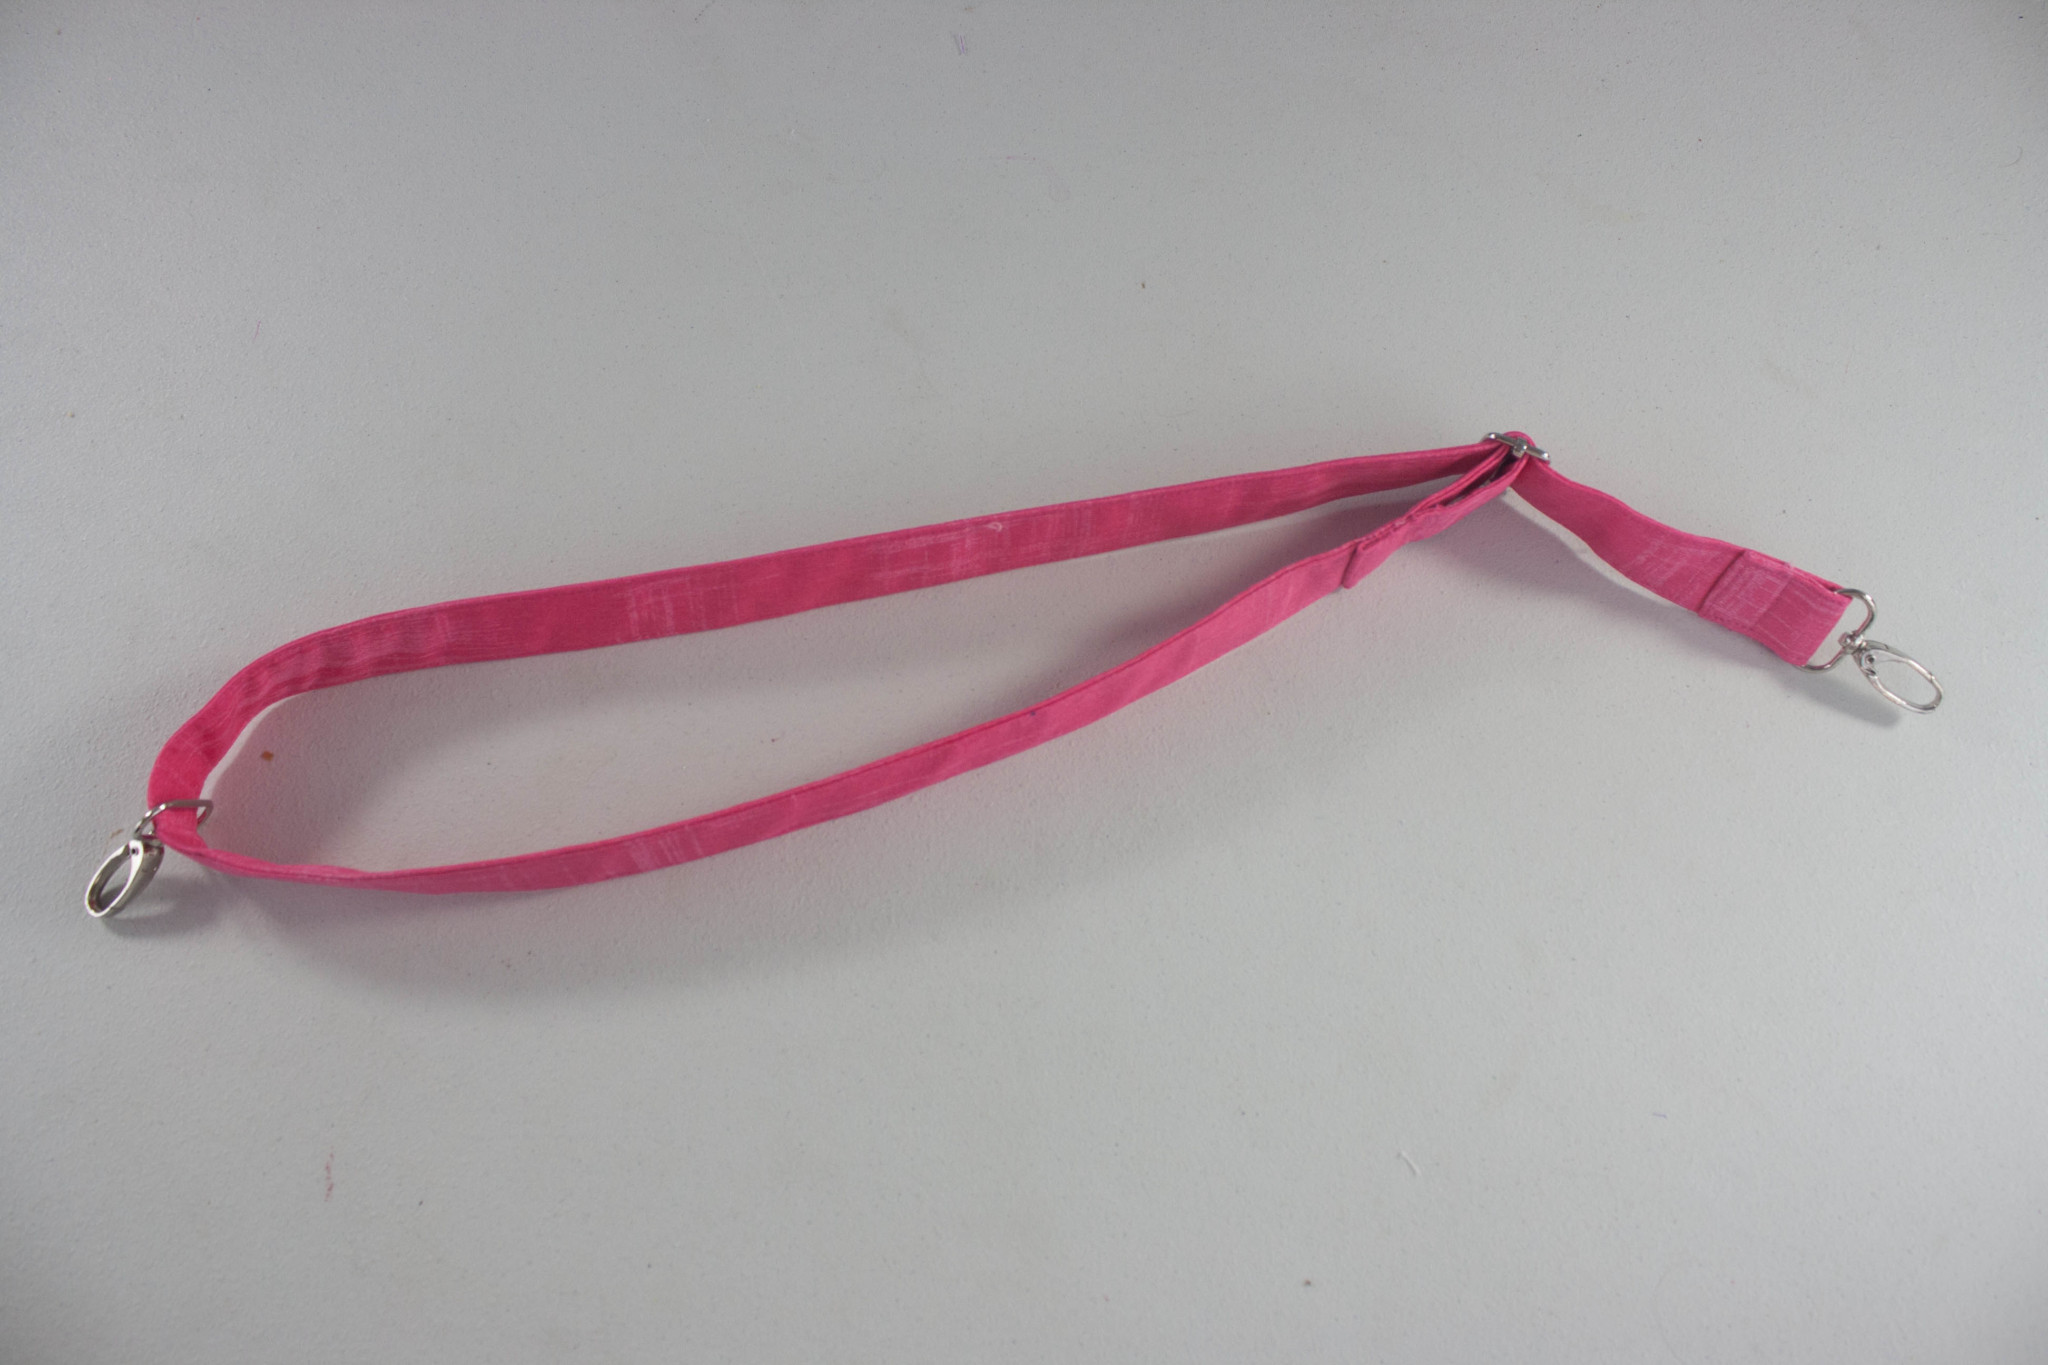
I hope this was helpful! Now your clipped strap will adjust!
The post Tutorial: Adjustable Strap with Swivel Clip appeared first on Sew Sweetness.