
Fall For DIY Tube Rings

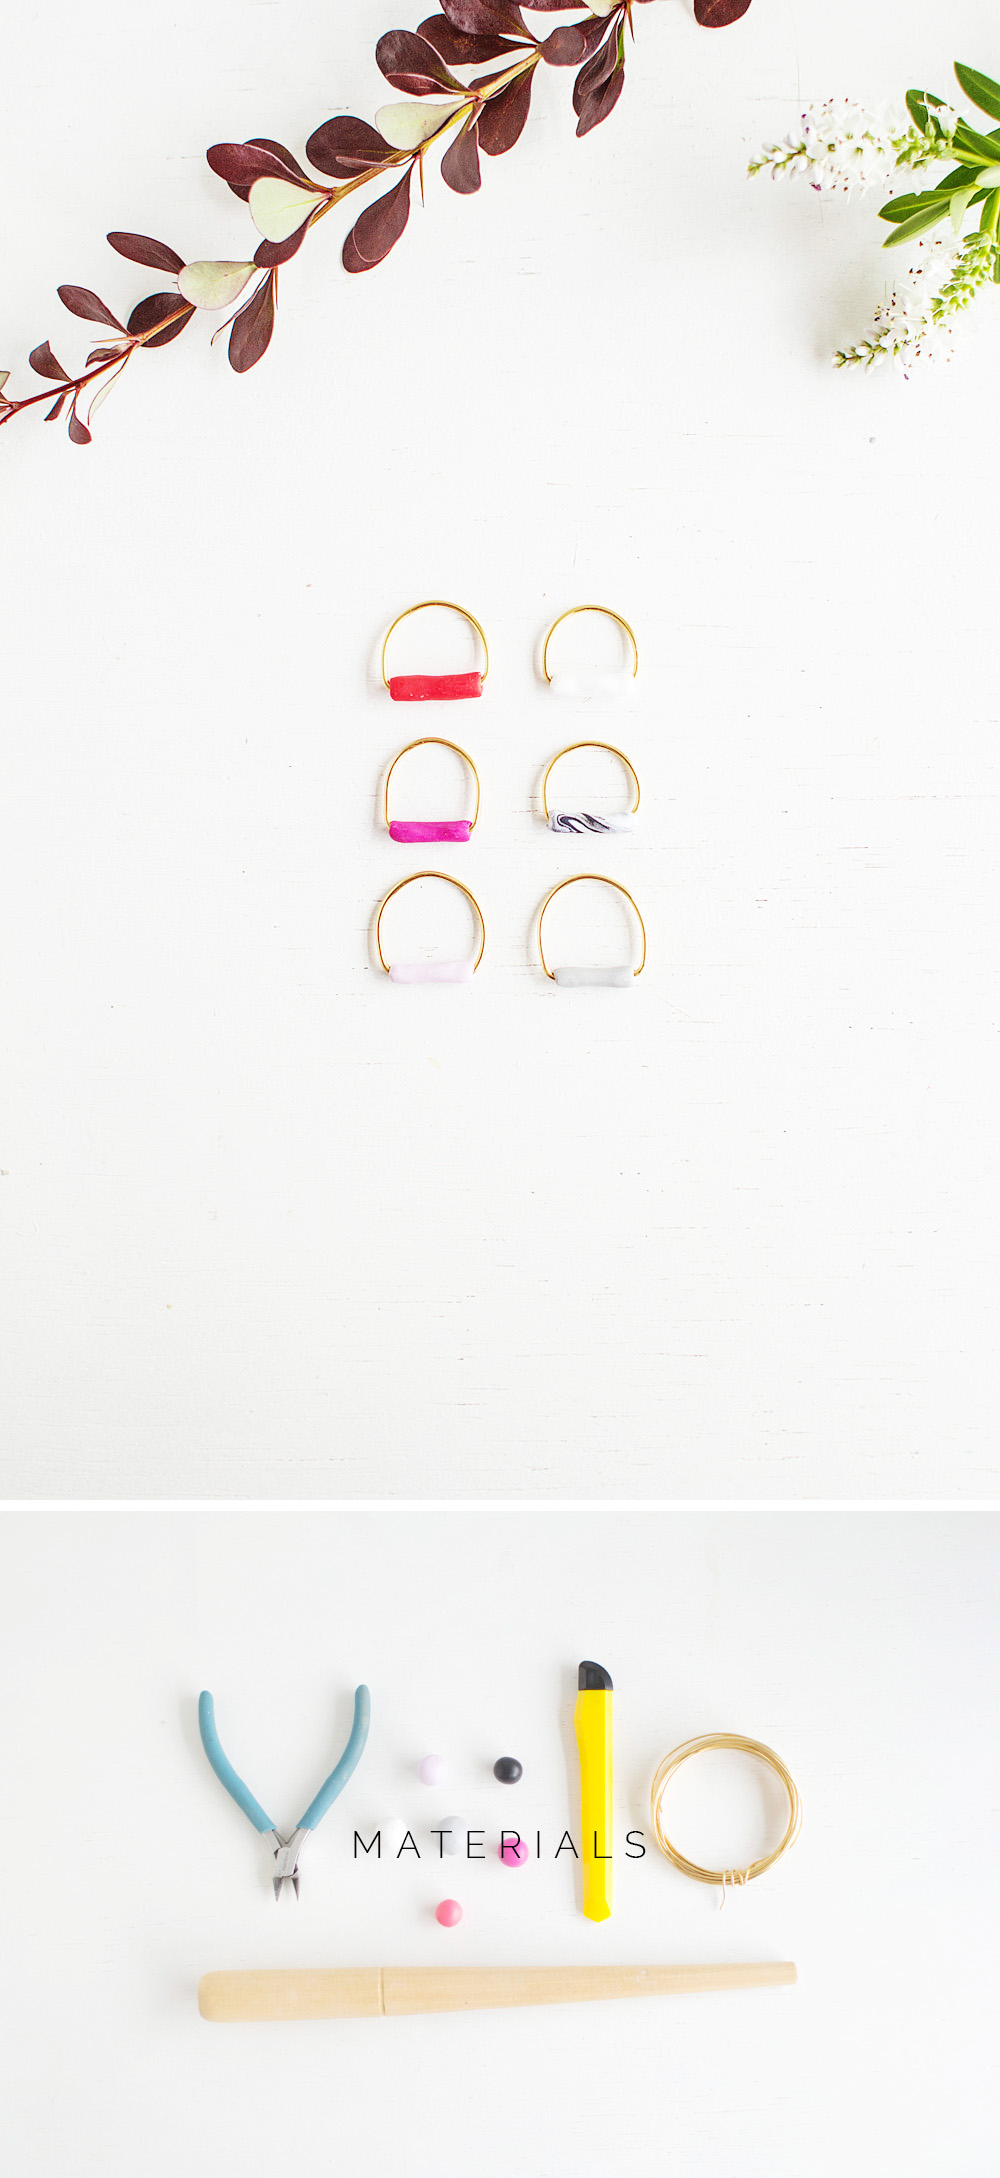
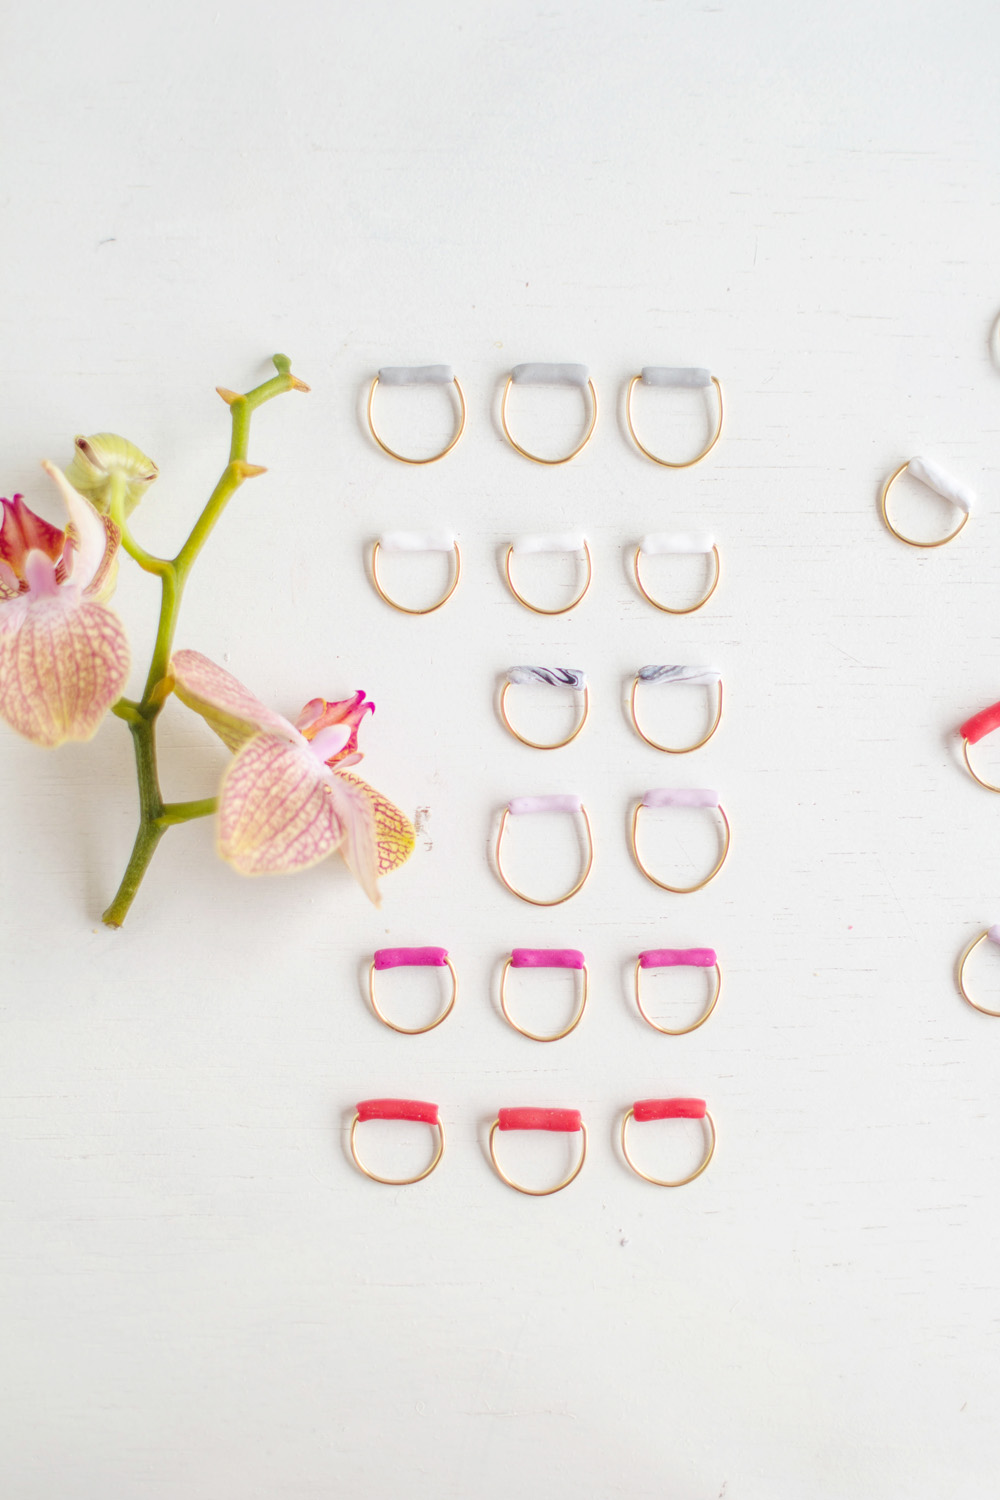
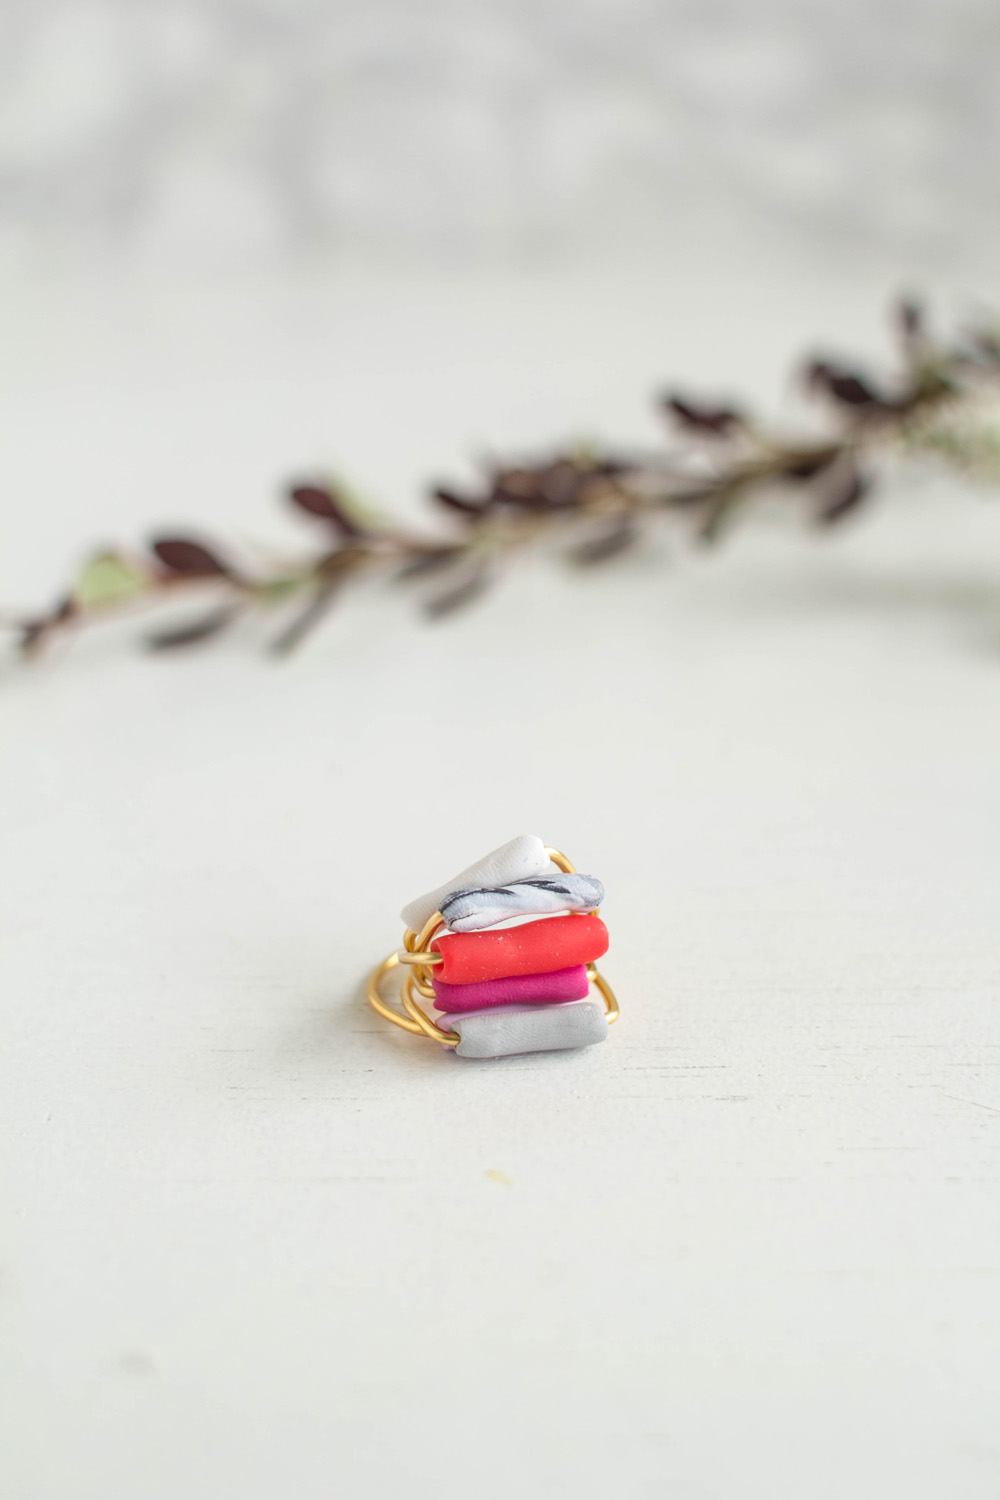
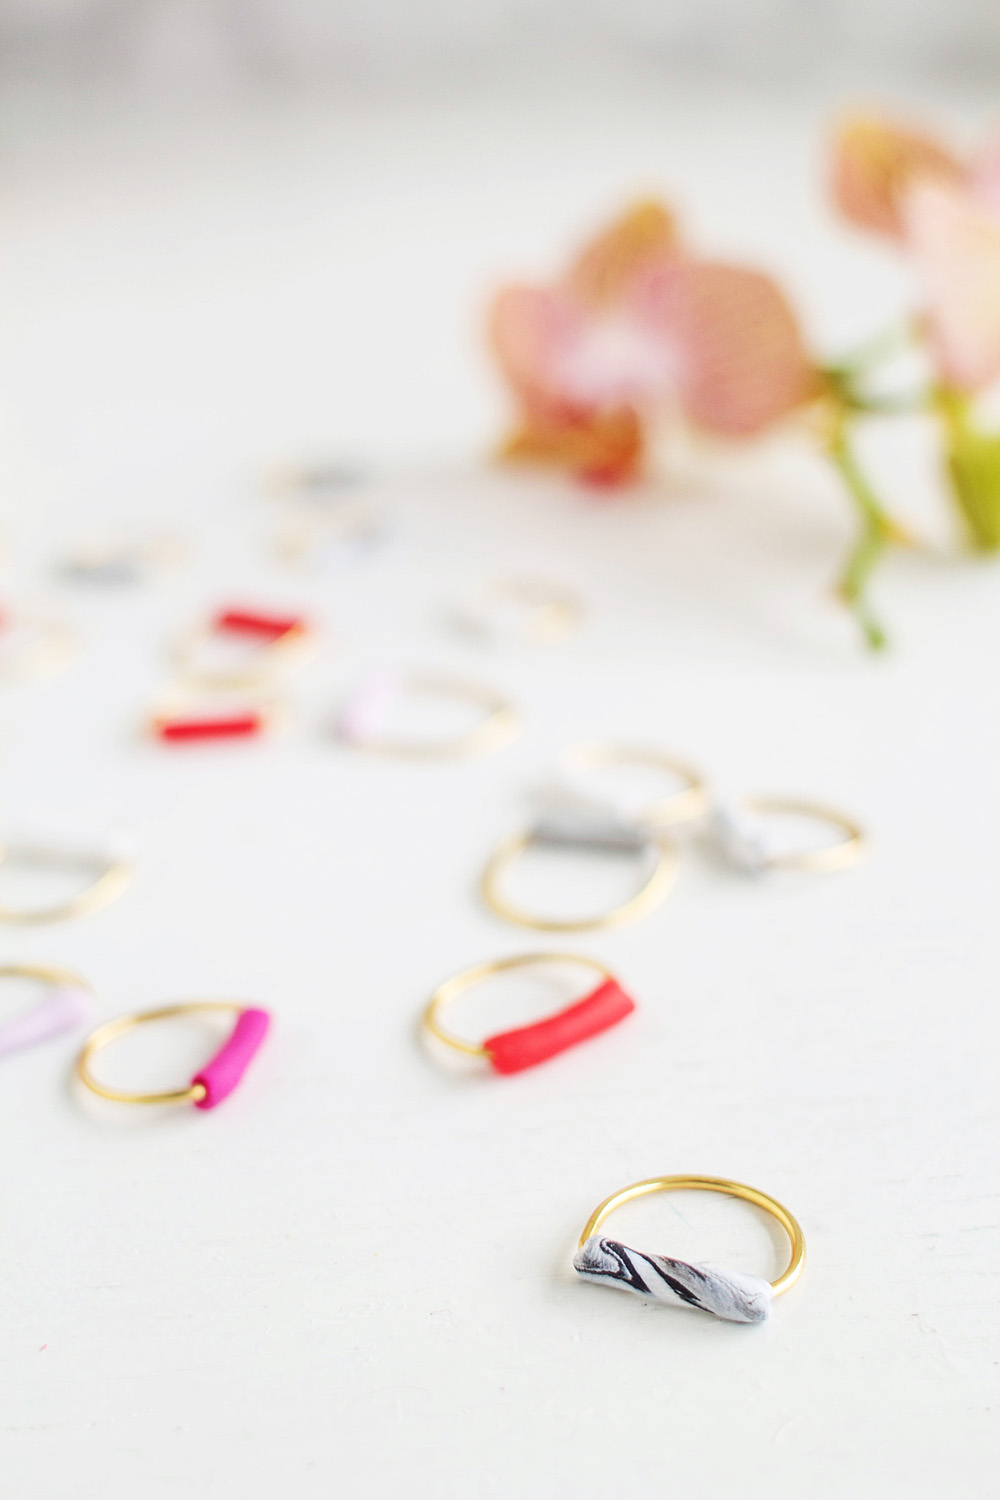
You know when you really get in the zone and get carried away with making. I could not put this project down from the moment I started making it. These rings are so easy to make I kept thinking "just one more" each time I tried to give in for the evening. The result? I have so many rings now! More than I know what to do with. Any ideas?


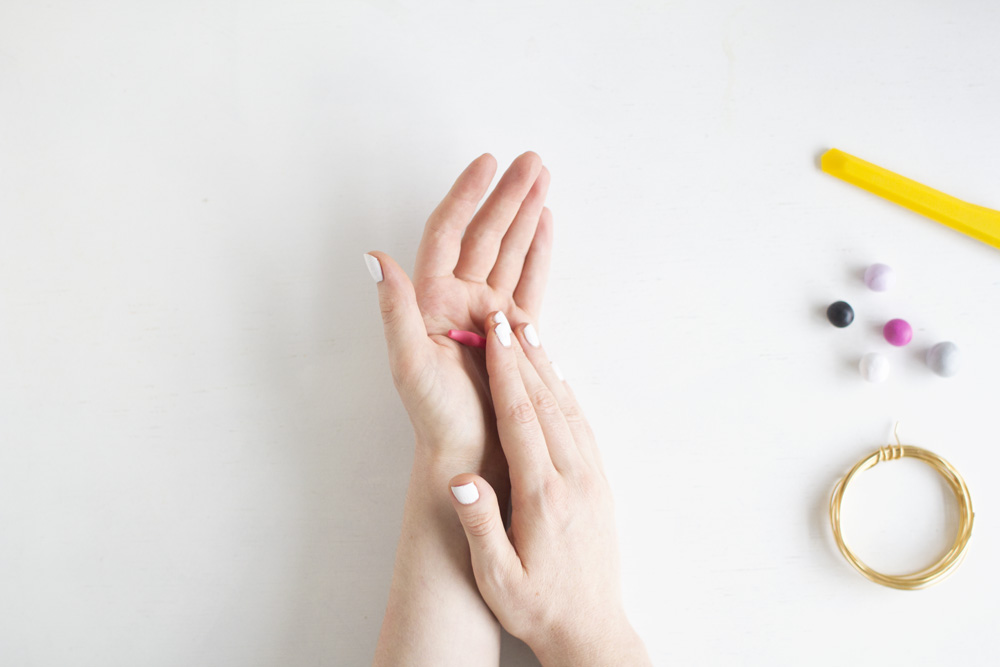
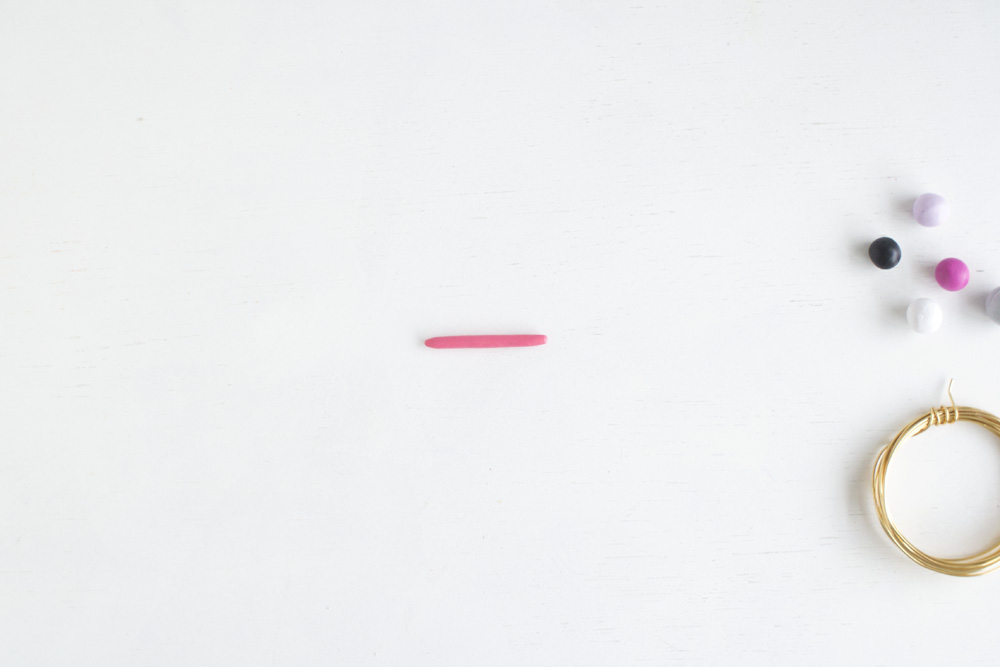
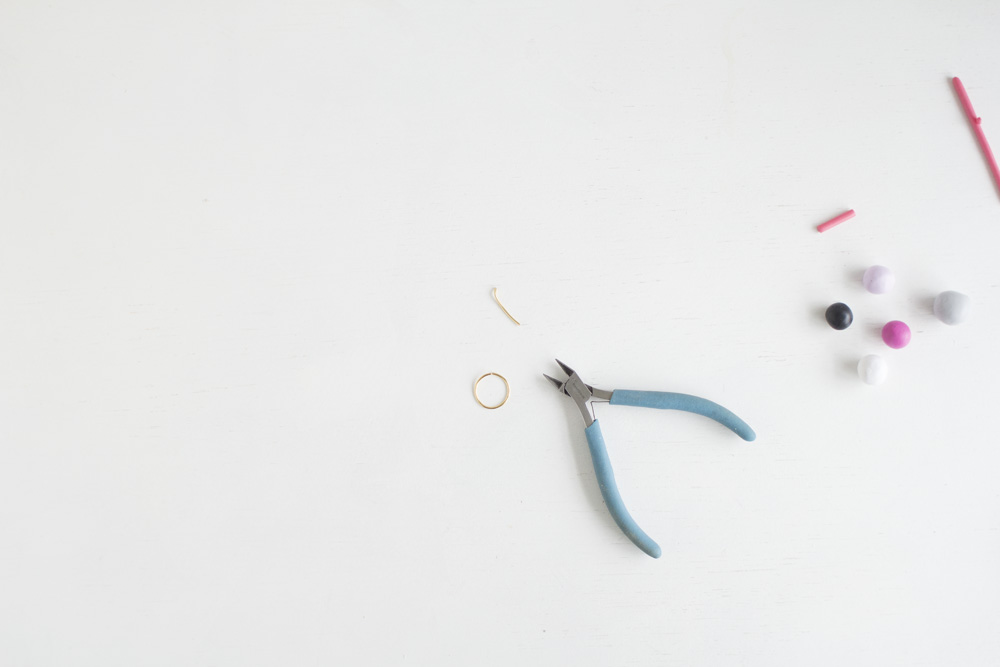
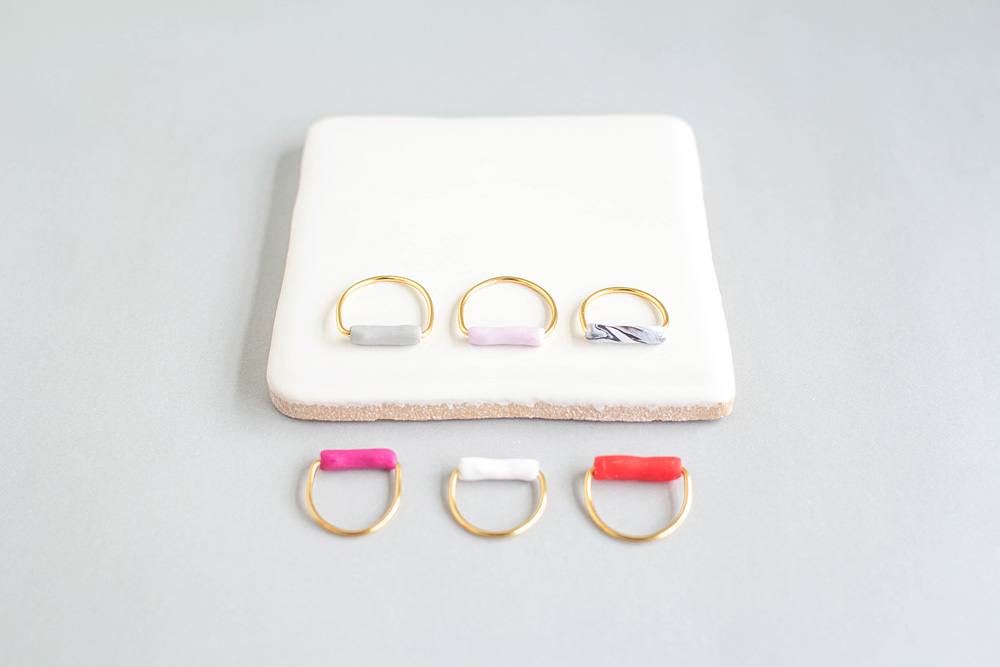
Warm up the polymer clay and roll out the pieces between your hands. Make sure the tubes are smooth with no cracks. Cut in into half inch long pieces. Store these in the freezer while you make the wire rings.


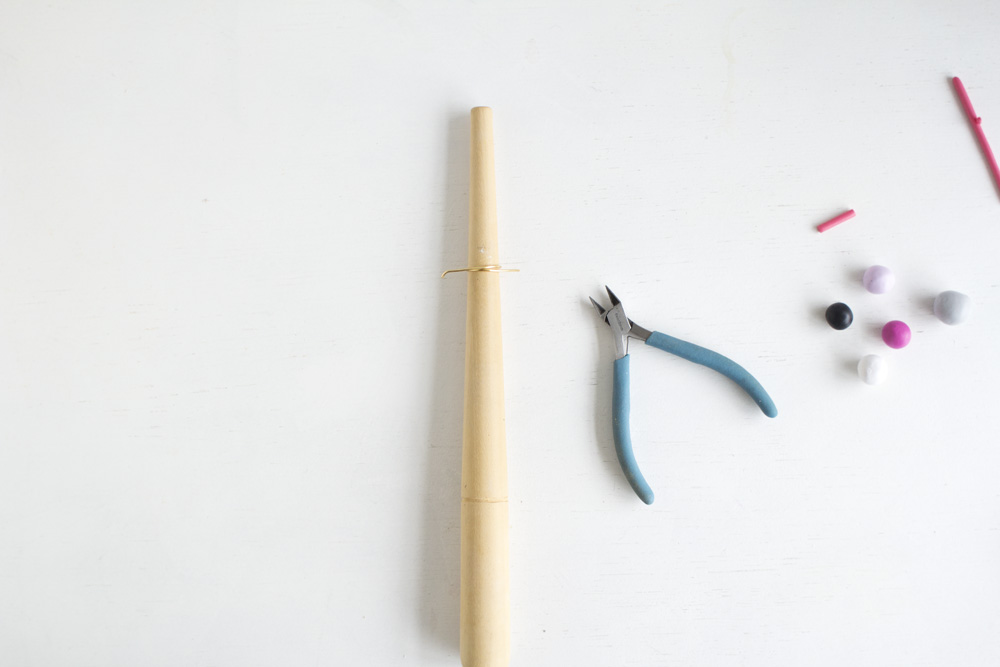
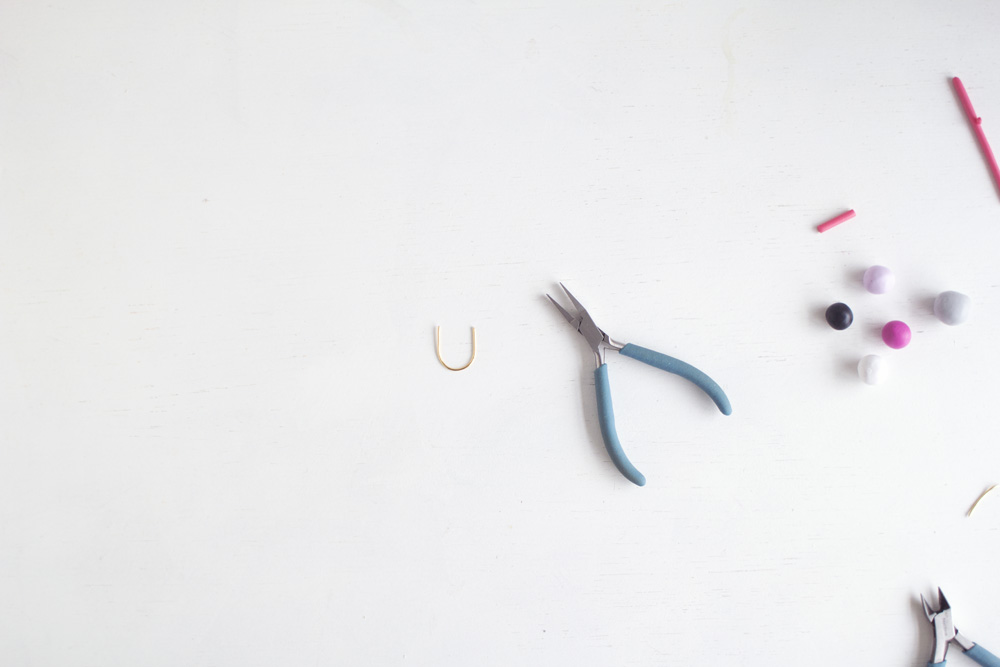
Loop the wire around the ring mandrel and cut off the coil. Wrap it slightly smaller than the size of your finger as it will stretch out slightly.


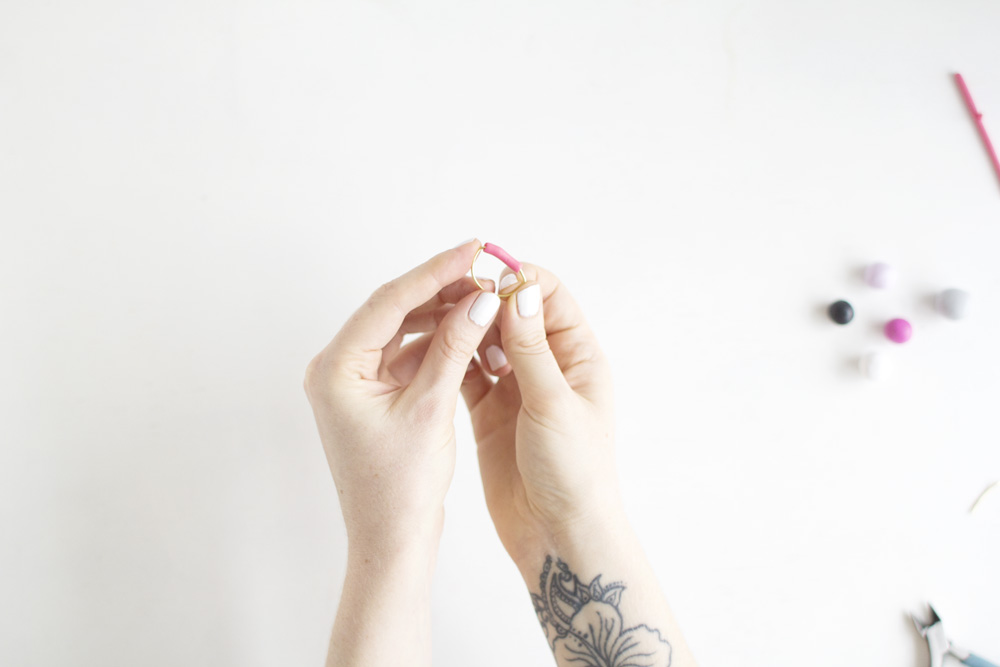
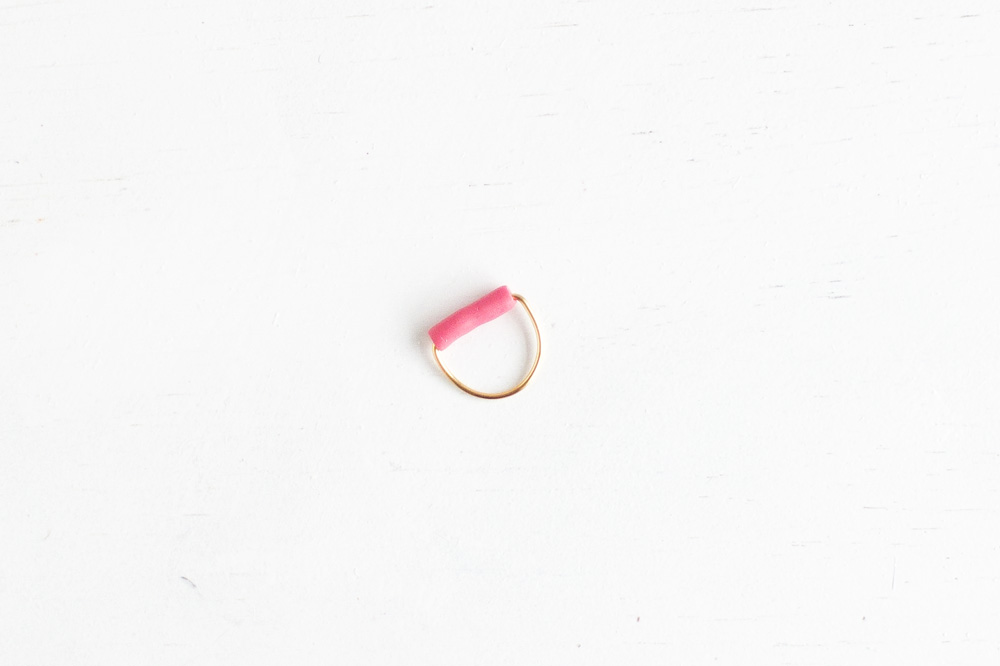
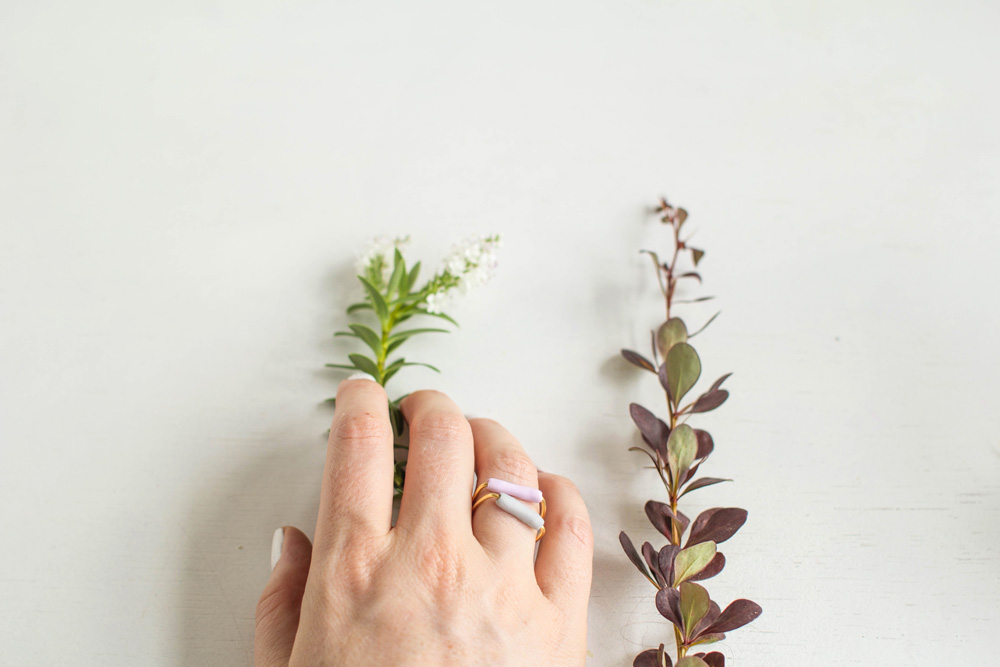
Fold the ends of the wire in towards the center of the U. Pull the U shape apart and gently push each end of the clay onto each end bringing the U back into shape. If the clay moves out of shape too much store the tubes in the fridge for longer.


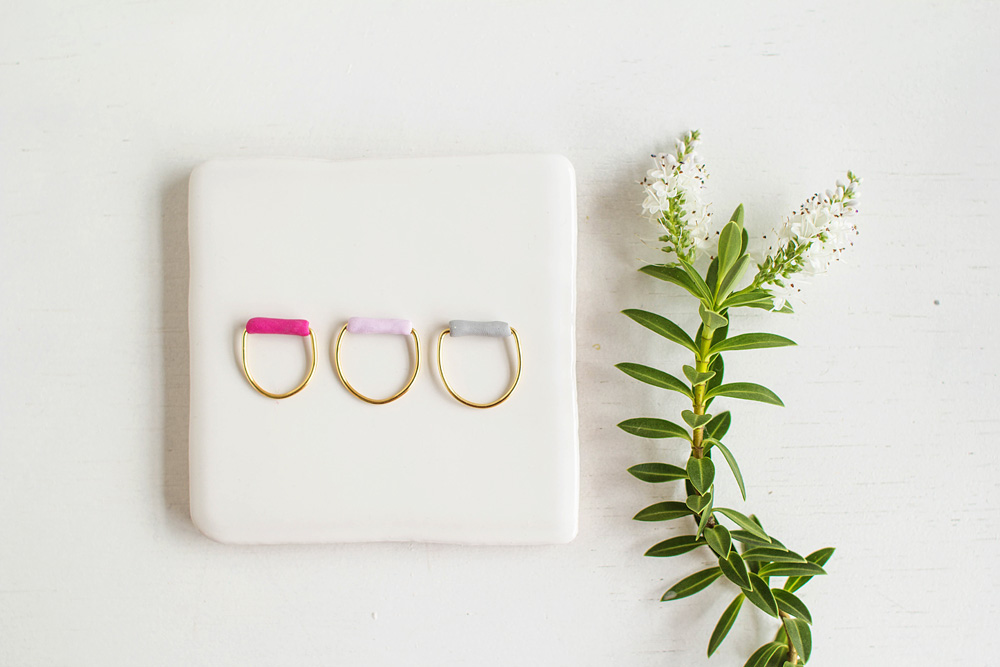
Bake the clay according to your instructions and leave to cool in the oven with the door open. (I originally forgot this step! It's a pretty important one if you don't want floppy rings!! Thanks to Kat for reminding me in the comments )
When you can't stop making these don't say I didn't warn you! If you want to learn more about making jewellery check out my ecourse Beads & Baubles right here!


The post Fall For DIY Tube Rings appeared first on Fall For DIY.