
Review and tutorial: & Other Stories face contour cream
If you know me, you know I'm a staunch defender of all things Kardashian. And yes, that includes Kontouring. Contouring existed before the Kardashians rose to fame, of course, but it goes without saying that Kim and her kin (lulz) are responsible for regular citizens even contemplating drawing shade and light onto their faces. Contouring is a serious make up artist technique that has bled into the mainstream, which is something I am very grateful for.
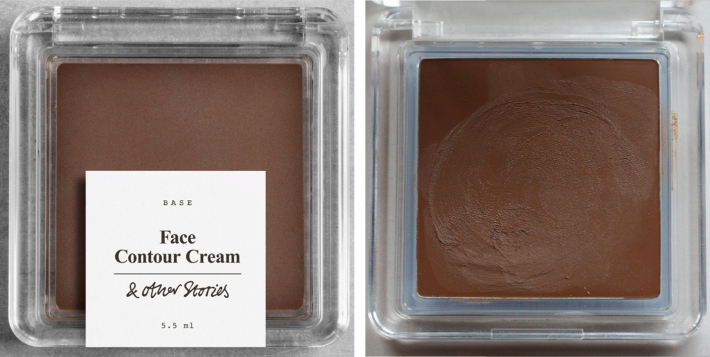
After discovering contouring with powder this summer, I wanted to take my make up game to the next level by moving on to contouring cream, which is supposed to give a more natural result as well as allow you to work more accurately. Last week, I picked up & Other Stories' Face Contour Cream, which is a cool toned brown cream that costs 12€. Let me show you how I use it and what it does.

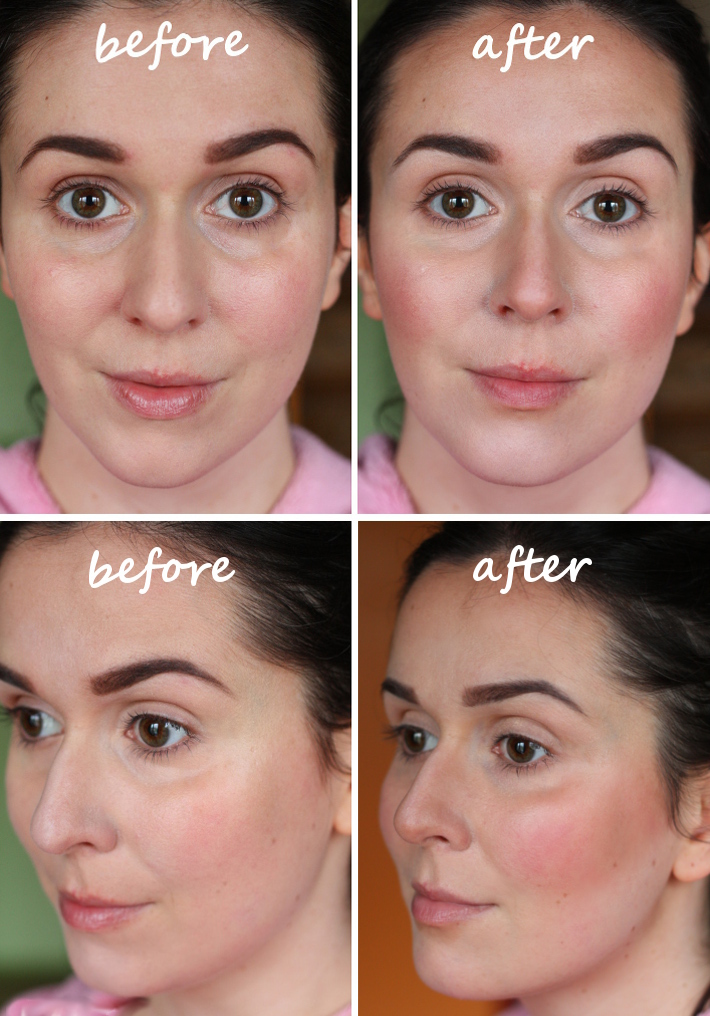
Ah, that elusive glow that comes only from afternoons in the sun, drinking wine while laughing with friends or, you guessed it, contouring. I get pretty pale during winter time, and contouring seems to give my winter skin summer radiance without taking away my natural colour. Pretty lovely result, isn't it? And actually very easy to achieve.

First, you need a neutral or cool toned contouring cream. Cool toned because the natural shadows in our face aren't orange-brown, but grey-brown. The cooler the contouring product, the more natural the end result. And I'd advise a cream formula because yes, it is easier to work with in various ways: more accurate, easier to build depending on whether you want a starker or a more subtle effect, and less likely to look cakey when layered on liquid foundation.
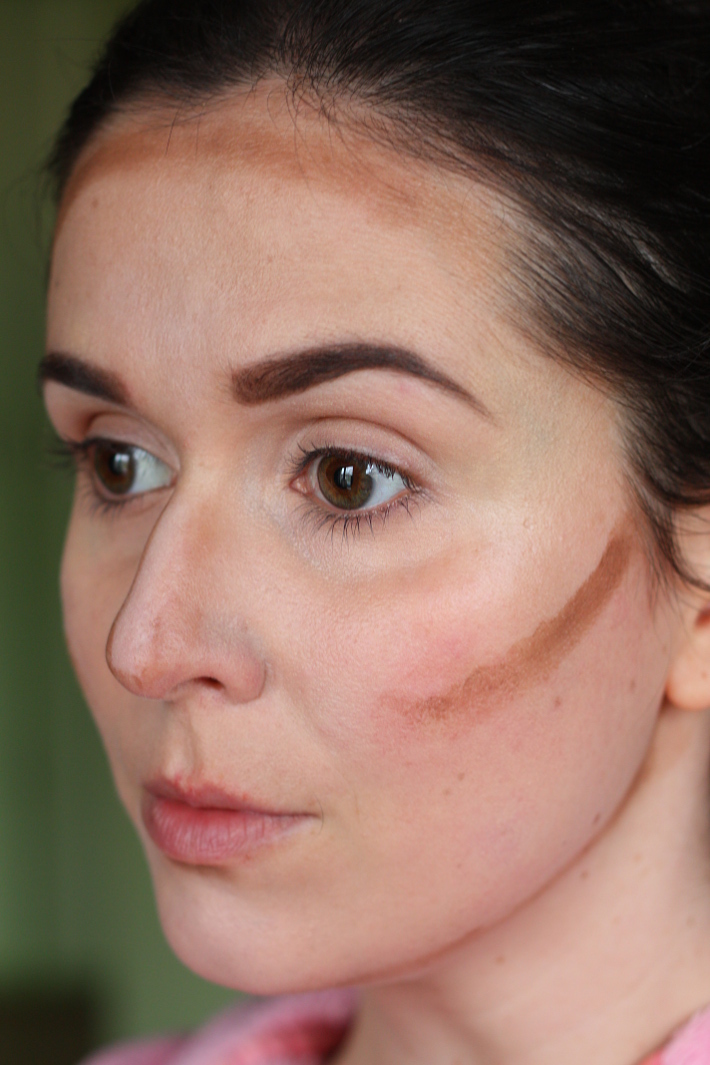
This is the pattern in which I apply contouring cream: along the top of the forehead (for glow and to minimize the forehead), along the bridge of the nose (straightens my nose), on the bottom of the cheekbones (to emphasize them, and applying the product higher is better than lower because it lifts the face), along the jawline (also to emphasize), finishing with a dab under my lower lip (to make it look fuller).

I basically just rub a finger or two in the contouring cream and swipe it where it needs to be, using only a small amount on the nose because otherwise the effect becomes too artificial. After putting the contouring cream where it needs to be, I use my fingers to blend it in. Always make an outward blending motion, away from the center of the face. The & Other Stories contouring cream is very easy to use, I love it.

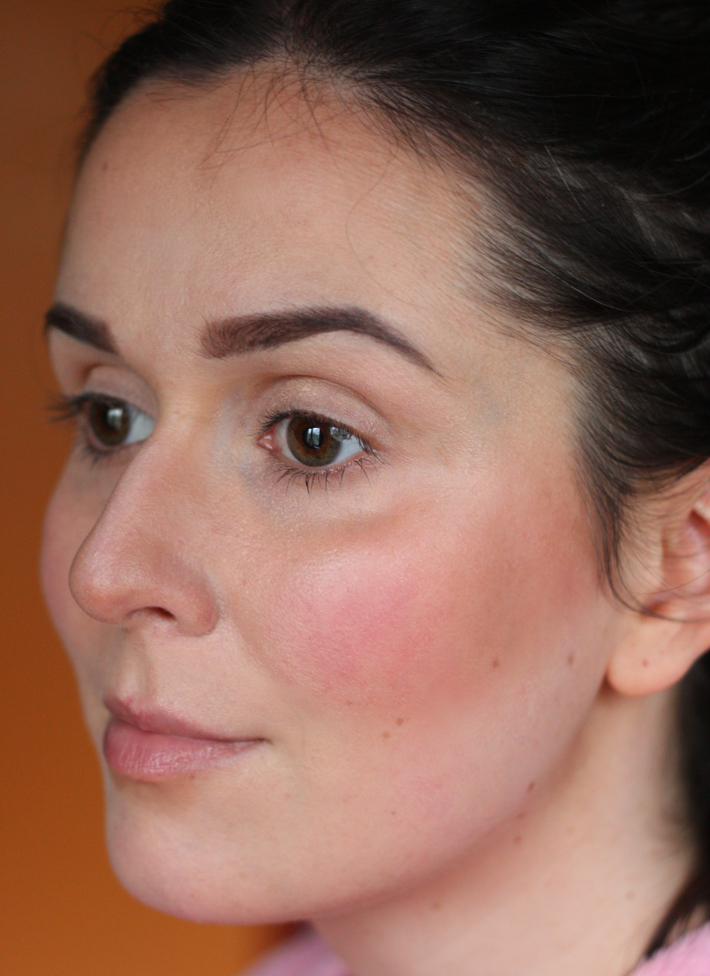
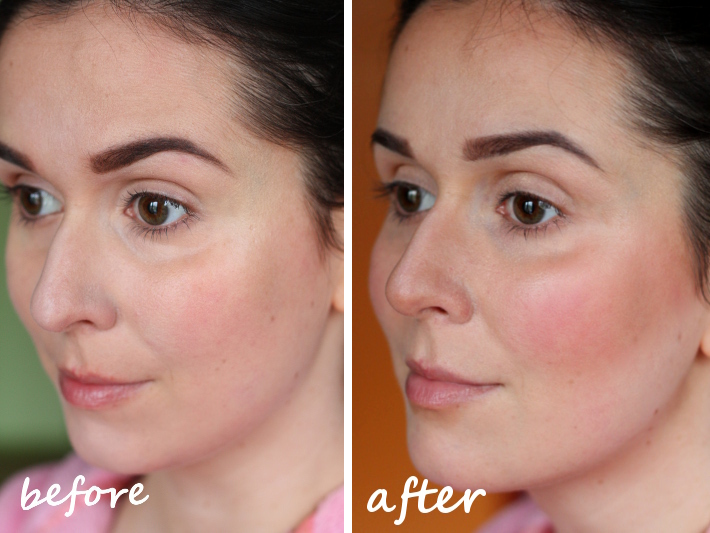
This is the end result, including blush and highlighting powder (along the top of my cheekbones). As always, we zoom out to get a better look at the effect.

Voila! A big change, but I still think the effect is very wearable and natural. Of course, you can blend more for a lighter effect, but I'm a fan of the glam-made up look popularized by Kim K. My blush application was a bit whack this day (should have been higher), so ignore that.
Hope you like it, and let me know if you have any questions.
More posts from Bloglover