
Blueberry ripple ice cream recipe

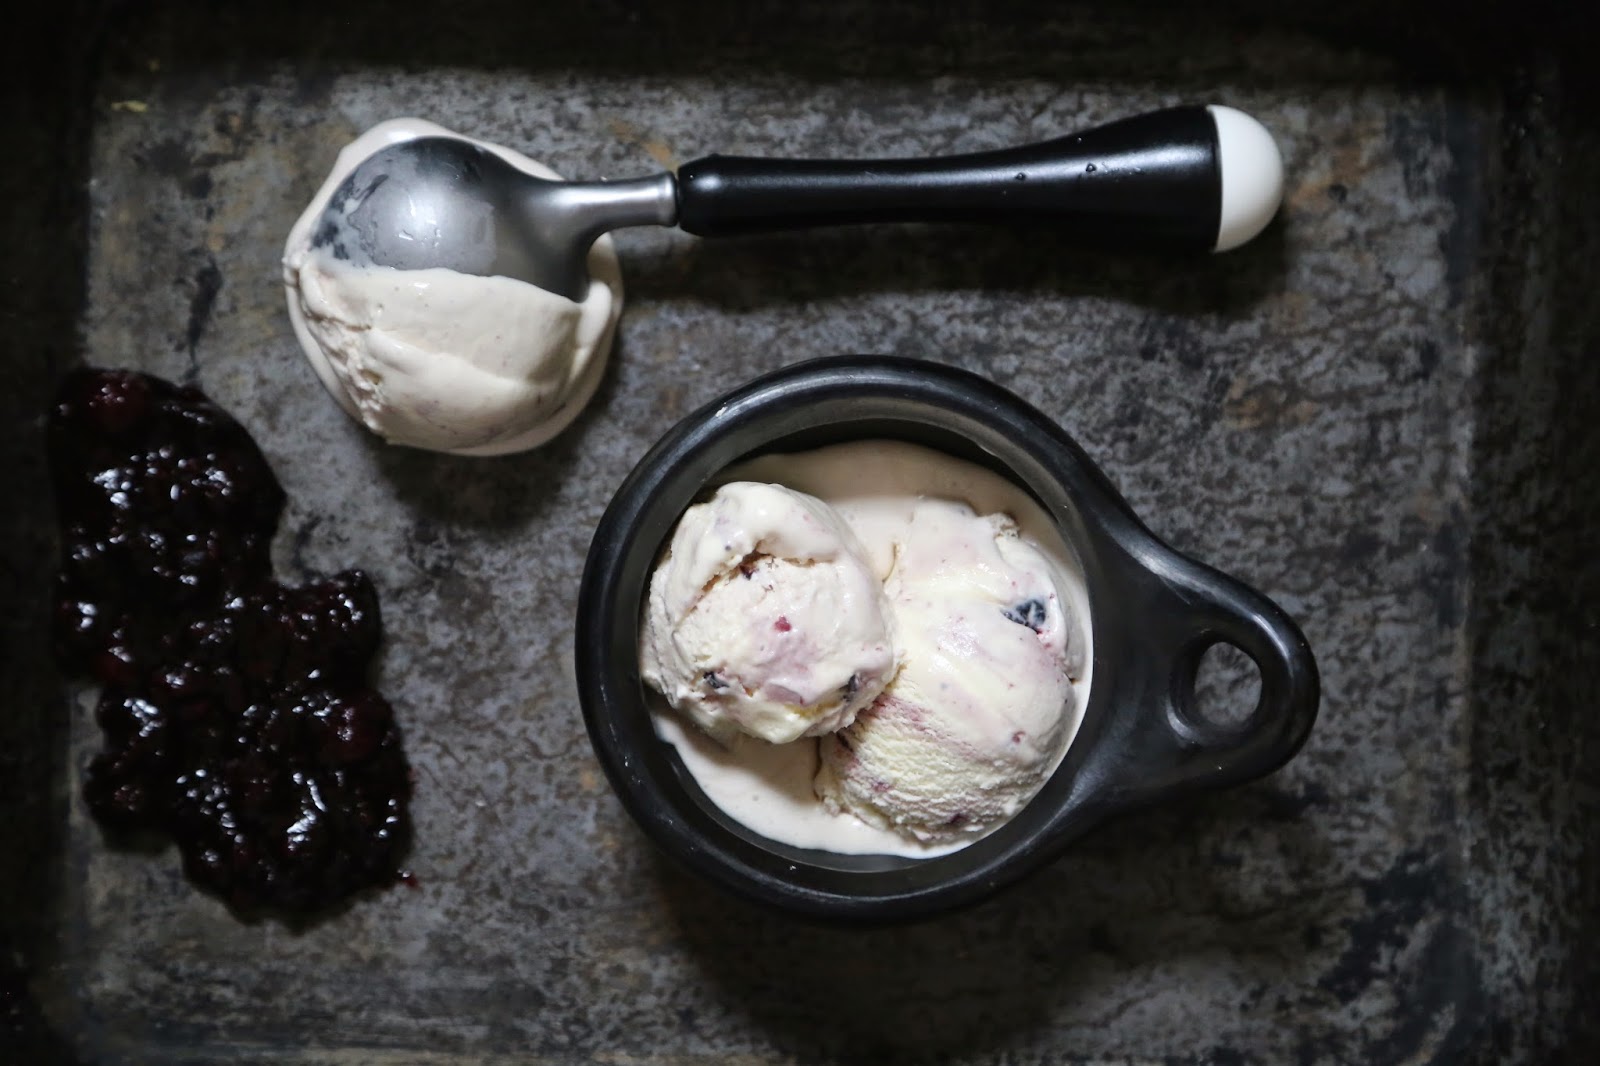
Tomorrow it's going to be boiling weather. Ice cream weather in fact. Time to dust off the ice cream maker. Here is a recipe for blueberry ripple ice cream.
400ml whole milk
400ml double cream
200g caster sugar
pinch of salt
1 tsp vanilla paste
5 egg yolks, whisked together
150g Blueberries
100g sugar
Make the custard base for the ice cream by putting the milk, cream, sugar, salt, vanilla paste in a medium saucepan on a medium to low heat. Heat gently until the sugar dissolves. Have the whisked yolks in a separate bowl, then 'temper' the ice cream by adding a few tablespoons of the warm milk/cream to the egg yolks, stirring. Then dump the egg yolk mixture into the saucepan containing the milk/cream, stirring with a wooden spoon or rubber spatula. Continue to heat gently until you can run a finger down the back of the spoon/spatula and it leaves a clean line through the mixture. Remove from the heat and leave to cool. (If you need this quickly, put the pan in an ice bath, making sure no water gets into your custard).
Once cool, add the mixture to your ice cream maker and churn according to the manufacturers instructions.
To make the ripple, put the blueberries into a small saucepan on a medium heat. Add the sugar and cook until the blueberries break down and you have a syrupy mixture. I don't mind a few chunkier pieces of blueberry in there but you could strain the skins out if you wish. Leave it to cool.
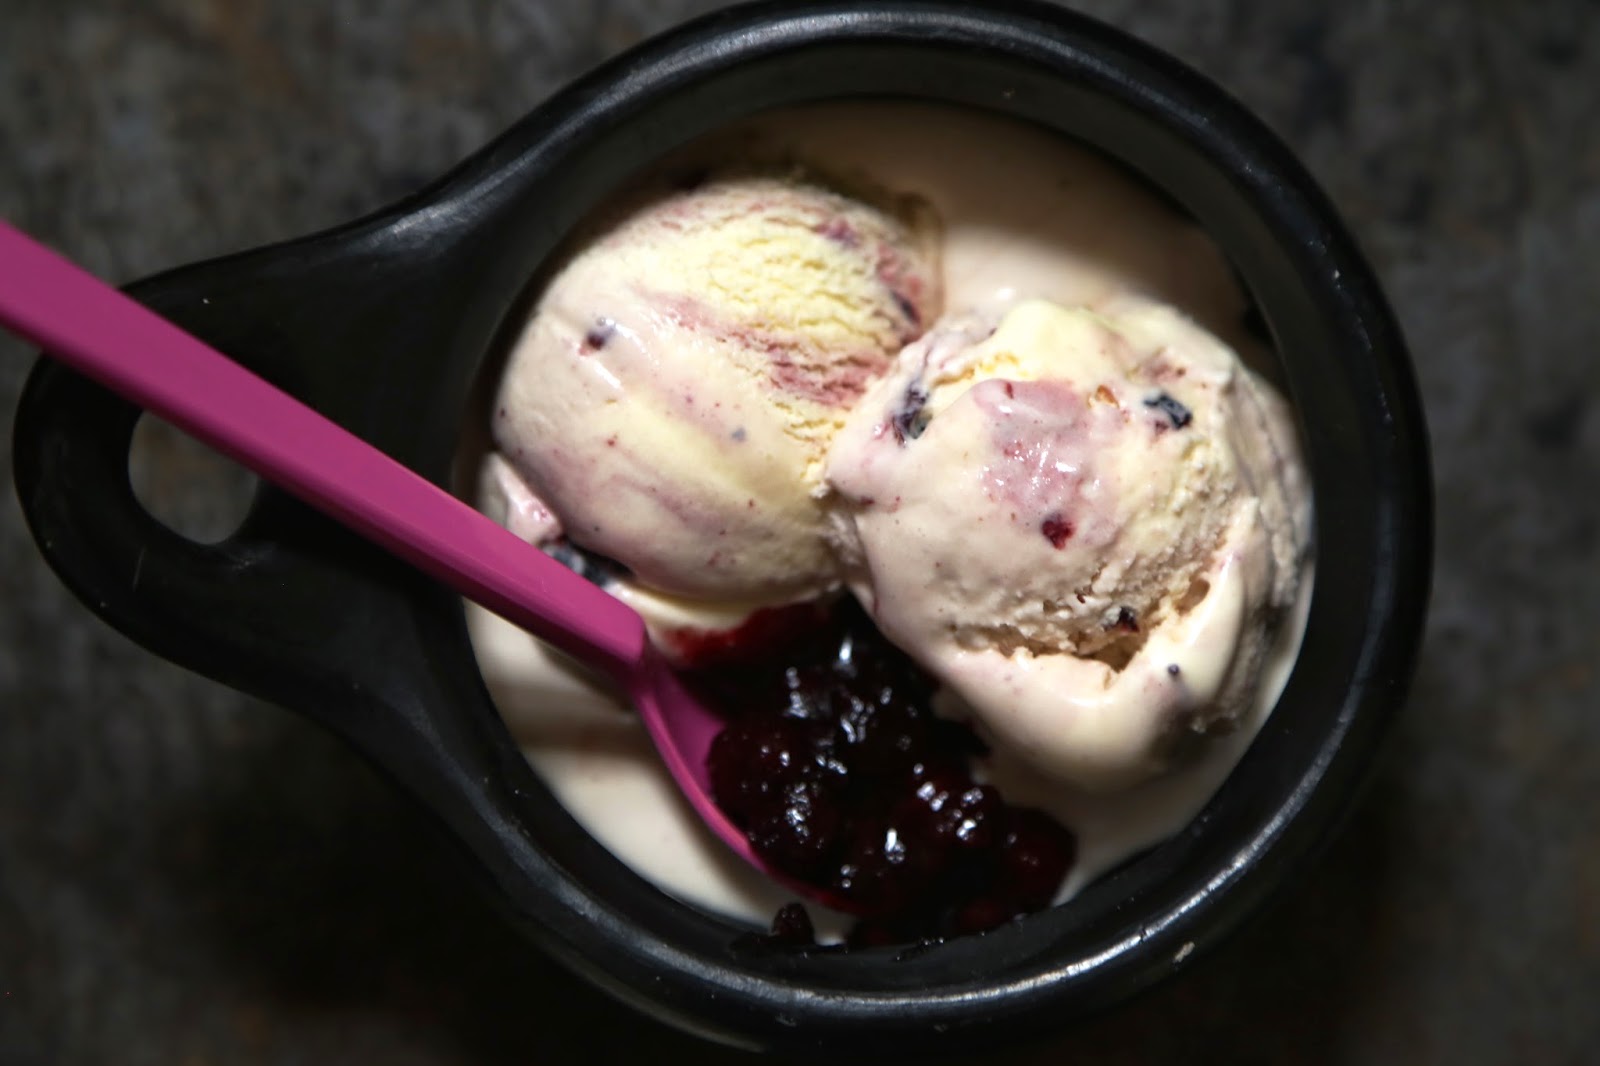
Then ten minutes before your icecream has finished churning, add the blueberry syrup in a steady stream to the ice cream. I probably could have added more and had a stronger 'vein' of blueberry but I was a bit nervous because it looked like the ice cream was going purple all over. But when I dug below, it was streaked so don't be scared!
Tips for ice cream making:
- If you are making this fresh then you will have a perfect scooping consistency. But if you are making this in advance for another day, then you can transfer the ice cream to a plastic container and put it in the freezer.
- Once frozen, if you want a softer serve, take your ice cream container from the freezer and store it in the fridge for 45 minutes before serving. This way it will soften evenly rather than just the edges going melty while the centre remains rock hard.
- Buy a decent ice cream scoop if you want lovely rounded icecream balls. Expect to pay around £15. The Kitchn recommends the Zeroll ice cream scoop which costs around £25. But in this, as in all else, buy cheap buy twice. You might as well get a good one that lasts a lifetime.
- Basic vanilla ice cream can be jazzed up as above, by adding the flavour as a ripple, about 10 minutes before the end of churning. You can also do this with chocolate. Melt some chocolate in a bain-marie (double boiler) or 30 secs in the microwave then drizzle it into the icecream as it is churning, 10 minutes before the end.
- With the Cuisinart ice cream maker, what I really like is that I can make fresh ice cream as and when. Got guests coming over? You can start the ice cream at the beginning of the dinner and it'll be ready by pudding time. The only issue is cooling the custard mixture, but you can do this faster by putting it in an ice bath. Then transfer to the ice cream maker. I was given this ice cream maker by Cuisinart (thanks guys!) but this is not a sponsored post. I don't do sponsored posts but I do give thanks where due.
- It's so simple to use this machine, it doesn't take up much space either. The whole thing about kitchen machines is that you've pretty much got to have them out, to hand, or they gather dust in a cupboard. I'm fortunate in that I do have a medium sized kitchen. What tricks have you got for storing your kitchen gadgets?

More posts from kerstin rodgers aka msmarmitelover