How to make a folding camp stool

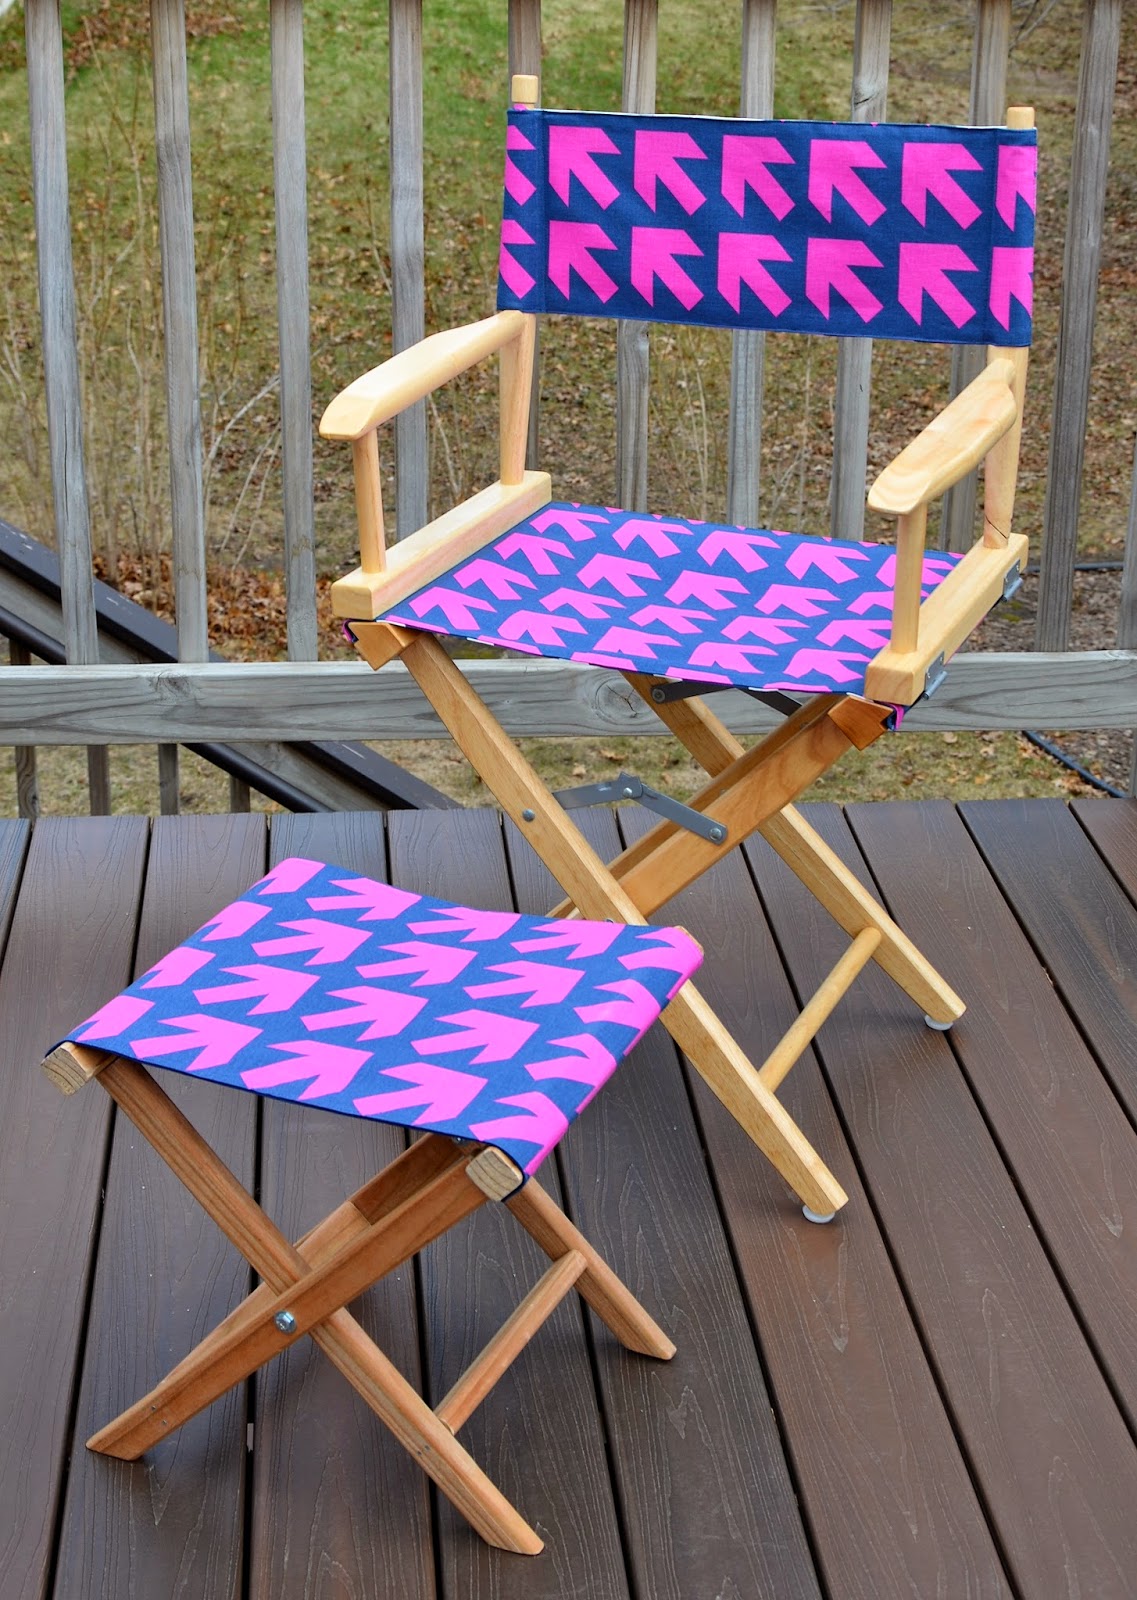
Here's the guest tutorial I mentioned yesterday: a DIY folding stool made from scratch! This project uses more of my new Arrow fabric and makes a great side table, footrest, or portable seat. Here's LiEr to tell you how to make them.

- - - - - -
Hello! I am LiEr and I write a craft blog ikatbag that is part fabric, part cardboard and, occasionally, wood. Today, I am happy to be here sharing how to make these little wooden fold-up stools.


I made these stools in Jessica's new Arrow fabric for my three girls, in two sizes. The smaller one is for my 6-year-old and the two larger ones are for my almost-8 and almost-10-year old.


Though they are meant for kids, they can easily be sized up for adults, too. The dimensions in this tutorial are for the larger stool;


We'll be making the stools in two parts - the wooden frame and the fabric seat.
Part I: The Wooden Frame

I used lumber in two sizes - 2X2 for the side beams and 1x2 for the legs and cross bars. The thicker wood is sturdier, but the thinner legs folded more compactly for the kid-sized chairs. If I were making this in a larger size for an adult, I'd use 2X2 lumber for the entire frame.
This is the hardware I used:

(Note: you can just as well use skinny screws in place of the nails, but I didn't have those on hand.)
along with the associated tools:
Step 1: Cut
Cut and sand lumber in the following lengths -
along with the associated tools:
- Saw (hand or electric)
- Drill, with the relevant drill bits
- Hammer
- Sandpaper
- Screwdriver
- Wrench/spanner for the hex bolts
- Heavy-duty staple gun
- Wood glue
- Ruler, T-square, pencil
Step 1: Cut
Cut and sand lumber in the following lengths -

Of the 2x2:
- Two 14" lengths for side beams
Of the 1x2:
- Four 19" lengths for legs
- One 11 3/8" length for cross bar
- One 9 3/4" length for cross bar
Cut away one end of each of the four legs at a 45 degree angle.
Step 2: Drill
Drill holes in the legs as shown -
first, holes for the bolts, 9" from the flat ends.


Step 3: Assemble the wider legs
Gather two legs, the 11 3/8" cross bar and the 14" side beam with the 12" screw spacing.

Using the measurements in the photo above, assemble the leg system according to the photo below. Apply wood glue to the surfaces in contact before inserting the nails or screws.

I found it helpful to partially hammer the nails in position through the legs before attaching the cross bar.


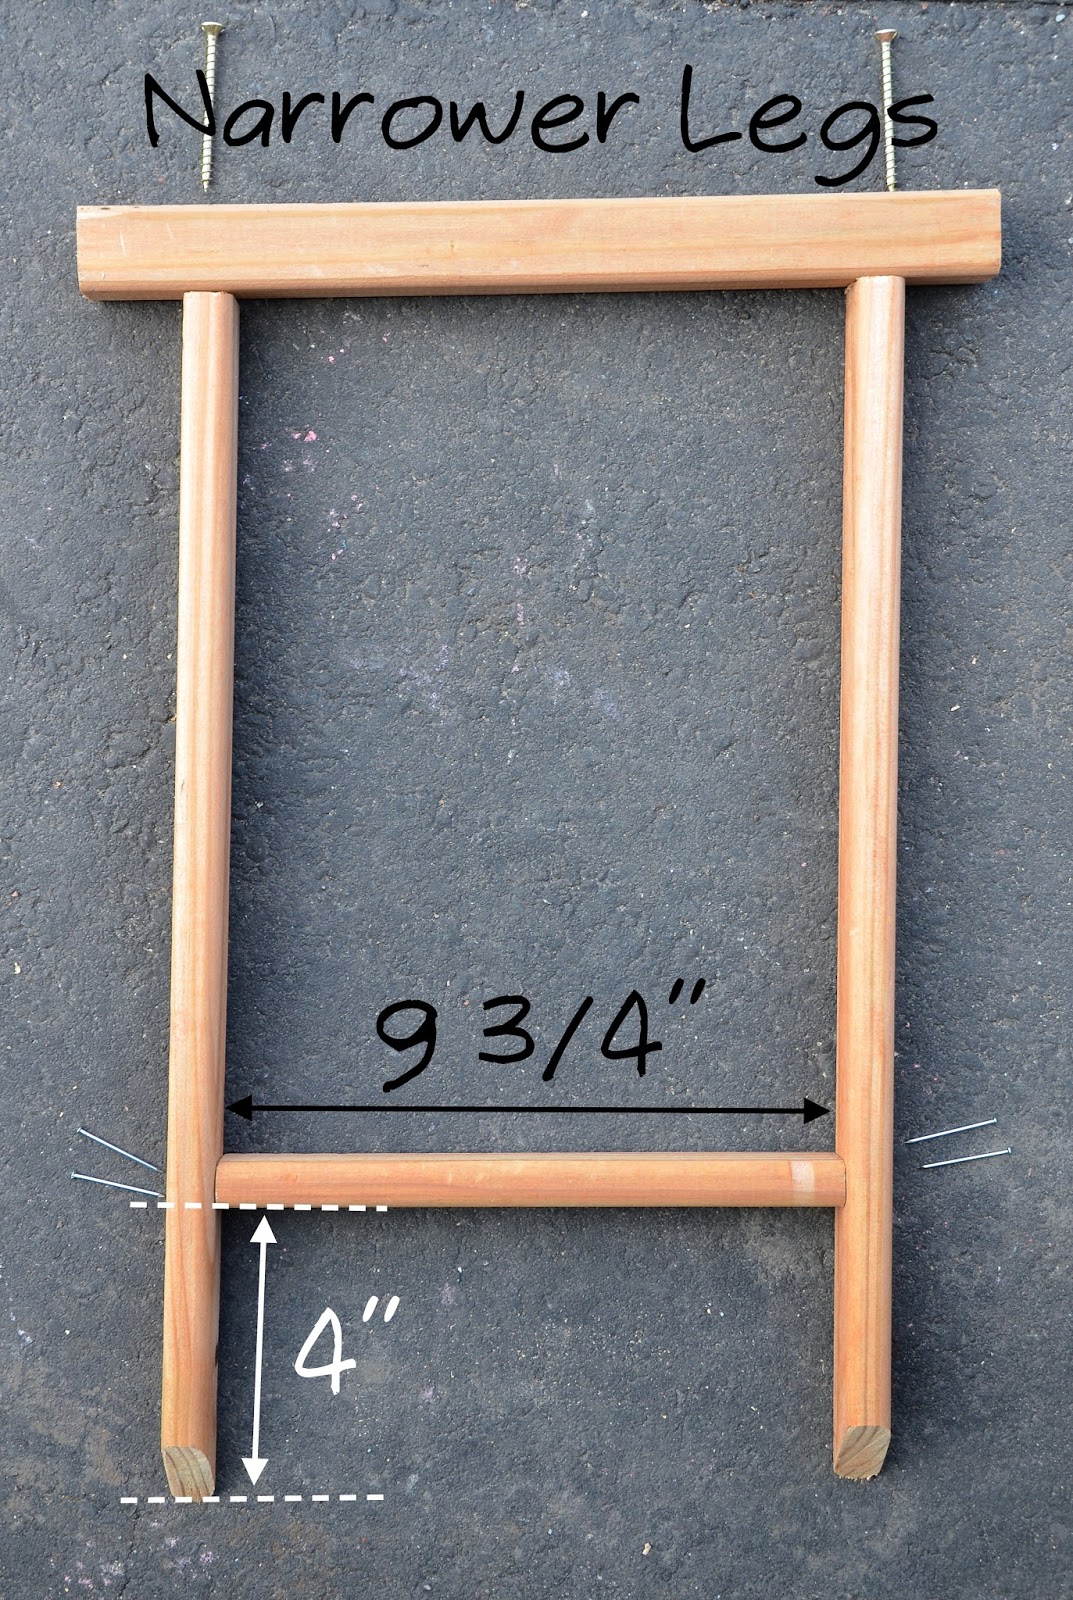
Step 4: Assemble the narrower legs
Gather the remaining pieces of lumber: two legs, the 9 3/4" cross bar and the 14" side beam with the 10.5" screw spacing. Assemble the narrower leg system in the same way as the wider one, noting that the cross bar is now 4" (not 3") above the pointed ends of the legs. This is to allow the two leg systems to nest within each other when the stool is folded closed.

Step 5: Assemble the frame
Nest the narrow set of legs in the wider, with the pointed ends in the correct configuration for the stool to stand squarely on the ground.

On each side, line up the bolt holes and insert bolt, washers and nut in the following sequence: (from top to bottom): bolt, washer, wider leg, washer, narrower leg, washer, nut.


Part II: The Fabric Seat
Step 1: Cut
Cut out fabric as follows:
- Top fabric: one rectangle 19.5" x 14.5" (mine was Arrow)
- Bottom fabric: one rectangle 19.5" x 14.5"(mine was navy twill)
- Inner canvas stabilizer: one rectangle 18.5" x 13.5" (mine was natural duckcloth/canvas)
Assemble and pin a fabric sandwich as shown in the photo below.
First, centralize and pin the stabilizer to the WS of the top fabric so that there is a uniform 1/2" border all around.
Next, pin the bottom fabric to the top fabric so that their RS are together and their edges are aligned.

Using a 1/2" seam allowance, sew around the edge of (but not on) the canvas stabilizer, through both the top and bottom fabrics (red dashed line). Leave a large opening (about 10") along one of the long sides, for turning out.
Step 3: Topstitch Clip the corners and turn the entire fabric sandwich RS out so that the canvas stabilizer is entirely enclosed. Manipulate its corners within the sandwich, if necessary, so that it lies flat and does not bunch up. Press all seams. Edge-stitch around (i.e. sew about 1/8" away from) the edge of the sandwich to flatten the seam. Topstitch an additional line about 1/4"-1/2" from the edgestitching, to securely "catch" the layer of stabilizer between the two outer fabrics.

The fabric seat is finished and ready for the frame. Note for non-sewers: if you had sized your frame accordingly, you could even skip the sewing altogether by using store-bought placemats!

With a heavy-duty staple gun, wrap the shorter side of the fabric seat over the side beams of the frame and staple the fabric to the wood.


More posts from