
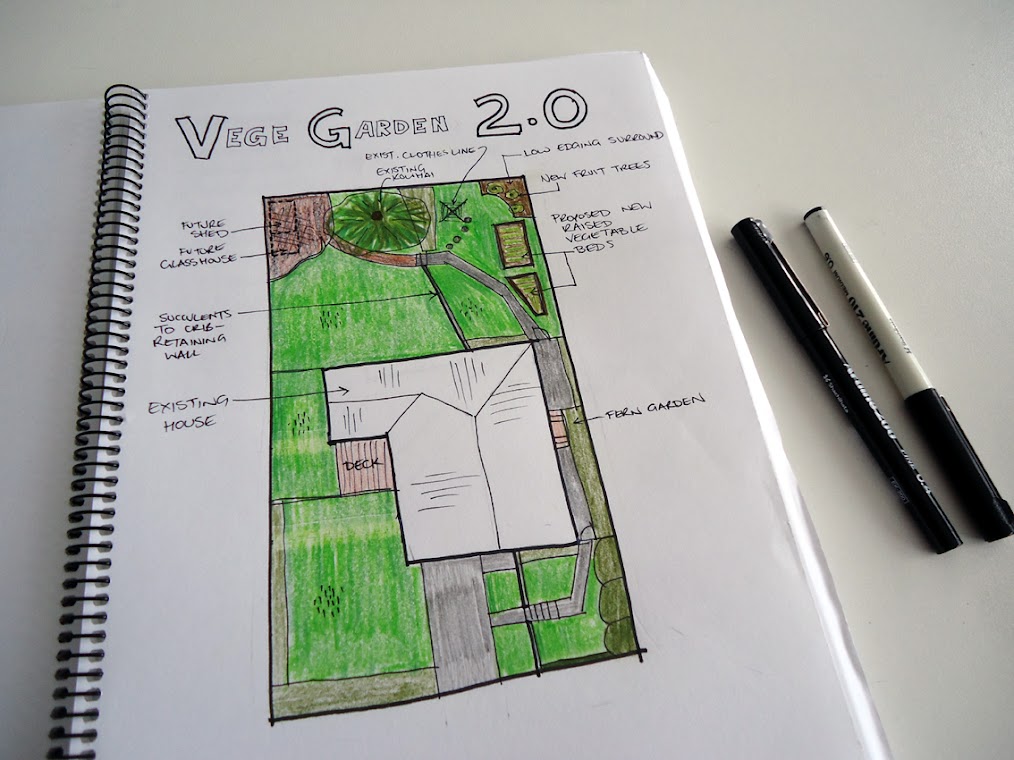
Vege Garden 2.0 Update
Remember my brief garden update last month?


Well, three weekends ago, things got serious!
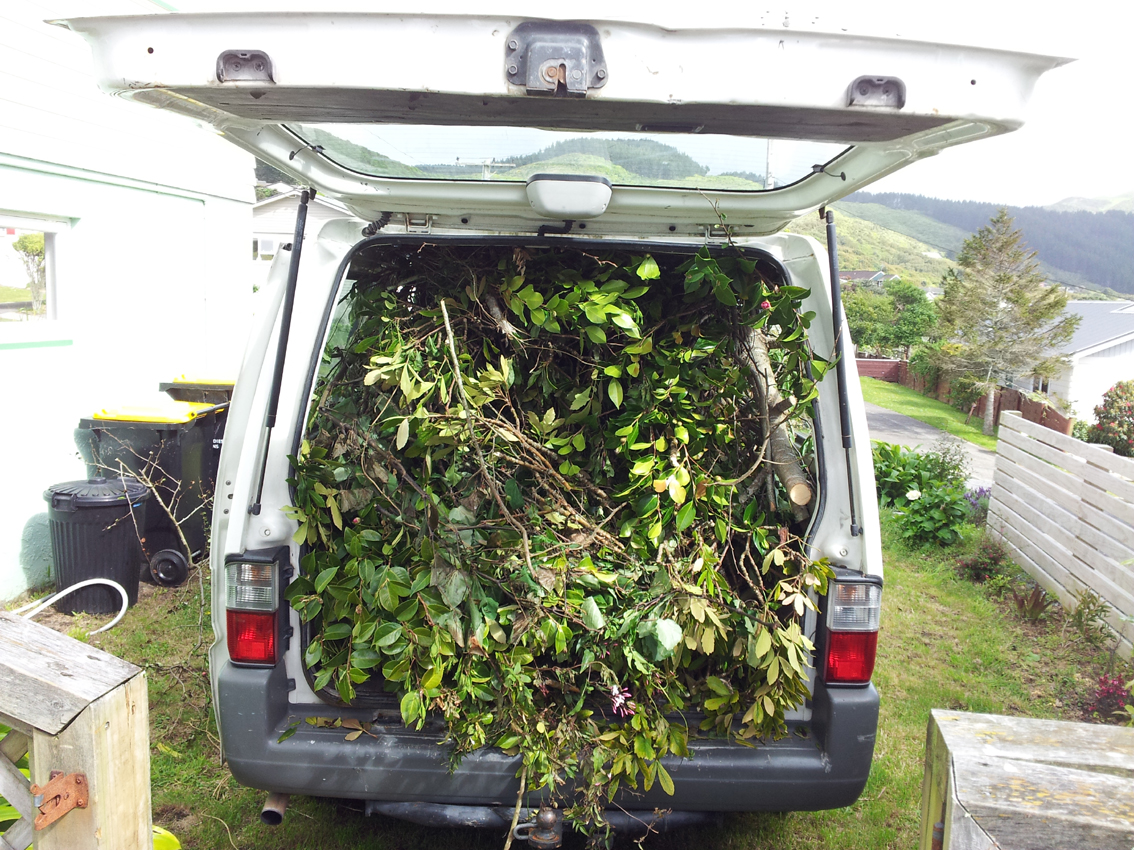
First, we filled up our van with all the tree hackings and went to the tip – we dropped it all off in the green area for a reduced fee, yay!


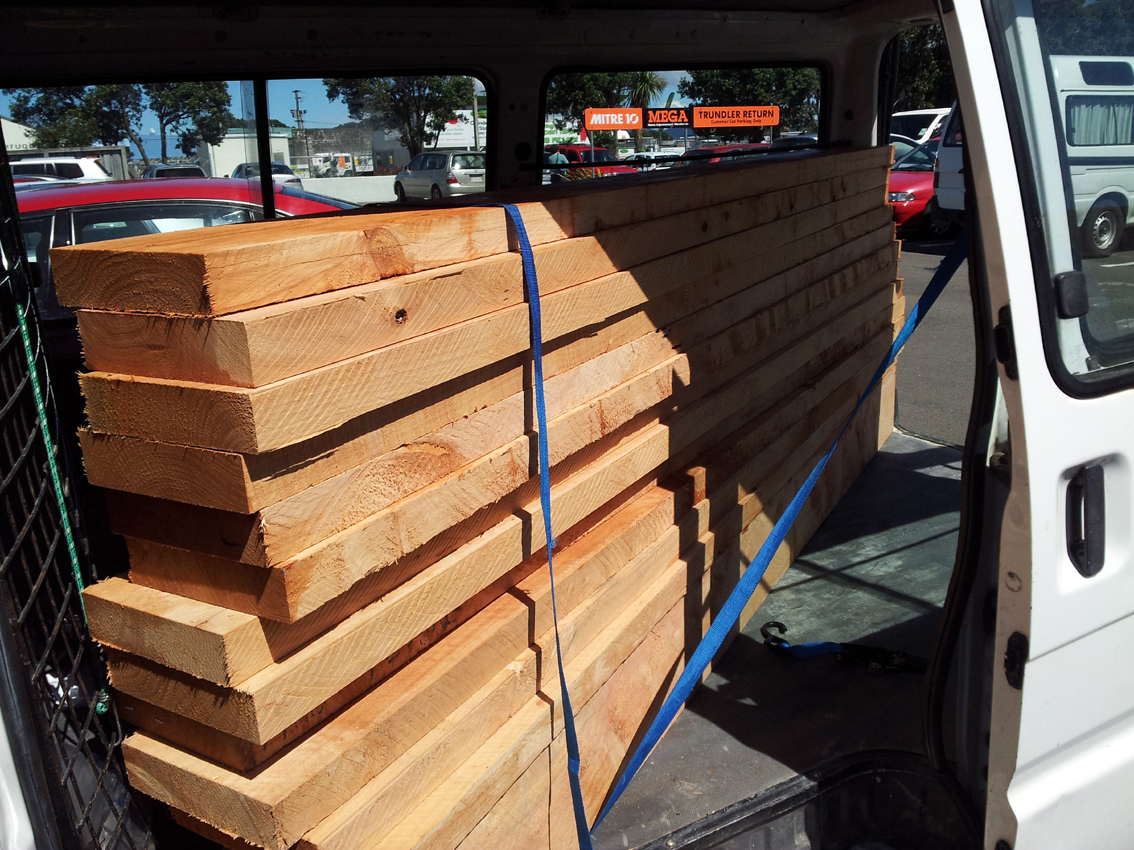
Vans are awesome!
They smelled fantastic, the sleepers, not the van. The van smells like mountain biking!
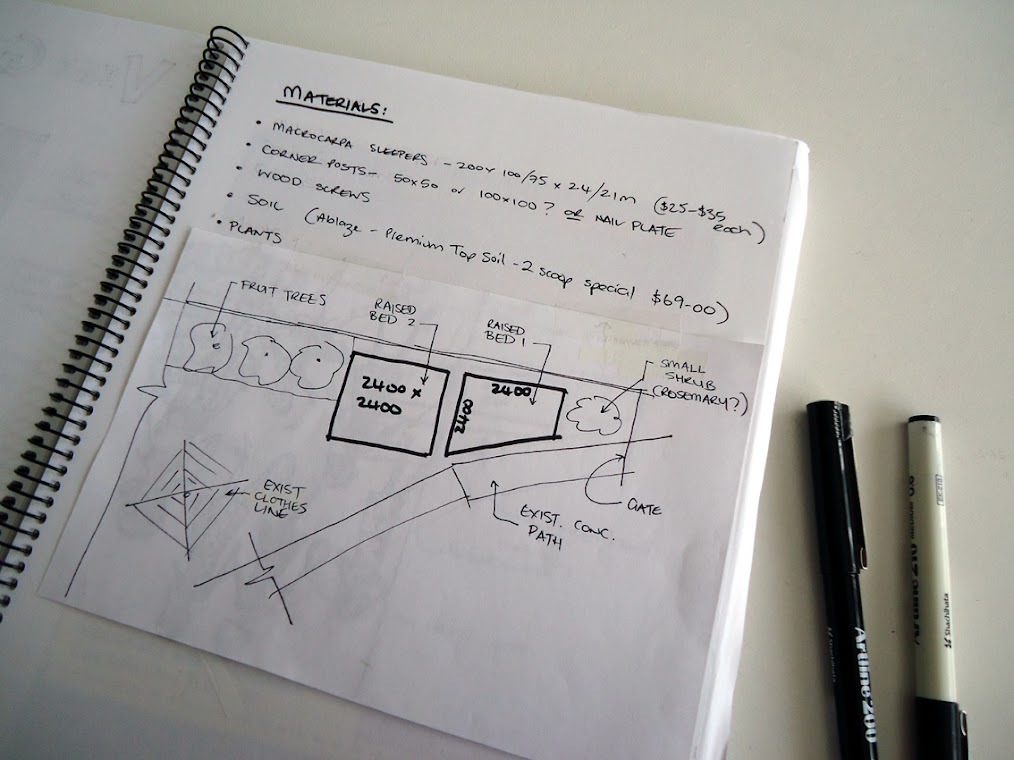
Macrocarpa is an ecologically NZ grown hardwood naturally resistant to rot, fungus and insect attack so requires no chemical treatment.
A popular cheaper alternative is H4 treated pine, however it can potentially leach the treatment chemicals (CCA – Chromated copper arsenate < how nasty does that sound?!) into the soil and therefore your plants.
If you do go for the cheaper option of a treated timber you could line the inside of your beds with polythene sheeting.

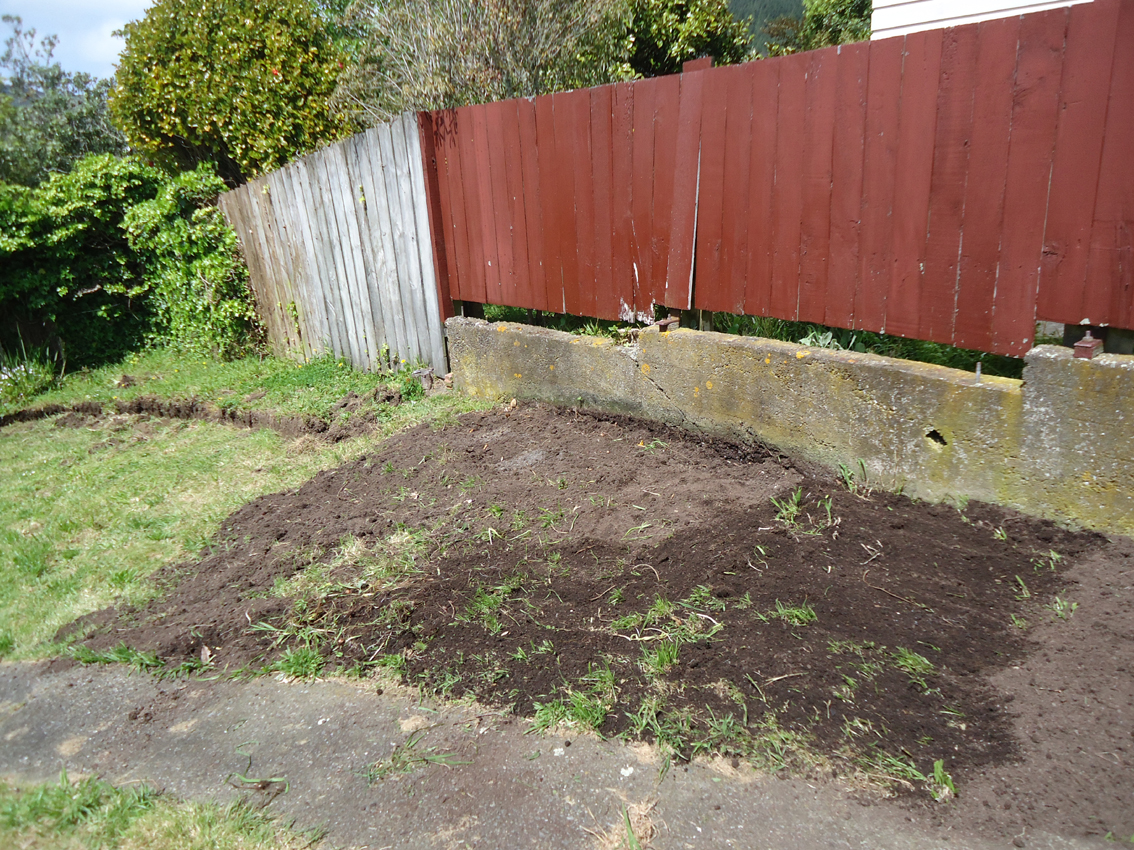
So this is the “before shot” – Last years herbs have been going nuts in the old crusty bed that was existing when we bought the house.

This is the perfect position for a vege garden, on the south side of our section, it gets a lot of sun, is close to the kitchen door and the fences provide as much wind sheltering as is possible in Wellington.
Step one: Destroy the old raised bed. With Demolition Hubby’s help it did not take long:
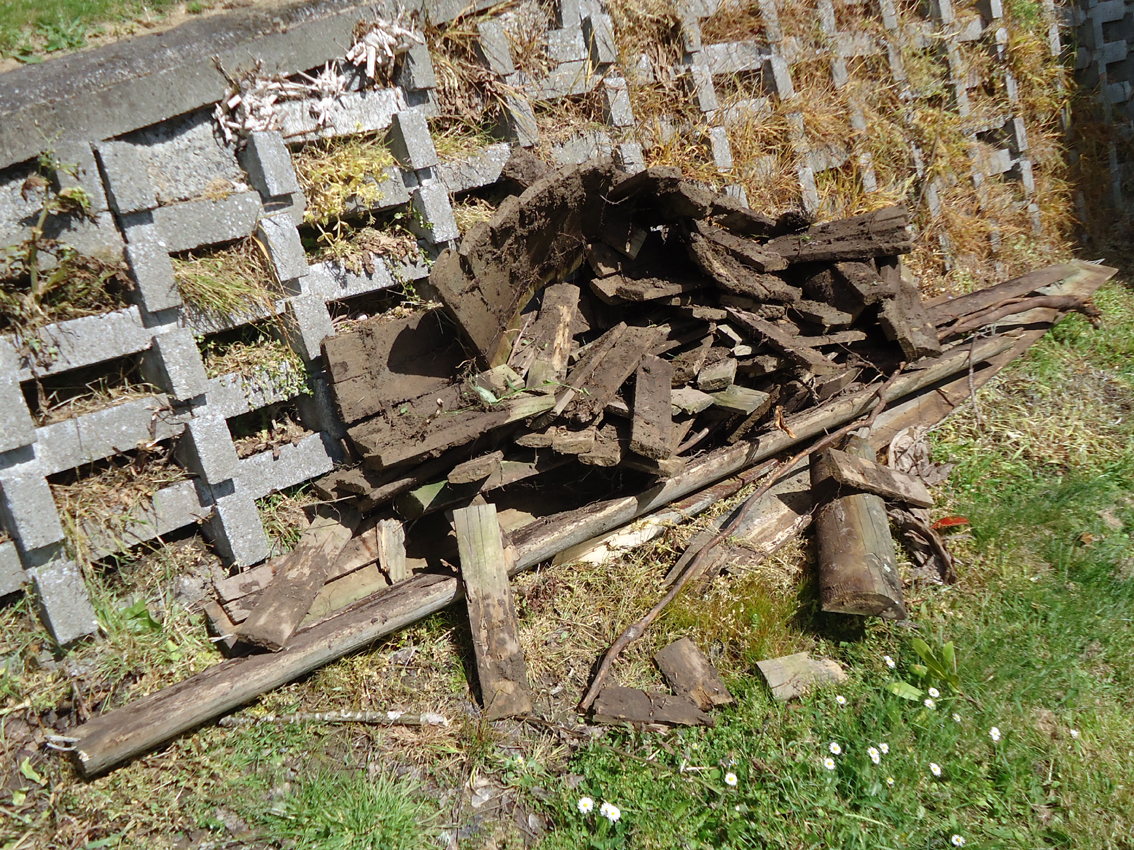


You might be able to tell from the pictures that the section slopes down to the corner. I originally intended to just build 1 level of sleepers and plop them straight down on the ground and fill them with dirt but I was overruled by Surveyor Hubby.
“No, that will look sh*t. We’ll build them two sleepers high and dig them in level.”
So I marked out my beds with string and we began by digging a trench:
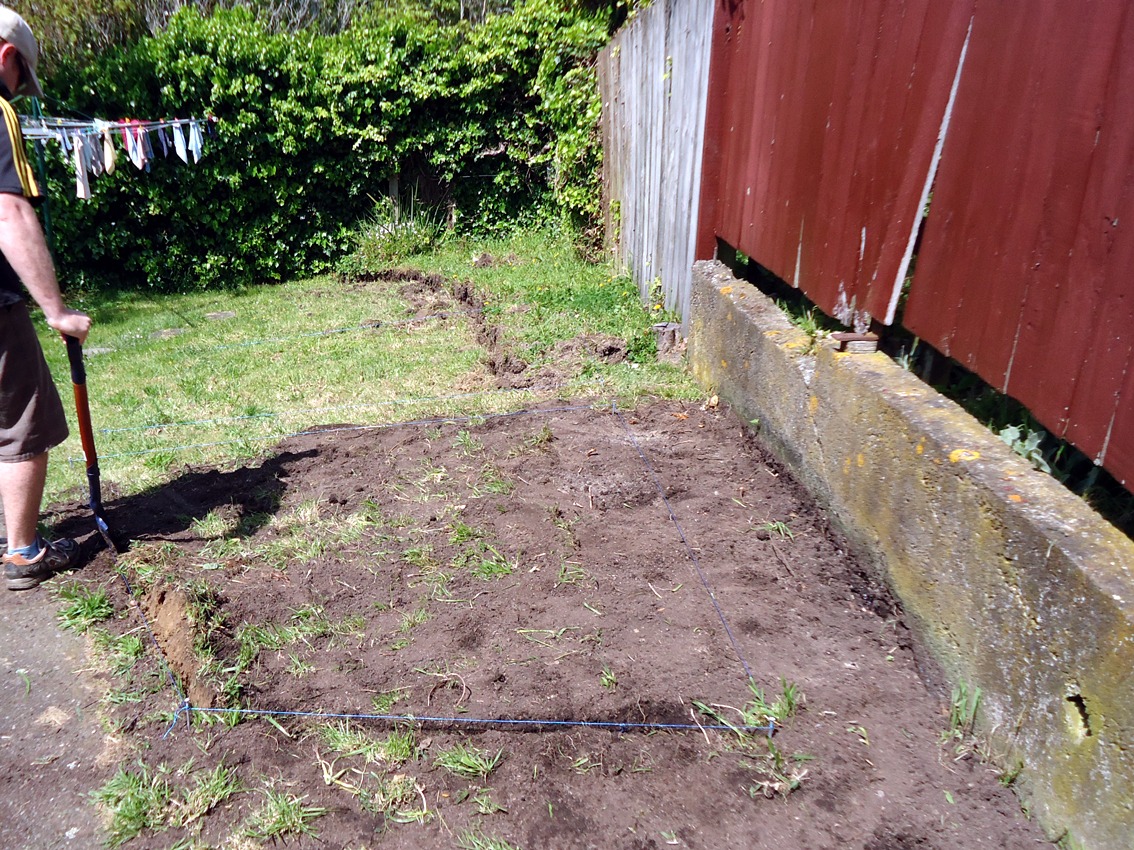

The initial plan was to get both beds built and in on Saturday and then on Sunday we would fill them with dirt and plants. However as we began to level one side for the first bed we discovered a little knob of concrete. Thinking that is was just a little bit of run off from when they poured the concrete path we ignored it until it prevented us from levelling the beds.
If I wanted a proper job it would have to be dug out. How big could it be?
So we dug, and dug, and dug…and DUG!
And dug and dug and dug and dug and dug and dug and dug and dug and dug and dug and dug and dug and dug and dug and dug and dug and dug and dug and dug and dug and dug and dug and dug and dug and dug and dug and dug and dug and dug and dug and dug and dug and dug and dug and dug and dug and dug and dug and dug and dug and dug and dug and dug and dug and dug and dug and dug and dug and dug and dug and dug and dug and dug and dug and dug and dug and dug and dug and dug and dug and dug and dug and dug and dug and dug and dug and dug!
You get the point…
The small bit of concrete turned out to be a huge chunk, roughly ‘T’ shaped, it was not connected to the concrete path at all and had a short length of timber post through it.

We dug all around it and underneath as much as possible hoping to extract it easily but a combination of wet clay and sheer weight of the block was against us. Just as we were thinking of giving up we thought we saw it move, just a tiny bit!

Out came a heavy chain but we needed more oompf – physics came to our rescue, fulcrums and levers in the form of a spare wheel and one of the macrocarpa sleepers!
It took a ridiculous amount of effort but eventually it was free!
Exhausted Hubby estimated the weight at about 70kgs. We have no idea why it was buried under our lawn but the aggregate looks contemporary with the path and retaining walls on our section. Perhaps this area was once terraced and this is all that was left after they smoothed it off? Or, while setting up the section for construction, did someone misread a plan and make a boo boo and then bury their mistake?

After that effort we were stuffed, Exhausted Hubby announced there would be no more garden work that weekend and I had to agree. With rain forecast for the week we filled back in our big hole and collapsed inside.
On Sunday I ached EVERYWHERE. I did manage to plant some seeds though – my beans have already made an appearance.

We took the following weekend off and instead I cleaned and relocated the empty Darlek compost bins away from the house and set up the first one to begin compost making again.
Last weekend we got back into it starting with re-marking and digging the trench for the first bed. Astute Hubby appropriated a digital level from work which helped to get the first tier of sleepers more or less flat.

After checking the fit and levelness (that’s totally a word) we assembled it on the grass with long self tapping screws. The longest angled side needed one join (an off-cut from the shortest side) which we secured using a nail plate.

Dropped into its final location you can see why we needed to assemble on the grass. The right hand corner is at the highest part of the section and therefore almost completely underground while the far left corner sits on the grass and is completely exposed.

We built the second tier straight on top of the first and secured them together with more nail plates.


That was it for Saturday, I didn’t even want to think about the second bed – plus I now had an accurate view of just how huge this first bed was. I decided I would spend Sunday filling it with dirt and plants and the second bed could wait for another weekend.
On Sunday I started by filling in around the sleepers and compacting down the dirt on the outside. Then we took the handy van out for compost, lot’s and lot’s of compost…16 x 40L bags! I also grabbed some seedlings and a few shrubs and we headed home.
There’s not a lot say about filling a big hole with dirt, you just kind of do it. Adding the plants was much more fun!
The strawberries are at the smaller end so that later I can add a cover to protect them from the thieving birds. Herbs (thyme, coriander and basil) at the “front” near the path for easy regular harvest when I am cooking. Tomatoes are at the back so they can gain a little bit of protection from the wind. I will add stakes this weekend, waratahs this time since the bamboo I used last year wasn’t strong enough.
In the centre I have planted the seeds that did well for me last year: carrots, spinach and pak choi and I have some room left over.

Yum!
The placement of the first bed left a larger triangle of ground than I expected. This is good, I can plant larger edible shrubs, I removed the grass and did just that.
So far I have a bay leaf bush, cranberries and a rosemary that was previously potted so looks a little stunted. I’ll add more to this eventually and, after bed #2 is constructed, I will plant lemon and lime trees at the opposite end.

So that’s it. All the seedlings are looking a little sad right now, the rain forecast for earlier this week did not eventuate so I’ve had to hand water in the evenings.
As things get more exciting I’ll keep you updated
Filed under: Gardening Tagged: macrocarpa, vege garden v2.0