
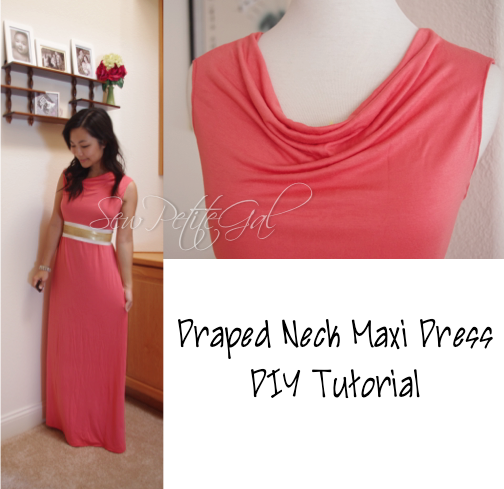
Draped Neck Maxi Dress DIY Tutorial
Maxi dresses top my list for summer weather. I love the comfort / ease associated with them and thought the draped neck might be a good variation from ones I've made in the past.

Difficulty: Easy
Time: ~1.5 - 2 hours
Materials:
- ~2 yards knit fabric (56-60" width)
- Existing sleeveless shirt that fits you well
Steps:
1. To begin, assess how long you'd like your dress as well as how wide your skirt hem needs to be in order to walk comfortably. The easiest way to do this is to measure the length and hem width of a maxi you already have. From past projects, I know to use a rectangle 50" long by 56-60" wide (I use the standard width of most knit fabrics) for the total dress. Always account extra for length!
2. If you are also using the standard width, simply fold your fabric edge to the fabric center.
3. Fold your shirt in half and align the fold of the shirt to the fold of the fabric. You will now cut out 2 panels for your dress - the BACK and the FRONT.
4. For the BACK panel:
- Carefully cut along the neckline, shoulder, armholes, and sides. When cutting, make sure to cut at least a 1/4" away from your shirt to account for seam allowance.
- For the skirt portion, you will cut diagonally from the corner of your fabric to the corner of your shirt. This is illustrated by the stick in the picture below.


Back panel is essentially your shirt a diagonal cut down to the hem
5. For the FRONT panel:
5. For the FRONT panel:
- As with the BACK panel, align the folds of the shirt with the fabric AND the shoulder of the shirt 3" down from the top of your fabric.
- To create the draped neck, you're going to modify the neckline cut into a rectangle (extend 3" from the edge of the shoulder) that then merges with your shirt armhole and sides. This does not need to be terribly precise as there will be room for adjustment.
- Then cut diagonally from the shirt edge down to the hem as you did with the skirt portion of the BACK panel.

6. Now that you have both panels cut out, place the right sides together and sew down from the armhole to the hem. Try on and make sure the fit is to your liking.
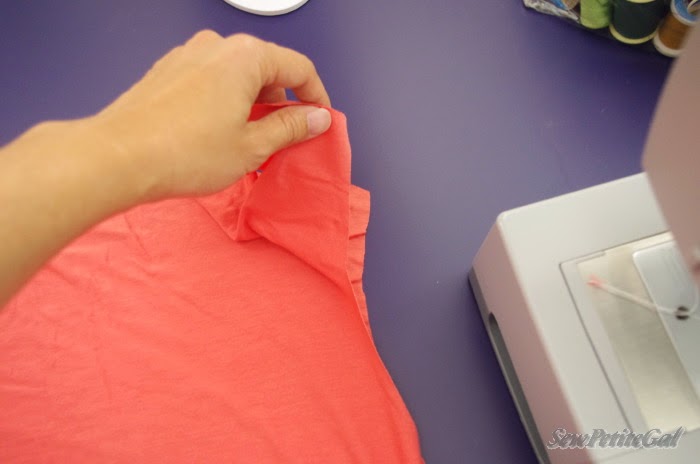
7. For the shoulders, you're going to align the back shoulder with the rectangular front. The rectangular edge will allow the center to drape downwards.


Do for both sides and pin in place
8. For the other side of the shoulder, fold the top edge of your rectangle towards the wrong side until this aligns with the back. Pin in place.
8. For the other side of the shoulder, fold the top edge of your rectangle towards the wrong side until this aligns with the back. Pin in place.

Folded rectangular edge aligned with the other side of the shoulder
9. Baste your shoulders together and try on. If you'd like your drape lower, simply move your front panel downwards until you get your desired outcome.
9. Baste your shoulders together and try on. If you'd like your drape lower, simply move your front panel downwards until you get your desired outcome.

10. Once you've determined your drape positioning, remove your basting stitch and sew across. Trim any excess fabric from the rectangular portion of the front panel.
11. Finish your edges by folding inward and stitching along the back neckline, armholes, and hem.
That's it!


Since I used a solid fabric, I think a belt adds a little visual contrast and interest
Questions? Please feel free to ask below or send me an email!
Questions? Please feel free to ask below or send me an email!
More posts from Ft hh