My Farm Girl Pincushion Tutorial!


I thought it would be fun to show you a few things that you can make with some of my 6" Farm Girl blocks…


from page 8 of my book Farm Girl Vintage I chose to use this block because we are making it this week on our first Farm girl Friday's:)

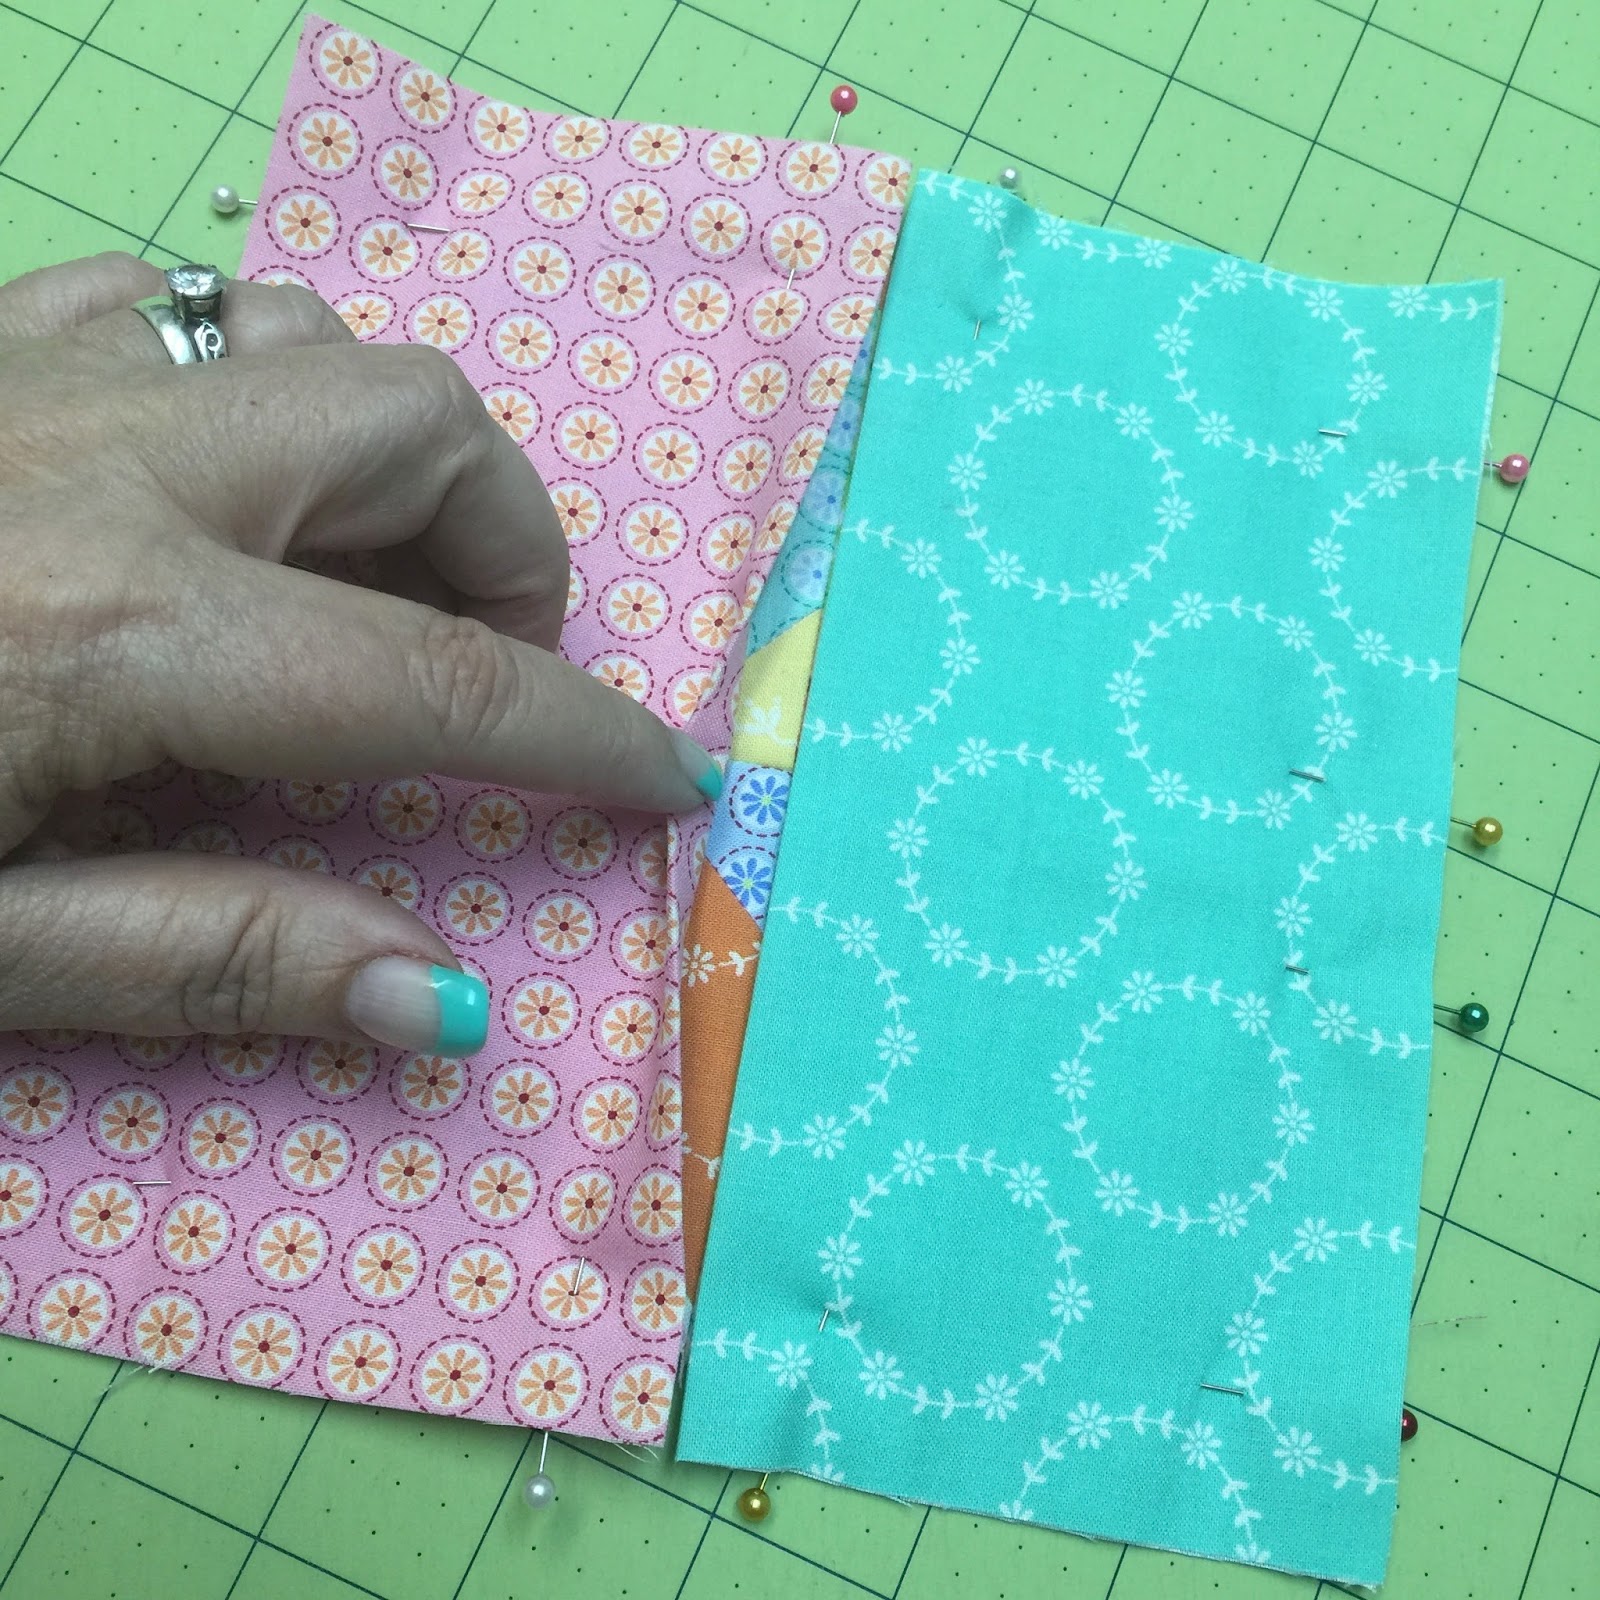
After you have sewn your block… Cut 2 -7 1/2 squares to use for the back of your pincushion. (I used 2 different fabrics, but they can be the same)


Now place them together with folds towards the center... and place block right side down in the center. Make sure the center seams of block line up with the folds where they meet in the middle like this.


Stitch 1/4"all the way around the edge of your block… and backstitch where the folds meet on the back to secure nicely.


Stitch across on marked lines… several times to secure:) (the back lines should line up with the front lines before stitching)


I stuffed it firmly especially in the corners… but I left a little room for the button in the center.

I chose a cute 1" aqua flower button. (by Riley Blake Designs of course)
I used Perle Cotton #5 for strength and a doll needle because they are super long! (these are from Hobby Lobby)

Then I chose a yellow button for the back and double threaded my needle … and knotted the end. I inserted needle into one of the holes making sure the button was exactly centered.

I came up to the front and into the bottom of the aqua button and back down into the other buttonhole. Make sure it is centered on top as well.


Then I cut off my needle so that I could hand tie a knot. I pushed down in the center before tying it off securely several times….


And put it on a vintagey stand that I made with a thrifted square glass dish and a short glass candle holder.

I love the way that it turned out using my Apronstrings block… and I can think of several other of my Farm Girl blocks that would make a fun pincushion as well!
I'll see you again on Friday morning…YeeHaw! xx Lori
More posts from