Encrusted Treasures - Belugaria

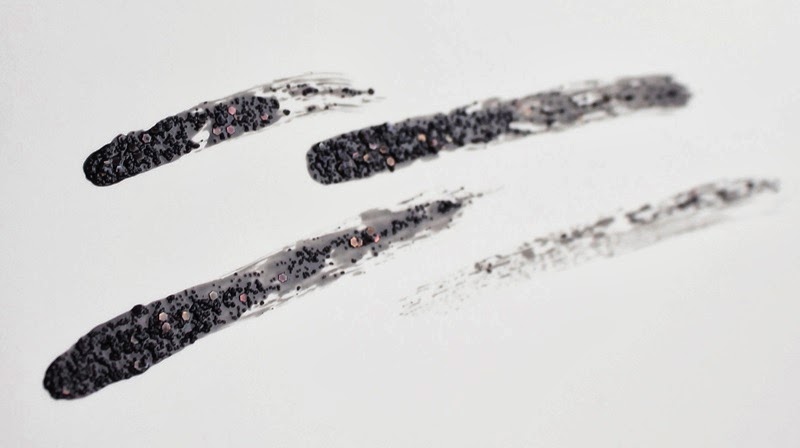
I already mentioned Essie's Belugaria nail polish two weeks ago in this post and told you that I would give it a try. Let me first give you some images of what makes the encrusted treasure called Belugaria so special: The mashup formula!
So, this is how the texture looks like: The jet-black base color comes with round glitter elements and also little black beads, which ensure the caviar effect.

Here's a little "how-to" to master the coats:
1. Give the bottle a good shake to mix the beads with the glitter elements. 2. The first coat is meant for coverage - the entire nail should be covered, try to ignore the beads when applying the first coat. 3. The second coat is a filler - dab the lacquer into any gaps to ensure an even finish and to add more beads and sequins for the extra glow.
You will see that Belugaria is surprisingly easy to apply!
I created two statement nails with it and kept the other ones simple with a beautiful deep seagreen color also from Essie - mind your mittens!

Without using a topcoat, the nailpolish feels and looks pretty scratchy. In the picture above the statement nails seem to have a rather matte finish than a sparkly one. But depending on the light they appear differently as you can see in these two further examples 1, 2 !
Belugaria is definitely a new approach - a little bit grungy and rough but still delicate with its dim appearance. I'm still expressing my joyful anticipation of Christmas with glitzy nailart and Belugaria belongs now to my favorite glitter lineups.
More posts from