
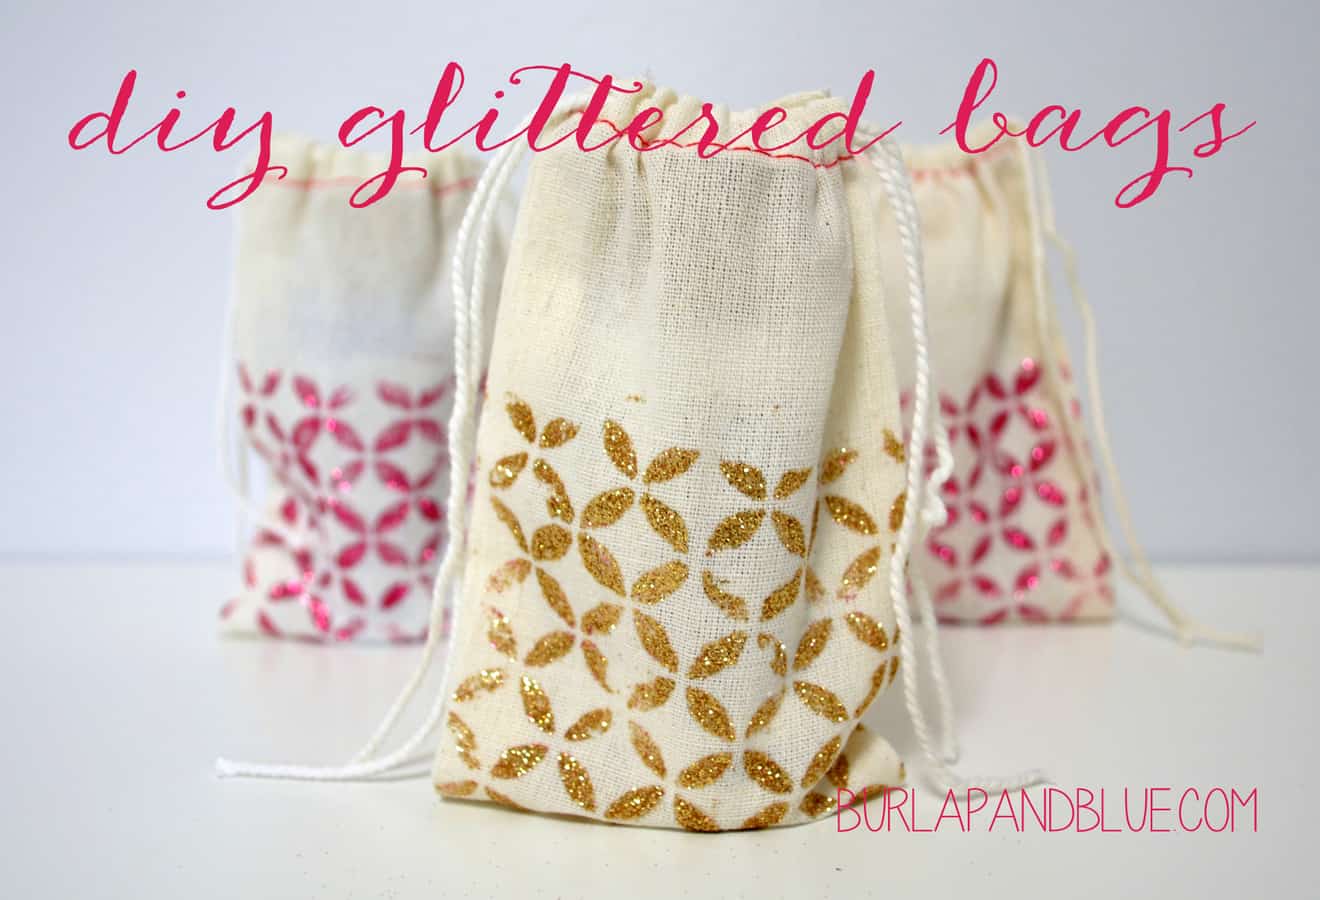
DIY Glittered Bags {a tutorial}

If you’ve read this blog for any amount of time, you know that I love crafting with glitter. Nothing too sparkly and over-the-top, if you please, but a smattering of glitter is simple way to add some texture, dimension and shine to your projects. I’ve blogged about my favorite glitter crafts here, some cute glitter chalkboard labels in this post, and a glitter and watercolor garland here. Today, I’m using a fun stencil from the Mod Podge Rocks! Peel and Stick Stencils line to create these simple glittered cotton bags.
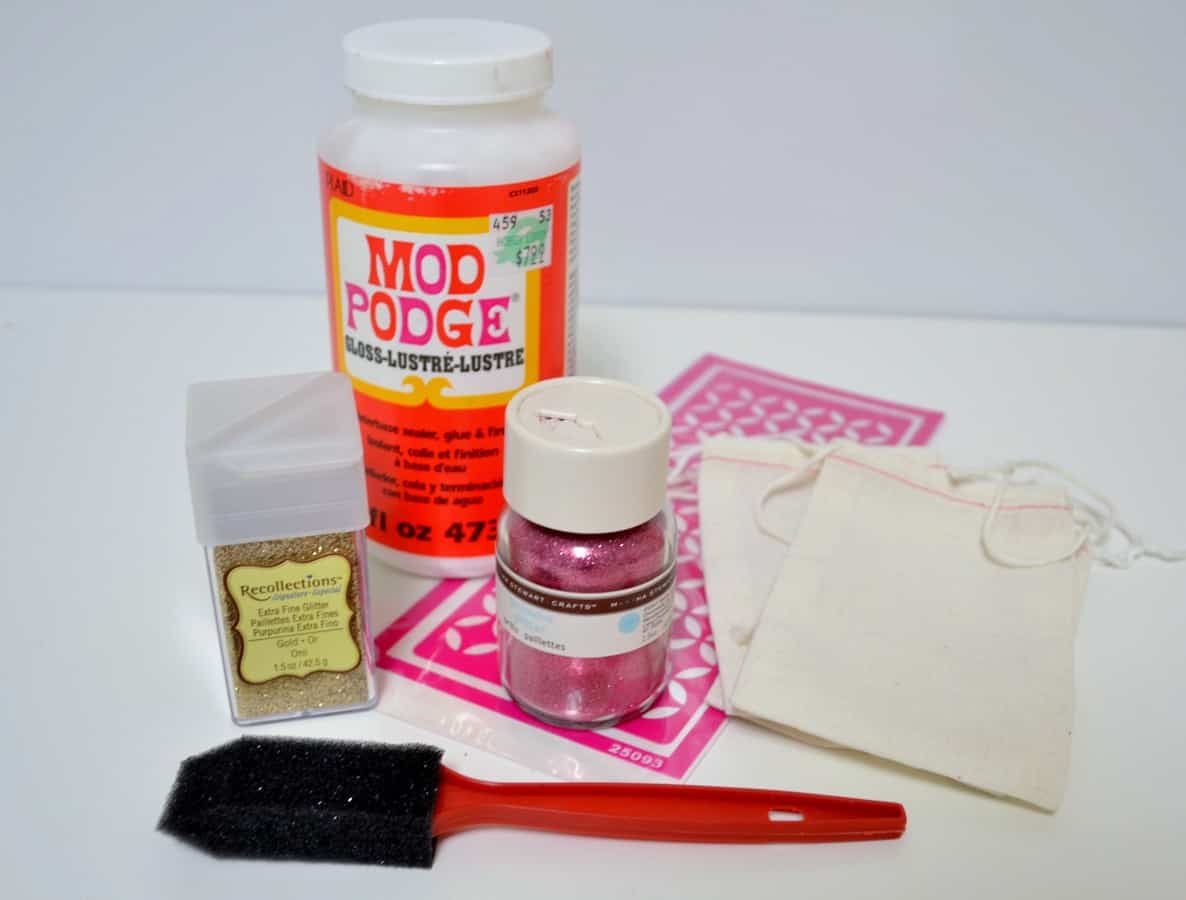
Materials:
glitter
Mod Podge Rocks! Peel and Stick Stencil
spouncer
Mod Podge
jute or cotton bags

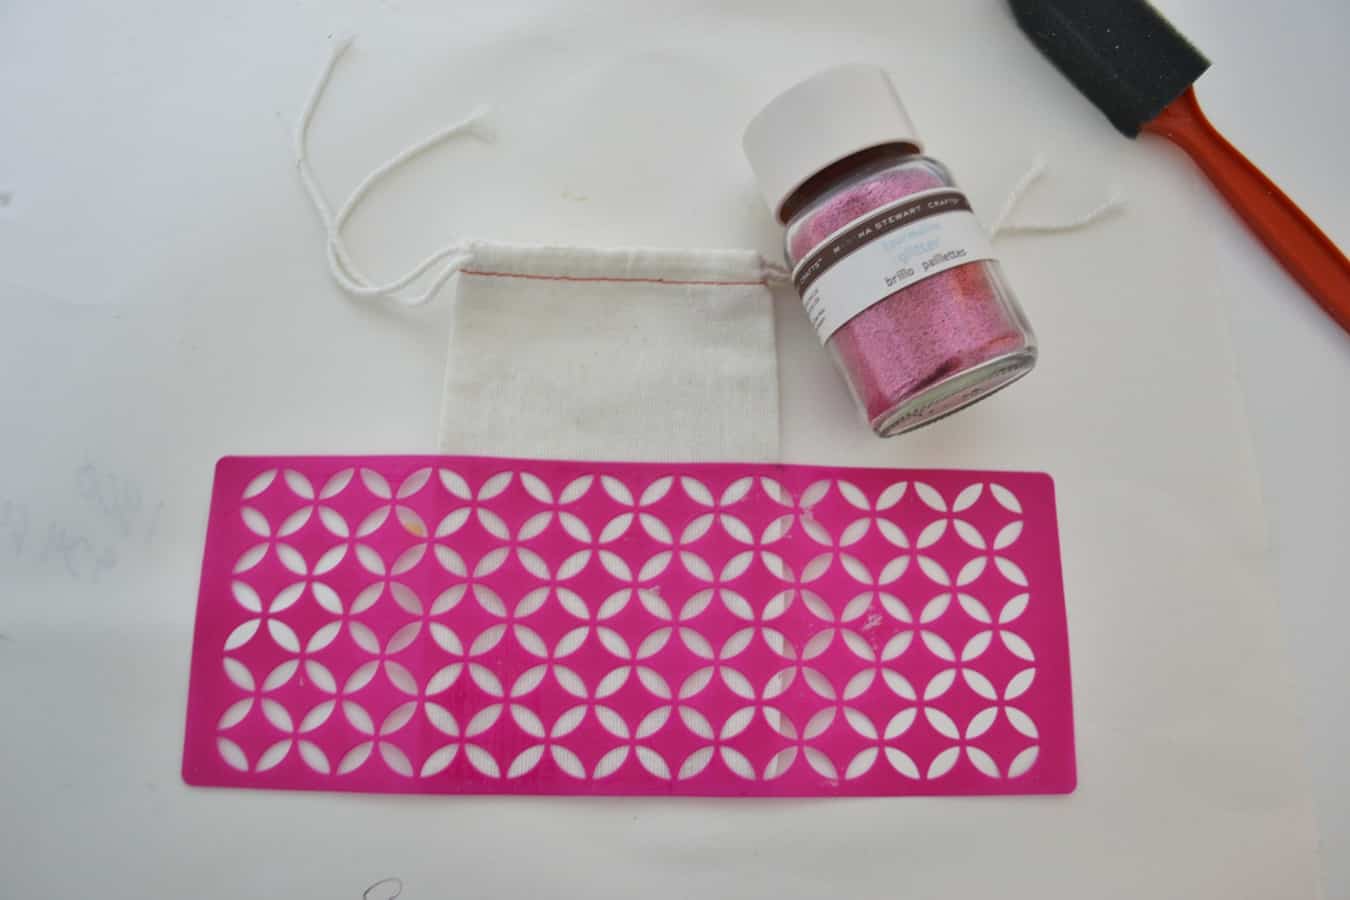
Step 1: Gather your materials, remove the stencil from the backing, and place on bag. Use a spouncer (or foam brush) to carefully apply Mod Podge through cutout area of stencil.

Step 2: Remove stencil, and apply glitter to Mod Podge. Remember, you need to get your surface glittered while the Mod Podge is still wet, and it can dry quickly, so you will need to work quickly.
Place stencil back on carrier sheet and wash. Allow Mod Podged area to dry completely, then use a small brush to remove any excess glitter from bag. Let dry, and you’re done!

These would be great for small gifts such as jewelry or gift cards, or you could even glitter something larger like a wine bag or tote bag!


