
Smyckesträd – Jewelry tree

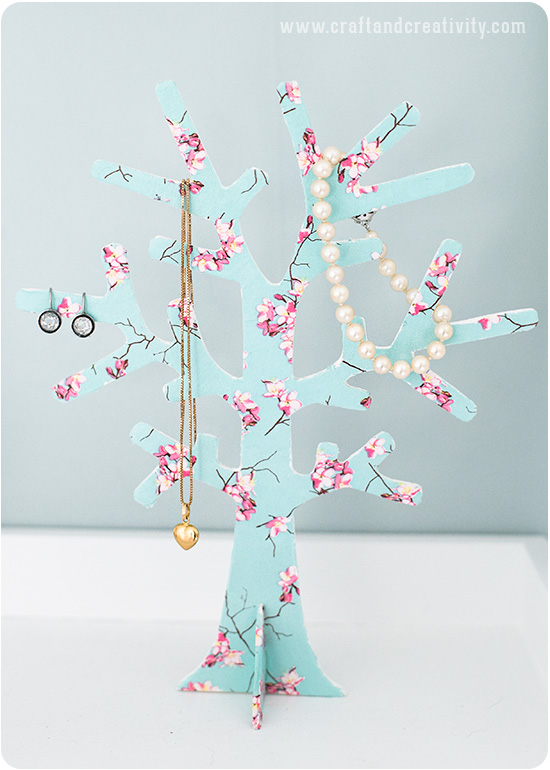
En av vårens nyheter från Make & Create är detta prisvärda dekorationsträd av trä som går att dekorera på en mängd olika sätt. Jag valde att göra decoupage på mitt träd och använder det till att hänga smycken på.
————-
One of the new craft supplies from Make & Create this Spring is this wooden tree that can be decorated in many different ways. I chose to do decoupage on my tree and use to hang my jewelry.

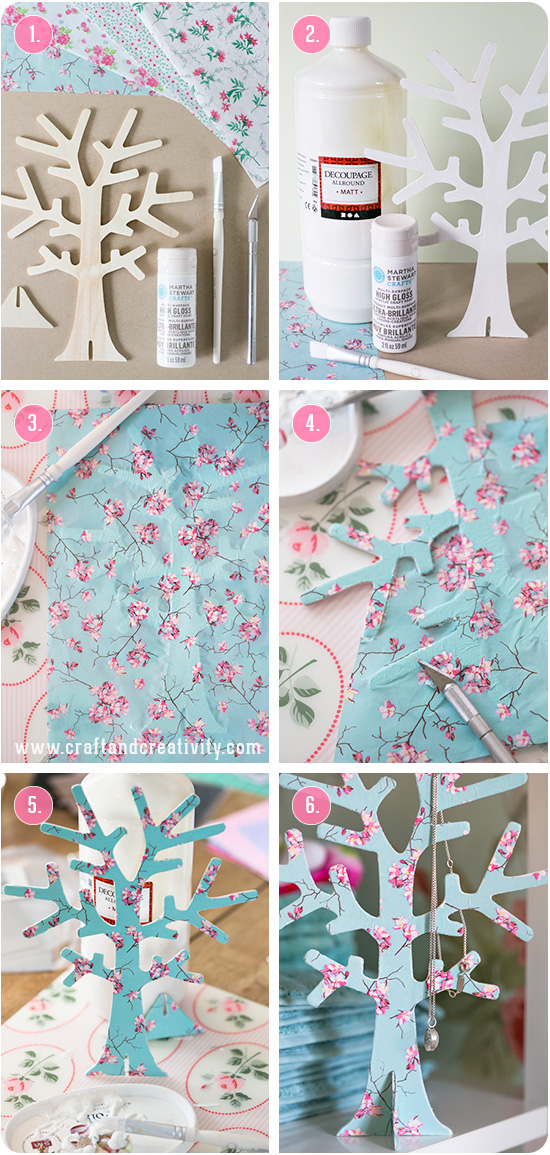
- Du behöver: Dekorationsträd i trä, ett ark decoupagepapper eller en mönstrad servett, decoupagelack, pensel, hobbykniv/skalpell och hobbyfärg ifall du vill måla trädet först.
- Gör så här: Jag ville ha en vit baksida och vita kanter på mitt träd och därför valde jag att börja med att måla trädet med en vit färg från Martha Stewart Crafts® som heter Wedding Cake. Färgen torkar på en halvtimme.
- Nästa steg var att pensla decoupagelack på framsidan av trädet och placera decoupagepappret ovanpå. Jag borstade försiktigt med penseln för att släta ut pappret. Täck även den lilla foten som ska sitta som stöd längst ner på trädet och eventuellt baksidan av trädet, om du så önskar.
- Efter ca 1 tim när lacket torkat tog jag min hobbykniv/skalpell och skar papperet längst med kanterna på trädet.
- För extra hållbarhet förseglade jag ytan med ett lager decoupagelack.
- När lacken torkat kilade jag fast det lilla stödet som gör att trädet kan stå upp.
——
- You will need: A wooden decoration tree, decoupage paper or a patterned napkin, decoupage lacquer, a paint brush, a hobby knife and hobby paint if you want to paint the tree first.
- How-to: I wanted the back and the sides of the tree to be white and started by painting the tree with High Gloss Paint from Martha Stewart Crafts® in a white shade called Wedding Cake. The paint dries in half an hour.
- The next step was to brush decoupage lacquer on the front of the tree and place the decoupage paper on top. I stroked the paper gently with a brush to smooth out any wrinkles. Remember to also cover the foot of the tree, which will be used as support. If you like you can also cover the back of the tree.
- After about 1 h, when the lacquer had dried, I took my hobby knife and cut the paper along the edges of the tree.
- I sealed the surface with a coat of decoupage lacquer, for extra durability.
- When dry I attached the foot to the tree that enables the tree to stand on is own.

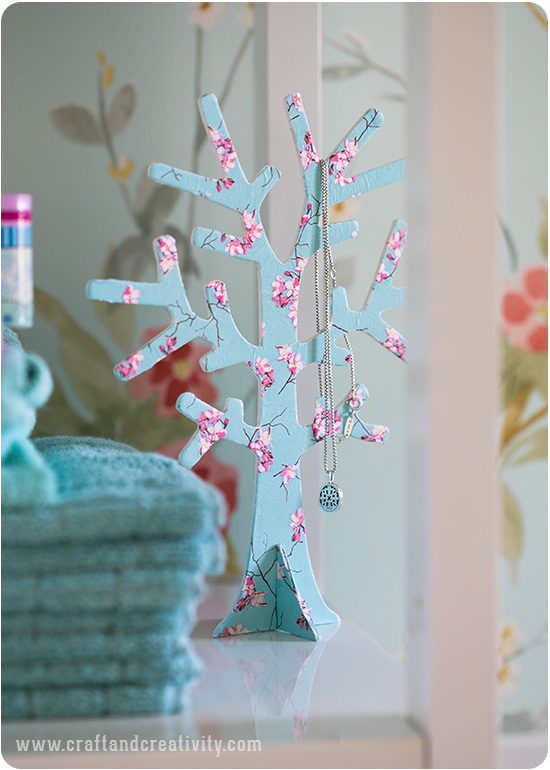
Trädet är 22 cm högt och står stabilt men är tunt och väger väldigt lite och tål därför inte alltför mycket tyngd. Men det fungerar perfekt till när man vill hänga av sig dagens smycken och som ren prydnad förstås. Eller som en fiffig följare på Instagram tipsade om – man skulle kunna borra små hål i det och fylla det med örhängen.
—————–
My tree is 22 cm (8.7″) high and is stable but it’s thin, low-weight and can therefor not stand too much weight. But it works perfect in the evening when you want somewhere to hang today’s jewelry or as pure decoration of course. Or as a creative follower on Instagram wrote – you could drill small holes in it and fill it with earrings.

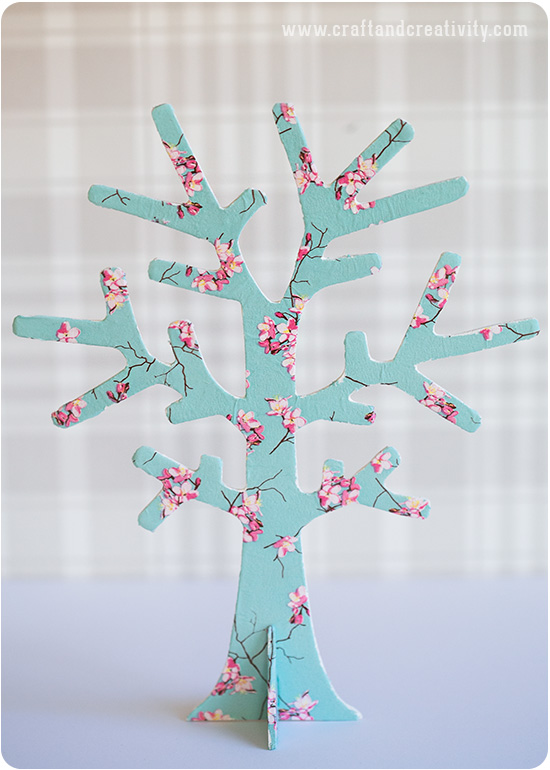
Jag valde mönstret Cherry Blossom på mitt decouopagepapper med tanken att trädet skulle passa i vår nyrenoverade gästtoalett.
———–
I chose a pattern called Cherry Blossom on my decoupage paper, thinking that it would look nice in our newly decorated guest bathroom.


