
My Favorite Things Necklace- "Handmade Holiday" Project 006


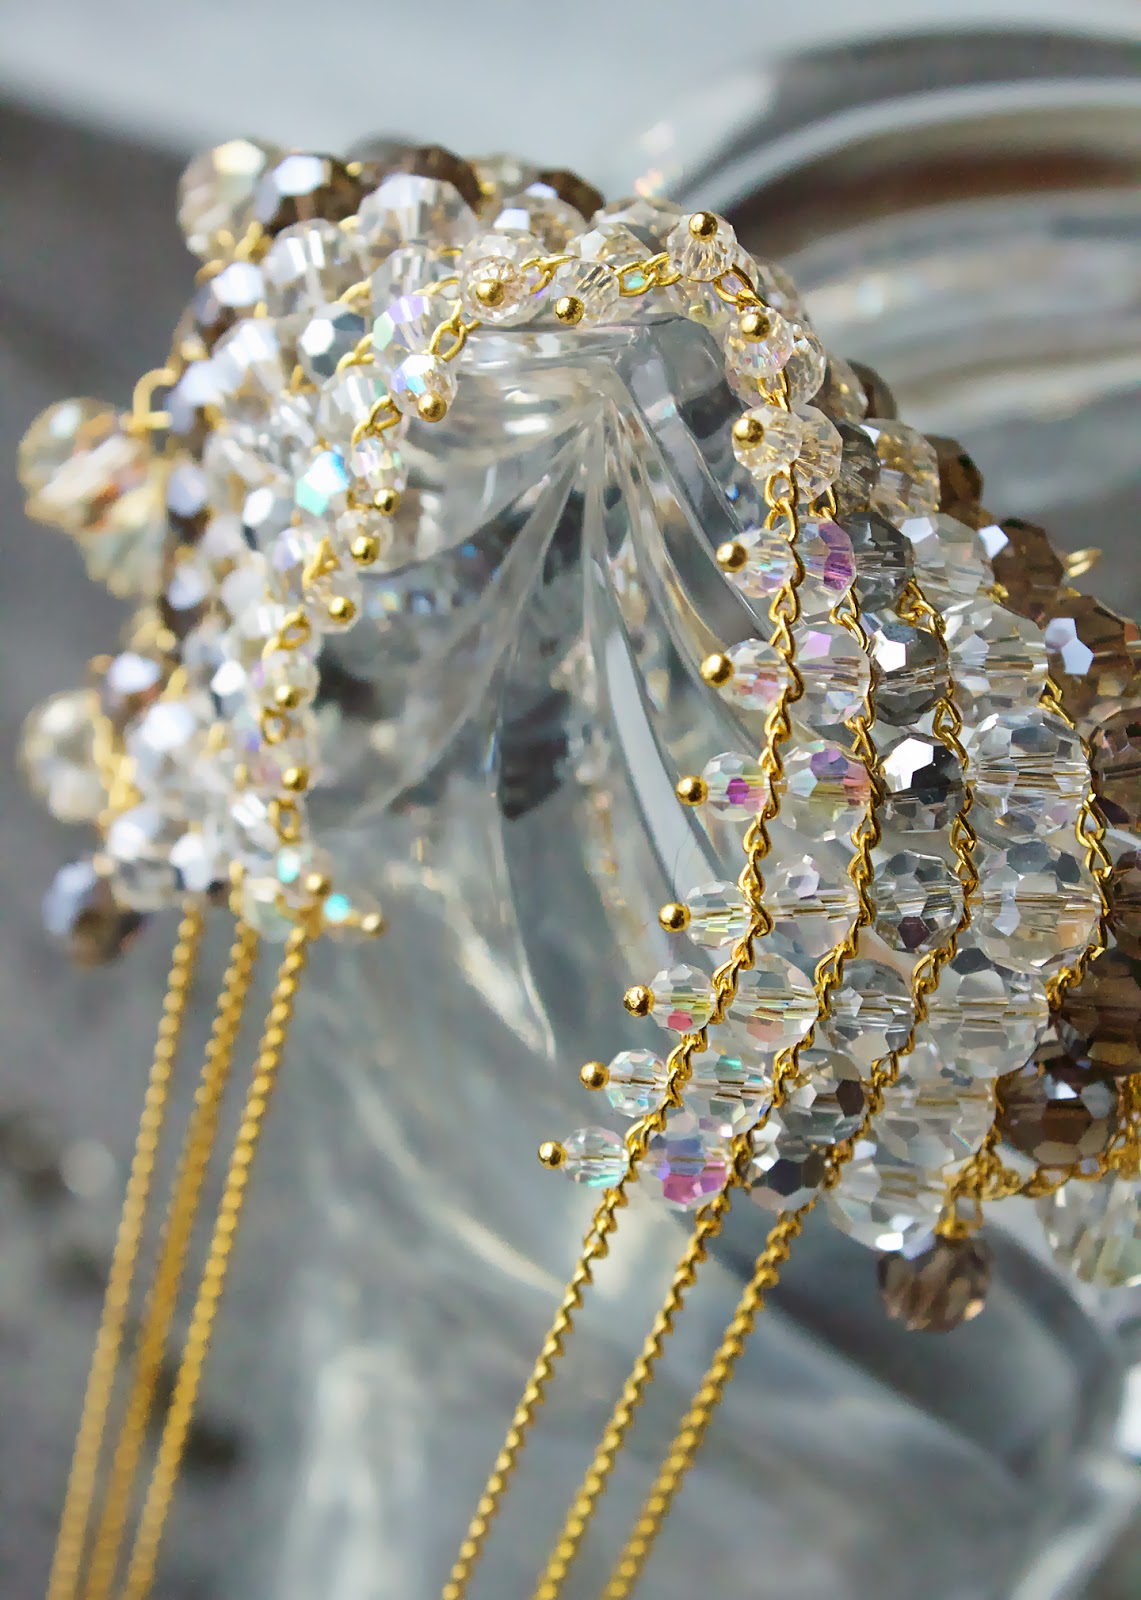
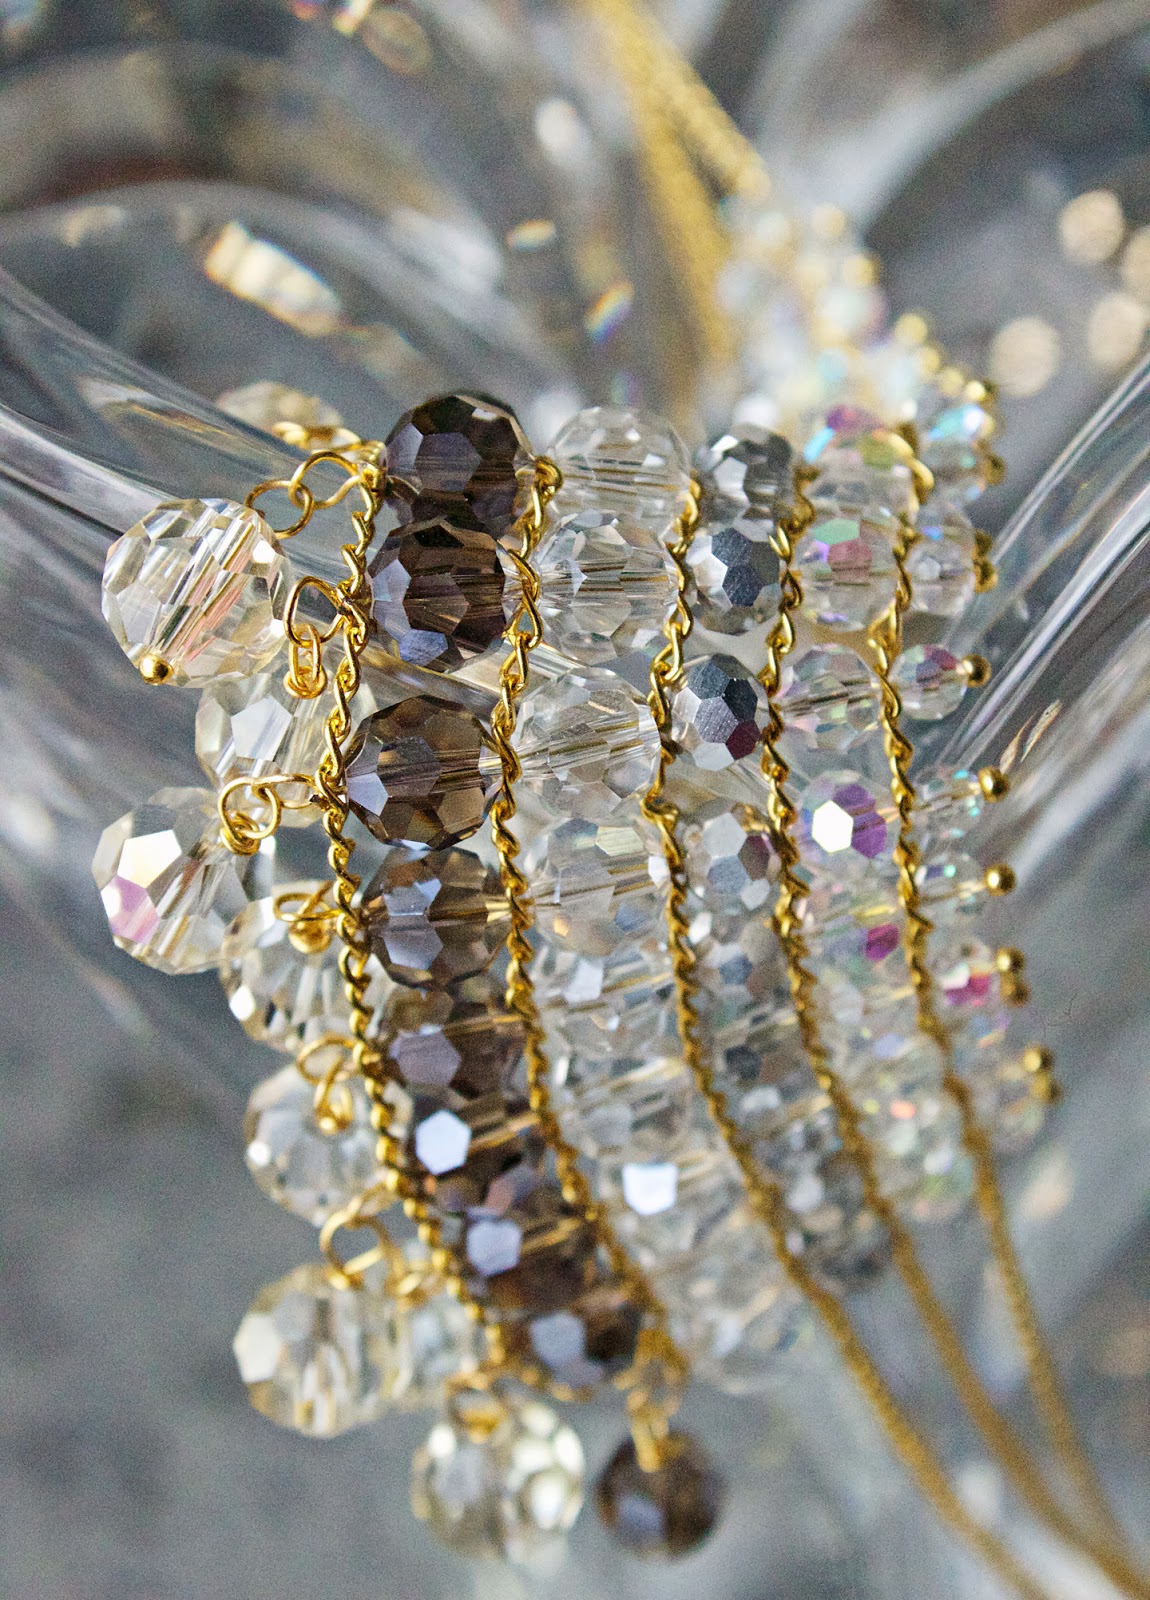
Clear crisp crystals and dainty gold chains, Sparkles and glitter and excess glitz! These are definitely some of my favorite things. And aren't they most peoples' as well???

Well even if they are not, you totally need to make this extra-luxe necklace for yourself or a friend. It's the perfect statement accessory for any holiday party. Trust me; the layers and layers of chunky crystals between the delicate, shining chain and the added detail of gold-tipped headpins makes for a totally unique, killer accessory that everyone will have their eyes on!

It involves a simple technique of weaving wire through both bead and chain, creating a large, focal panel which is then finished by attaching chain. Simple enough, yet looks intricate and more involved than it really is! All of my materials used here were from Cousin Beads. Find this great brand at Walmart, AC Moore stores, JoAnn Fabrics or Michaels craft stores!

I've used a combination of clear, grey and smoky crystals here. I love this color palette of neutrals. It allows you to wear with a ton of different colors; black, ruby red, even sapphire or chartreuse would look great. If you choose to go with different colored crystals, make sure they compliment each other! Don't use all bright-colored crystals, as this will be too distracting with all the other elements going on. You could even go with a monochromatic look, using all hues of emerald or amethyst in different values; that would create a very cool, ombre-effect!

To style this, it would look great with a playful, pop-of-color romper and simple gold clutch. For warmth throw on a trendy fur bolero and finish with strappy neutral heels.


Step 1: Gather materials. Needed are: small gold curb chain, round crystals in the following sizes: 4mm, 6mm, 10mm and 8mm. I used two packs of Cousin Crystazzi AB 4mm rounds, two packs of Cousin Crystazzi AB 6mm rounds, one pack of Cousin Jewelry Basics 6mm Facet Crystal/Silver Rounds, one pack of Cousin Jewelry Basics 10m Round Champagne Crystals, one pack of Cousin Jewelry Basics 8mm Smoke crystals, one pack of Cousin Jewelry Basics 8mm Clear crystals. You will also need gold ball-end headpins, a gold clasp and gold chain extender.

Step 2: Make charms from 18 of your largest crystals. Do this by threading them on your ball-end headpin, and wrapping around your round nose pliers, and then wrapping around the wire beneath and cutting flush. This will give you perfect "lollipop loops" as we call them!

Step 3: Cut your chain into 5 equal lengths. Start by threading on your smallest crystal onto the headpin. Then, thread the headpin through the 6th link from the end of the chain. Now, thread on your second smallest crystal, then through the 6th link from the end of the second chain.

Step 4: Continue in this pattern until you have reached the bottom of the chain, and there are no more crystals to add. All headpins should have gone through the 6th link from the end of the chain pieces. There were 5 chain pieces, so 5 crystals will go on each headpin. Make a loop at at the end, beneath your last chain piece, with your pliers and cut off the excess. Add on one of your 18 large crystals to complete this unit. Yours should look like the middle picture. Keep repeating this process, over and over again. There should be two open links between every unit, so insert each unit 3 links over from where the last unit sits. If it gets a little tight with the larger beads, it's ok to insert over a link, so there may be 3 links between them. Judge for yourself, depending on what size your crystals are.


Step 5: With the excess chain, I pulled off maybe 6" or so from each of the chain pieces, and added these to the last links of the other side, creating longer chain pieces there. I ended up with what you see in the first picture. Now, starting on the left side of the large beaded panel, string on the smallest crystal on the headpin, then through the link 3 over from where your last unit sits, and continue to bead how you were except do not string on the last, smoky crystal. View bottom left picture. Make a loop right after the chain below the white crystal and cut flush. Make a charm from your smoky crystal, using your headpin, and attach it to the loop you just made. You should have the right picture. Repeat with the other side of the panel. You will have an extraneous piece of chain which we will take care of in a minute….

Step 6: Simply cut this chain 6 or 7 links from where your last LARGE white charm is inserted, and attach the end to the chain right by the smoky charm's loop. You should have the leftmost picture. This just nicely ties off the piece. Repeat with the other side. Then, simply cut the bottom chain right after the link the smoky charm's unit is connected to, so you are left with three chains remaining, the top three. Repeat with the other side. You will have the right-top picture. Now, just make sure all the lengths of chain are the same, you can play around with length to make it customized to you. Simply add a jumpring to connect all three chains, and add your clasp and extender if you need. You are finished!

This necklace is flexible yet not very light! The rows of crystals add the weight, but it's totally worth it!


This is definitely one of my favorite beading patterns--basically because we are beading with crystals, and crystals only!

All images and tutorial copyright Allison Beth Cooling. Do not use/post this tutorial or pics without crediting me!
More posts from Allison Beth Cooling