
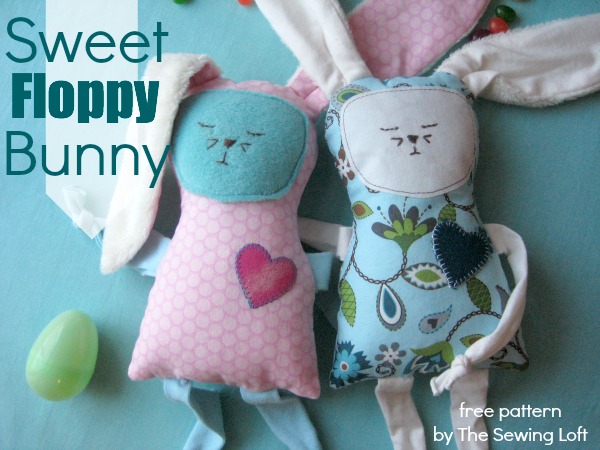
Sweet Floppy Bunny Pattern- free pattern
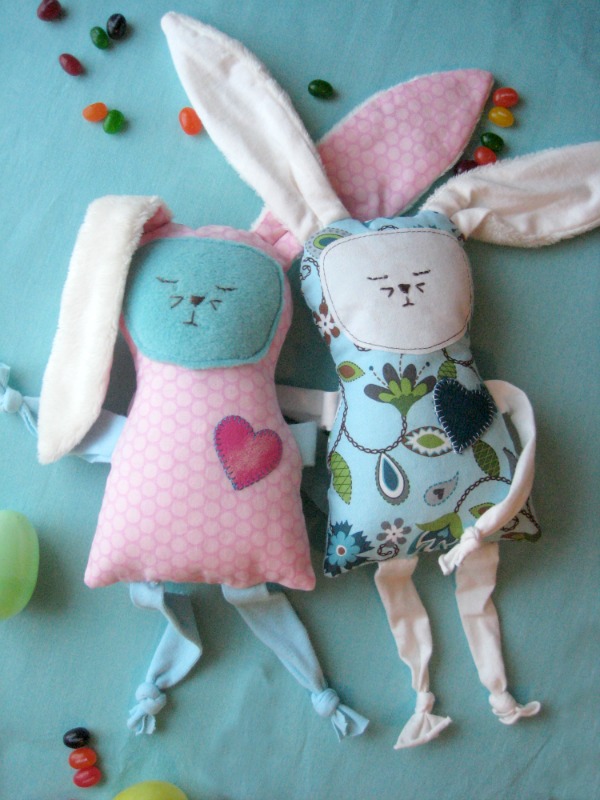
Easter is right around the corner and I have an easy, yet totally adorable, free bunny pattern for you! This floppy-eared fellow will hop straight into the heart of your kiddos, and be a beloved friend for life.

This project is for all levels.
Skill Level- 1 Button
Supplies:
- 1 fat quarter of printed cotton fabric
- fleece scrap 9″ x 7″
- felt scrap 6″ square
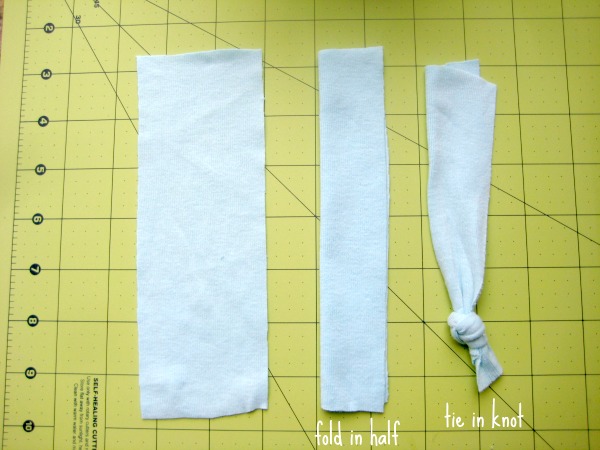
- knit scrap 6″ x 10″
- embroidery thread
- polyfil
*Small piece of double-sided fusible is optional.
Tools:
- basic sewing supplies
- sewing machine
- small embroidery hoop
- ruler
Basic Instructions:
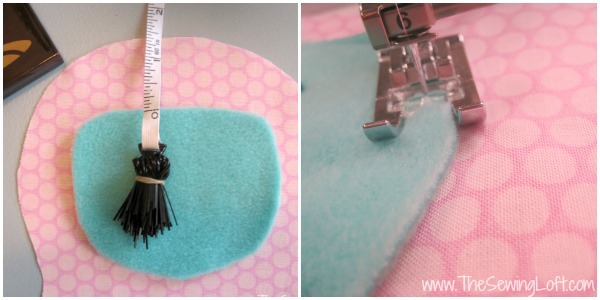
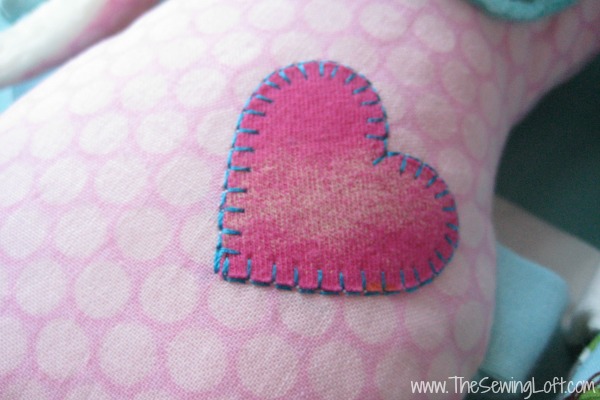
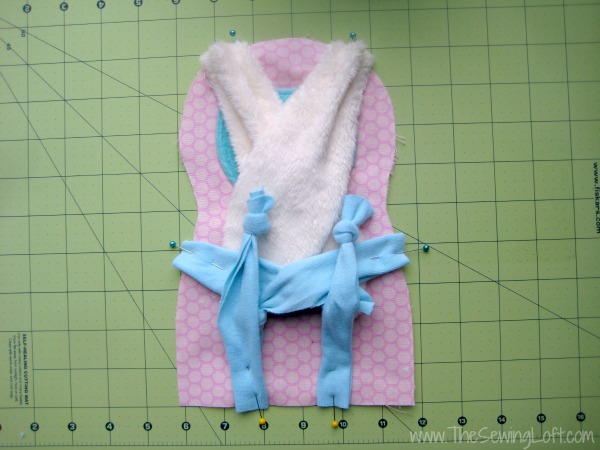
- Cut out fabric as directed on pattern. Please remember that cutting counts on the smaller pieces. They will be appliquéd directly to the bunny.
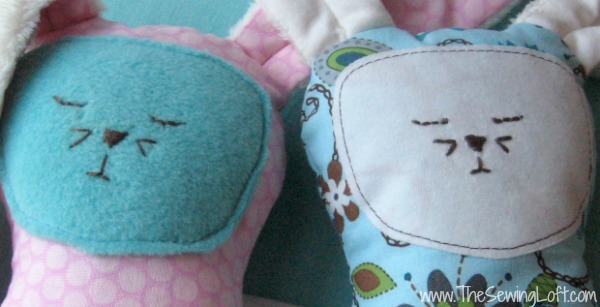
- Place the face 1 ¼” below the top edge of body. Be sure to center from side to side and pin in place. All around machine straight stitch. *Be sure to use small stitches per inch here. This will help you achieve a nice smooth curve along pattern piece.


How cute is that! Need a few ideas on what to do with your Floppy Bunny Pattern? How about swapping out that chocolate bunny for a stuffed one? Or make your bunny out of velveteen and pair it with a copy of The Velveteen Rabbit for a gift that leaves a lasting impression. This would be great for those trying to cut back on candy.
Free Bunny Pattern

What ideas do you have for using the adorable free bunny pattern for Easter or any other gift-giving event? We’d love to hear them – share in the comments below! If you make a bunny of your own, post a photo in The Sewing Loft Community Flickr pool so we can all see your gorgeous work!

Hello! Are you new to The Sewing Loft?
If so, I’m glad you stopped by and hope that something has inspired you to keep your needle moving! Don’t miss a single project and subscribe via email HERE! Bonus- free embroidery pattern with newsletter sign up. Another great way to connect with me is via Facebook, Pinterest, Twitter, Google or Follow my blog with Bloglovin. I’m looking forward to getting to know you and creating together!
This post Sweet Floppy Bunny Pattern- free pattern appeared first on The Sewing Loft.