
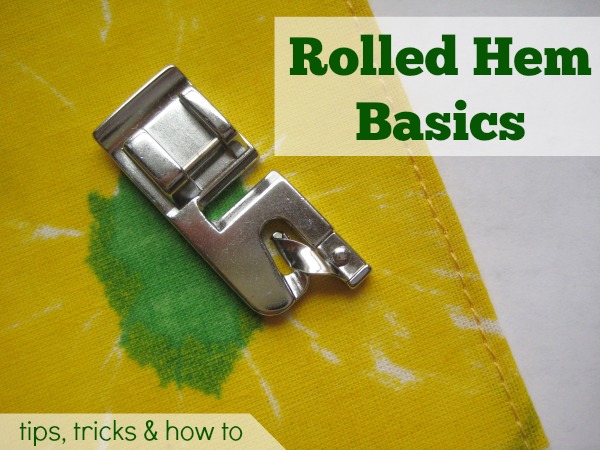
Rolled Hem Basics & How To
A rolled hem uses a special foot on your sewing machine – called the rolled hem foot, appropriately enough – to roll the edge of the fabric onto itself and stitch it in place. You can also create this type of hem by hand if you don’t have a rolled hem foot for your machine or if the type of fabric you’re sewing is very delicate. The rolled hem is ideal for lightweight fabrics, knits, and any project where you might otherwise use a serger but you don’t have one.

(Note: depending on the brand of your machine the presser foot may also be known as the narrow hemmer foot.)
Uses for the rolled hem:
-
Use a rolled hem to sew the edges of a piece of silk chiffon or other very delicate fabric and turn it into a scarf.
-
Use a rolled hem on sheer fabrics – examples might include sewing a slip or a pair of sheer curtains.
-
Rolled hems work really well for tablecloths, because traditionally tablecloths don’t have a heavy hem on them.
-
Rolled hems are excellent for the edges of a t-shirt, especially one made with delicate knit fabrics.
Tips for rolled hems:
-
Using a rolled hem foot can take some practice, so try to test it out on a scrap piece of fabric that has the same composition as the fabric you’d like to finish with a rolled hem.
- Be sure to leave a long thread tail for easy seam start. If your machine has an automatic thread cutter be sure to disengage.
-
If you are using very delicate fabric, be sure to use a sewing needle and proper thread that will work well with the fabric without tearing it or jamming it inside the machine.
-
If you sew a rolled hem by hand, keep your stitches small and near the edge of the curve in the fabric.

How to make a Rolled Hem
This technique is for all levels.
Skill Level- 1 Button
Tools:
- sewing machine
- rolled hem foot
Basic Instructions:
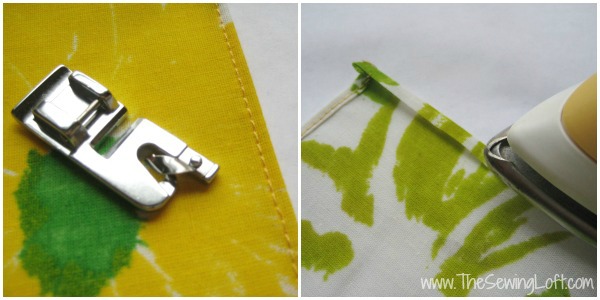
- Swap out your standard presser foot for your rolled hem foot. This foot has a strange-looking twisted piece in the center. This scroll will guide the edge of the fabric into place and create your hem beautifully while enclosing the raw edge.
- Trim hem seam allowance to 1/2″. Fold and press the fabric over 1/8″ to the wrong side of fabric. Press over 1/8″ again.


-
If you’re sewing by hand, take one edge of the fabric and gently roll it in on itself, toward the right side or the top. Make your roll tight and small, and pinch it between the fingers of your non-dominant hand. Make a series of small stitches between the body of the fabric and the rolled fabric to hold it in place. Hide your knots inside the roll.
The rolled hem is the perfect technique for napkins, scarves, dresses and more.

Hello! Are you new to The Sewing Loft?
If so, I’m glad you stopped by and hope that something has inspired you to keep your needle moving! Don’t miss a single project and subscribe via email HERE! Bonus- free embroidery pattern with newsletter sign up. Another great way to connect with me is via Facebook, Pinterest, Twitter, Google or Follow my blog with Bloglovin. I’m looking forward to getting to know you and creating together!
This post Rolled Hem Basics & How To appeared first on The Sewing Loft.