
How to Make Straight Grain Binding
Now that we’ve discussed the debate between bias binding and straight grain binding, it’s time to round-up our Binding Basics series with a tutorial on making your own straight-grain binding. As a bonus, this “cheater binding” method will have seams that are angled to resemble bias binding.

This project is for all levels.
Skill Level- 1 Button
Ready to get started?
Step 1: Calculate yardage needed
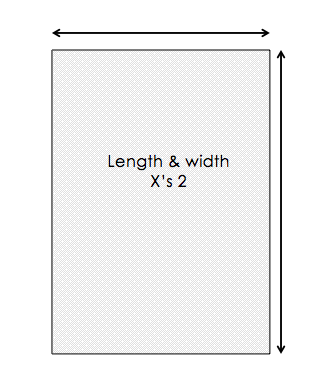
Take the dimensions of your quilt – length and width – and multiply those by the width of your desired binding (remember that you’re going to fold the binding in half so the finished width of the binding will be half the width you calculate here). Use the following set of simple equations:

Quilt Perimeter/Width of fabric = number of strips to cut
Number of strips*Full width of binding = inches of fabric needed
Inches of fabric/36 = yardage needed
So for a sample baby quilt that is 36” wide by 42” long, let’s see how this plays out:
36*2 42*2 = 72 84 = 156 inches (quilt perimeter)
156/40 (standard post-washing width of fabric) = 3.9 (round-up to 4)
4*4 (for 2-inch binding we will cut 4-inch strips) = 16
16/36 = .44 yards (round-up to ½ yard just to be on the safe side)
Step 2: Cut your strips.
Place your fabric onto your cutting mat. Using your rotary cutter and ruler, cut strips that are as wide as you need them to be, according to the math we worked out in step 1. Cut the number of strips you calculated as well (so for our sample quilt we would cut 4 strips that are each 4 inches wide). Make your strips selvage to selvage as you cut.
Step 3: Sew your strips together.
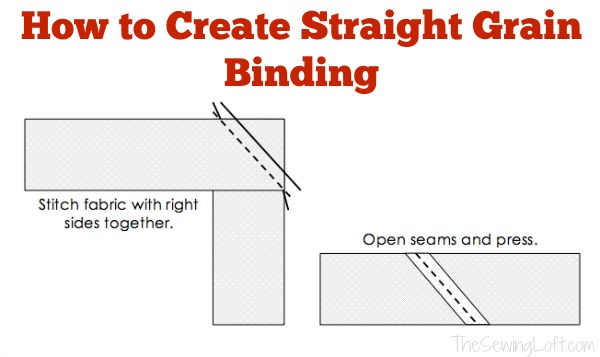
Position the end of one strip on top of the end of another, putting them at a 90-degree angle from one another. Sew a diagonal line at a 45-degree angle, and trim the corner, like so:

Open your seams and press, then repeat this process until you have sewn all 4 strips into one continuous line.
Press the binding in half, with wrong sides together, and proceed to use it in your project.
Have you ever made straight grain binding before? What do you use it for in your sewing room? Share with us in the comments below!

Hello! Are you new to The Sewing Loft?
If so, I’m glad you stopped by and hope that something has inspired you to keep your needle moving! Don’t miss a single project and subscribe via email HERE! Bonus- free embroidery pattern with newsletter sign up. Another great way to connect with me is via Facebook, Pinterest, Twitter, Google or Follow my blog with Bloglovin. I’m looking forward to getting to know you and creating together!
This post How to Make Straight Grain Binding appeared first on The Sewing Loft.