
How to change a Rotary Blade
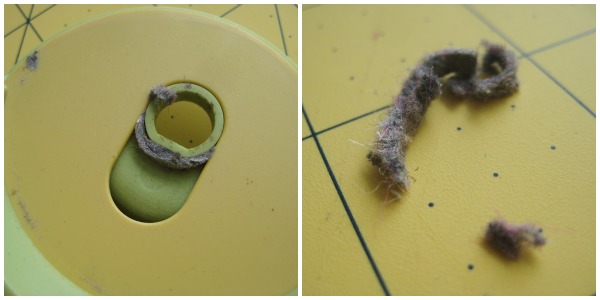
The rotary cutter is one of my favorite tools in the sewing bin. It helps me slice through layers of fabric with lightning speed in one clean motion. But after too many turns around the mat it starts to dull and leave sections slightly attached. This is when it’s time to change the blade.

Since the rotary cutter is super sharp and I am totally clumsy, I was extremely reluctant to switch out the blades. Actually, I even thought about asking Mr. TSL to do it for me. You see, I have bad history with an X-Acto knife but that’s a story for another day. No, today, I vowed that I could do it on my own with no injury to report!
How to Change a Rotary Blade
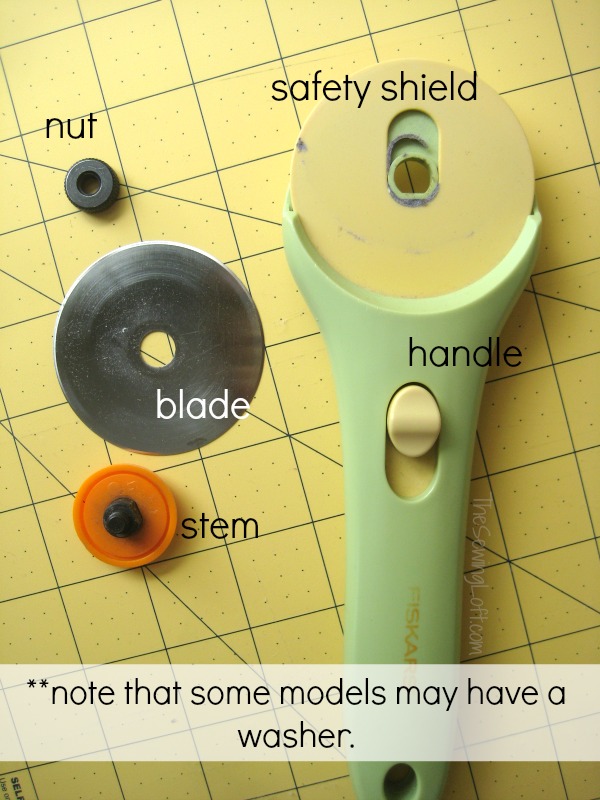
Let’s break it down!
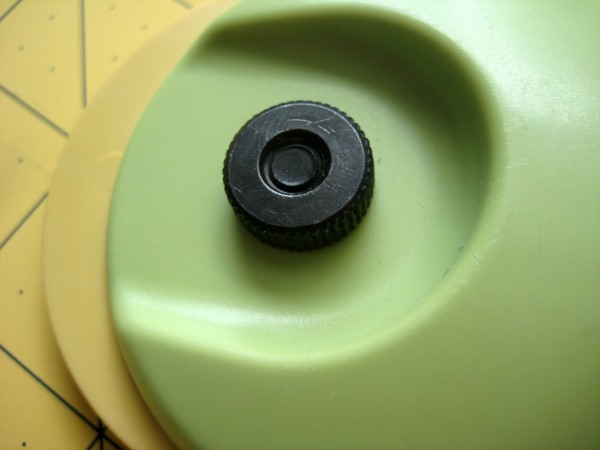
With the safety shield in the covered position, twist the back nut to the left to loosen and remove.


Insert the stem through the blade and screw into the nut. Be careful not to over tighten. There is no need for extra tools here, your fingers are just fine!


Hello! Are you new to The Sewing Loft?
If so, I’m glad you stopped by and hope that something has inspired you to keep your needle moving! Don’t miss a single project and subscribe via email HERE! Bonus- free embroidery pattern with newsletter sign up. Another great way to connect with me is via Facebook, Pinterest, Twitter, Google or Follow my blog with Bloglovin. I’m looking forward to getting to know you and creating together!
This post How to change a Rotary Blade appeared first on The Sewing Loft.