
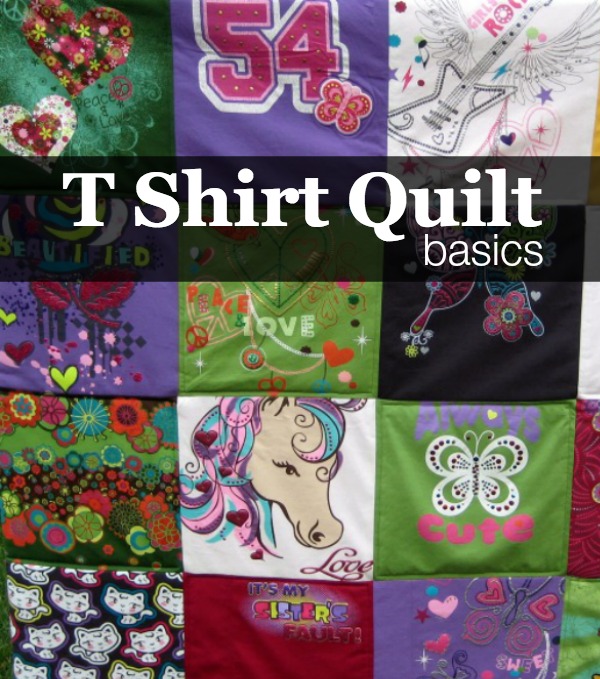
How to Make a TShirt Quilt: Finishing
We have gathered, prepped and stitched our favorite tees into this amazing story…. Now what? Well, it is time to add the batting, some simple quilting stitches, and attach our backing fabric.
Did you miss the beginning of this series? Click here for Part 1 – Materials & Cutting. Then click here for Part 2 – Assembling the Quilt Top. Then get ready come back here and put it all together in part 3!

This project is for all levels.
Skill Level- 1 1/2 Buttons
For today’s “how to” you will need your quilt top, batting, backing fabric, sewing machine and ironing tools.
Finishing touches for How to Make a TShirt Quilt
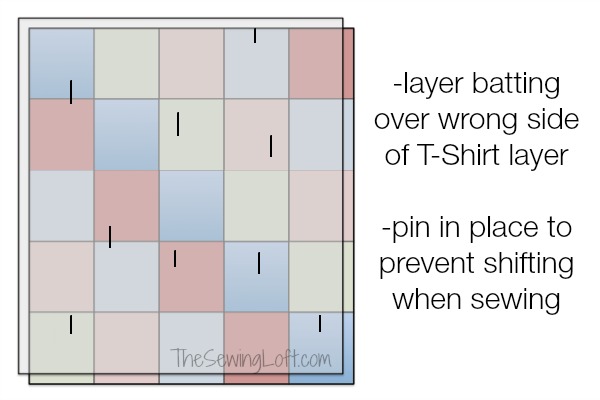
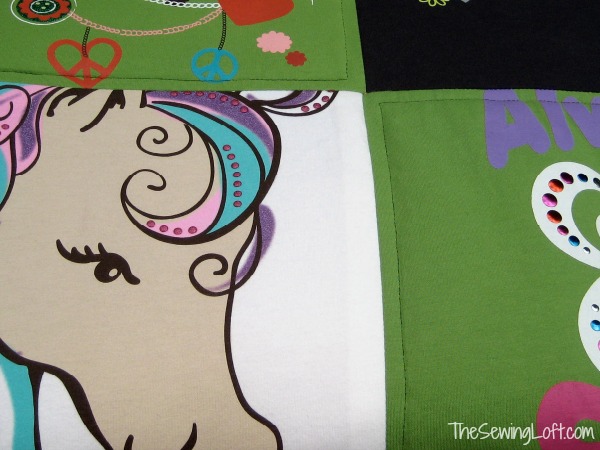
1. For the best possible finished outlook it is critical to press your quilt top before you add the batting. Please do not skip this step.Tip: Always press your tee shirts from the back side and use a pressing cloth. This will prevent decal from melting to your iron. If something melts to your iron, let it cool and apply iron off.2. Find your big, flat, open area of floor again and roll out your batting. Depending on the type of batting you purchased there might be a right and wrong side. (If one side has many loose “fluffs” that would be what I call the “wrong” side.) You will want to match that to the wrong side of your quilt top. This will make the machine stitching later much easier and prevent fewer fibers from getting caught in your machine. Center your quilt top on the batting and make sure that your blocks are lined up straight; pin in place. These pins are to help keep everything stable when working on such a large project. You can use long straight pins, quilter’s pins (like bent safety pins), or even spray basting.


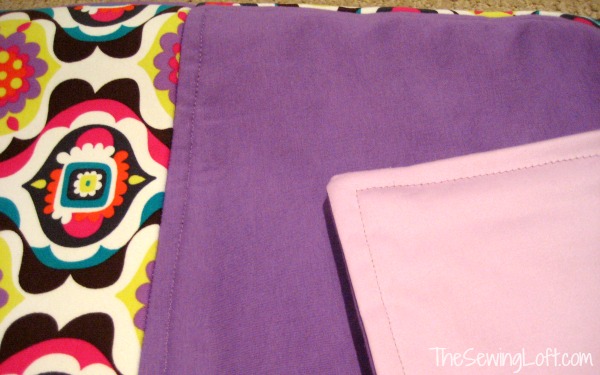
4. After all of your selected blocks are stitched, it’s time to add the backing fabric. Depending on the finished size of your quilt you may need to piece your back. But one thing is for certain- your backing fabric must be washed! Trust me, it is not an option to skip this step. Remember, the quilt top fabrics have all been washed many times and mostly likely will not shrink. But if you are using flannel (my fabric of choice) it will shrink!
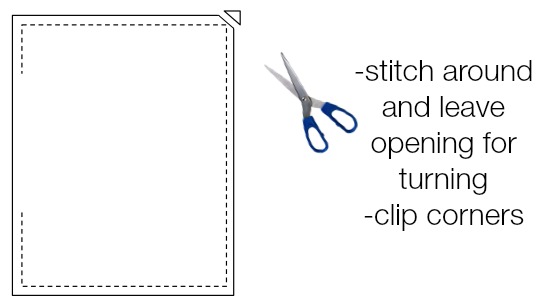
5. Lay out your quilt top with the batting stitched to it on the floor again, with the right side facing up. Position the backing fabric on top of that, with the right side of the backing fabric facing down. Pin your layers in place, then stitch a straight stitch all around the perimeter, leaving an opening to turn the quilt right side out. Clip corners.

6. Press! Fold under the seam allowance of the turning area; press; edge stitch closed.
Tip: Use your pressing cloth around any decals to prevent melting!7. Now, you can add all around stitching to finish it off. Use a straight stitch, a zigzag, or a decorative stitch all around the edge of your quilt top.
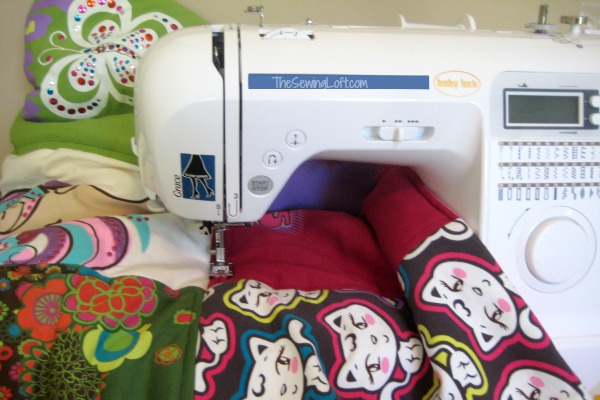
8. I like to go back and use my button attaching stitch to join all layers. I do this between every other block; it helps to keep all the layers together and reduce shifting inside the quilt sandwich. If you don’t want to do this, you could also use tied stitches by hand instead, or hand-sew buttons in place at the corners where the blocks meet.

I know this is a lot of work but in the end, it is so worth it. Just take your time, and enjoy the process of making a memory into a quilt!

Hello! Are you new to The Sewing Loft?
If so, I’m glad you stopped by and hope that something has inspired you to keep your needle moving! Don’t miss a single project and subscribe via email HERE! Bonus- free embroidery pattern with newsletter sign up. Another great way to connect with me is via Facebook, Pinterest, Twitter, Google or Follow my blog with Bloglovin. I’m looking forward to getting to know you and creating together!