
Embroidered Cuff
As promised, here is another fun project that I shared at fall quilt market. These embroidered cuff bracelets are super cool!

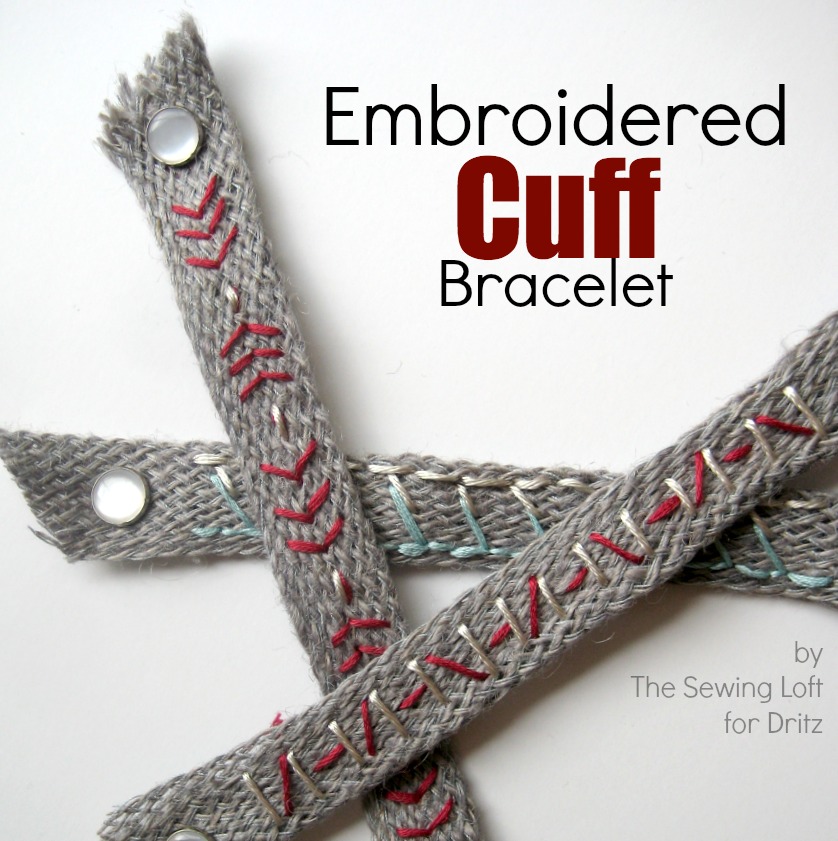
Embroidered Cuff Bracelet
This project is for all levels. Skill Level- 1 ButtonSupplies:
- 8″ fold over braid trim
- 7/16″ snap fastener
- assorted embroidery floss
Tools:
Basic Instructions:
- Wrap braid around wrist for a loose measurement; add 2” and cut.
- Start embroidery 1” from either end of cuff. Embroidery can be any design. Consider using a basic running stitch, backstitch, or blanket stitch. (refer to popular stitch diagram.)
- Mark placement for snap closure and attached with pliers. Be sure to check fit before squeezing the last piece in place.

These embroidered cuff bracelets are super easy to make, perfect for classes and great for the kids to make in batches. You can download the printable instructions here.


A big Thank YOU again to Dritz for inviting me in their booth at market. . Their constant encouragement and support of The Sewing Loft means ever so much and I look forward to working with them next week at Fall Quilt Market. Be sure to stop by their booth on Sunday for a few fun Make & Take projects!
Hello! Are you new to The Sewing Loft?
If so, I’m glad you stopped by and hope that something has inspired you to keep your needle moving! Don’t miss a single project and subscribe via email HERE! Bonus- free embroidery pattern with newsletter sign up. Another great way to connect with me is via Facebook, Pinterest, Twitter, Google or Follow along with Bloglovin. I’m looking forward to getting to know you and creating together!