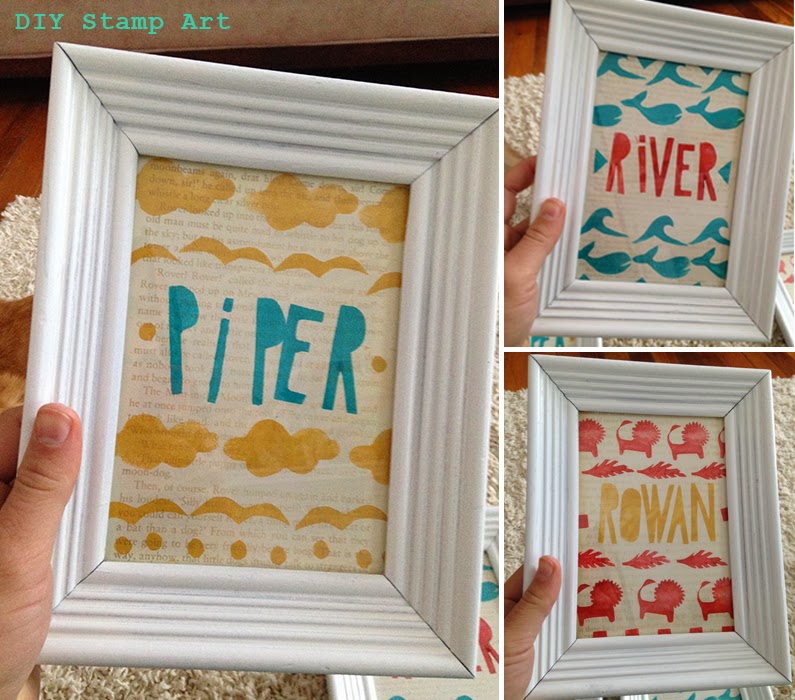
DIY Stamp Art
At 27 years old, I seem to be transitioning from "everyone's getting married" to the "everyone's making babies" stage of life. Due to an excess of baby showers, birth announcements and birthday parties, I've been brainstorming some kind of handmade gift suitable for infants or children--not just to save some money--but also to give them something special and unique to keep.


Yellow Owl's Little Prints
The other day I came across this adorable book at the library and absolutely loved the look of stamp artwork. It had a cute, playful feel--perfect for kids, and it looked nice, clean and professional (in other words--not too crafty or homemade-y). The book instructions required purchasing arts & crafts materials (such as stamp carving rubber...etc.), so I decided try a different, more affordable method.
I was pleasantly surprised how easy it was and how well it turned out, so I thought I'd share!
What You Need:
Frame - I bought some old wood 5x7 frames for $1 each at a thrift store
Spray Paint - for painting the frame
Foam Shapes - I found a pack thin foam shapes at a craft store for $2
Stiff Cardboard - I cut up some old coasters I had on-hand
Craft Glue - the liquid kind, not a glue stick
Paper - I recommend something thicker to absorb ink better (I used drawing paper)
Ink Pads - however many colors you like
How To:
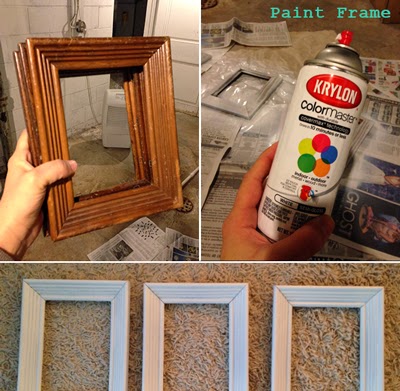
1. Paint frames (if your frames are ready as-is, you can skip this step). I used a can of semi-gloss white spray paint to coat the frames--use paint can instructions. Let the paint dry completely.

2. Create the stamps by cutting your shapes and letters out of the foam and gluing them on to the stiff cardboard (cut the cardboard a similar size as each individual shape). Let the glue dry completely.
Note: Remember that the image will appear reversed on paper when it's stamped--this is especially important for letters

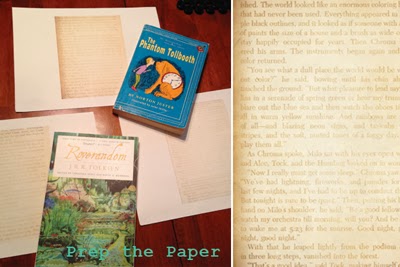
3. Prepare Paper - to add some more interest and to give the stamp artwork a fun background, I scanned in pages from children's books and printed them on the drawing paper*. This step is optional - just depends how you want the final look.
*Note: I used an editing program on the computer to make the scanned images semi-transparent so the text from the pages wouldn't be so bold in the background. If you don't have photoshop, you can use free online software like pixlr.com)

4. Stamp Your Design - press the stamp firmly onto the ink pad and be sure it's thoroughly coated with ink. Carefully and firmly stamp it onto the paper and be sure only the foam part of the stamp touches the paper.
Note: Make sure you don't accidentally get ink on your fingers and touch the paper!

5. Frame the Artwork - after the ink dries completely, trim the designs to the frame size and place it in the frame--and you're done!

Unique, hand-stamped designs, perfect for decorating a nursery! Tie them up in brown paper with string and use the stamp on the wrapping paper for a cute package.

Happy crafting!
More posts from