
Window Display for the Home: Modern Geometric Triangles
I love everything geometric lately. The clean lines and fresh design of the geo trend needed a place in my home. And because I'm in the process of trying to figure out a theme for my master bedroom, I thought something modern would be the perfect place to start.
Geometric and neon, how could those two things not work?!? I am in love with what I created.

Want to make something similar for your home?
Step One: Find a large frame.
Thrift stores are my go-to stop when I'm looking to make a statement piece of art. Not only can you get ginormous frames that you may not be able to find in a normal store, they are seriously, super cheap.
I found this particular frame for $10 and it is over 4ft long.

Step Two: Remove the old picture and set it aside, you may want to use it later.
Step Three: Paint the frame whatever color you want. If I would have gone in a different direction, I may have left this frame gold, but I knew I was going to do something more modern, so I painted my frame black.
Step Four: Print the template shown below in varying sizes. I used three different sizes (4 to a page, 2 to a page and 1 to a page) in my piece.

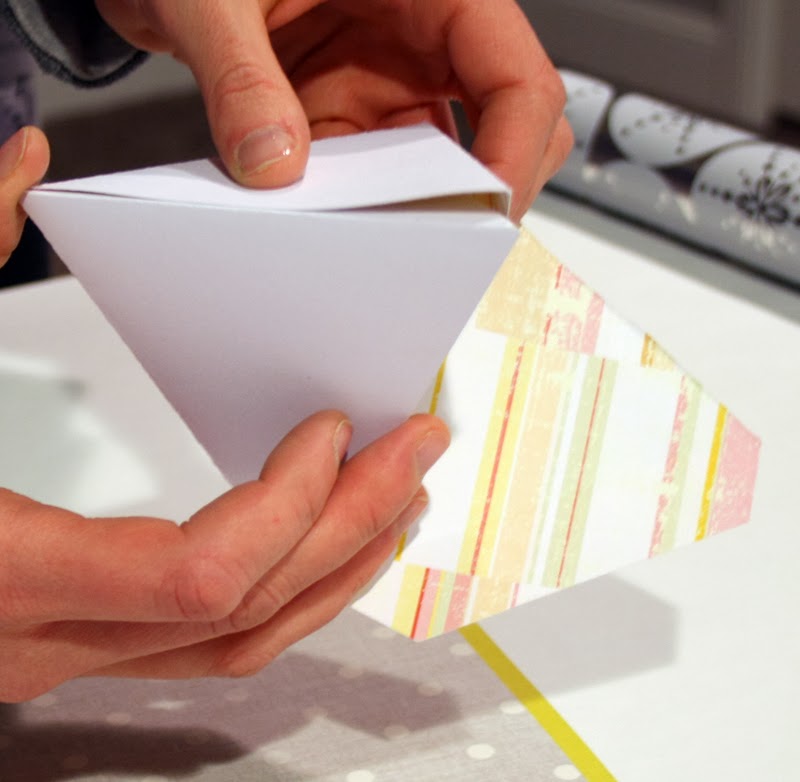
Step Five: Trace the template onto white cardstock or pattern cardstock with a white back. I used the pattern cardstock I already had and folded it so you couldn't see the pattern. You know I'm a firm believer in using what you have! This method meant I didn't have to buy a ton of plain white cardstock :)


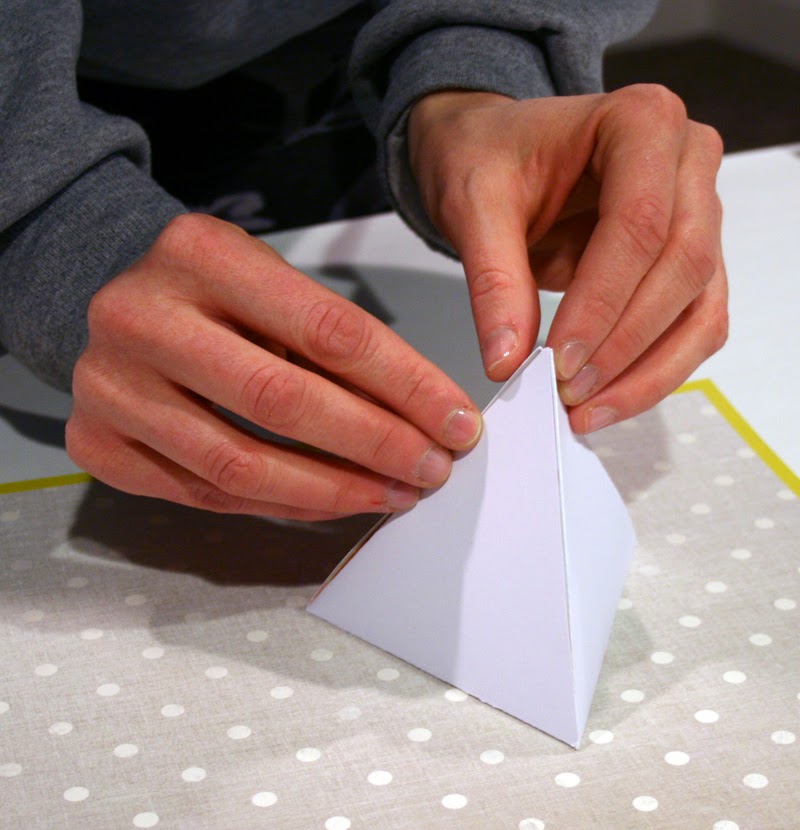
Step Eight: Put glue on the triangle's tabs and adhere to the inside of the shape.
Step Nine: Cover the frame's old picture in a bright pop of color. I used neon wrapping paper. And insert it back into the frame.

Step Ten: Lay out the shapes on your (now) blank canvas and create a fun pattern. When you're comfortable with the pattern, hot glue the paper triangles right onto the frame's backing.


Fun, right? This piece is so cool in real life, I wish you all could see it. The shadows and dimensions the 3D art creates is amazing.
What do you think, too crazy? Would you ever makes something like this for your home?

More posts from Anna Rose Johnson