
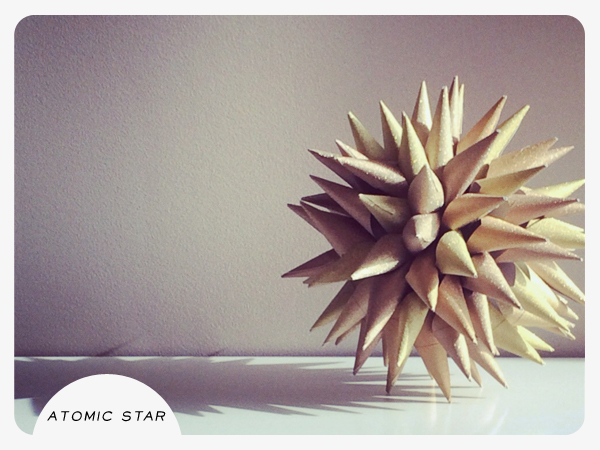
Tutorial Tuesday – Atomic Star!

Well, well, well. What do we have here? A step-by-step tutorial on how to make an atomic star (or as my friend calls it – the Death Star). By me. Also photographed by me (probably not that well). Before I start, I want to preface this post by saying this is a picture-HEAVY post (my favorites because you know how I hate to read words and stuff – blecht). So…let’s do this:

Let’s start with the supplies. You’ll need:
1) Paper. The beauty of this is that you can make it with any size paper. The one I’m showing today is made with 12″ x 12″ paper, but I just made one recently for a party that was 24″ x 24″ which I made with gold wrapping paper. The heavier the paper, the more stars you’ll need. For 60lb printer paper or wrapping paper, you’ll need about 20 sheets. For cardstock, use 10-12 sheets.
2) Scissors OR a Silhouette. I’ve made it both ways. Obviously, I had to make the 24″ one with scissors. If you have a Silhouette, here’s a cut file for you. YOU’RE WELCOME!
3) Glue. Depending on the weight of the paper, you’ll either need Elmer’s glue or hot glue. Regular 60lb printer paper and wrapping paper only call for Elmer’s glue. Cardstock means you gotta haul out the old glue gun.
4) Jewelry spacers.
5) Embroidery floss or fishing line. I started with fishing line, but I think I was Hulking out when I was assembling it and I kept breaking it. Hence, I switched to embroidery floss. Unless you’re planning on hanging it, you don’t need to worry about the color, but I picked one that was relatively close to the paper color. If you are planning on hanging it, you’ll need to cut the floss/line pretty long so that you can use it to hang.
6) Needle.

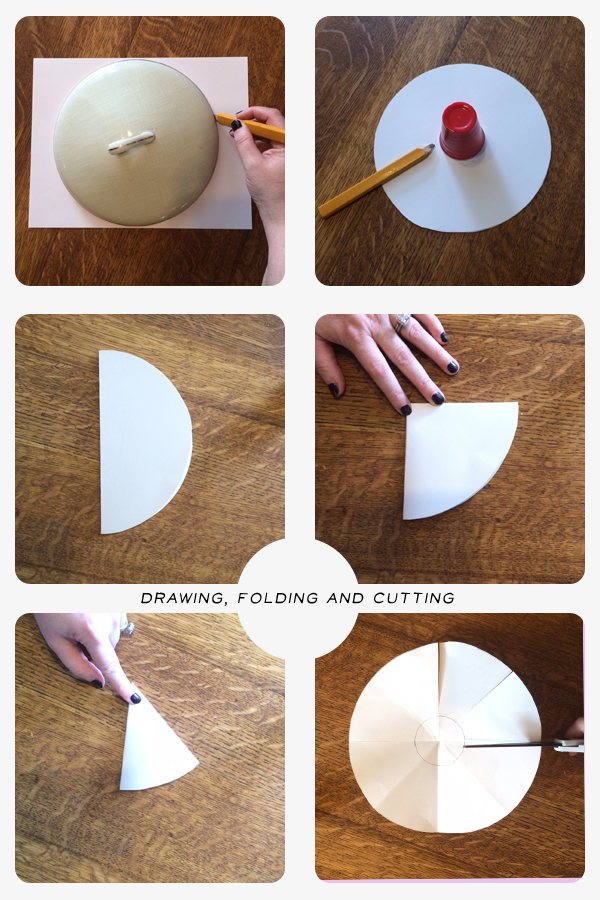
Step 1:
If you have a Silhouette, just hit cut (it’s just the best) and skip to Step 7. If you don’t, either find something circular in your house that is the size you want OR use a compass to draw a circle. To make that 24″ star, we made our own. Method 3 on this page is how we made ours. Well, we used a chopstick for the stationary part because we’re “special.”
Step 2:
Make another, smaller circle in the center. I used a shot glass (because we have SO MANY sitting around – usually in the dishwasher).
Step 3:
Fold the paper in half.
Step 4:
Fold it in half again.
Step 5:
Fold in half again.
Step 6:
Unfold it and cut on the creases, from the edge to the inner drawn circle.
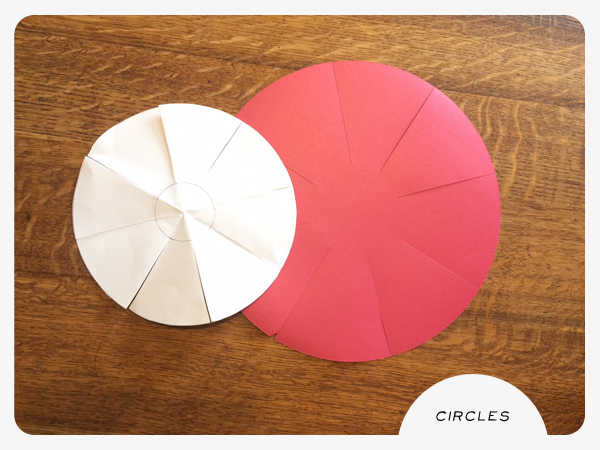


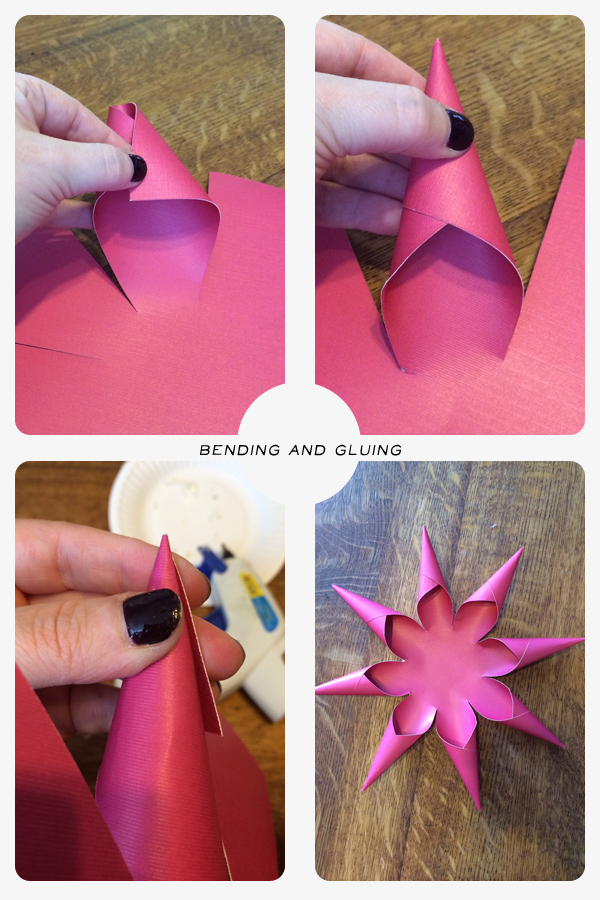
Step 7:
Bend the paper to make a point. I’ll be honest, this took a bit of time to get right. You want the paper to be curled as evenly as possible, but don’t get too crazy about it. It doesn’t need to be perfect.
Step 8:
Once you get the point right, glue the outside edge. I was going to show you exactly, but I couldn’t take a picture while holding the point AND gluing. I’m not magical.
Do this on all 8 cut sections and you’ll end up with the picture on the bottom right in the above picture.

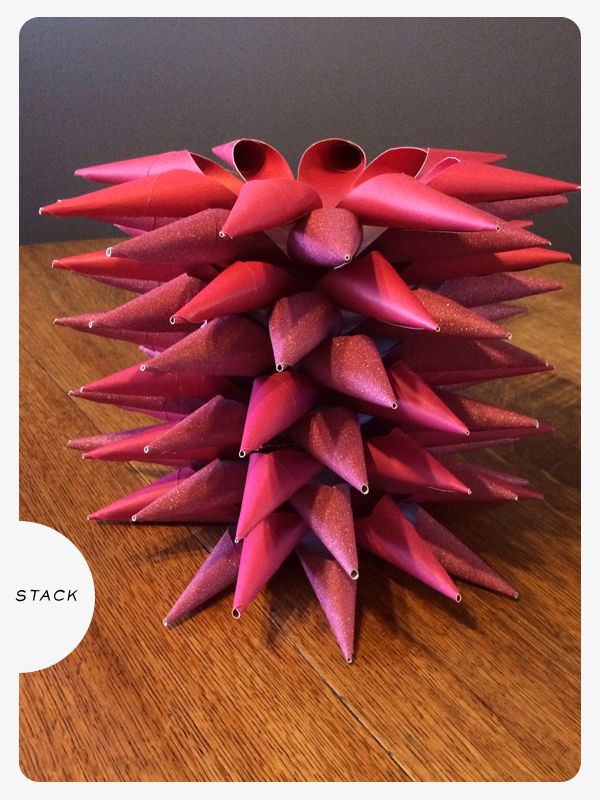
This is what you’ll end up with – a stack o’ stars. It seems like WAAAAAYYYY too many stars, but it’s not.

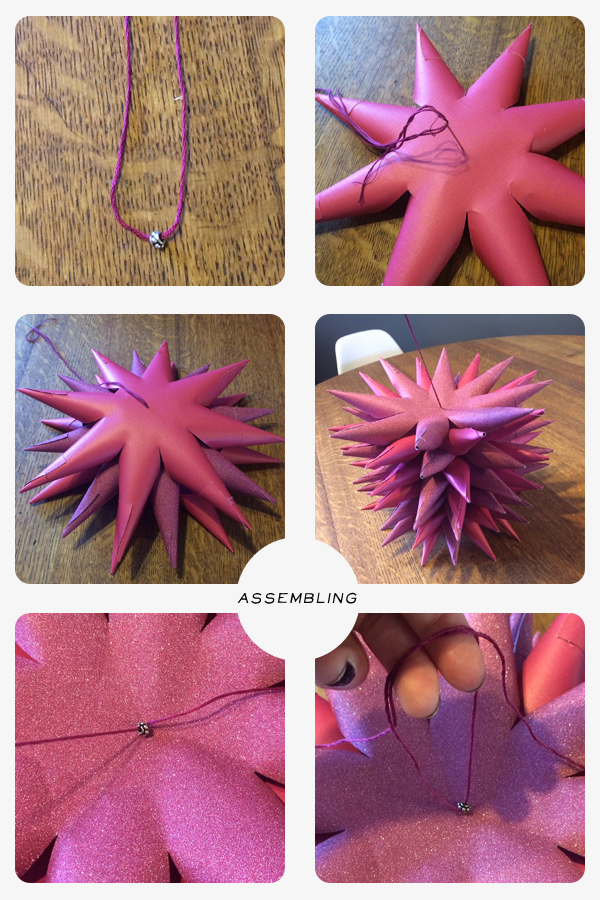
Step 9:
Thread the jewelry spacer onto the embroidery floss and thread both ends of the floss through the needle.
Step 10:
Pull the needle and floss through the center of the underside of the first star.
Step 11:
Pull the needle and floss through the center of the TOP SIDE of the rest of the stars.
Step 12:
Take the floss off the needle and thread the jewelry spacer onto one of the strands.
Step 13:
Tie a knot and pull ONE STRAND of floss. If you pull both sides, you’ll break the floss. (I know because I did it more than once – I’m a slow learner). Pull until it’s fully formed and tie another knot to hold it in place.

Shazzam! Isn’t it pretty?! Done and done. Now you can set it on a table or hang it. Or do whatever you want. What do I care.
Pin It