
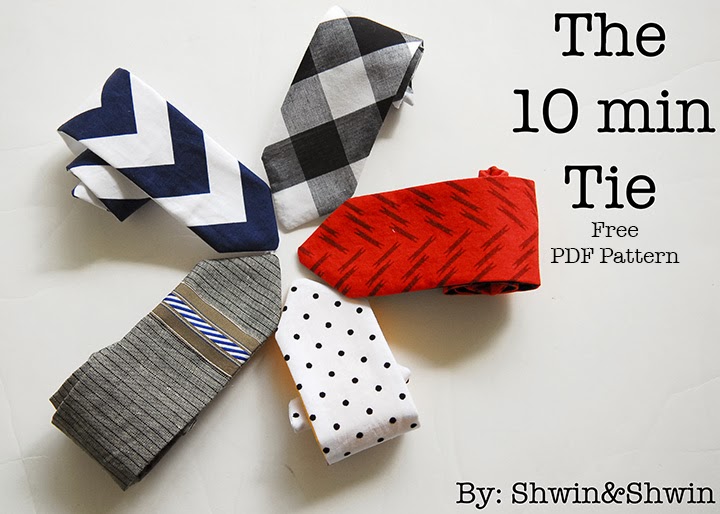
10 min tie {with free PDF pattern}

I really hope I am not the only mom who decides at the last min that your son just absolutely NEEDS a tie to complete his outfit. You know before church, or a school christmas pageant, or a special sewing competition photo shoot. (yes all three have happened to me in real life) So the 10 min tie was created and since it's 30 min project month I am finally sharing my go to tie and PDF pattern.

They take 10 min (9 min and 37 seconds to be exact) you can make them all interchangeable and then your boy can have a tie to go with any outfit or any look you know because boys need accessories too and there is really nothing better than a tie. But I hate tying a tie and well you know I don't know how and boys would likely untie them anyway so these are faux ties :)
You can find the Free Pattern HERE
You will need about 1/4 a yard of fabric
Light to mid weight interfacing
Buttonhole elastic (or elastic with a hole cut for a button)
One small button
Needle and thread
Standard sewing supplies
You can find the Free Pattern HERE
You will need about 1/4 a yard of fabric
Light to mid weight interfacing
Buttonhole elastic (or elastic with a hole cut for a button)
One small button
Needle and thread
Standard sewing supplies

For the pattern you will use a 3/8" seam allowance but I thought I would also show you how I made the chevron tie like I made (last min) for Project Run and Play back several months ago.

You will cut out the pattern so that the angle from the chevron (this is a medium chevron) is in the center you need a seam allowance around all the edges including the bottom.

So you need 2 tie tops (cut on the fold) and 1 from interfacing. Then 2 tie pieces and 1 from interfacing.

Then iron the interfacing on to the wrong side of the front tie piece. Then with right sides together sew the two tie pieces together. For the chevron style follow along the points so you sew a straight line along the side. then along the bottom follow the lines of the chevron fabric and again go through the points along the side going up.


Press interfacing on to one of the tie top pieces and then with right sides together sew the tie tops pieces together along the sides and top leaving the bottom edge open.


Then sew the pleated edge right sides together with the tie top piece along the raw open edge. Then press the tie top up.

Then fold the tie top in half towards the back. Hand stitch the flap down in back with a quick stitch.

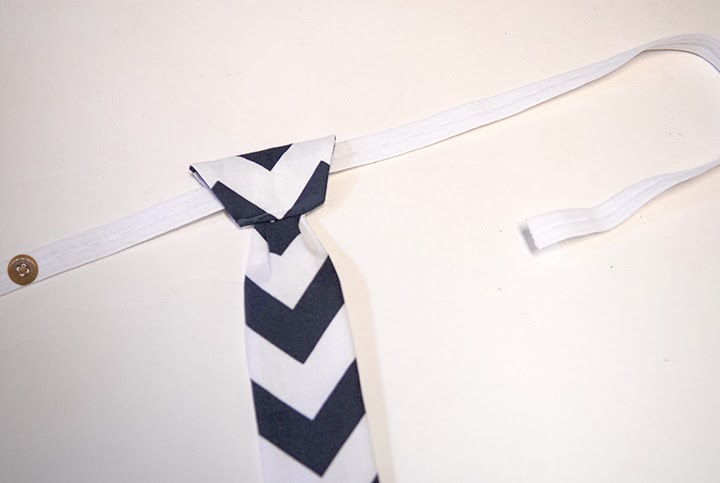
Then slide button hole elastic through the loop in the tie top add a button to one end and you have an adjustable tie since you can button the loop closed in the button hole that fits best.


You can use the same elastic loop and just make several ties that can be switched out any time to go with the outfit of the day. It can also be a great way to introduce a pop of color in your little guys wardrobe.

So there you have it the 10 min tie.
More posts from Shauna Wightman