
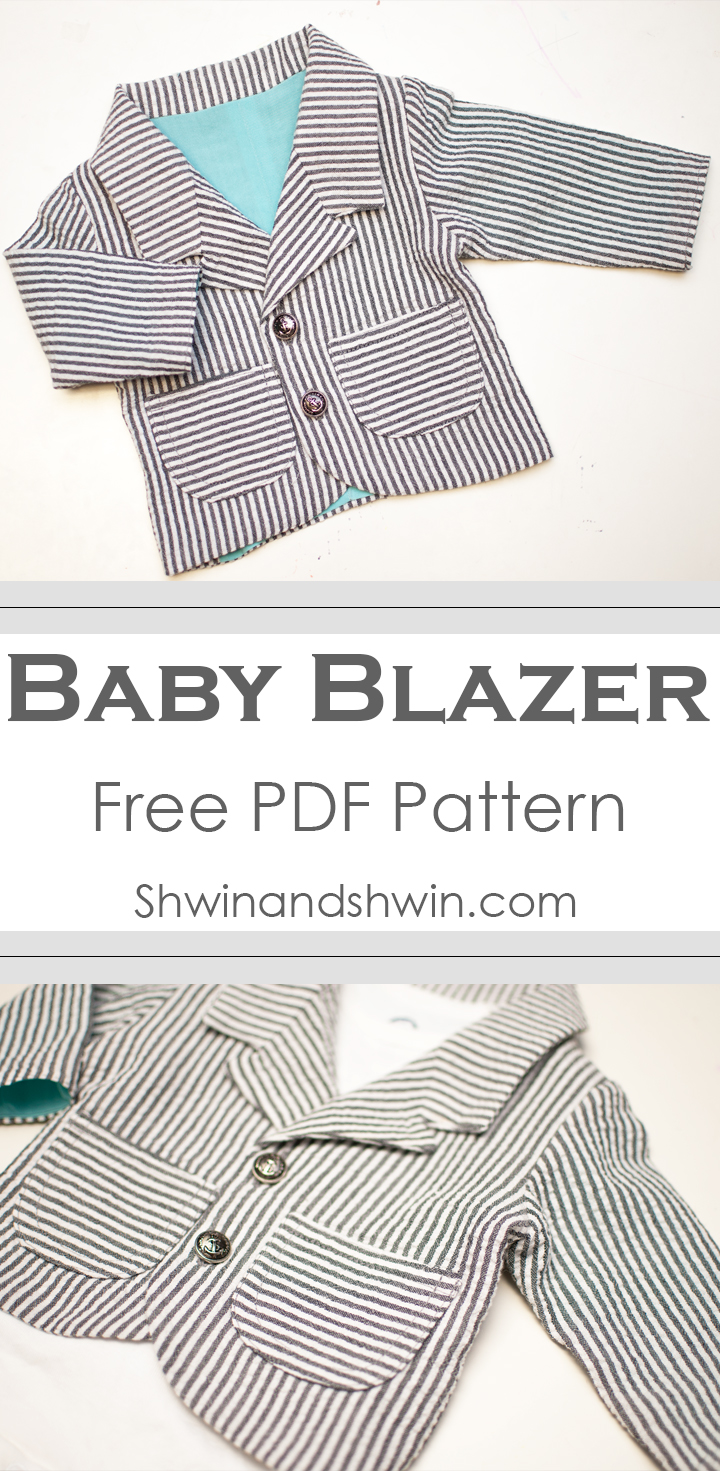
Baby Blazer Pattern || FREE PDF Pattern

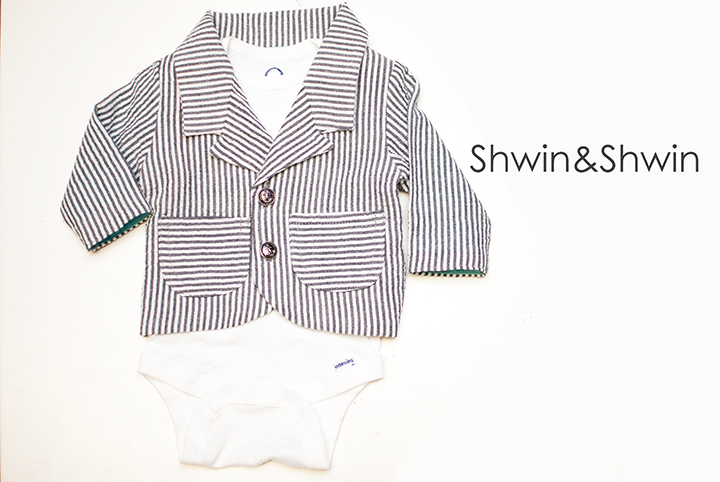
Easter is just around the corner. This year I am making outfits for my kids and I included my new little (adorable) nephew in the mix, because A) it’s just too easy B) it’s too cute not to.
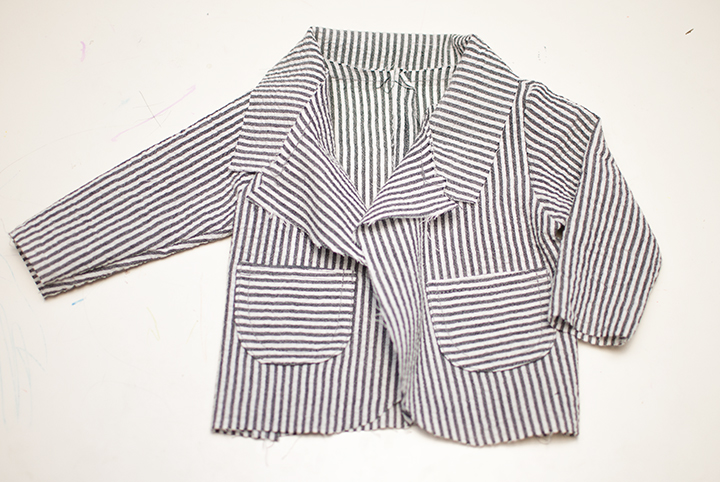
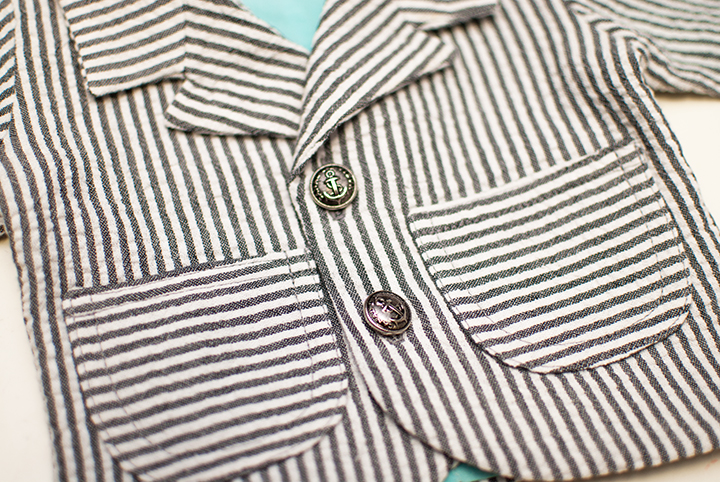
I decided to make him a bitty baby blazer. I used seersucker for the outside, and seersucker and rayon for the lining.

The Baby Blazer Patter is for roughly 3m size. But since all babies are different I have all the finished measurements so you can decide if it will fit.
18″ Chest (when buttoned)
9.5″ from shoulder to hem
7″ Sleeve length from shoulder to sleeve edge
You will need:
1 yard total fabric (for outer and lining)
1/4 of interfacing
2 buttons

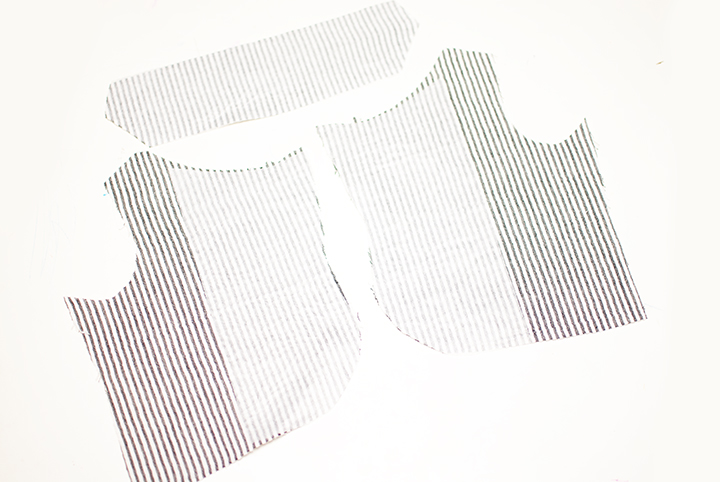
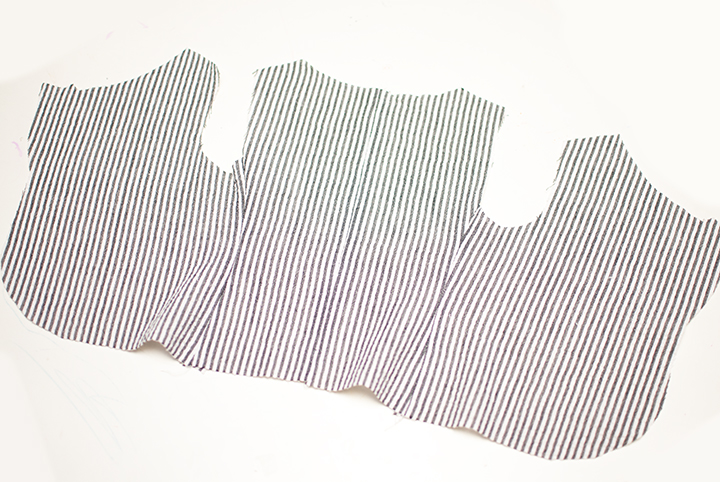
Start by prepping your pieces. Press interfacing to the lining pieces of the front, and the collar. (as well as all 4 pocket pieces not pictured)


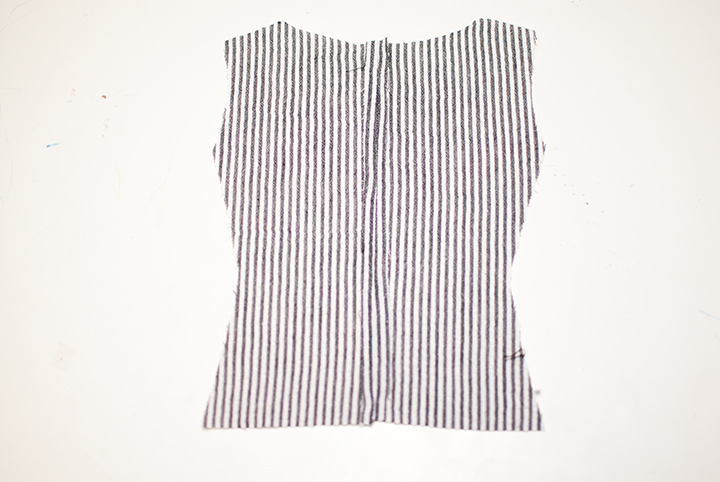
Then with right sides together sew the front pieces to the back at the side seams. Press seams open flat.

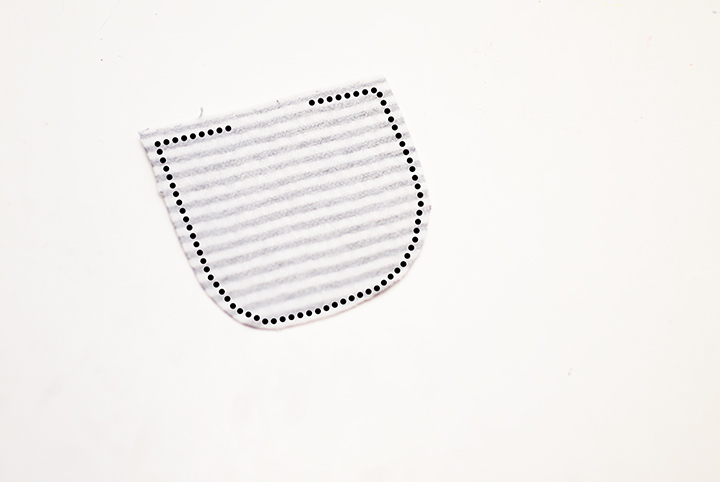
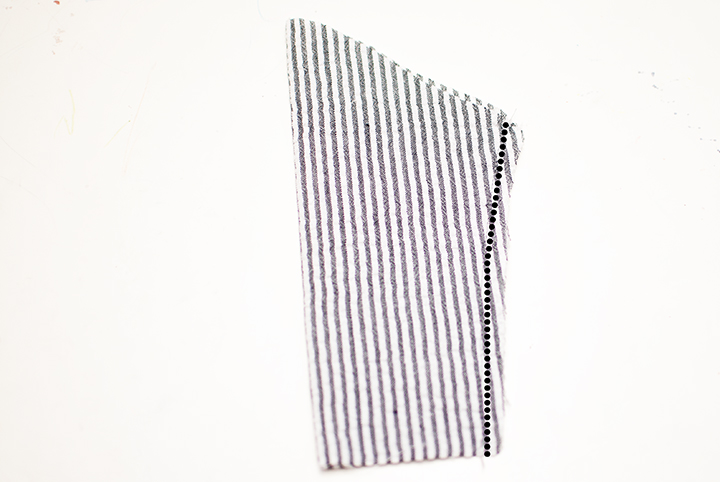
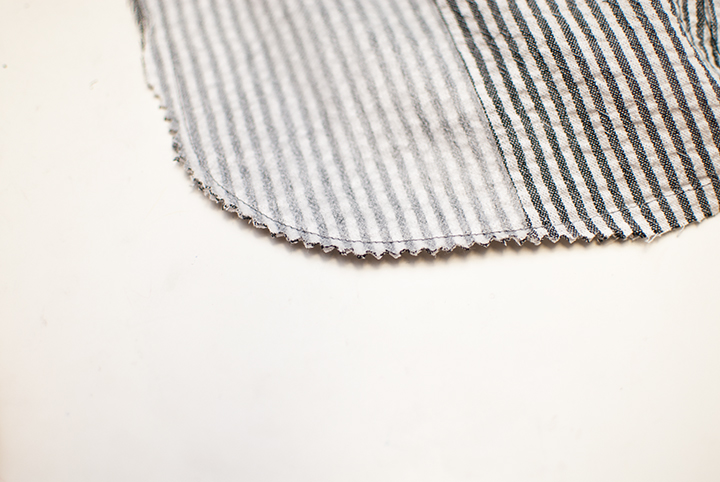
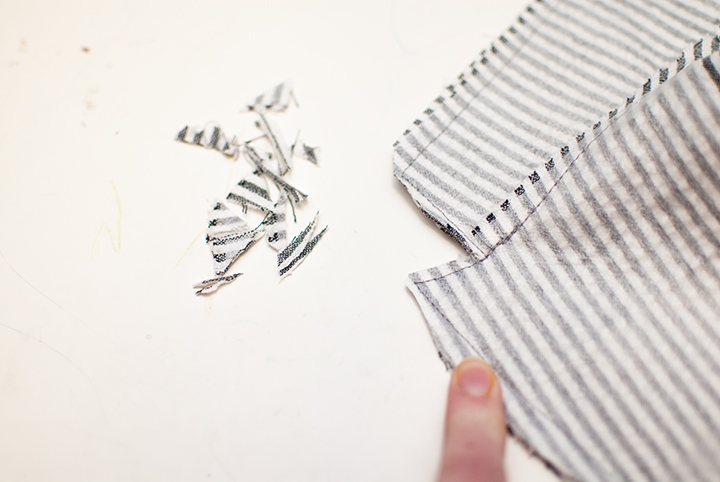
For the pockets, sew two pocket pieces right sides together, leaving an opening at the top. Then clip the corners and the curve. Turn pocket right side out and press well. Stitch top opening closed. Then repeat so you have 2 pockets.

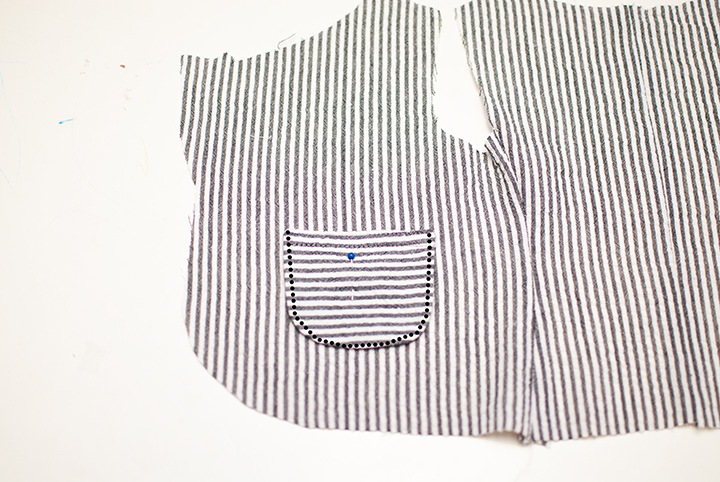
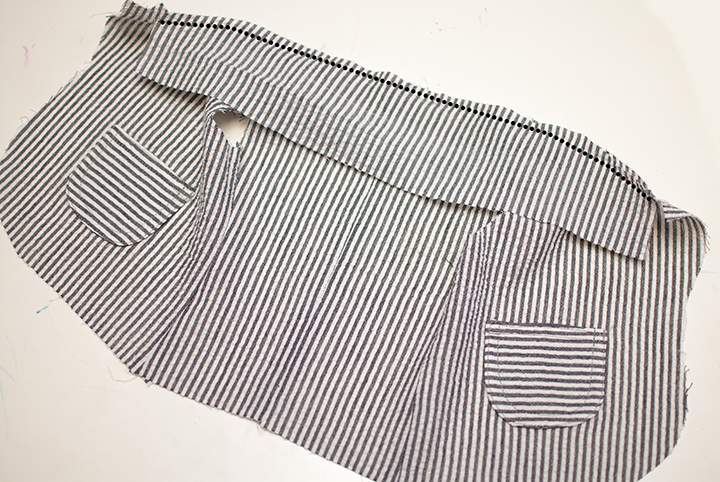
Place pocket on the right side of the front piece. Sew around the side and bottom edge of the pocket. Repeat with other pocket.


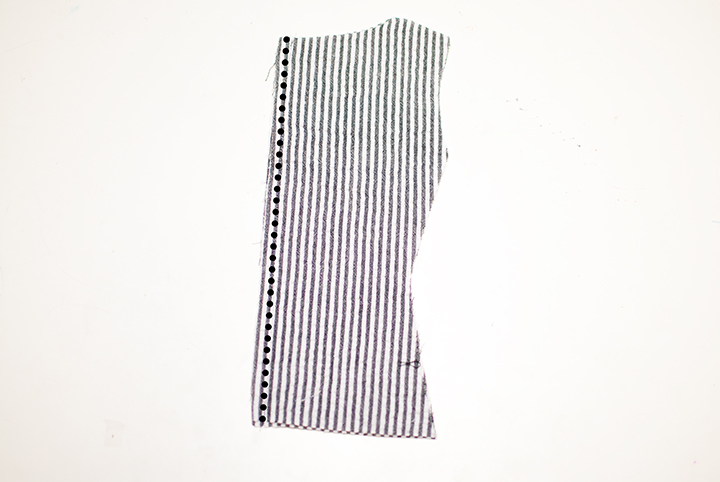
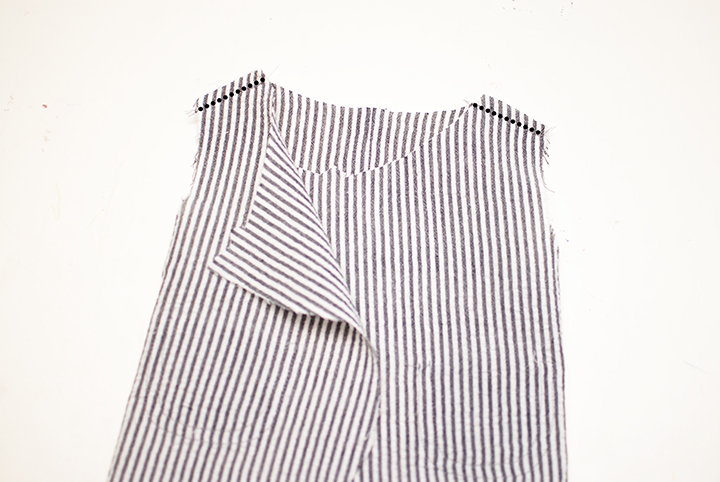
With right sides together sew the collar to the neckline. To do this match up the center collar with the center seam of the back. Then follow the angle in the collar along the neckline, so the collar stops at the notch mark along the neckline.


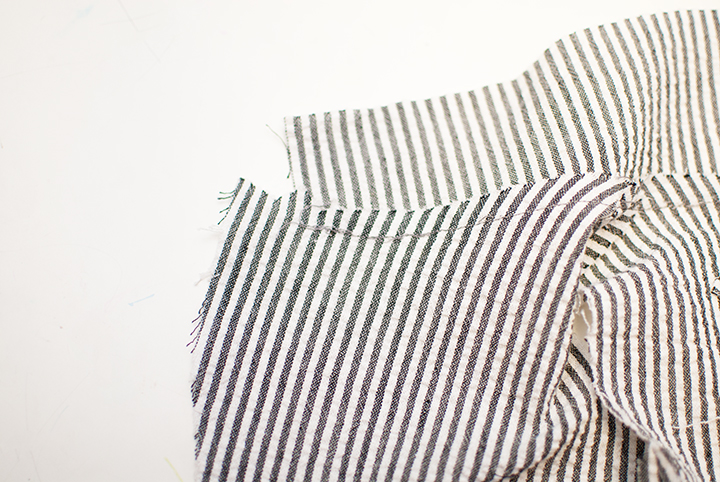
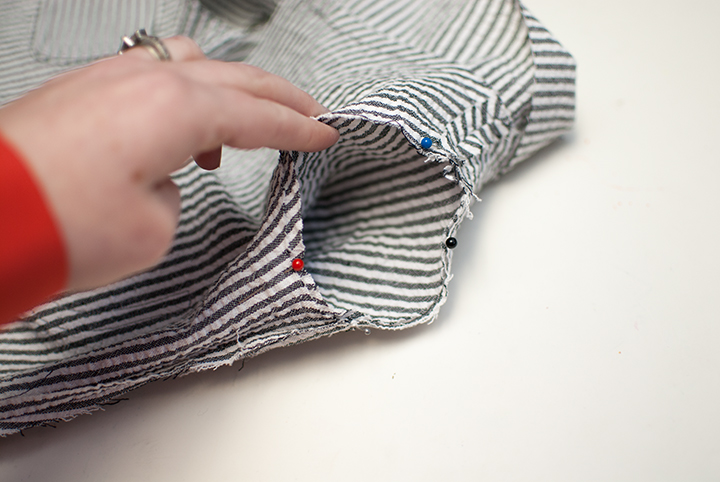
With right sides together place the sleeve into the arm curve opening. Place the seam of the sleeve at the notch mark on the arm curve then ease the rest into place. Repeat with other sleeve.


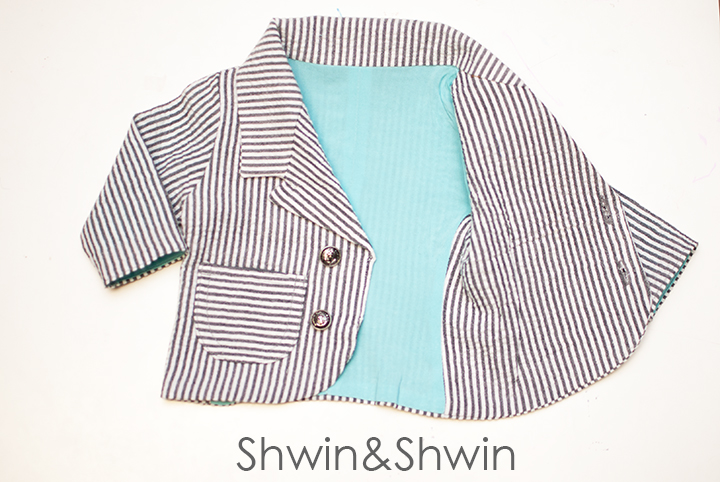
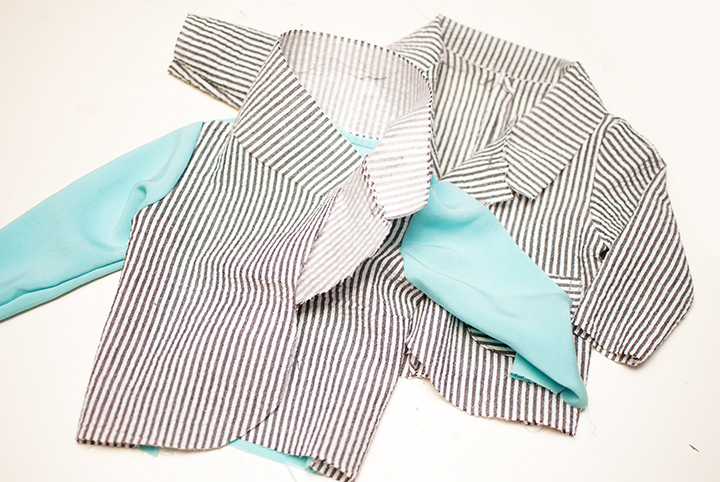
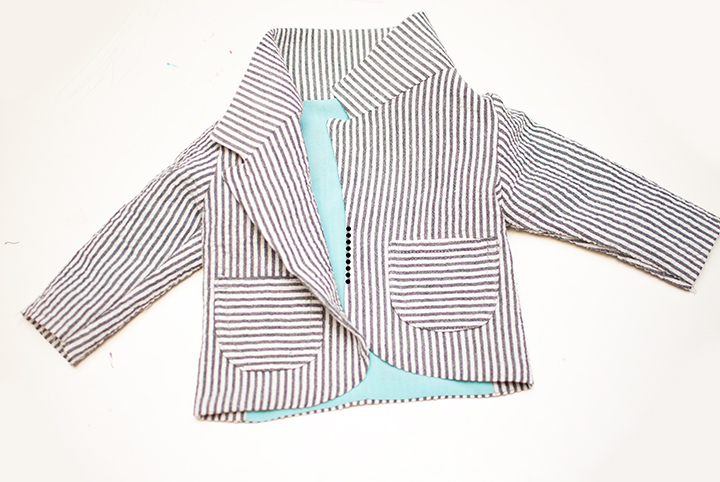
Repeat the steps (skipping the pockets) so you have an outer layer and a lining. I did the sleeves and back in a contrast fabric since they won’t show but the front and collar of the lining will show.

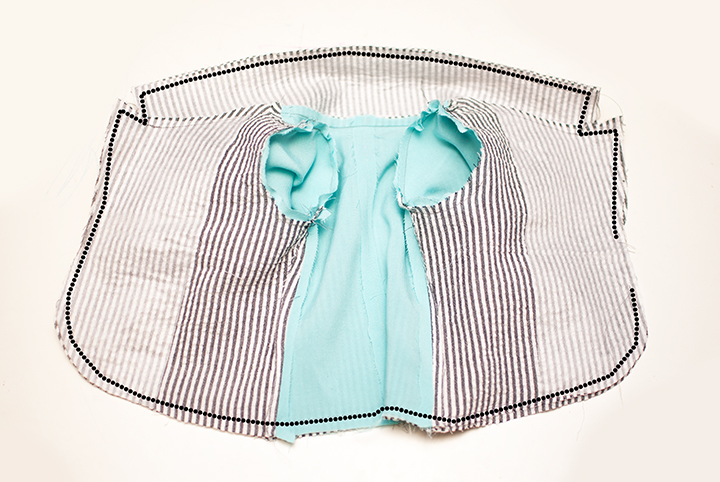
Now with right sides together place the lining and outer together. Sew all around the edges leaving an opening to turn the jacket right side out.


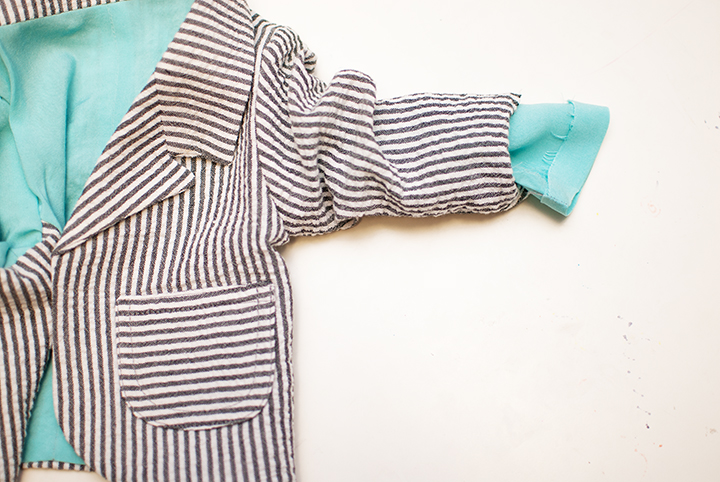
Then pull back the outer sleeve, fold the lining sleeve under, then fold the outer layer sleeve so the two folded sleeves match up. Using a sewing machine or slip stitch sew the two sleeve layers together to secure.

Lastly add buttons and button holes to the front of the blazer and you are done! Quick and easy right??

Now even baby can be all ready for Easter, or any special occasion.
The post Baby Blazer Pattern || FREE PDF Pattern appeared first on Shwin&Shwin.