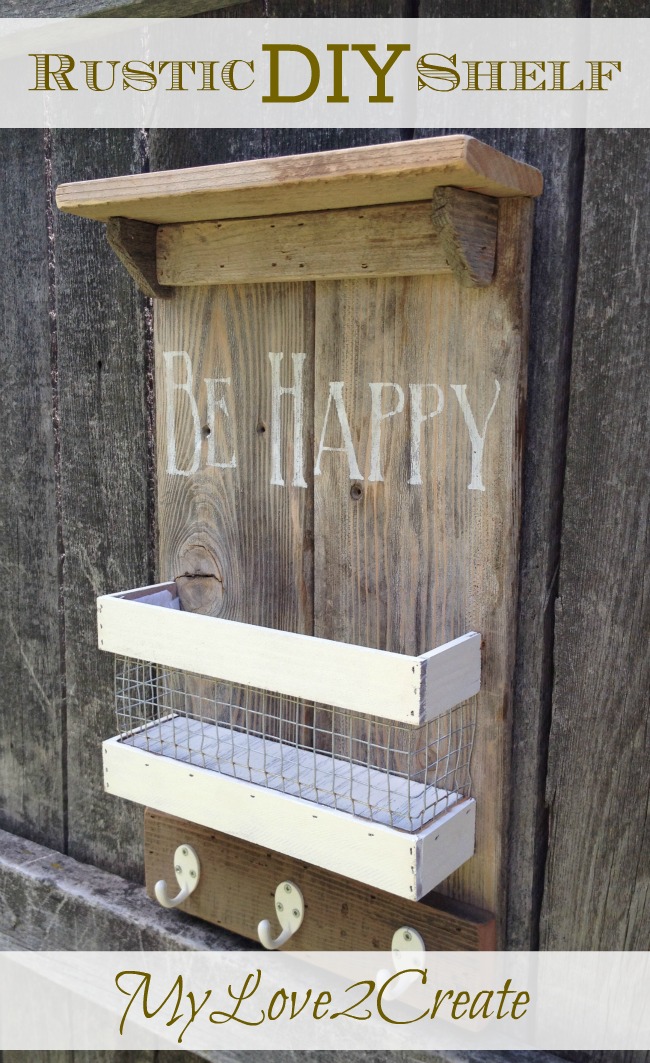
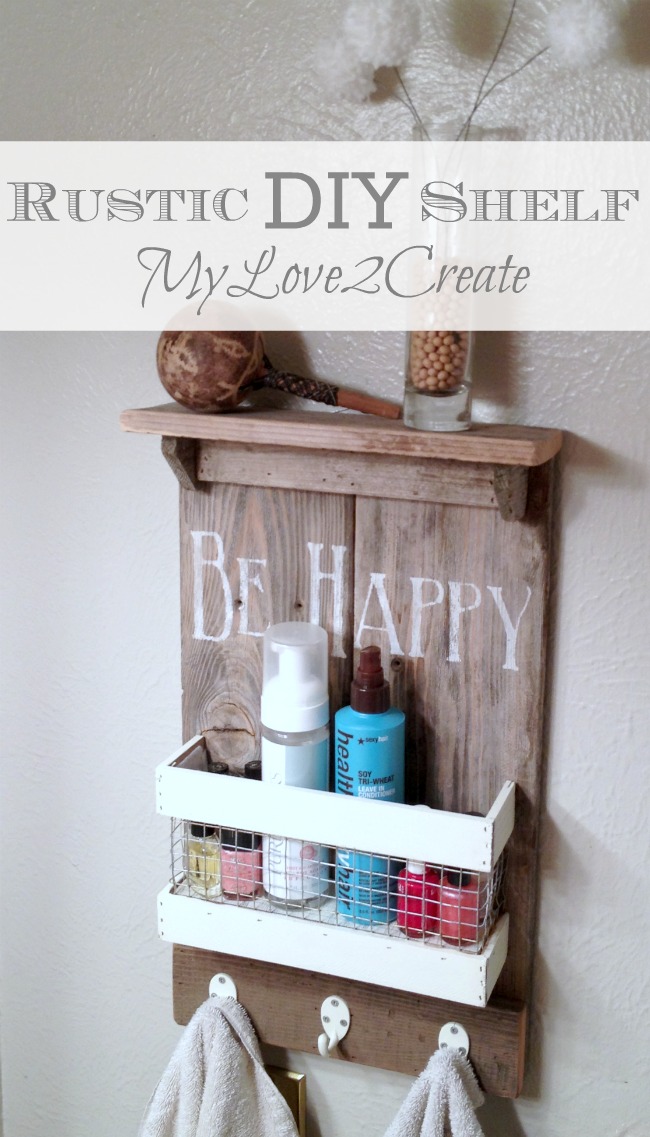
Rustic DIY Shelf
Hi! It is Mindi again from MyLove2Create. I am glad to be back at Oh my! Creative today! I am sharing a cool Rustic DIY Shelf that is super cute and useful. I made it for my main bathroom and it is making me happy!

Don’t think it can only be used in the bathroom either…you could use it anywhere in your home, that is why I love this project it’s very versatile.
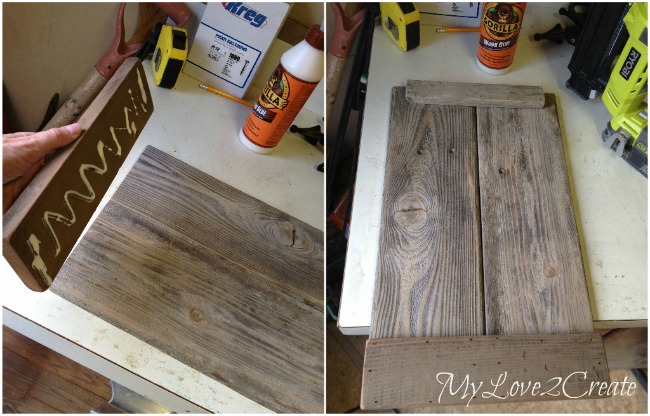
So let’s see how I did it! First I started with a 5 1/2 inch wide reclaimed fence board and cut two pieces at about 18 1/2 inches long.

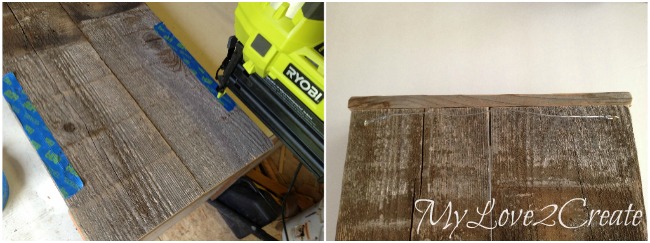
Then with some scrap reclaimed fence wood I cut, glued, and nailed them onto the two wide boards. This secured the boards together. I choose to nail from the front because I like the rustic look of the nail holes, but you could nail from the back too.

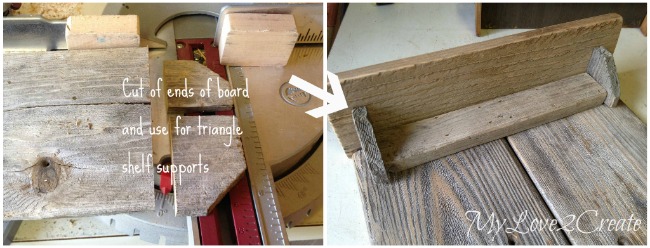
Next, I cut the end of the fence board off so I could make some triangle shelf supports, then I glued and nailed them on, and added a top shelf piece.

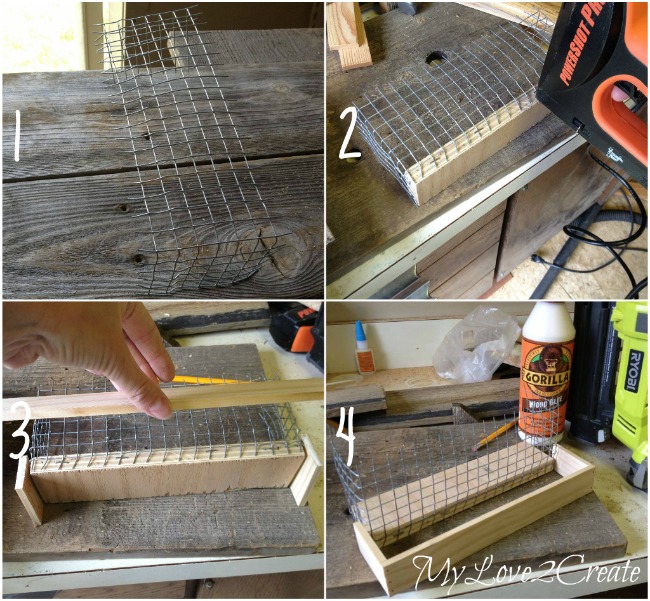
I had some left over hardware cloth from my Master Closet Makeover and my Corner Fruit Tower, so I decided to use it to make a cute basket/box thingy. (I am really not sure what to call it :))
1- I bent it to the shape I wanted. 2- Then cut a scrap piece of plywood to make a bottom, and stapled the hardware cloth to it. 3- Then I cut some free 5 gallon paint sticks from Home Depot and glued and nailed them together to make a frame to go around the box. 4- The frame is ready to be secured to the box.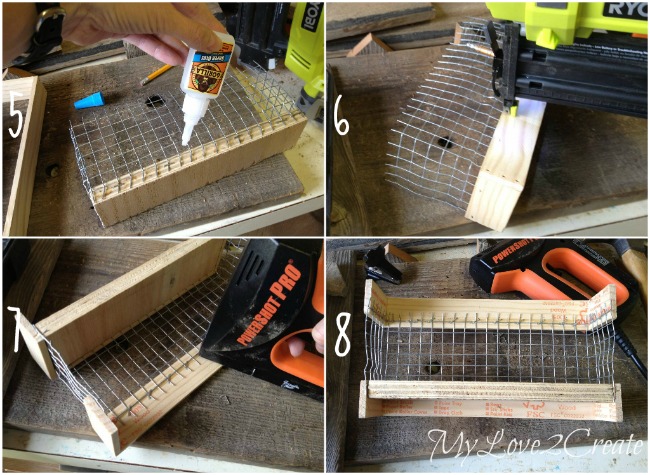

5- I added some gorilla super glue for good measure. 6- Then I nailed the frame onto the bottom plywood piece. 7- I made another frame for the top and glued and stapled the hardware cloth onto the frame. 8- All done, here is a shot from the back.

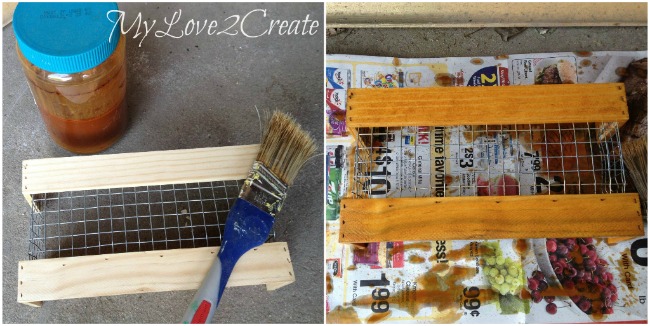
I had some left over steel wool and vinegar solution from previous projects, which serves to darken the wood and make it look aged…but the finished color didn’t match the wood I was using so I decided to just paint over it instead.

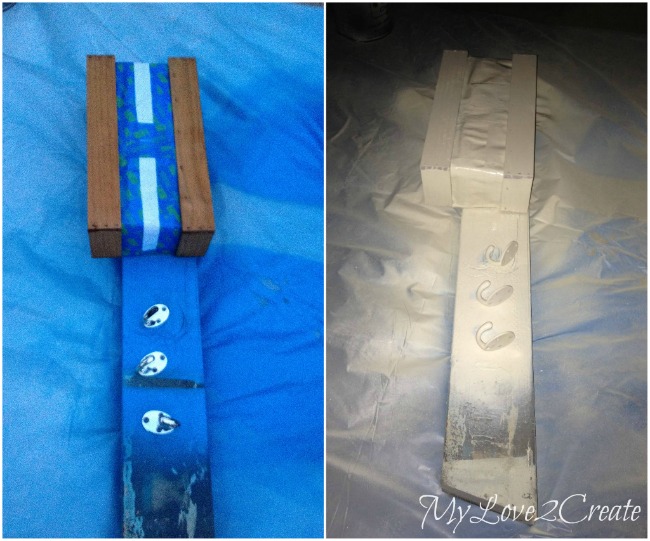
I taped off the hardware cloth and found some hooks that I wanted to use, and spray painted them in Rustoleum’s Heirloom White. Sorry for the bad photos, it was getting dark…


To attach my hardware cloth box I added gorilla wood glue to the ends and placed it where I wanted it to go. Then I flipped it over and used tape to mark where I needed to nail from the back, and nailed it on! I also added eye hooks and wire to the top back for hanging.

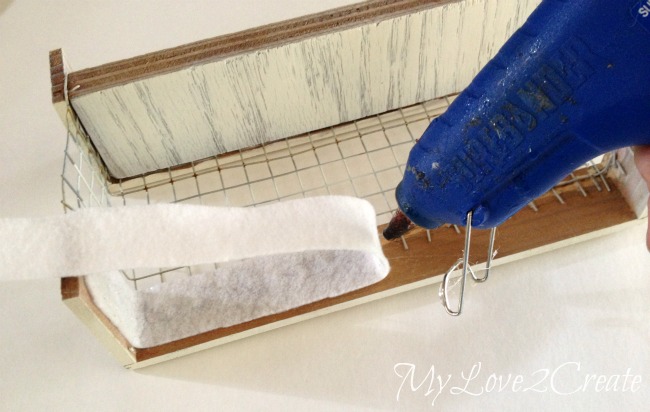
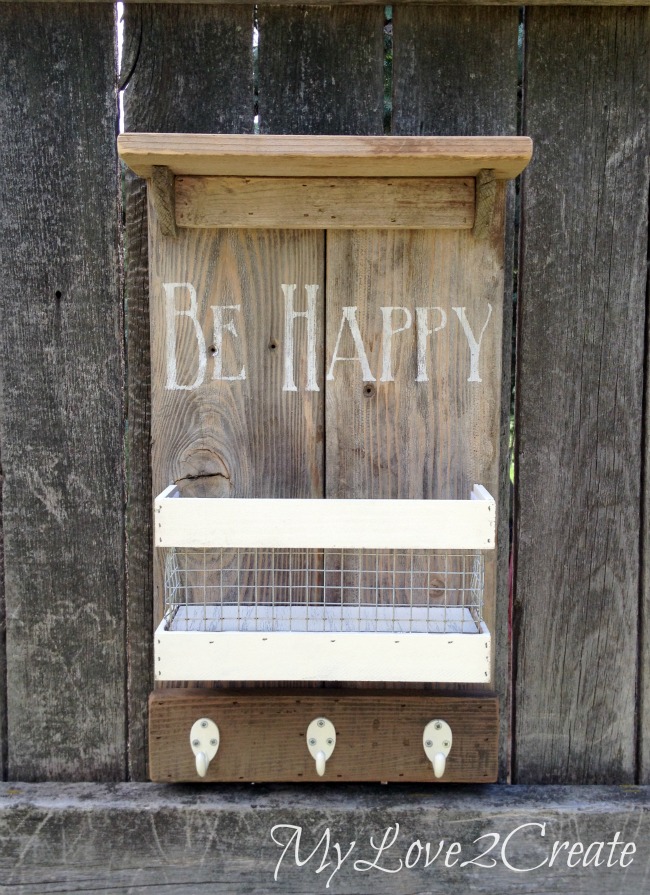
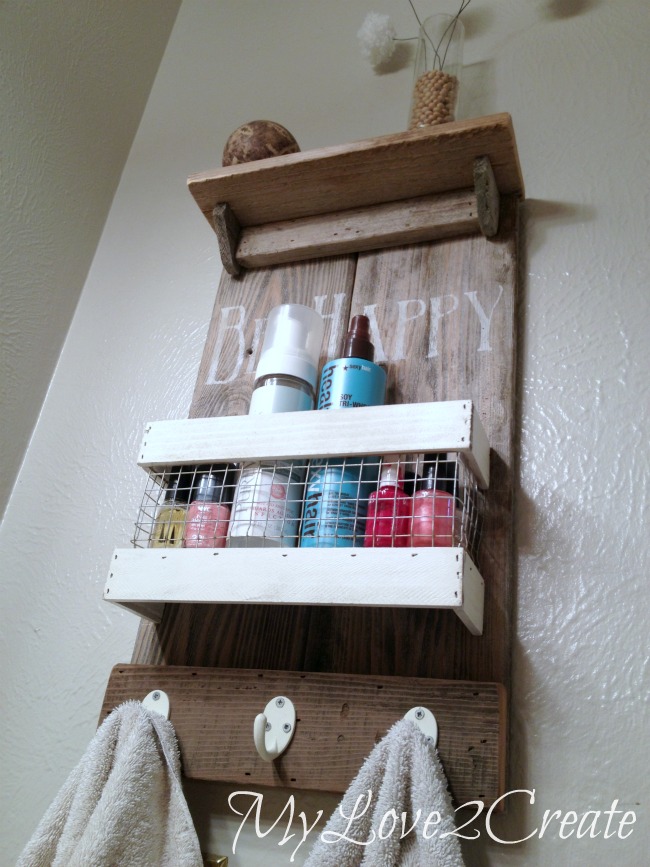
And that is it! Oh yeah, I did pre-drill holes and add the hooks to the bottom.
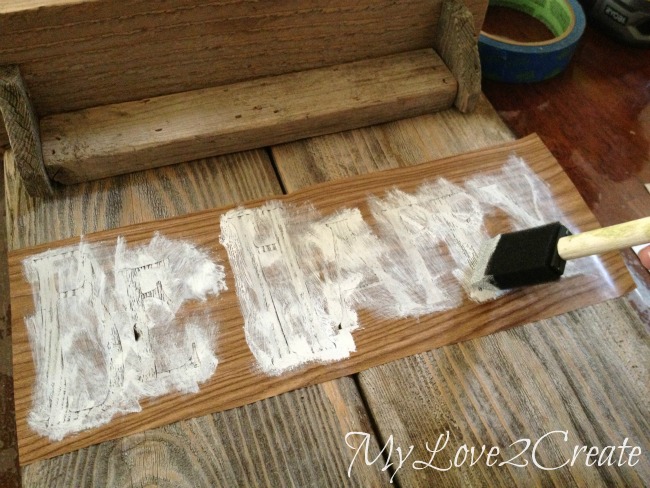
I figured since this was in the bathroom that my kids use, they needed a good subliminal message…Be happy seemed perfect.

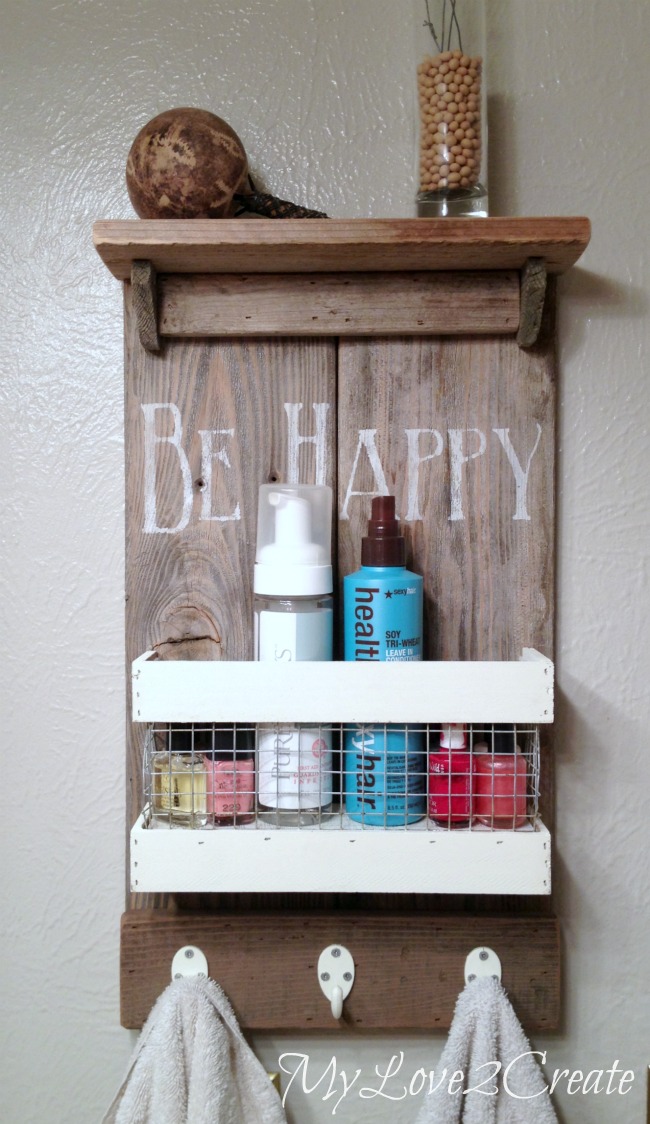
I now have a great place to hang the hand towels, and store some important accessories, like nail polish, and such. It is nice to be able to see inside it too, I love the wire box thingy! (if you think of a better name, I am all ears!)

All the supplies were things I had on hand, and so this shelf cost me nada. I think I love it even more!

If you have any left over fence wood you should build your own, or you could just buy some fence wood it is pretty cheap!
If you built one where would you put it?
For more great projects check out my blog MyLove2Create, or go directly to my projects page!
Hugs!
Mindi
The post Rustic DIY Shelf appeared first on Oh My Creative.