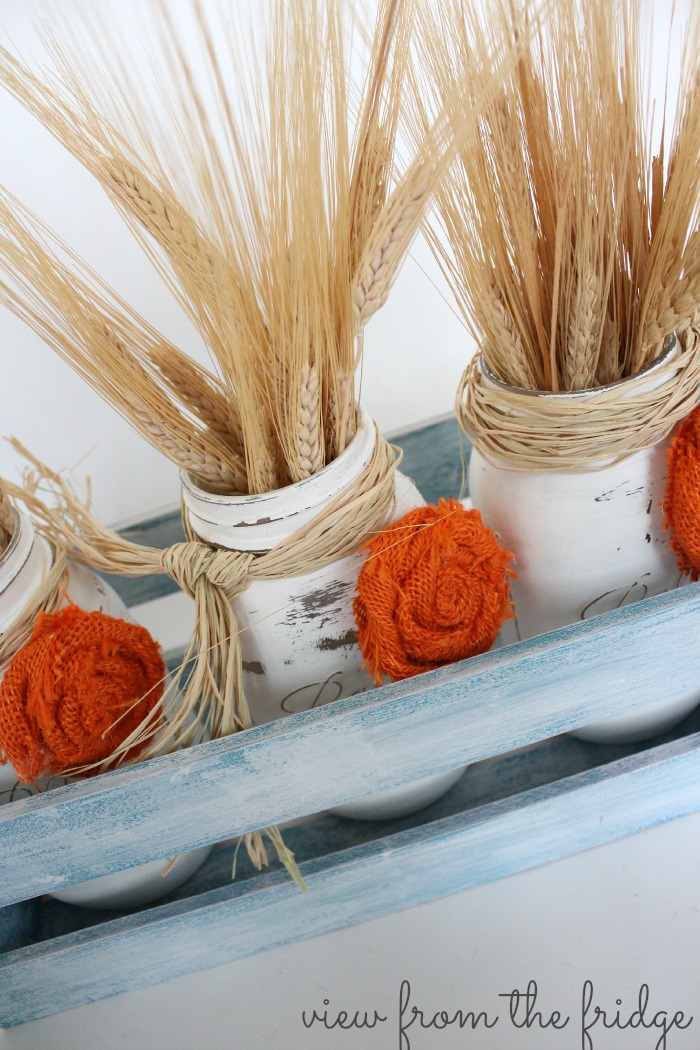
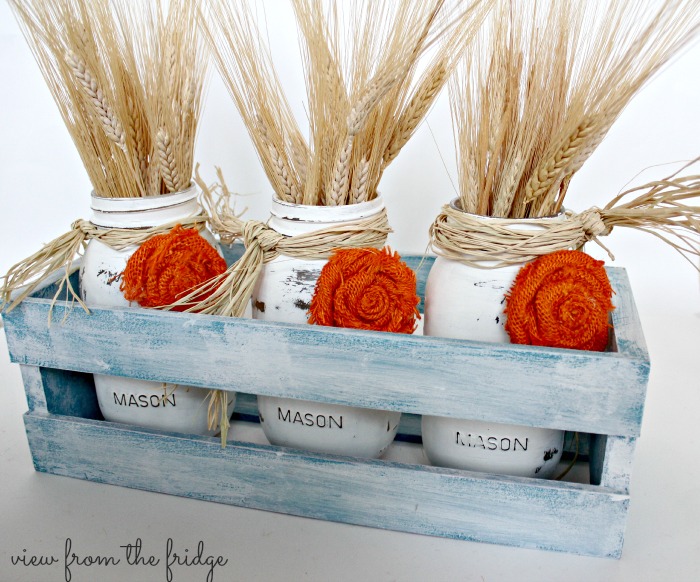
Fall Mason Jar Centerpiece {and how to make burlap rosettes}
Hi there! Katie from View From The Fridge back today with an easy Fall décor idea! It involves mason jars, chalk paint, and burlap … can’t go wrong with these supplies, right?!?

This Fall, I tried out a more neutral color scheme with pops of turquoise and orange here and there. This centerpiece fit into my décor perfectly!
I made these painted and distressed chalk painted mason jars for a baby shower a couple weeks ago, and after the shower I wanted to keep them out on display.

Chalk Painted And Distressed Mason Jars
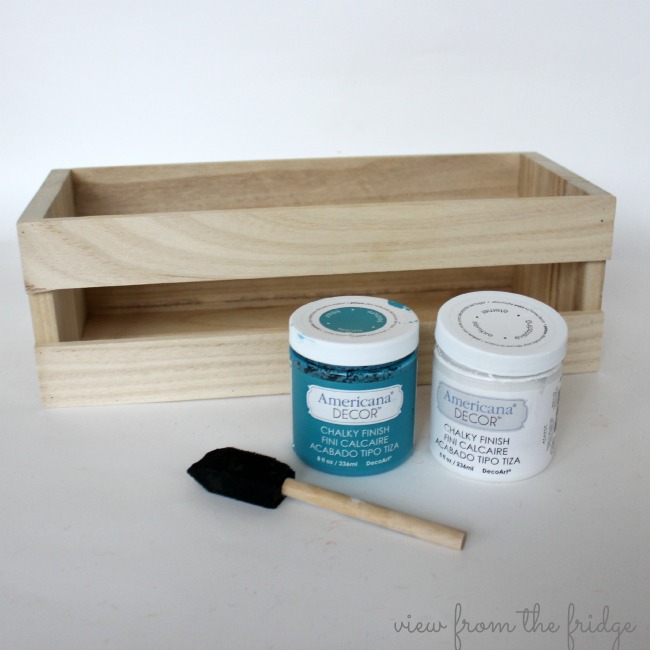
I also had this raw wood crate from Michael’s and some chalk paint (also from Michael’s):

I first painted the crate turquoise. Once dry, I dry brushed white chalk paint over the turquoise. Dry brushing basically involves rubbing the brush ‘almost’ dry, and then painting it onto the crate (over the turquoise).

Turquoise and white chalk painted crate
I now had a crate, some white distressed mason jars, and was in need of a pop of orange.
Enter burlap ‘flowers’ which are SO simple to make. I promise.
Here’s how:
STEP 1: CUT A 2″ x 24″ STRIP OF BURLAP.
If you’ve never cut burlap, it’s really easy to cut a straight line by using this technique:

Easy way to cut burlap strips
- Measure 2″ from edge and find a lenghth-wise fiber here.
- Pull this fiber out
- This will leave a line you can follow to cut along
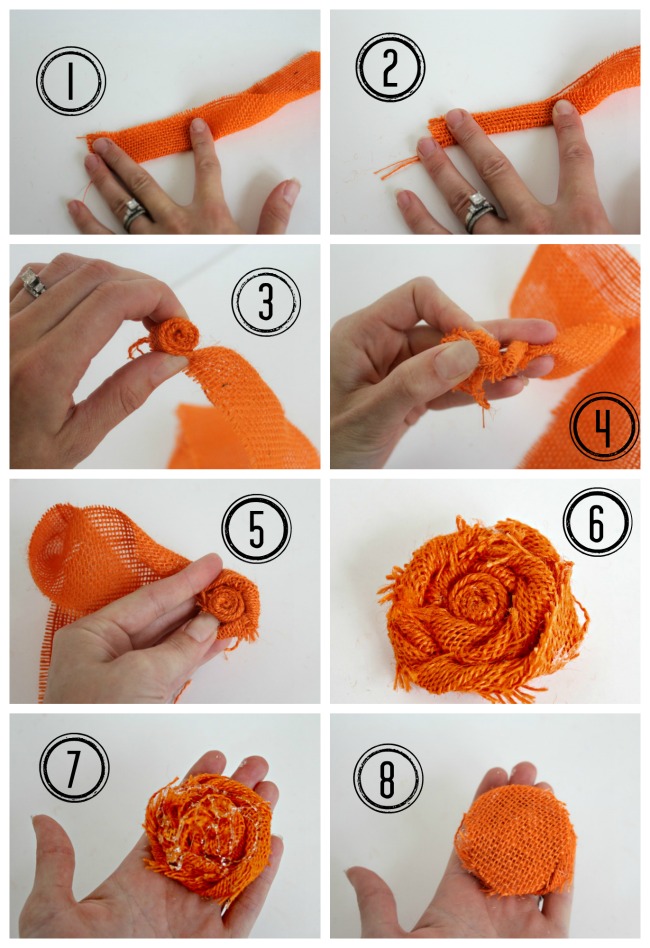
STEP 2: Make rosette as shown here:
First … cut a ~2″ circle out of burlap (hand cut, here … no need to be exact):


- Fold strip in half
- Fold in in half again
- Roll one end of folded strip a couple time (so it looks like the picture above)
- Next, twist the remainder of the strip and wrap around the center roll.
- Keep twisting and wrapping …
- Until it is the desired size. Then hot glue end of strip..
- Next, apply hot glue to back of flower (be relatively generous)
- Stick burlap circle onto glue to hold flower together.
That’s it! SO SIMPLE, right?!?

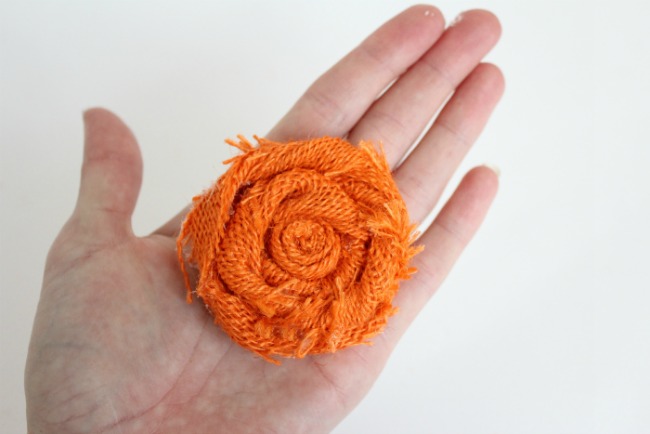
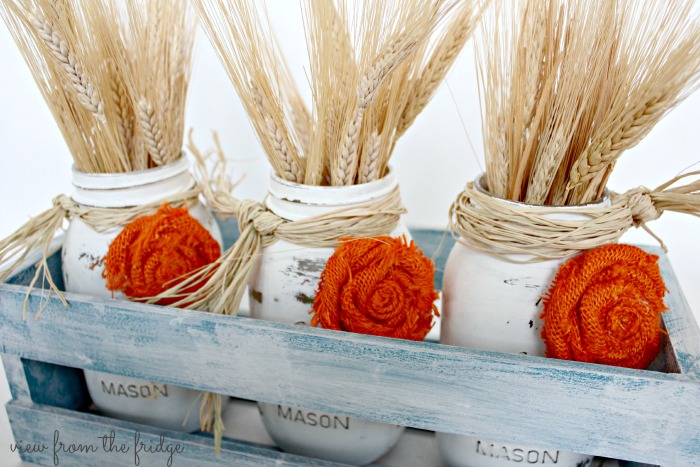
PERFECT SHABBY CHIC BURLAP ROSETTE!
I hot glued the rosettes on to the mason jars, and added some raffia:


I’m already thinking of ways to transition this piece to Christmas. Hmmm …. Red rosettes instead of orange?
Stay tuned …
Thanks so much for having me here today! I hope this little project inspires some Fall {or even Christmas} decorating on your part! In the meantime, you can check out more of our Fall Decor in our ‘home tour’ HERE:

Or stop by and say hello over on View From The Fridge!
Until next month …

The post Fall Mason Jar Centerpiece {and how to make burlap rosettes} appeared first on Oh My Creative.