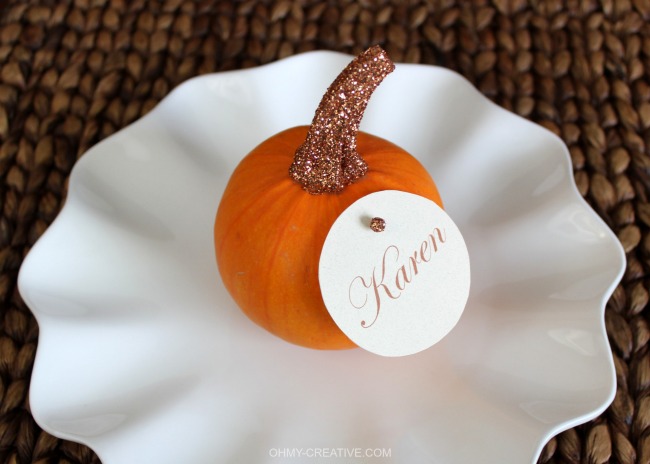
Glitter Top Pumpkin Place Cards
I was charmed by these perfectly round pumpkins recently while at a local farmers market…buy up a few! I went back the other day and bought a few more when I decided to mix and match my place cards on my Thanksgiving table this year. These Glitter Top Pumpkin Place Cards are easy to make and will surely dazzle your guests! Let’s see how to make them below…


SUPPLIES
Pumpkins | Fine Glitter | Cream Paper | Straight Pins With Ball Tops | Glue | Small Craft Size Paint Brush For Glueing

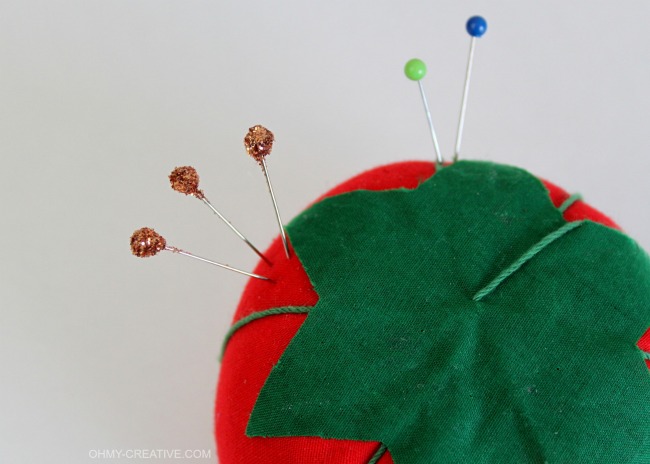
First, let’s make the glitter straight pins. Take the head of the pin and dip it into the glue and then dip it into the container of glitter. Easy – let dry!

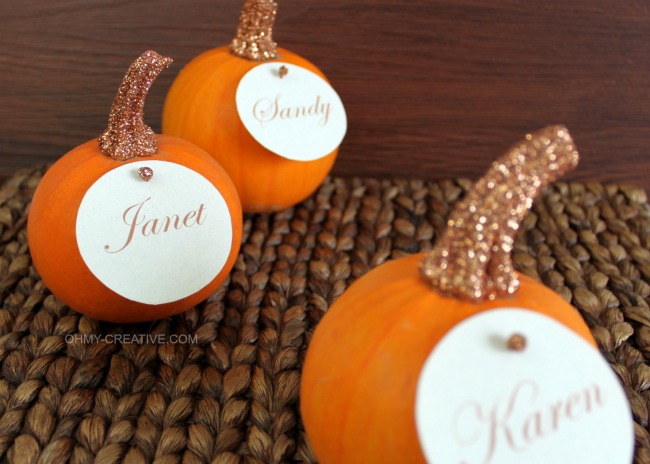
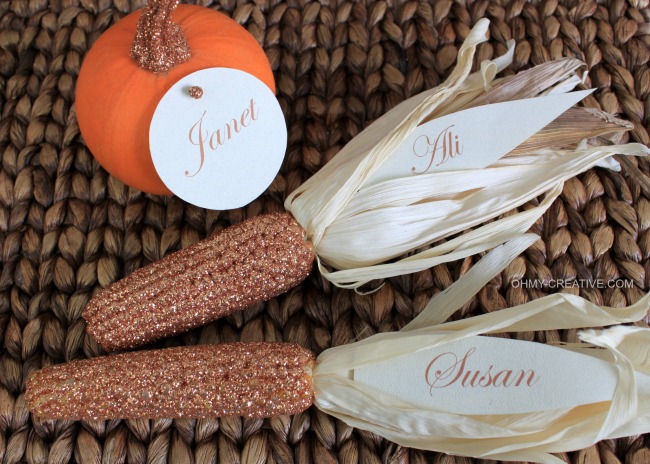
While my pins were drying, I printed out my name tags for the place cards using Microsoft Word, but any word program would work. Choose a pretty font and change the names to the color of your choice. I used brown. See more details on the font I used {Here} Glitter Indian Corn Place Cards.
Space out your names on the sheet of paper, so there is room to trace the shape for the name tag. I used a shot glass as a template centering the names inside. Then trim them out with scissors.

Next, dip the paint brush in the glue coating the stem of the pumpkin. Dust with the glitter and let dry. Do them one at a time as the glue dries quickly. Wash the paint brush when finish…the glue will rinse out.
When all the glitter is dry, take the push pin and through the name tag insert it into the pumpkin. The pin pushes right in! That’s it…easy and pretty!


Enjoy these other great Fall and Thanksgiving ideas as well!
Hope your day is creative!
Linking to these wonderful parties!
The post Glitter Top Pumpkin Place Cards appeared first on Oh My Creative.