Demolition Days | #PBJreno
It's been a LOOONGGG weekend and I am exhausted, but it feels so good to see what we've already accomplished with our home! We have 4 weeks until all our belongings that are in storage need to be delivered so we are really trying to maximize this time to knock out as much demolition and renovations as possible.
Our big first to do's: Demo the kitchen Demo the dining room Demo the stairs Demo the basement
Day 1: Friday Night 730pm - 930pm
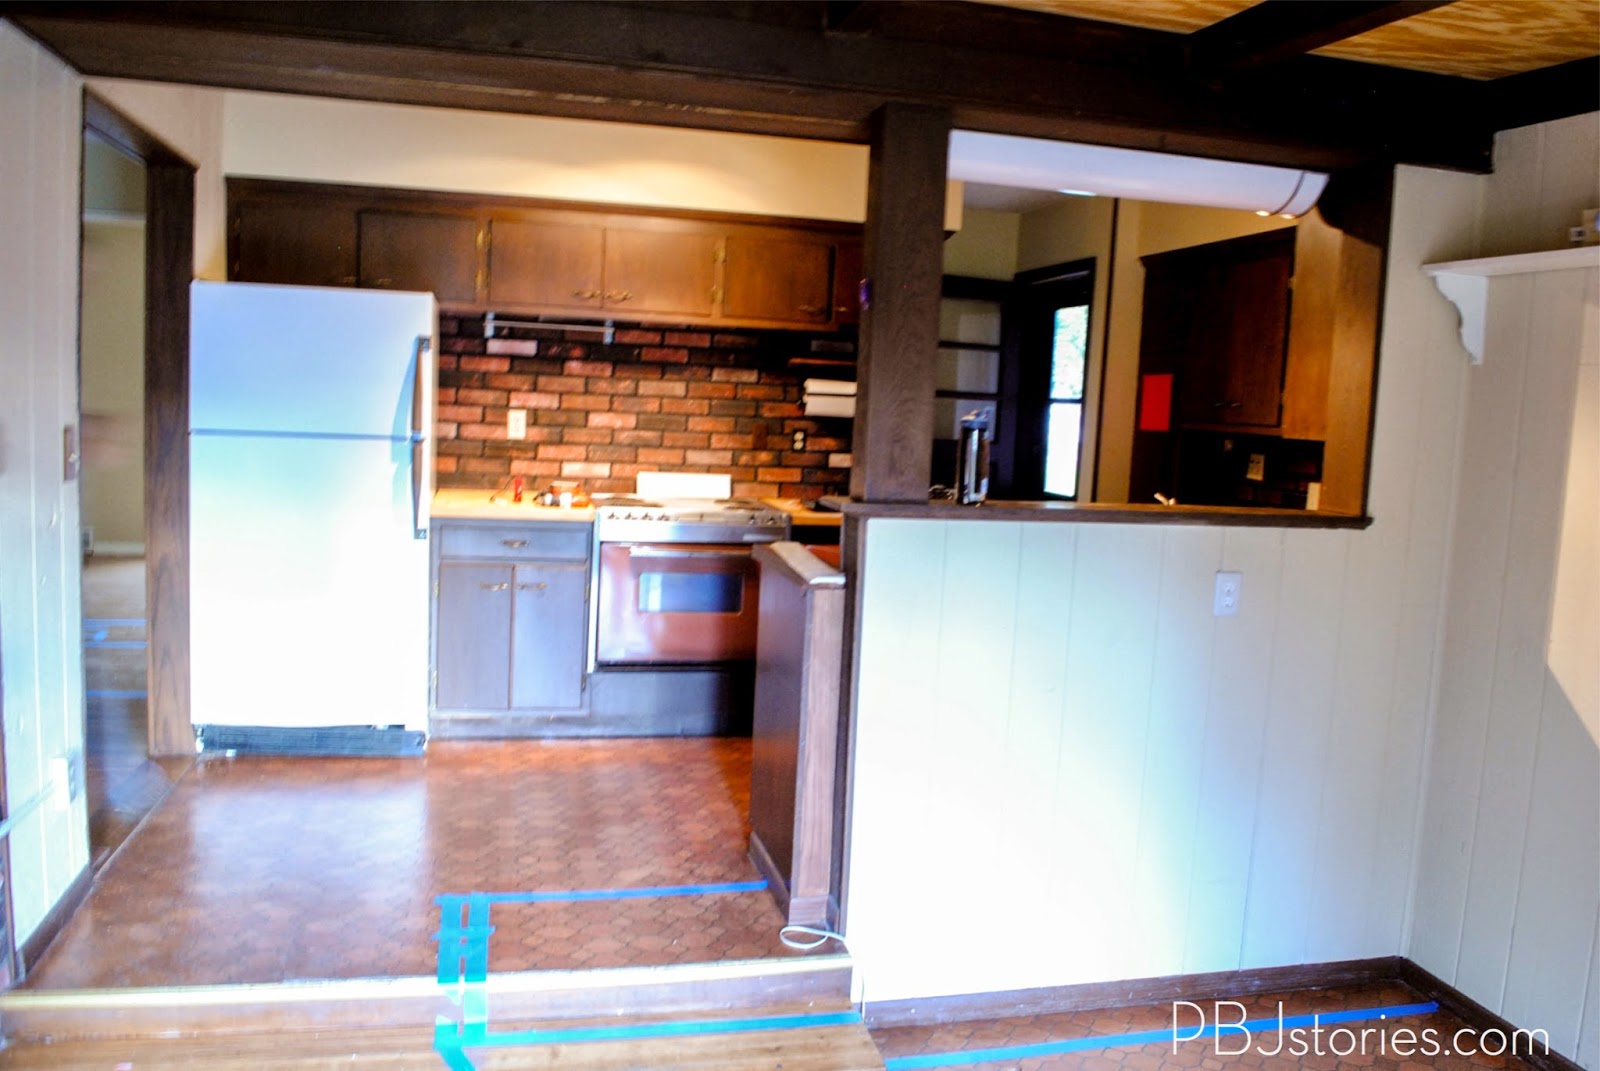
The Kitchen Before:


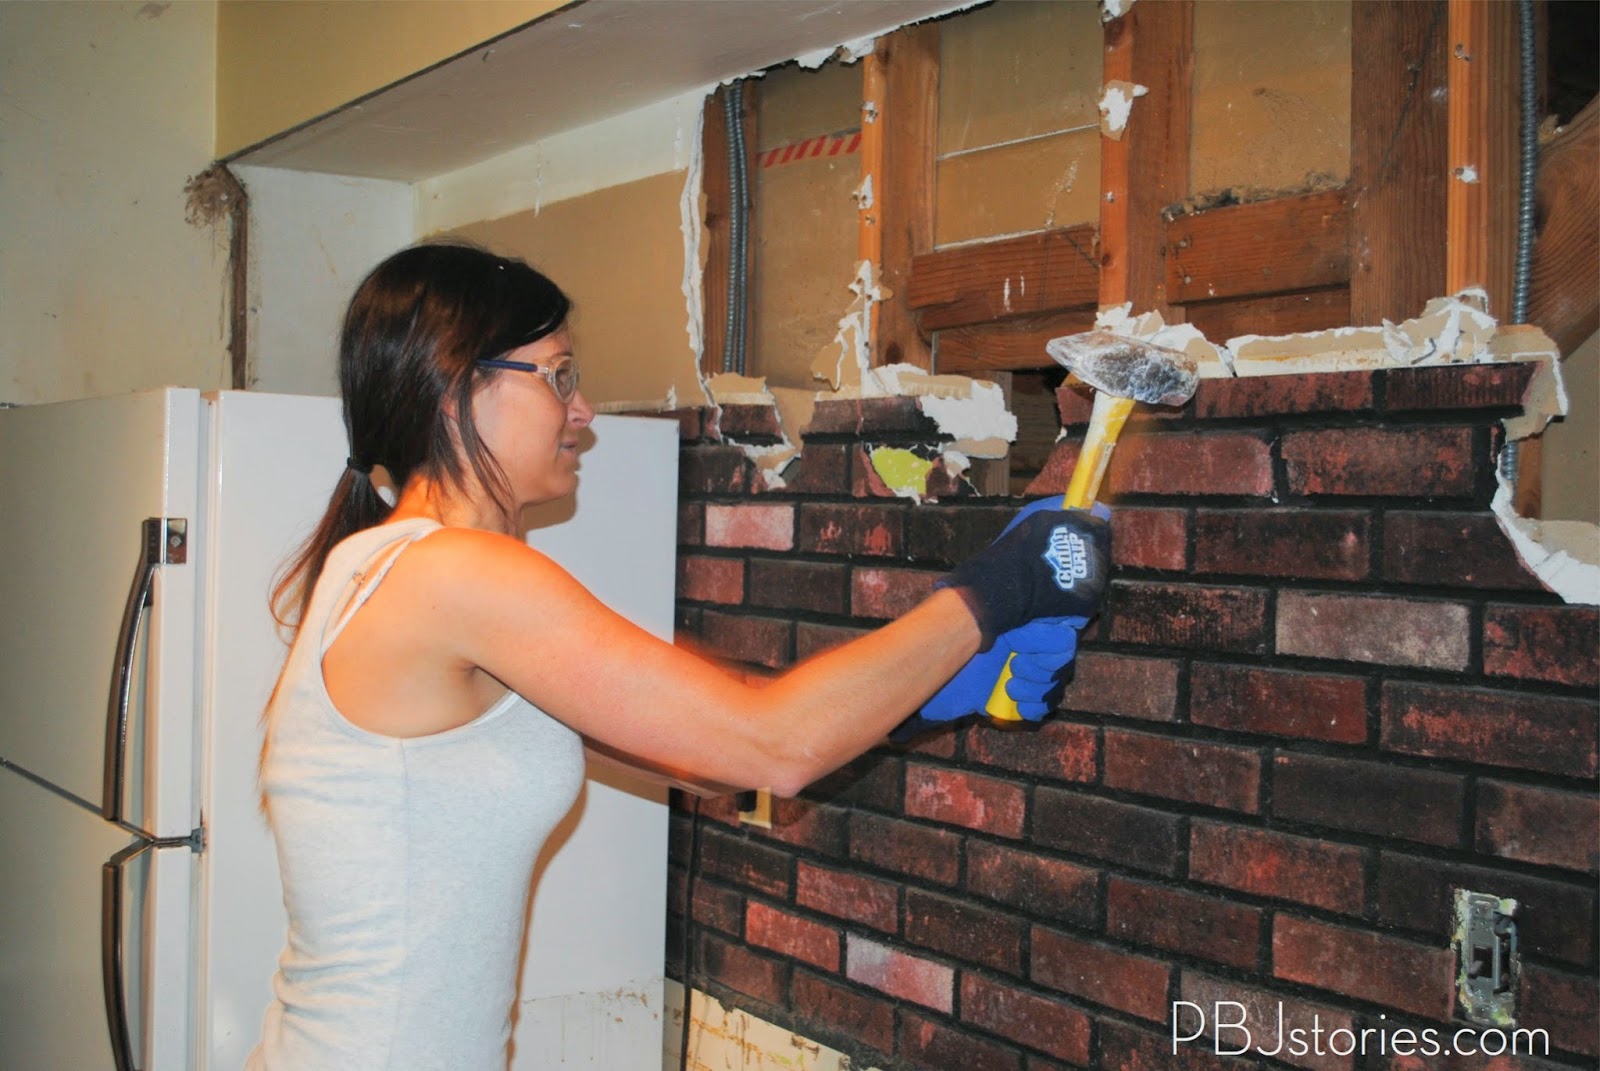
This was my first time I actually got to REALLY demo something... like full on take a sledge hammer to something and have at it. Let me be the first to tell you they do NOT make cabinets like they used too. 3" nails every inch... cabinets so sturdy I was able to completely free hang from them... these things were no joke. The work that night:


As you can see we got a lot done in two hours Friday night. We were able to get rid of all the cabinets on both walls, and knock out the backside of the sink cabinets, and remove the paneling from the wall in the dining room.
Day Two: Almost all day Saturday
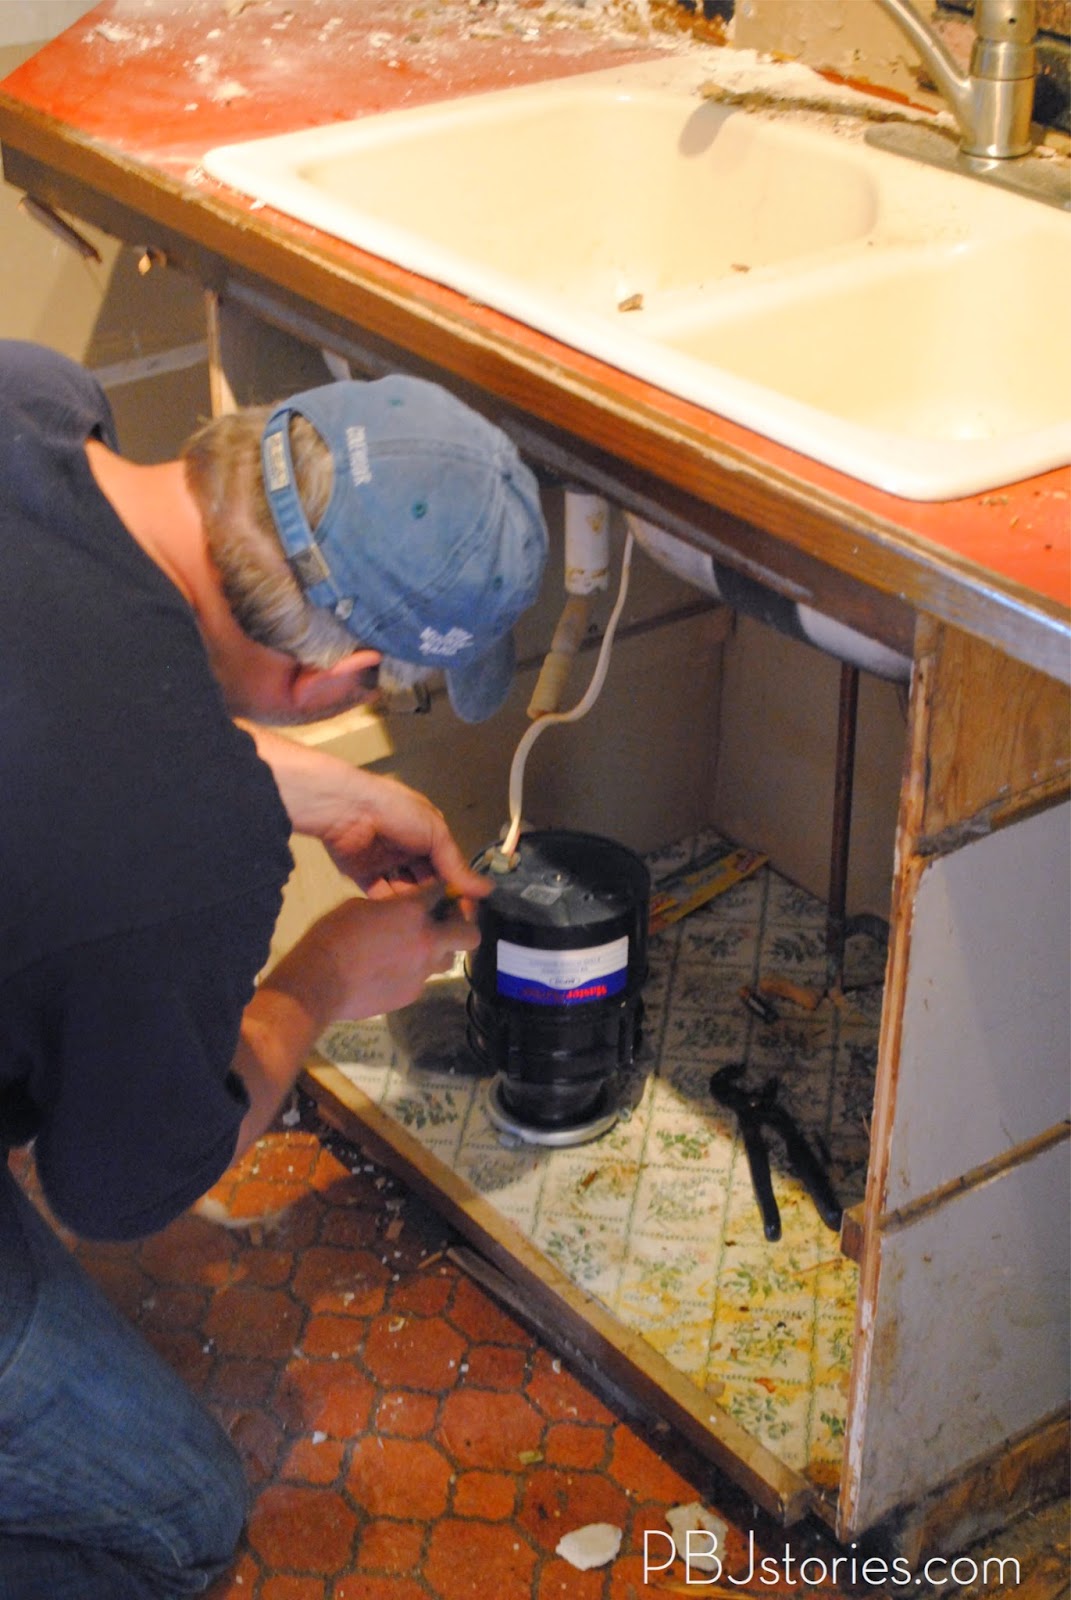
We got back over to the house pretty early on Saturday and was planning on being there all day. We removed the sink right away to get the final cabinets out of the kitchen. We had to shut off the water completely and will remain turned off throughout the demolition process because it's just easier than temporarily sealing off the water access for the kitchen plumbing.


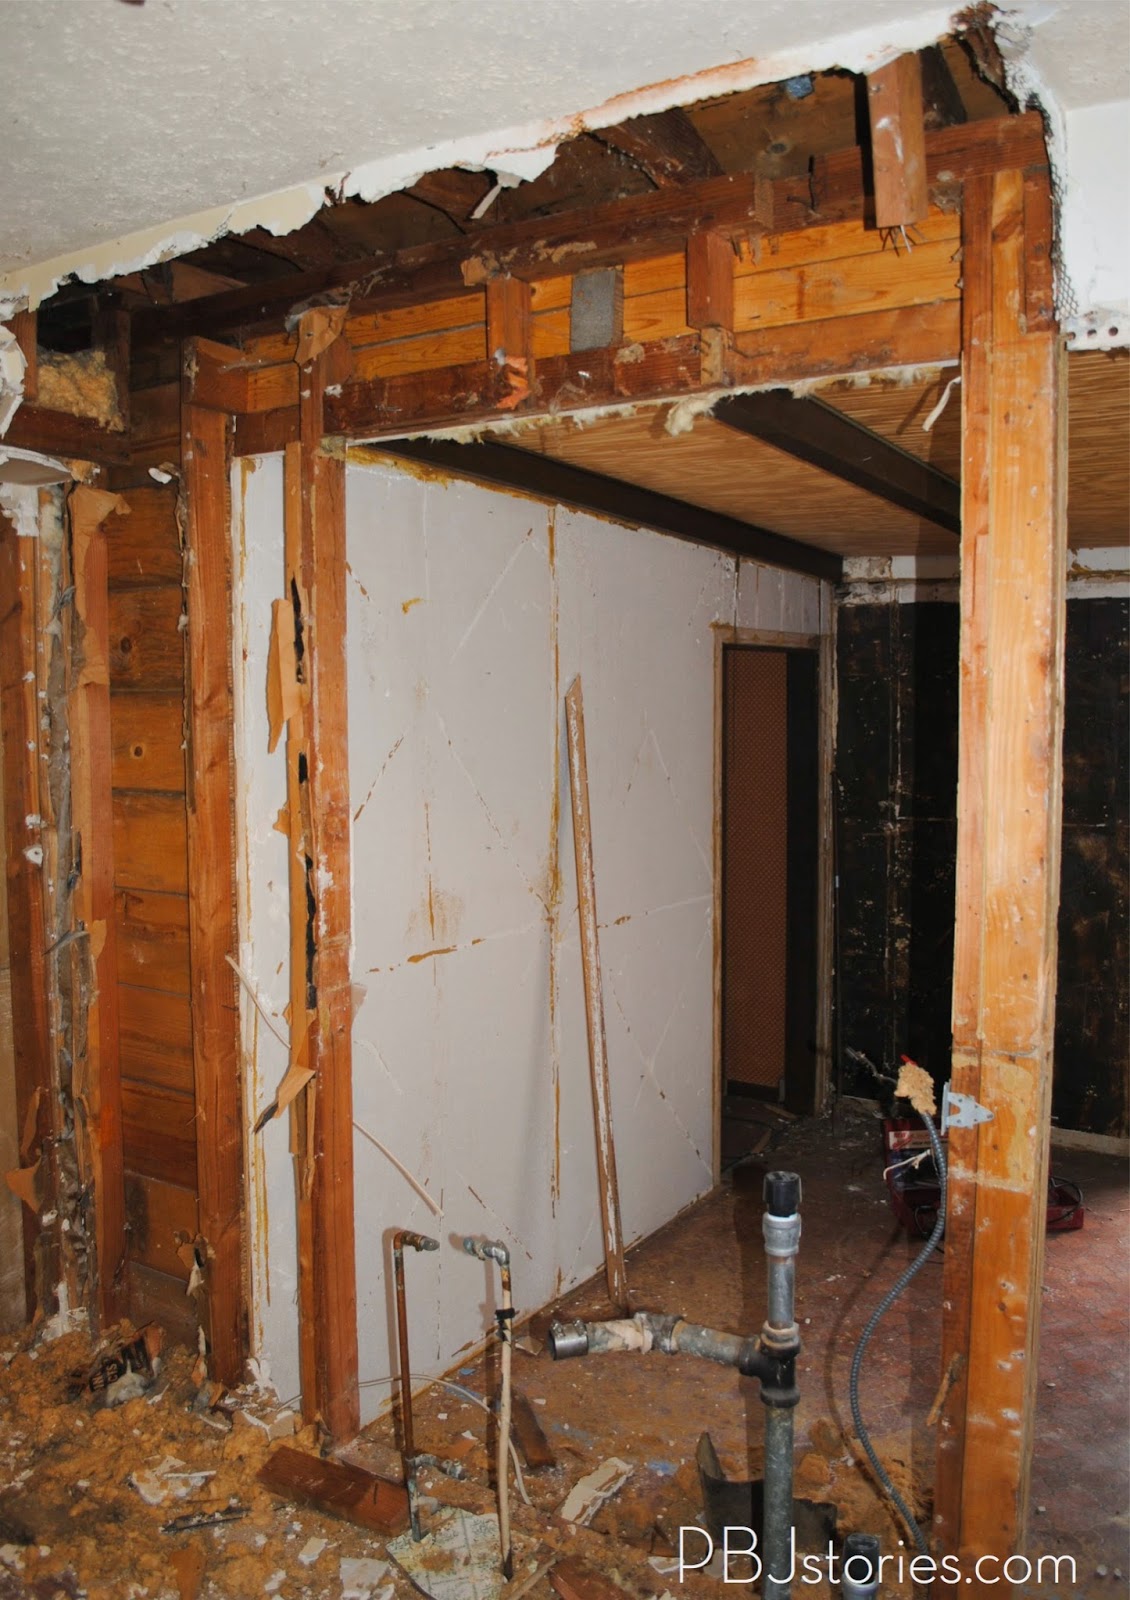
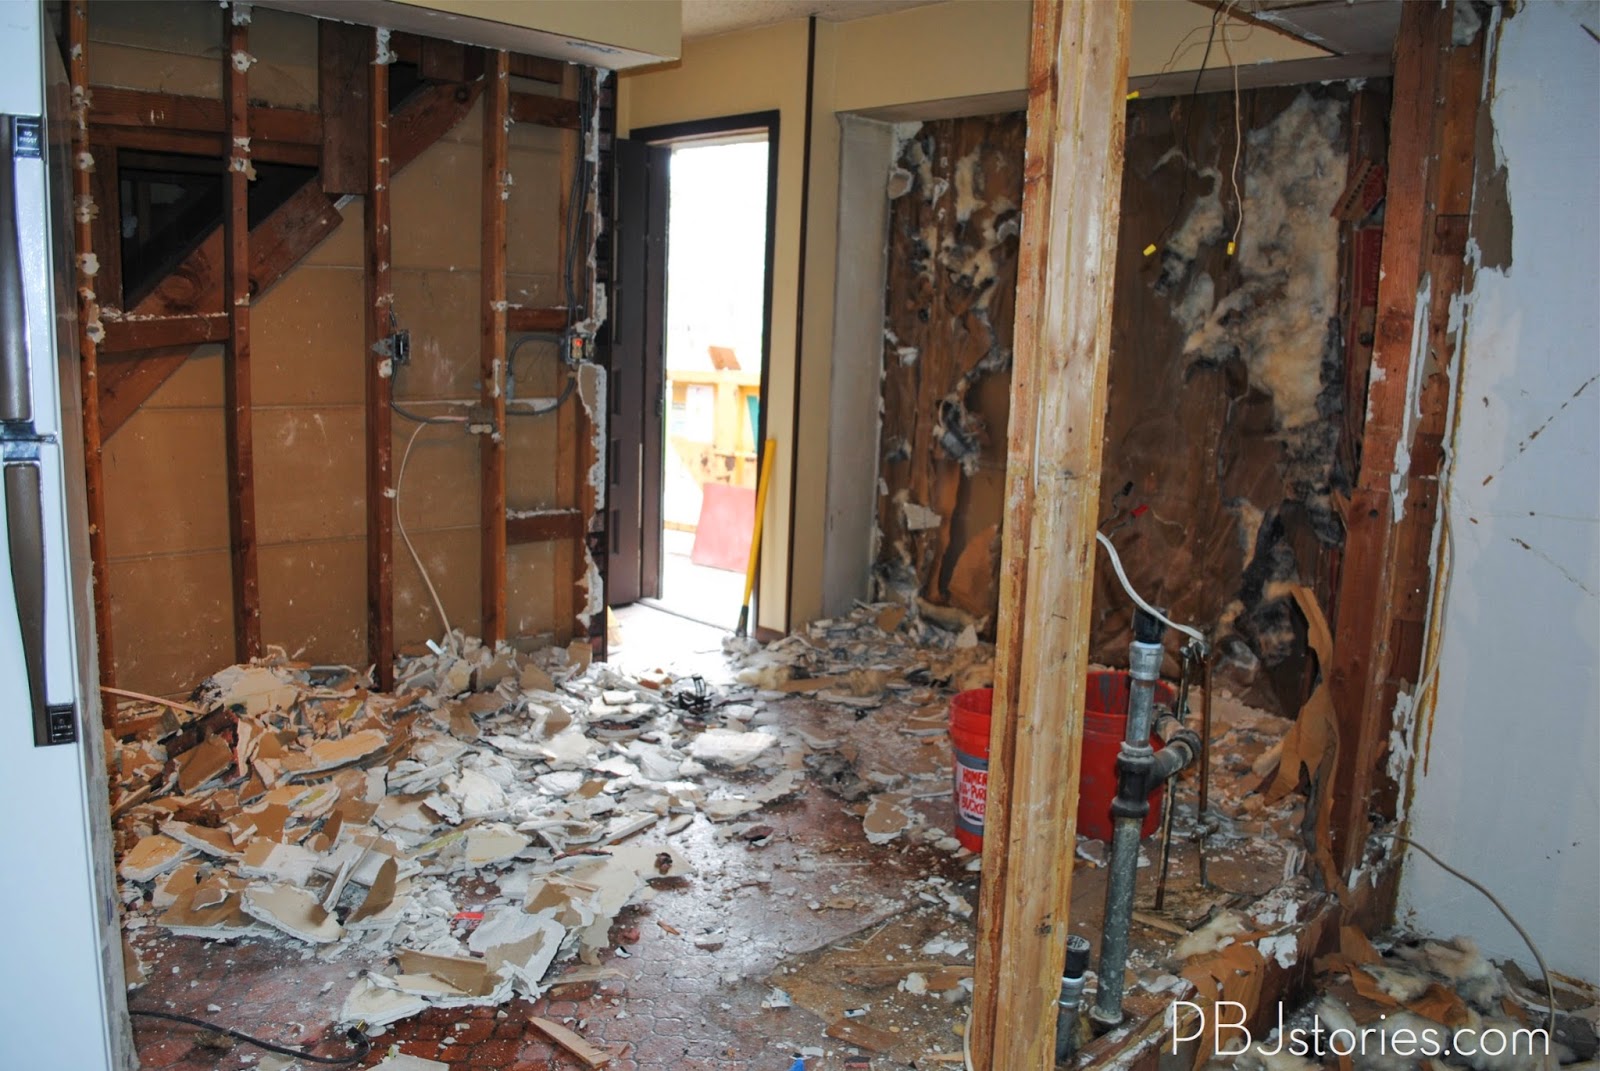
As you can see this day was mostly dedicated to knocking down layers and layers of plaster and sheet rock and removing insulation. IT WAS A MESS. Every few studs we'd stop clean up the mess, knock out more and repeat.
Here's my safety disclaimer as it's my duty to keep you safe! During this whole process it was SO dusty, it's important to wear respirators, proper eye protection and even gloves. Technically I should be wearing more clothing to protect my arms and neck too but... I live on the edge. The insulation that was along the wall sharing the garage had the old school fiberglass insulation and that stuff is ITCHY. So wear gloves, and clean it up immediately.
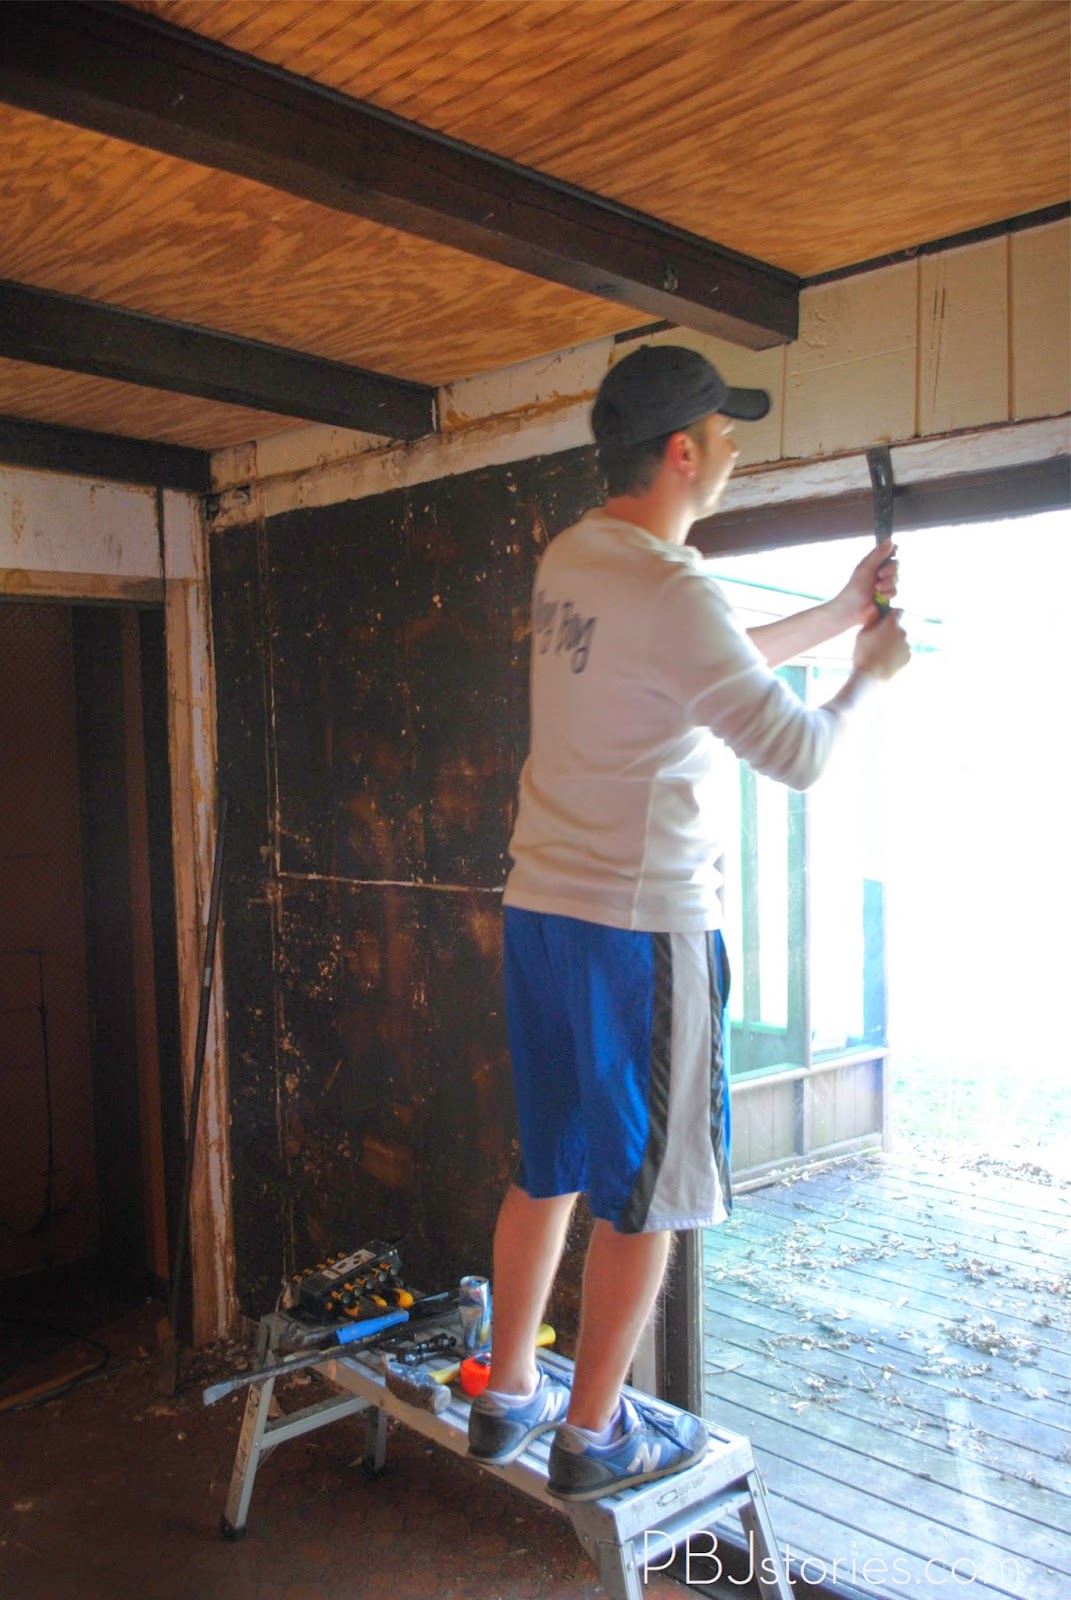

We were truly surprised how clean all the walls were as we were knocking them down, until I got to the rear exterior wall in the dinning room. This was an extension put in at some point after the original home and connects to the outer corner of the garage. Obviously something wasn't sealed properly and this is what YEARS and YEARS of rotting looks like. It was gross. The rotted wood was originally 2x12" boards that are underneath the exterior cedar shingles. Then there's a soft layer of fabric and then the exterior shingles. In the very upper corner you can see directly outside.
Ooopsies.
Looks like we have an entire exterior wall to tear down, replace and rebuild that we weren't expecting to do. But, that's a part of demolition a home you don't know the history of.. there's always going to be a few surprises.

As you can see it rotted about half the wall and hadn't spread to the edge of the framing of the sliding door yet. Unfortunately all this was hidden under layers of sheet rock, and the exterior shingles weren't effected so none of this was caught during inspection.


Can't wait to keep showing you more!!

More posts from