How to Install Sub Flooring | #PBJreno

We finally added something back into the kitchen! Felt nice to ADD something instead of the continuous removing we've been doing!

Last week I shared how we ripped up the original flooring in the kitchen here.
If you were to look downward on our kitchen floor joists you'd see this layout. Just about two-thirds of the room with vertical joists, the last third with horizontal boards. Typically a room will have joists all in the same direction so once you lay your first board down you can continue through with tongue and groove until you hit the other wall. Since our room had the varying direction of joist boards we had to lay them a little different than "usual". (If there is anything ever "usual" when you DIY).
The layout of our joists & each 4'x8' plywood sheet:

The order we put each plywood sheet down: 1. Blue - 4'x8' plywood 2. Brown - Cut to size plywood 3. Green - 4'x8' plywood 4. Red - 4'x8' plywood
When laying sub-floor you want to look for plywood that has "tongue and groove" that run along the 8' long sides.
When laying sub-floor you want to look for plywood that has "tongue and groove" that run along the 8' long sides.

(via)
When you lay the boards against the wall frame you want to leave about an 1/8th of of room in between the board and the wall. This allows for a little give and expansion over time.
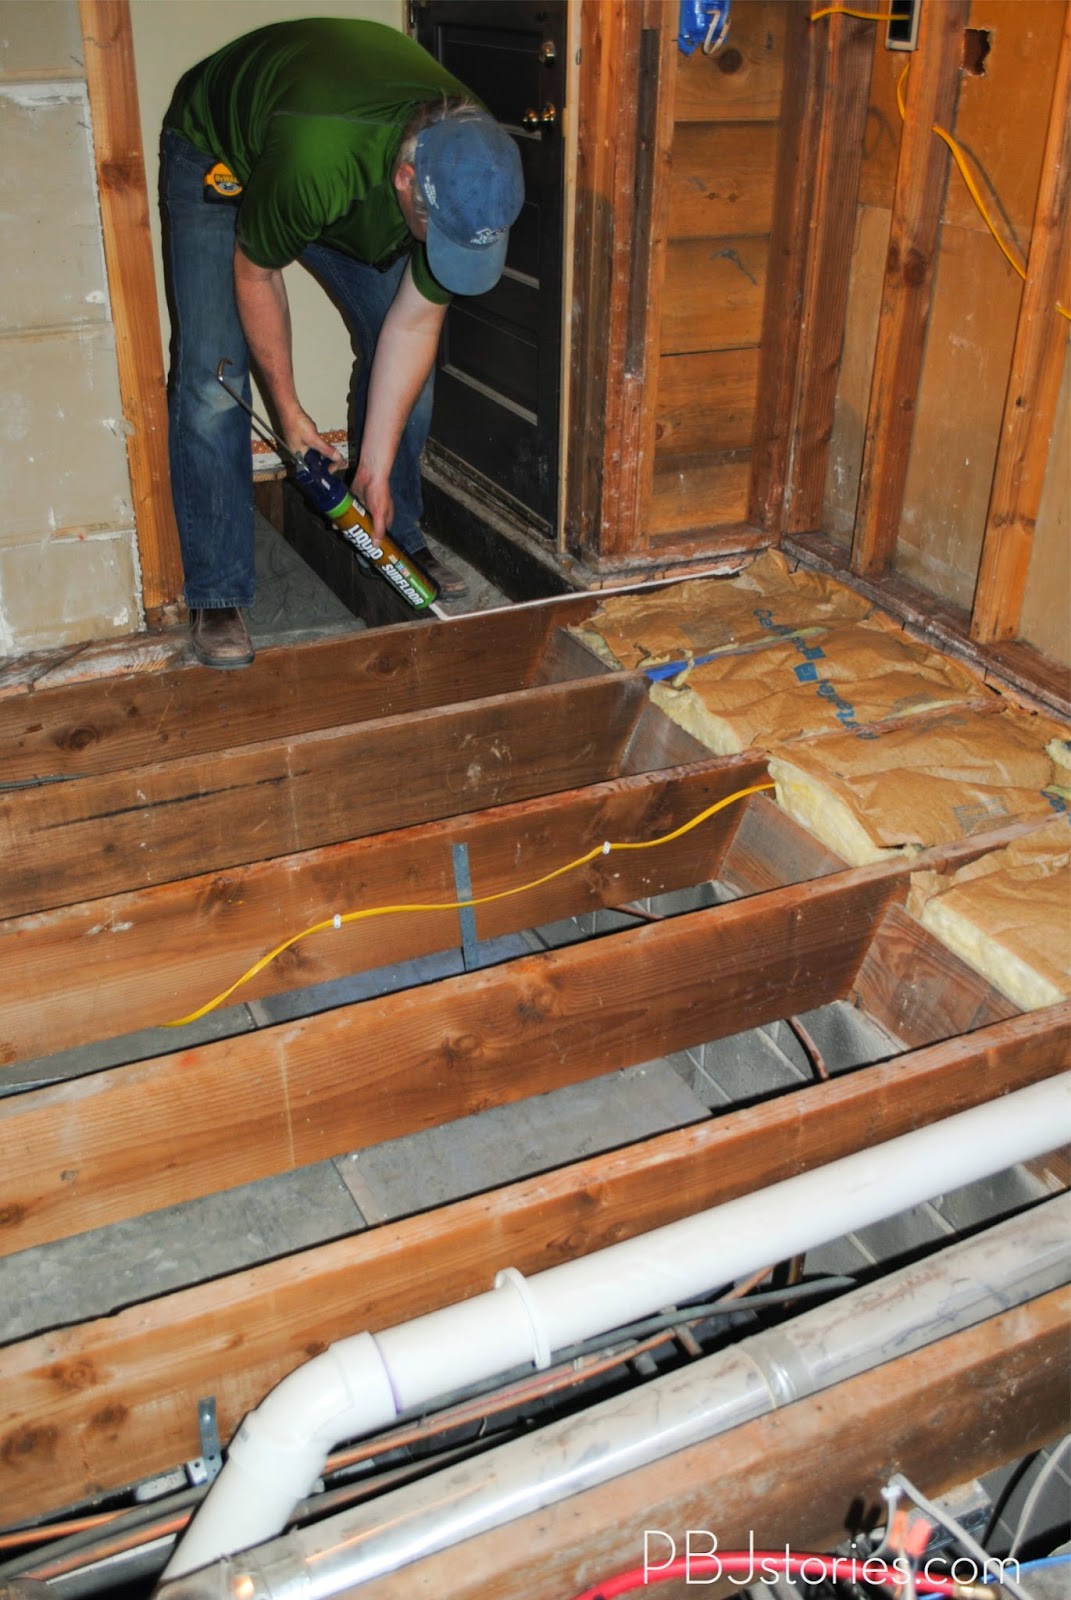
Before you lay your board down, you'll want to put a line of sub-floor glue along the top of the joists like below. To permanently hold down the subflooring, it is best to use adhesive. There is special adhesive for subflooring which is more workable than other construction adhesives. Standard construction adhesive will not allow you to slide the tongue into the groove as easily.
When you lay the boards against the wall frame you want to leave about an 1/8th of of room in between the board and the wall. This allows for a little give and expansion over time.
Before you lay your board down, you'll want to put a line of sub-floor glue along the top of the joists like below. To permanently hold down the subflooring, it is best to use adhesive. There is special adhesive for subflooring which is more workable than other construction adhesives. Standard construction adhesive will not allow you to slide the tongue into the groove as easily.


Then once you lay the board down you'll want to use 2" wood screws for one layer of plywood. Screws should be set 6 to 8 inches apart (best to always check local codes too!). We marked the middle of each joist using a long straight edge and drew the lines right on the sub floor so we were sure to hit directly in the middle of the joist each time.

After this -- stretch, stretch and then stretch some more because it gets hard on your back!
The second board we put down (the brown color in the diagram) we had to cut to size in order for it to fit in the remainder section of the horizontal floor joists. We were still using the full 8' long side, just cut it down from 4' to fit properly. Be sure to take note what side you're cutting because you want the tongue and groove edges to fit together.

Then more adhesive and lay the board down. You don't want to hit the plywood into place on the edge as you can damage the tongue and groove. It's either better to use a 2x4 against the edge and hit that to apply pressure evenly. Or, you can do what our Father in Law did and do some dance moves/jumping that slid it into place (should have video'd it!).

When you're lining two boards up on one joist, you want to be sure they're equally met in the middle of the joist for the best support. Here's my attempt at showing that.... if it makes sense!

But then we just marked the center of the joists again, and screwed a lot more screws again. You'll want to get as close to the edge of board as possible without splitting the wood.

Next came the next two boards to cover the vertical joists and those were just two full 4'x8' length boards fitted together in the middle again like or horizontal joists.
I think by the end of it we had over 500 screws in just the upper part of the kitchen area!
But all said in done it felt so nice to have flooring back in our kitchen - even if it was just sub floor! Next up is the lower level of the kitchen, well technically the dining room!

More posts from