
Easy & Inexpensive Wall Decor

*Thank you to Royal Design Studio and Wallternatives for making this post possible. All opinions are solely my own.
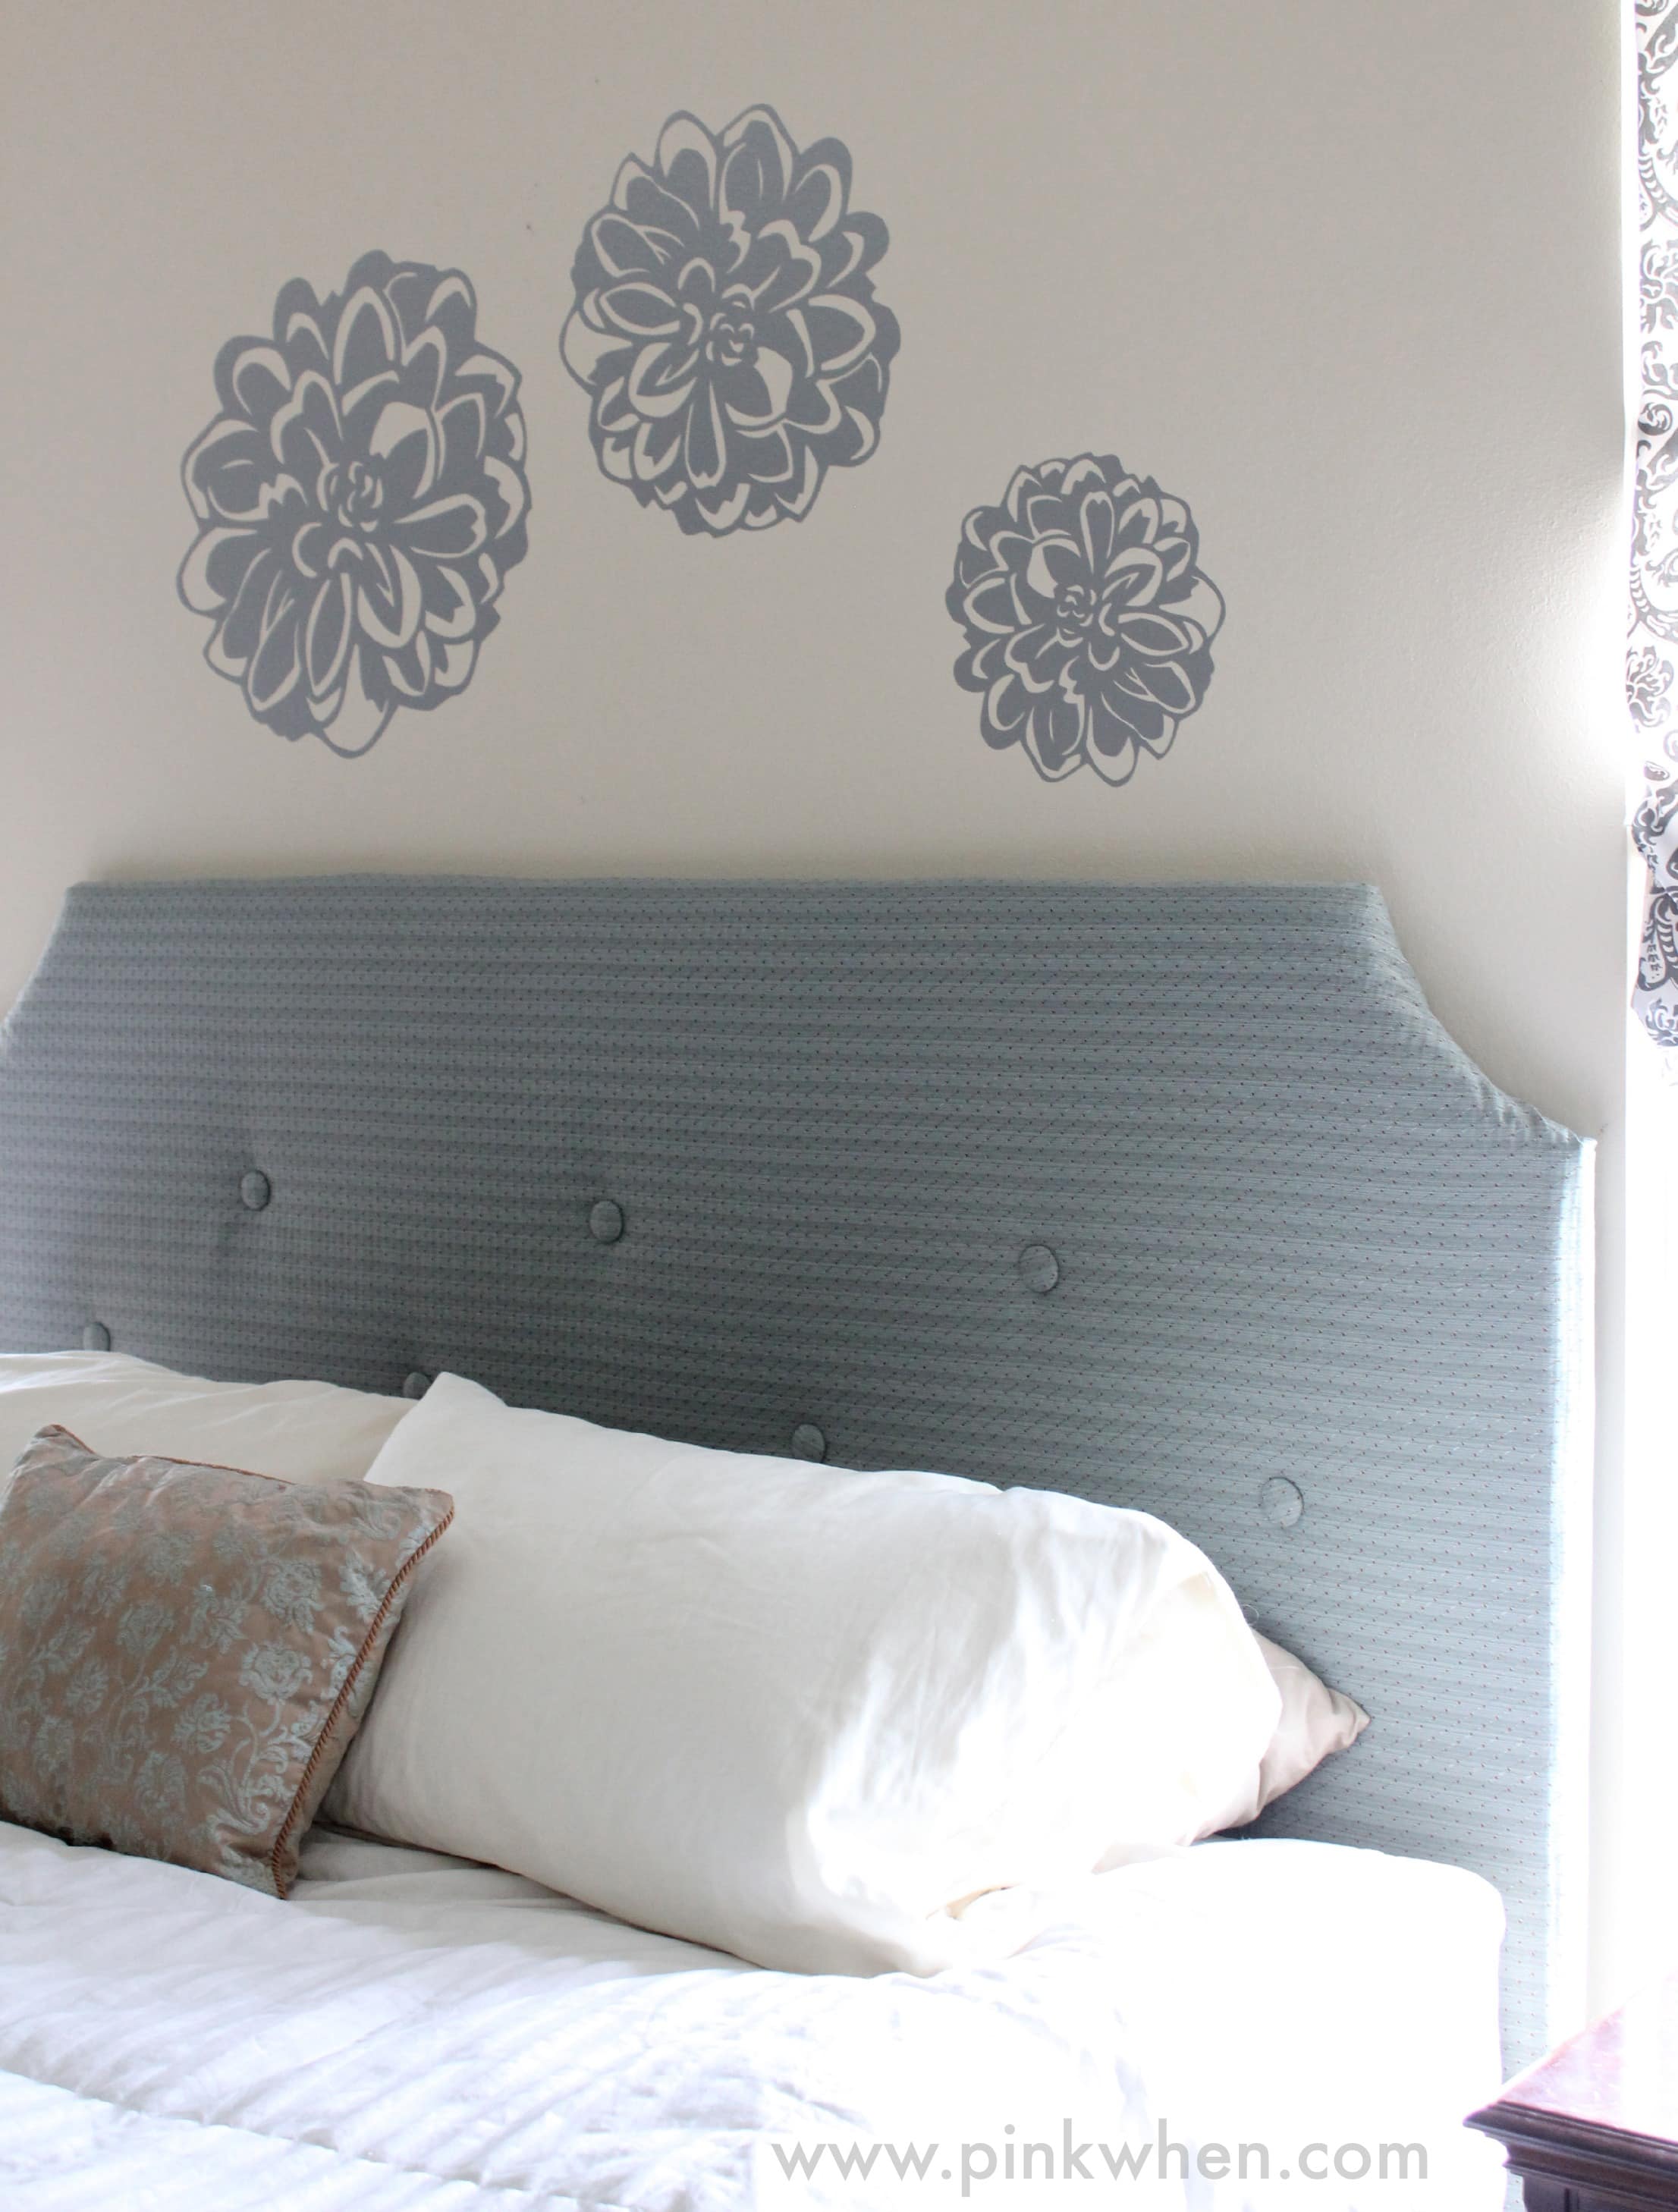
Have you ever wanted to take a plain wall and dress it up a bit, but were not quite sure how you wanted to do it? Do you want to paint, or do you want to give something a try that’s not permanent? I love the idea of nothing permanent for a couple of reasons. Today I am going to share how I dressed things up with these Graphic Carnations Vinyl Wall Decals in this Easy & Inexpensive Wall Decor post.

A little over a month ago I made plans to dress our drab bedroom. While all of the children have bedroom suits, my husband and I have never really found anything we liked that was able to fit into the room we have currently, or into our budget. Needless to say, we have several pieces of furniture, but have never had an actual bed set. We just usually use big pillows and that’s all.

That’s when I started looking at different ideas for wall decor that were not permanent. There are so many different reasons, but painting and making mistakes, and re-applying paint was one. It is time consuming to add a painted piece like the wall carnations, but it is also a permanent piece when you paint. While we have been in our house for 5 years, we do not see this as our permanent residence, only a stepping stone for something larger.
With these Wallternative Decals, they are only on as long as you want. When you move or decide on a new paint, you can easily remove them without a trace.
The other reason I love these is for the ease of application. I applied mine in just a few steps and was finished in under 30 minutes.
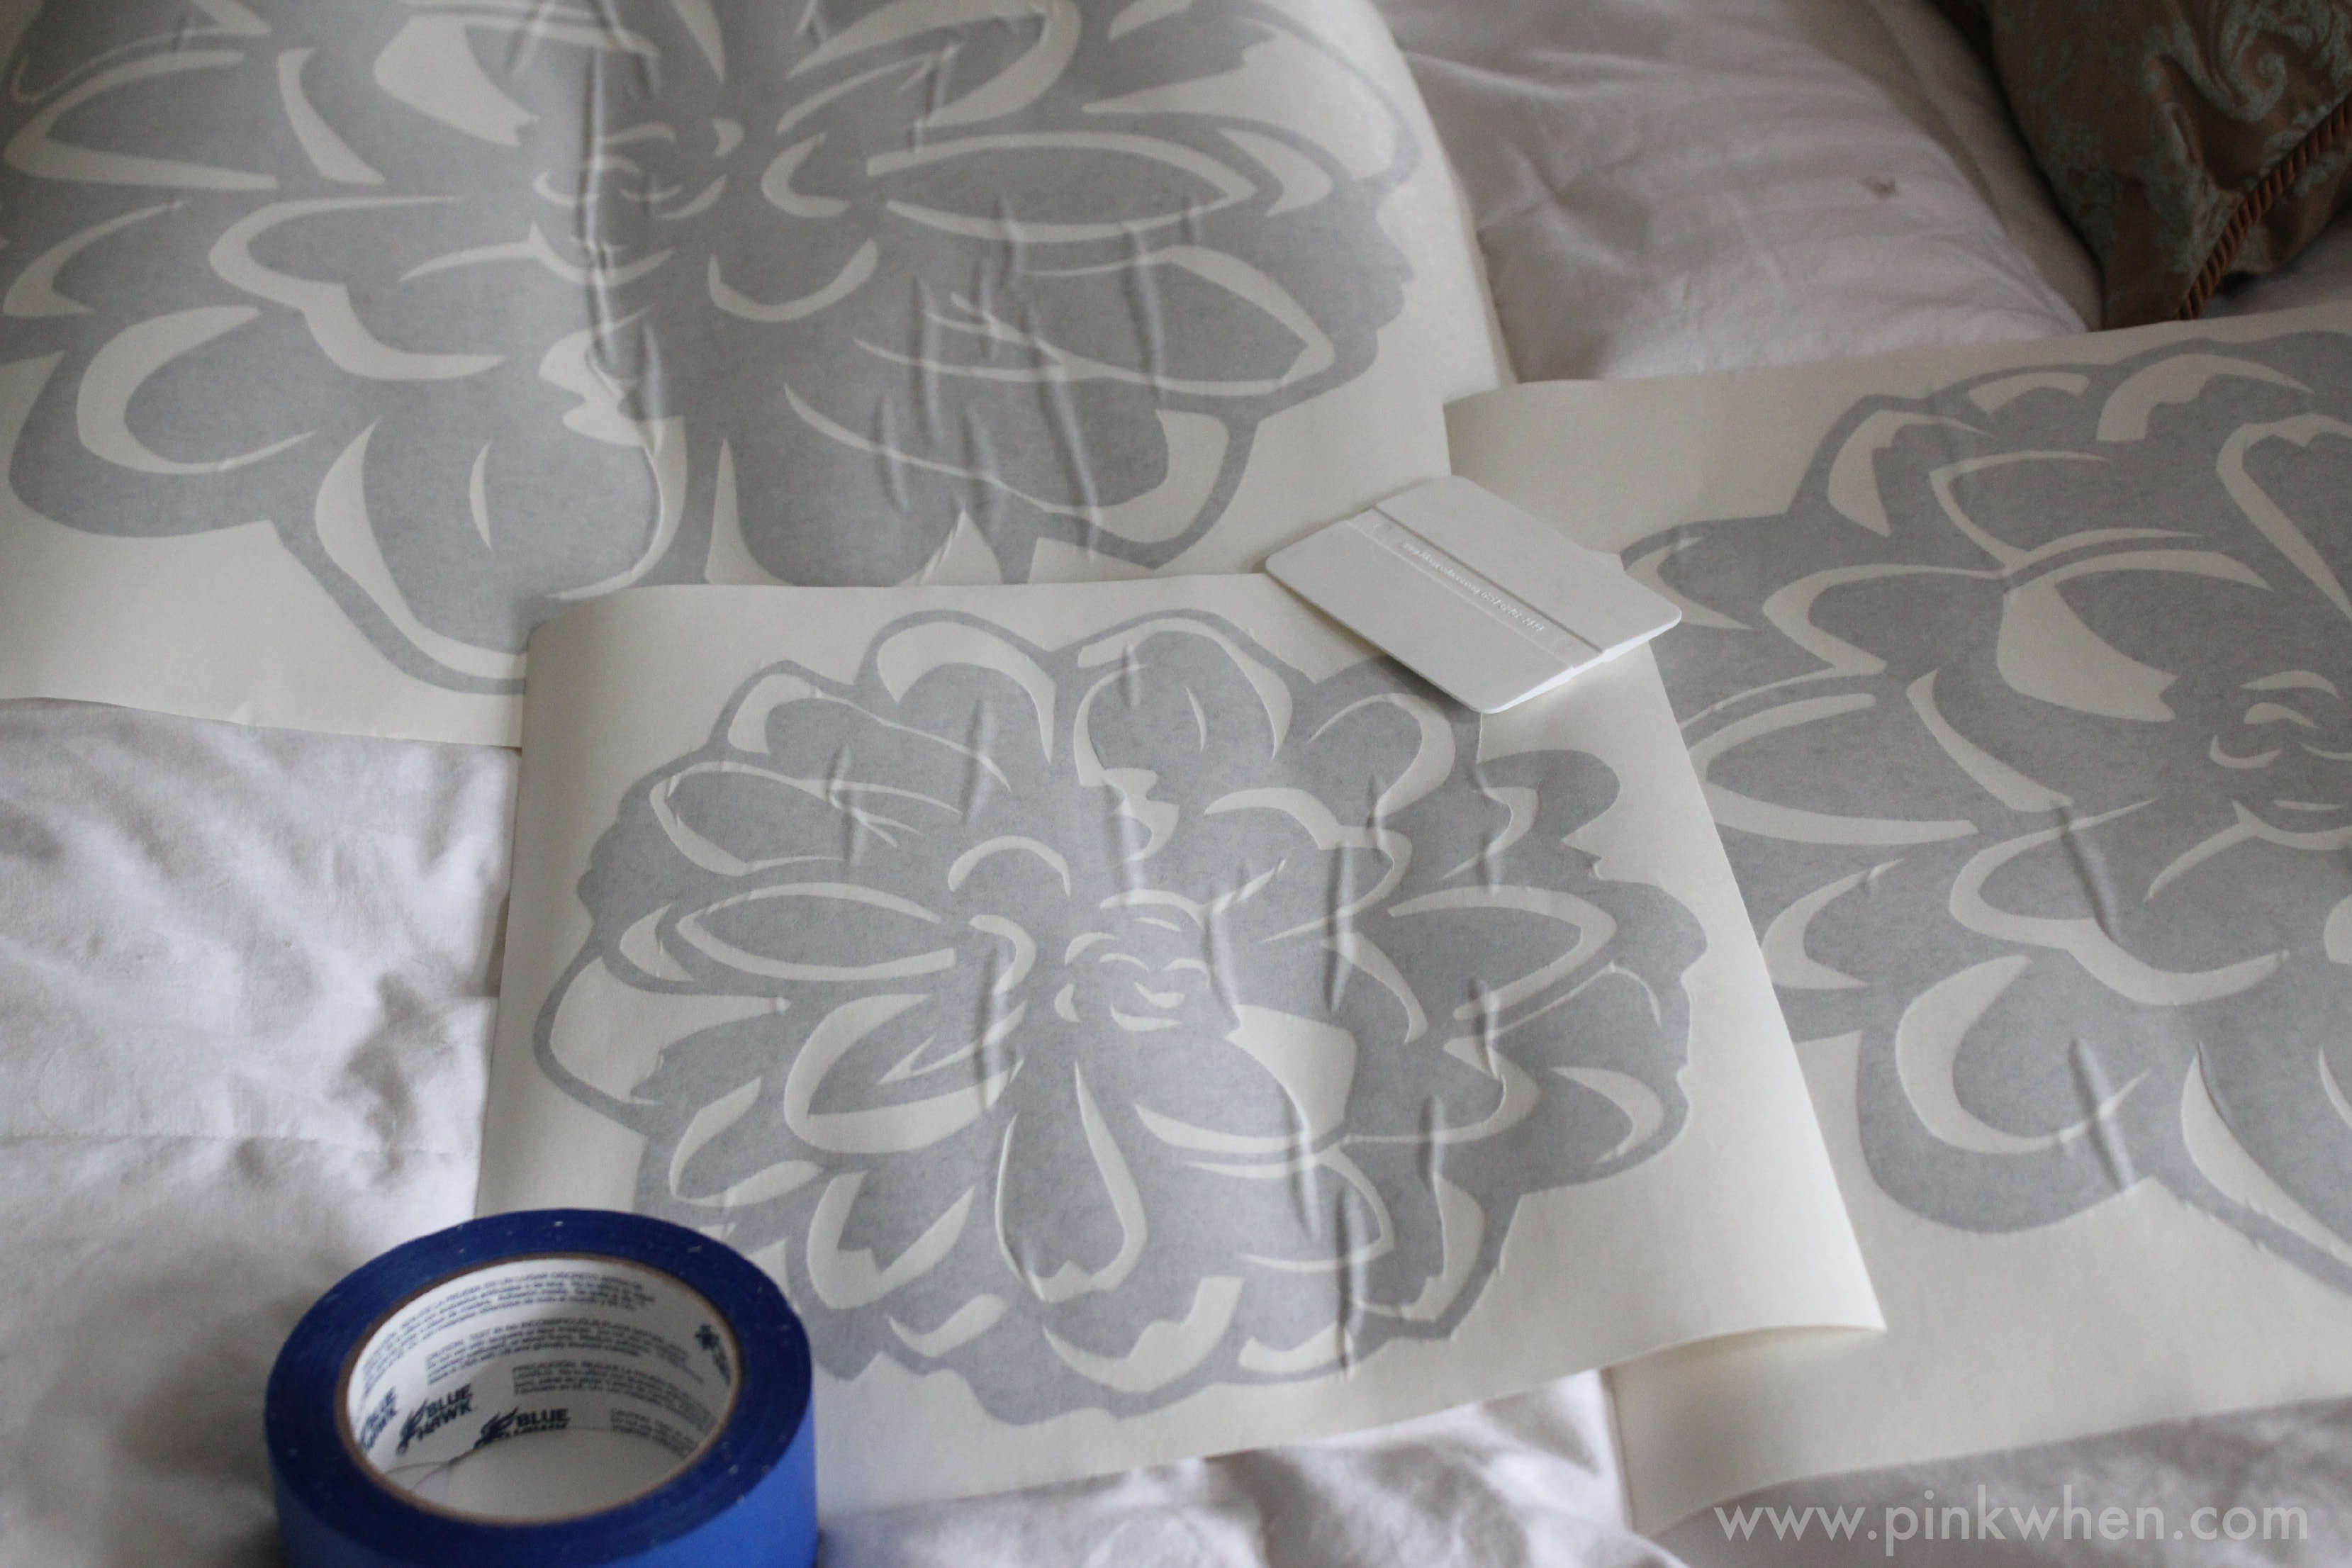
I first opened my package of Graphic Carnations and removed the vinyl, scraper, and grabbed some blue painters tape.
After I had my supplies together, I placed the vinyl on the floor (you can use any flat surface) and applied the scraper, moving from the middle out in all directions. This was to adhere the vinyl decal better to the transfer paper and to remove any air bubbles (like the ones you see above).
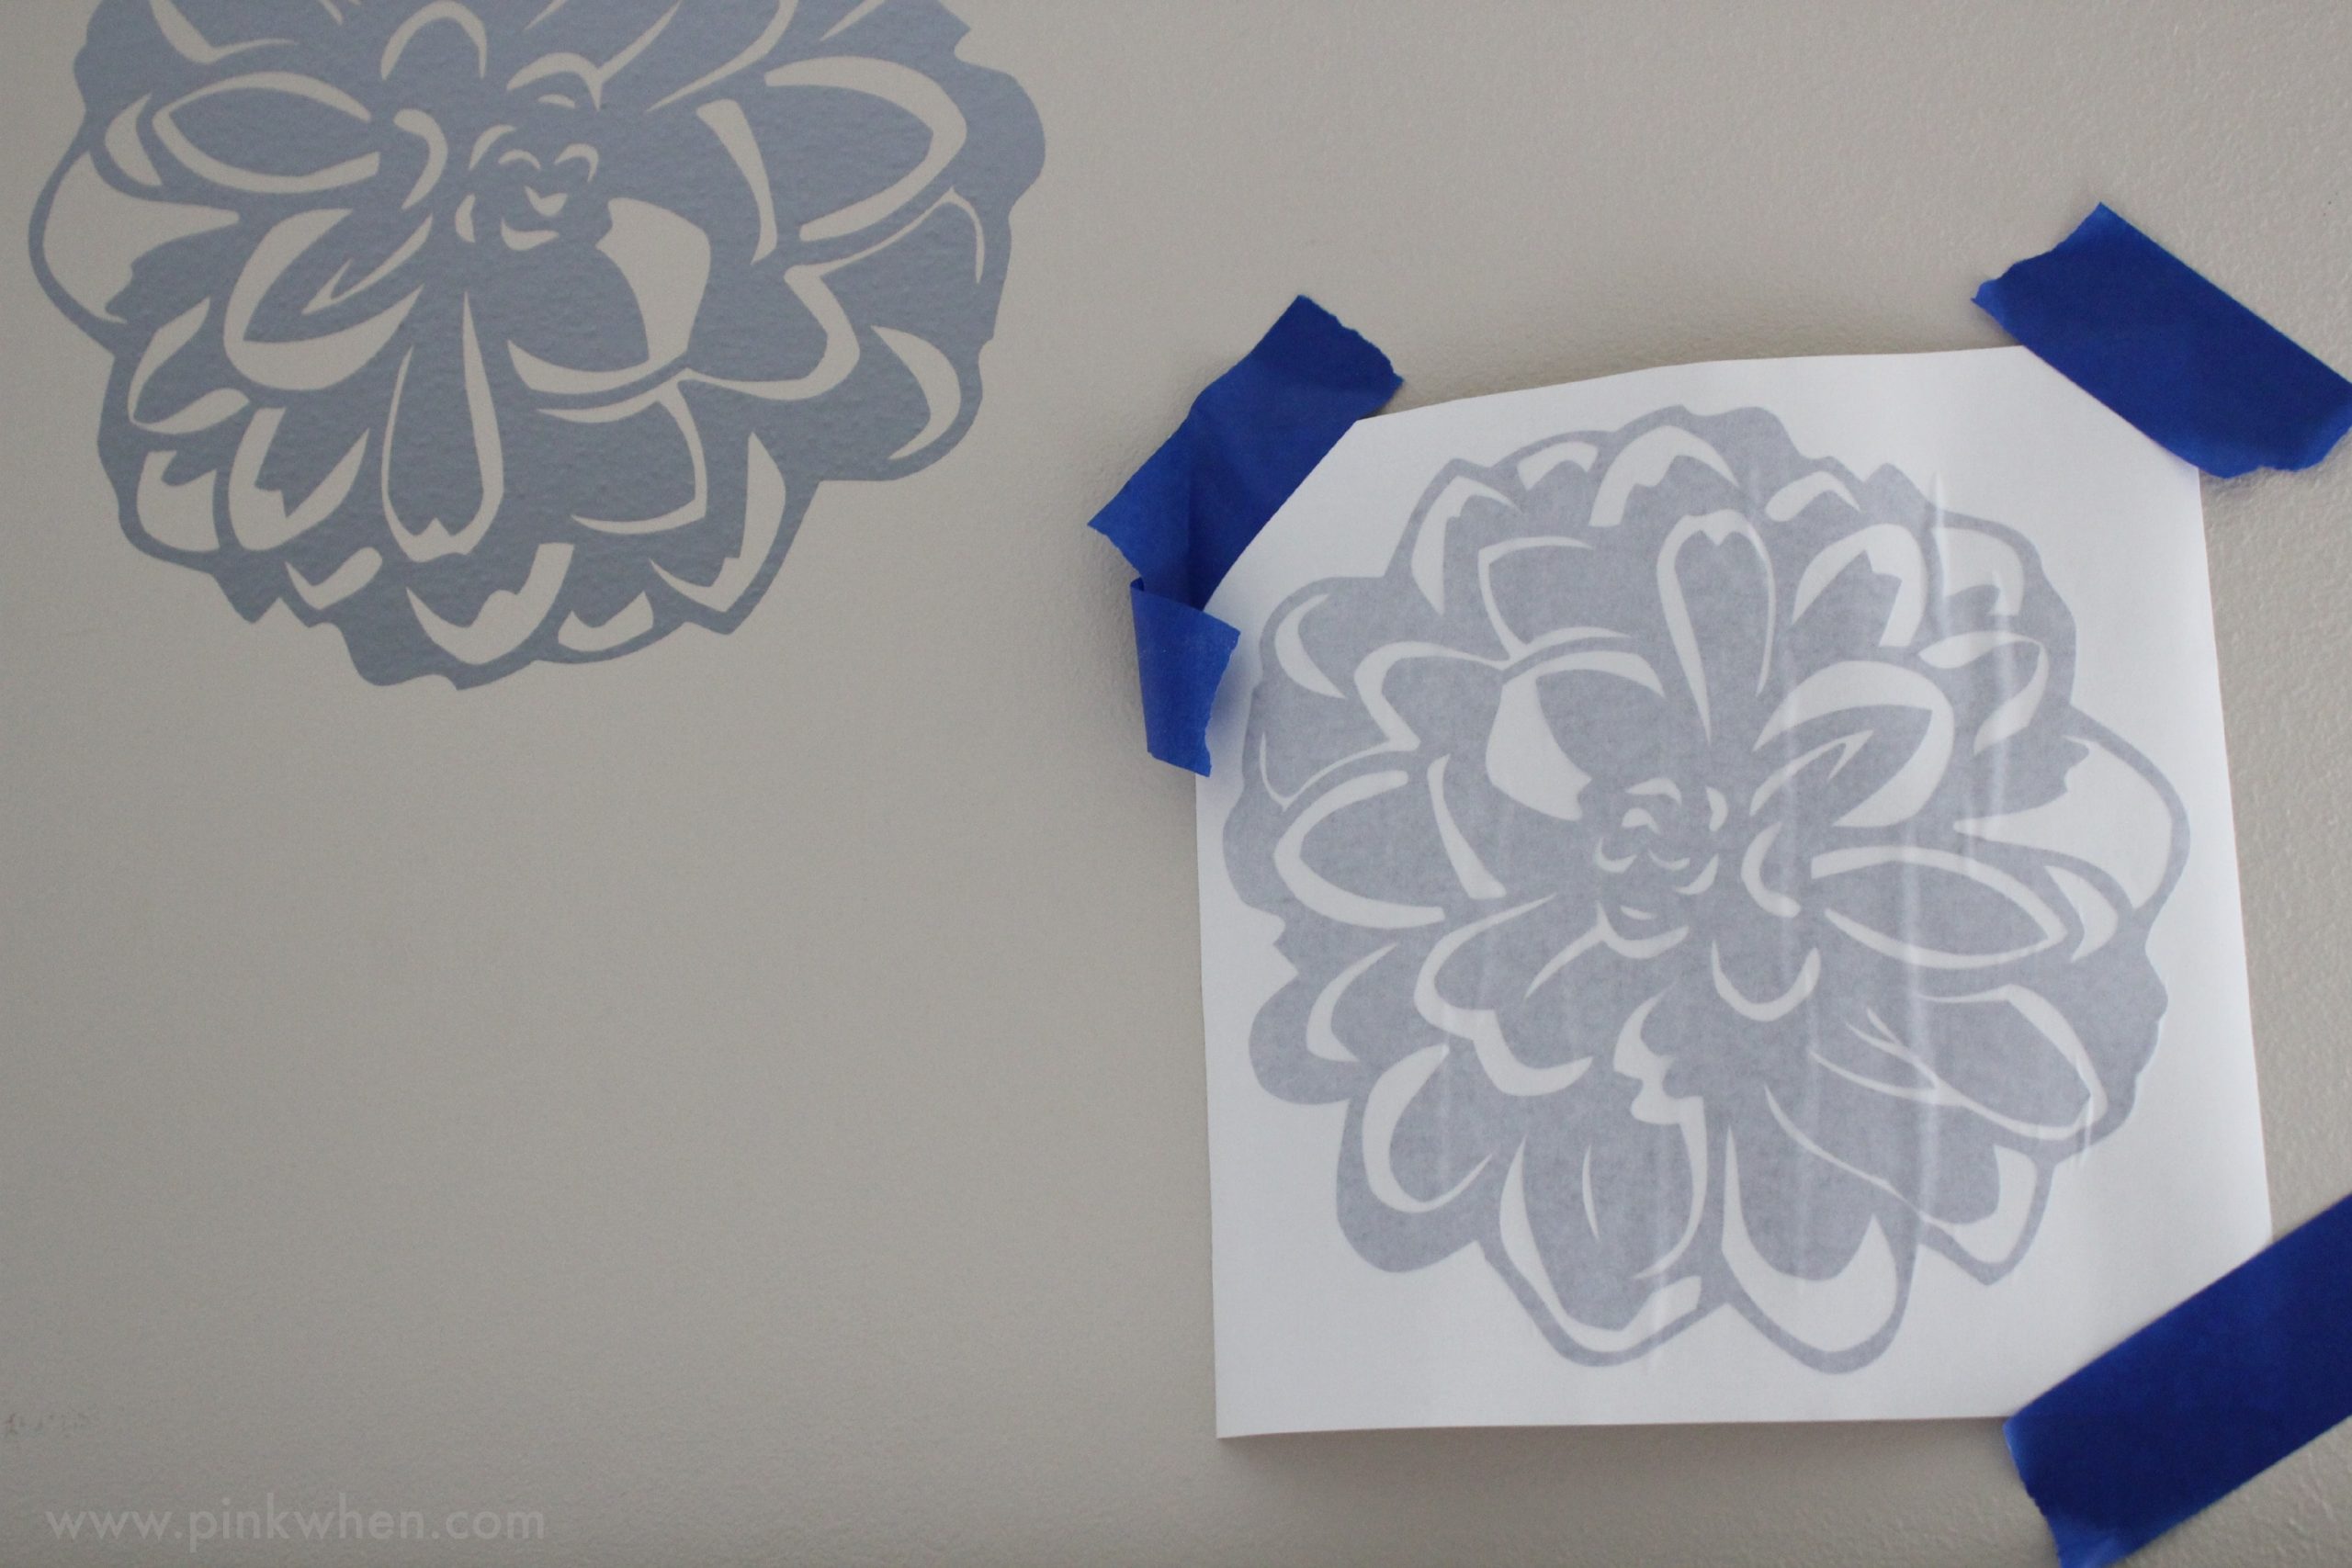
After I had finished preparing the decals, I placed them on the wall with blue painters tape in the position that I decided would look best on our wall. You will also want to do this because you cannot remove them and reposition without possibly destroying the decal. This is an easy way to get a vision without applying and then not liking your choice.

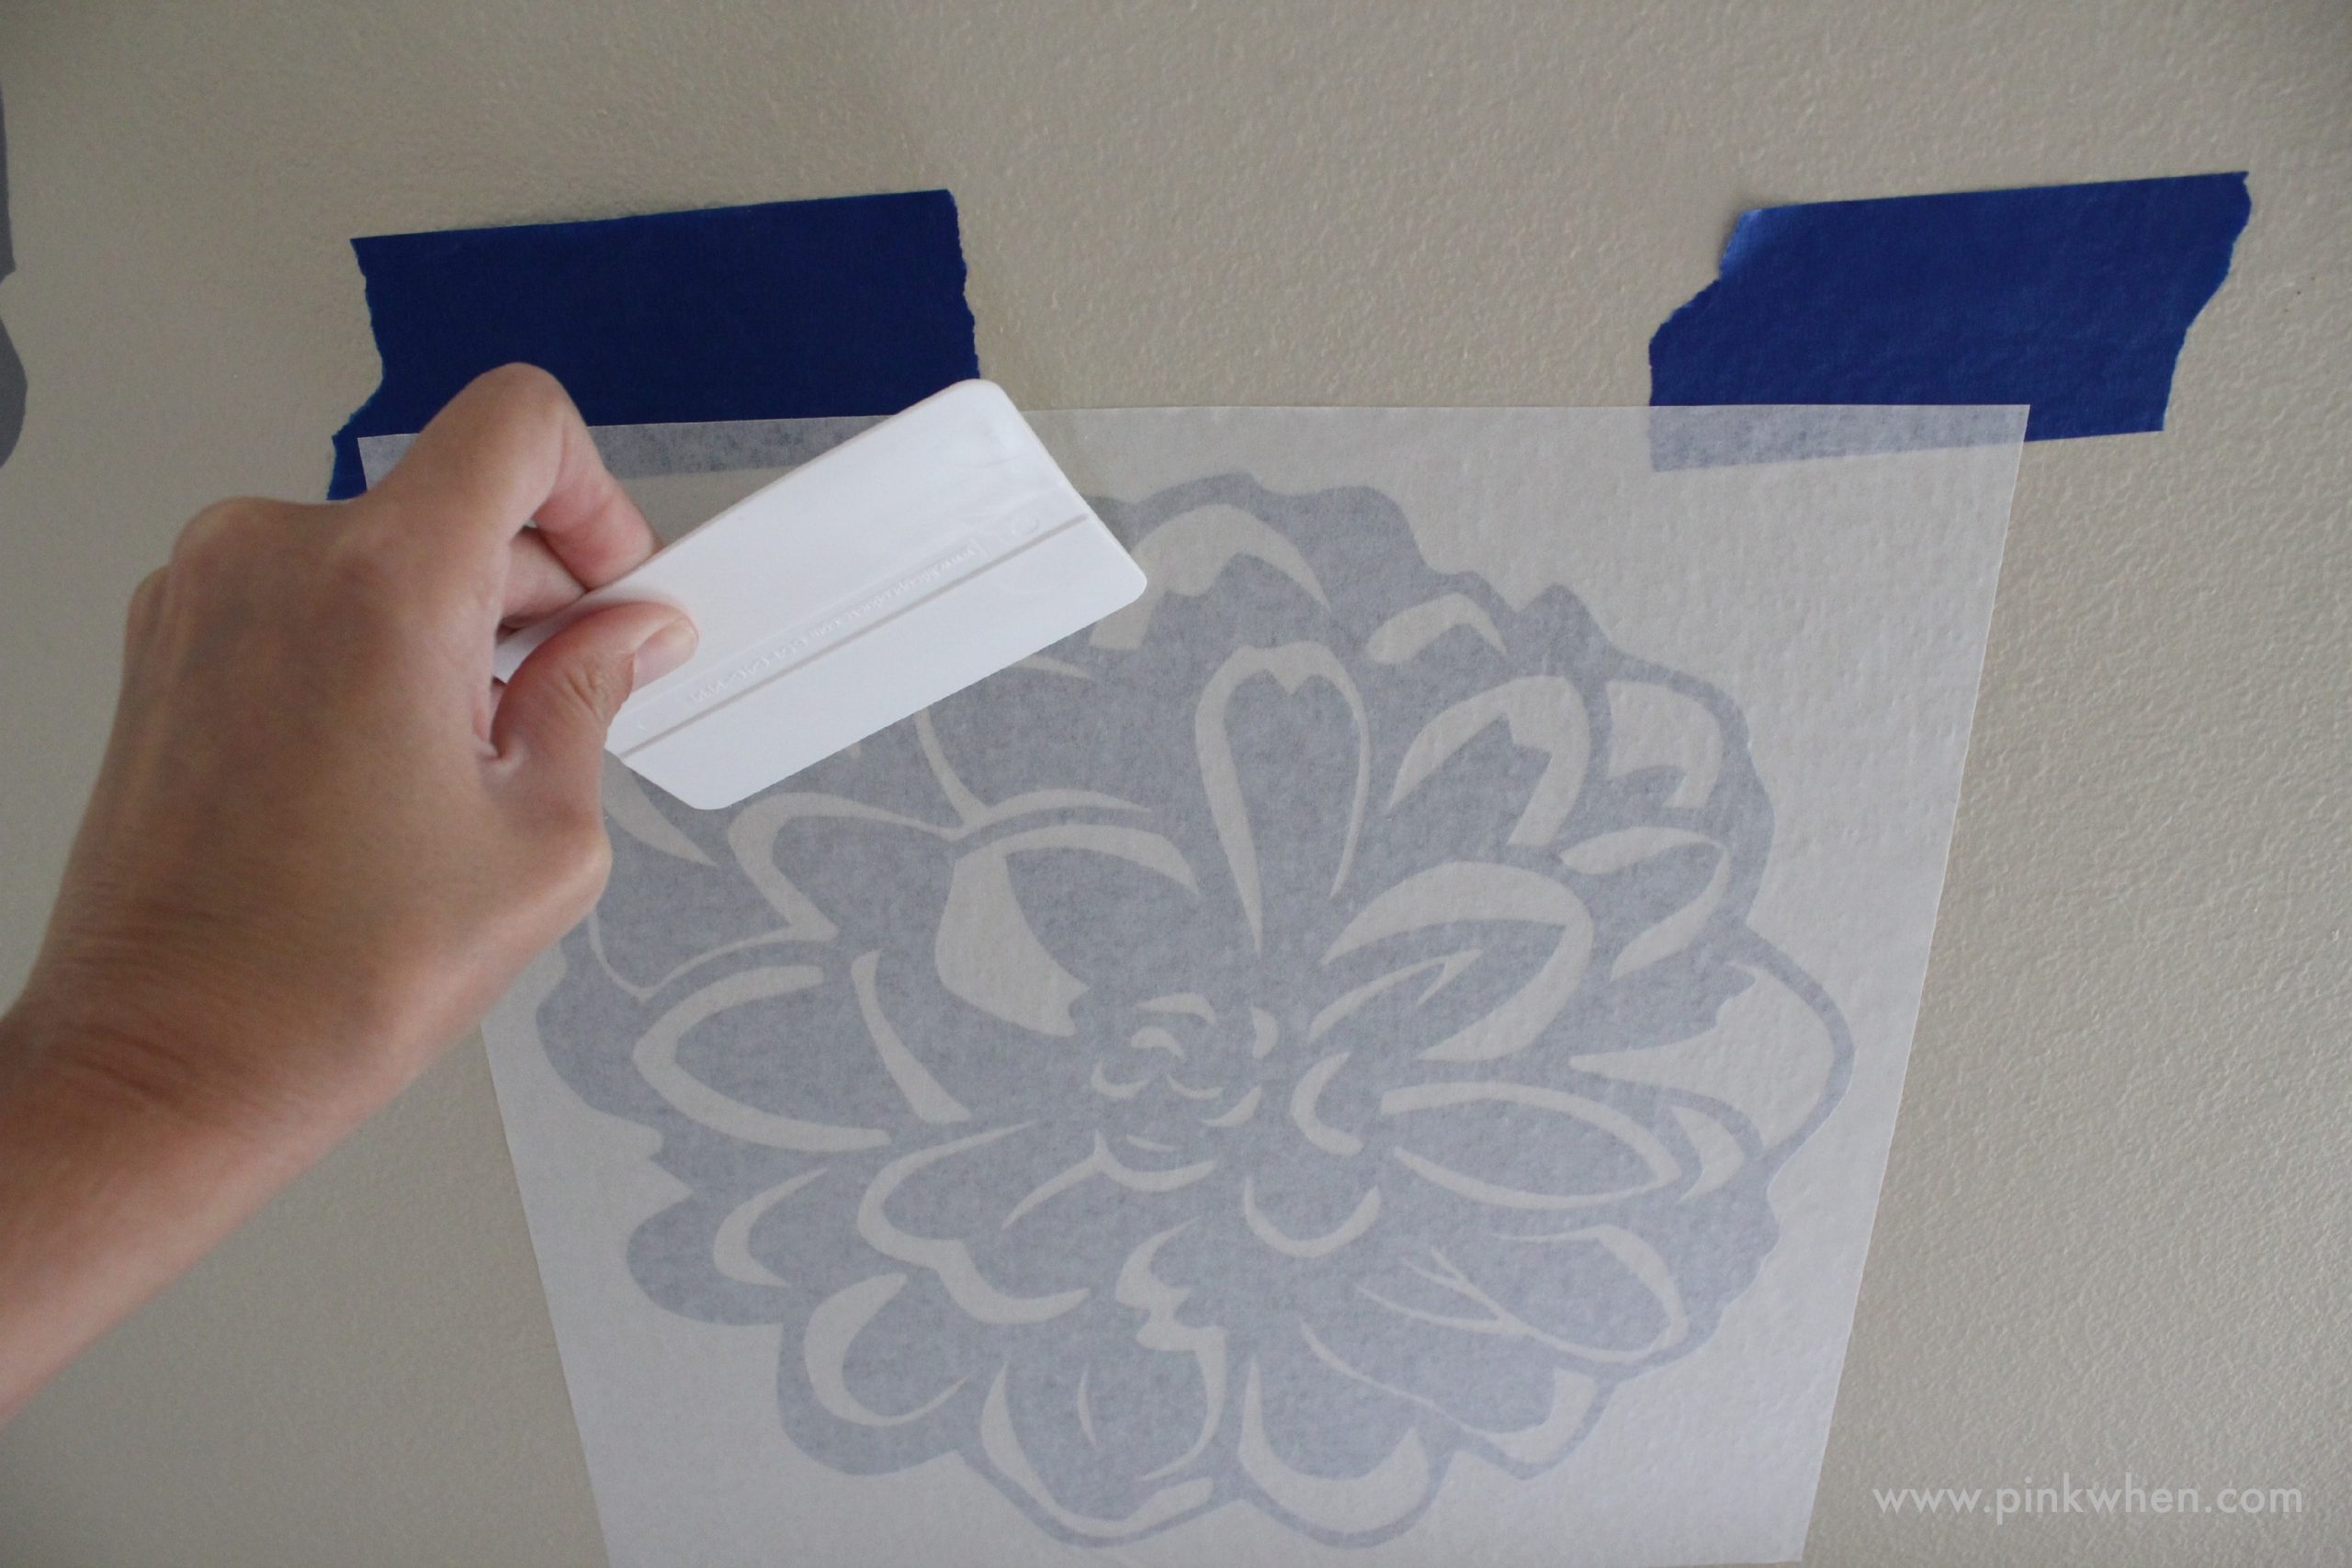
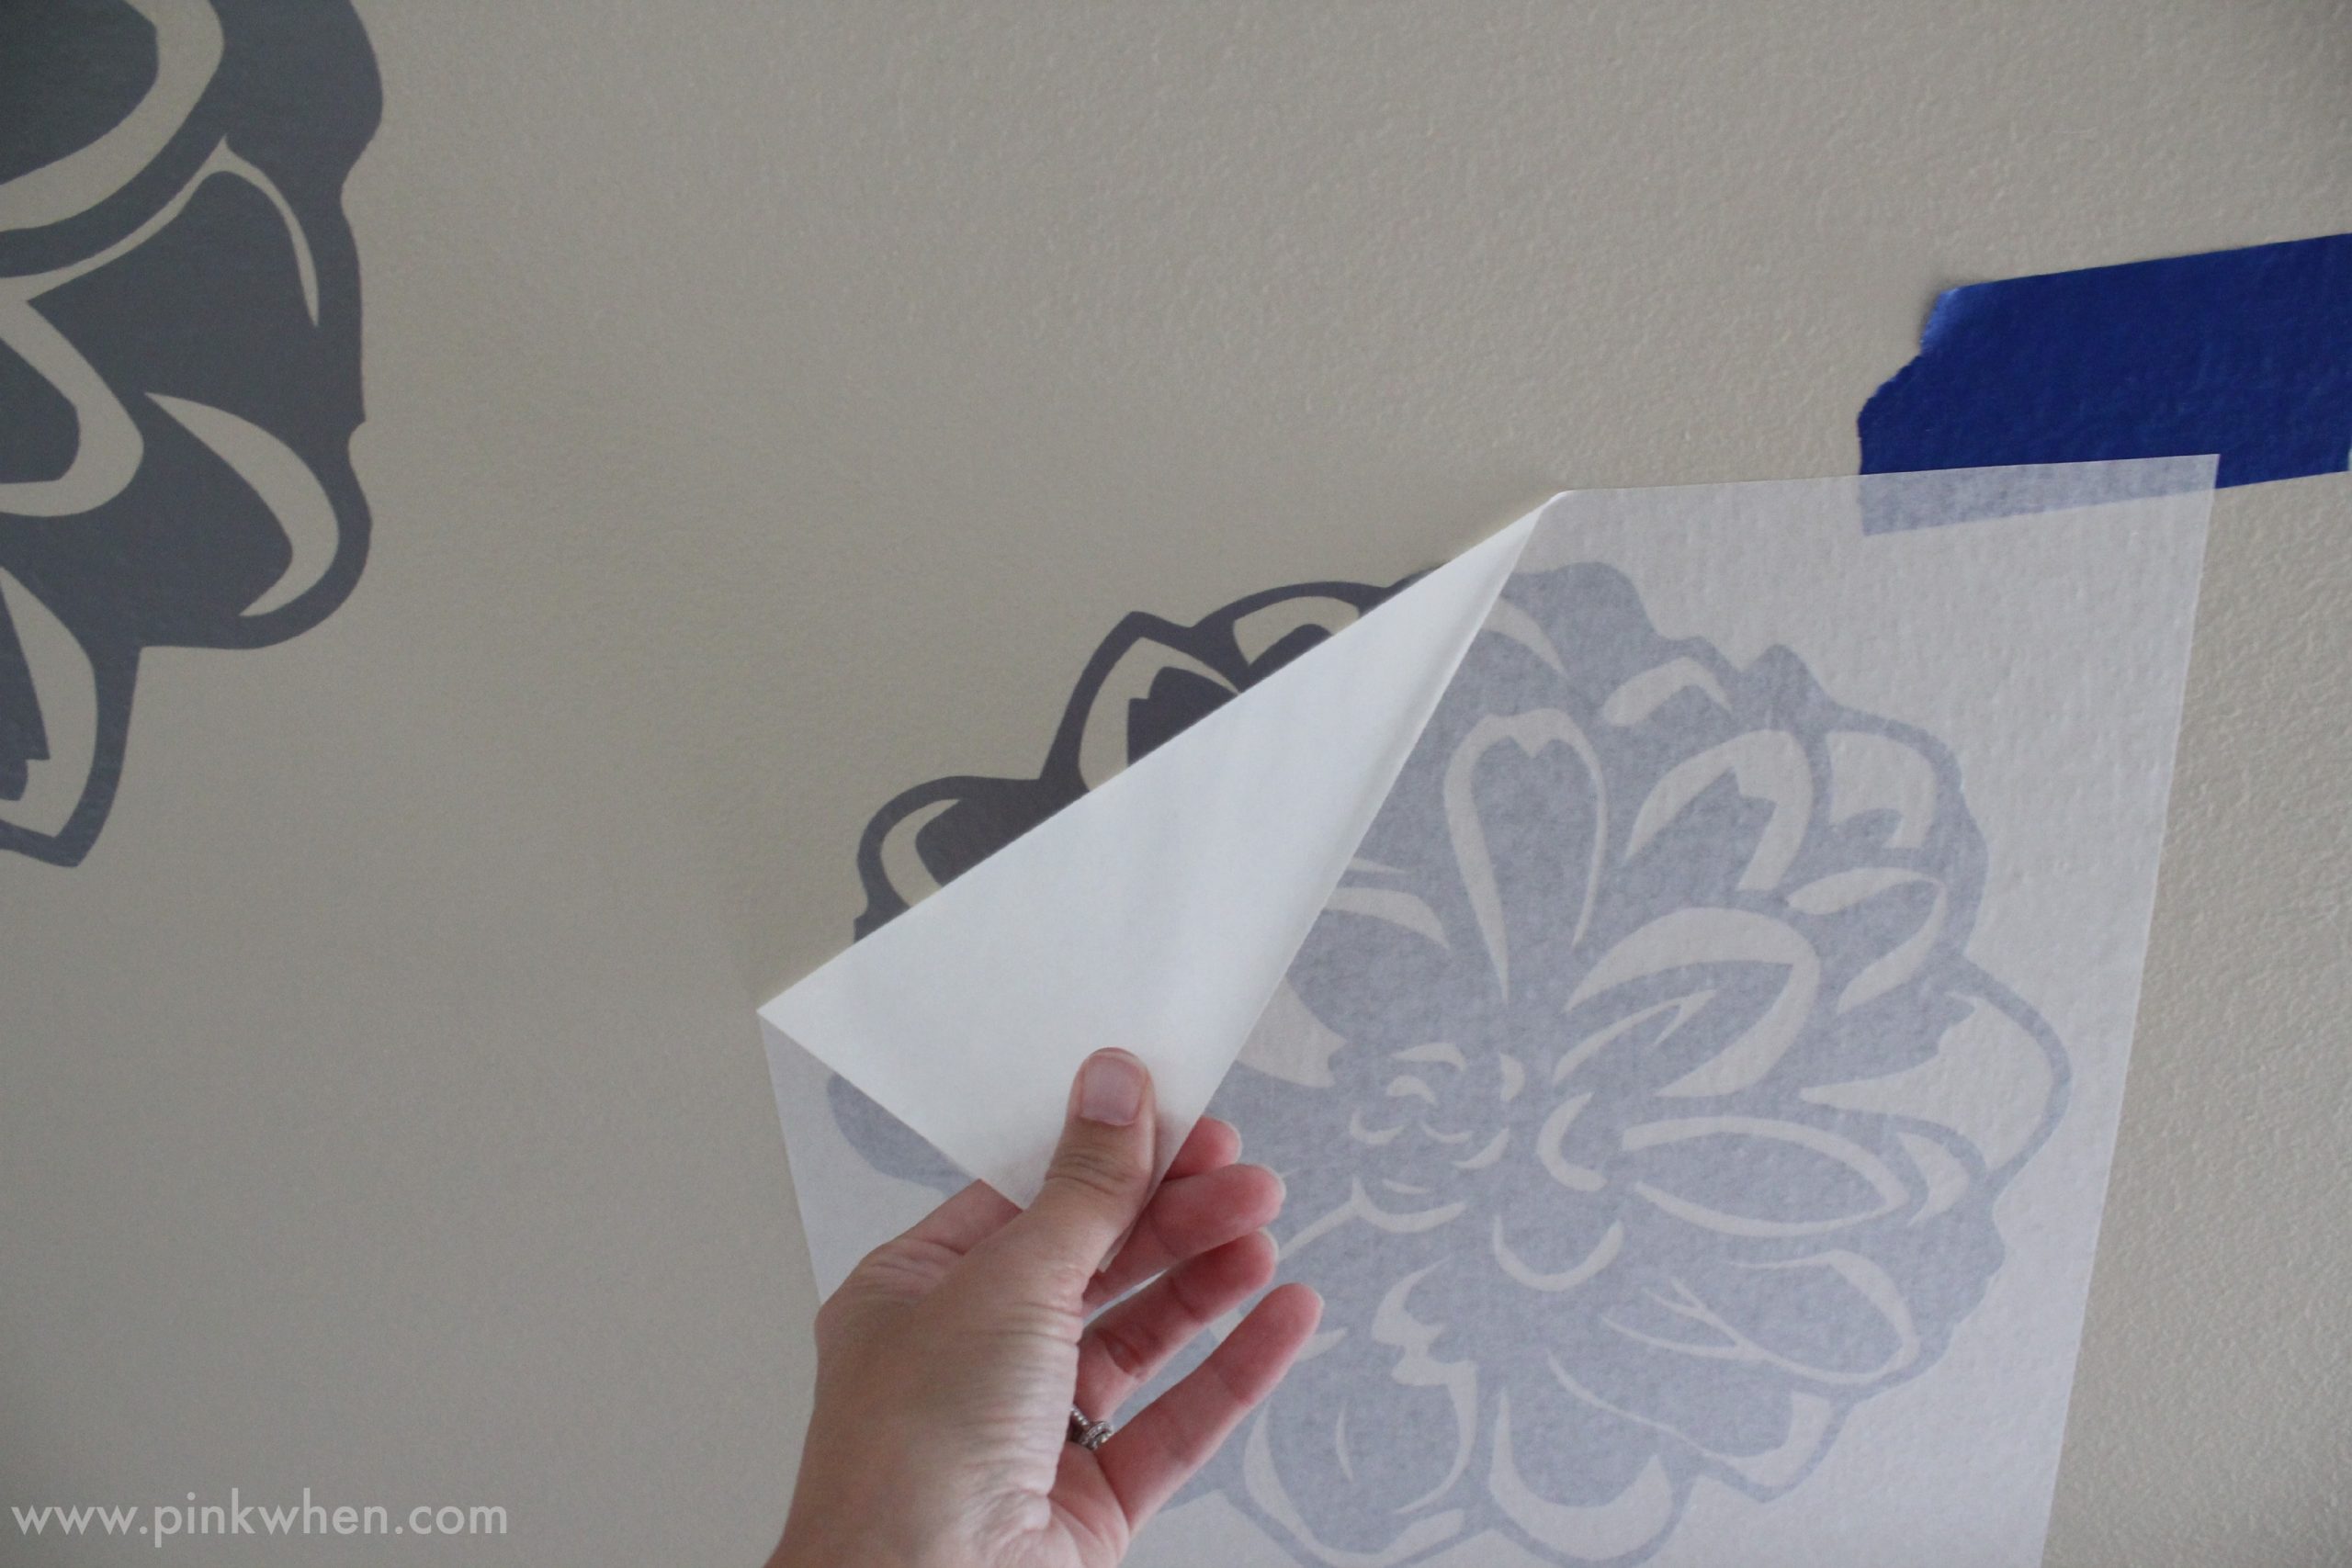
After you have the decals in place, it’s time to apply. Peel off the backing and apply the sticky side to the wall. Once you have your decal in place, take your application scraper and smooth out the vinyl and help it completely adhere to the wall.

After you have applied the vinyl, you can remove the transfer paper slowly. If at any time part of the vinyl tries to stick with the transfer paper, just reapply that area to the wall, use your scraper and go over it again, and then continue to remove the transfer paper.


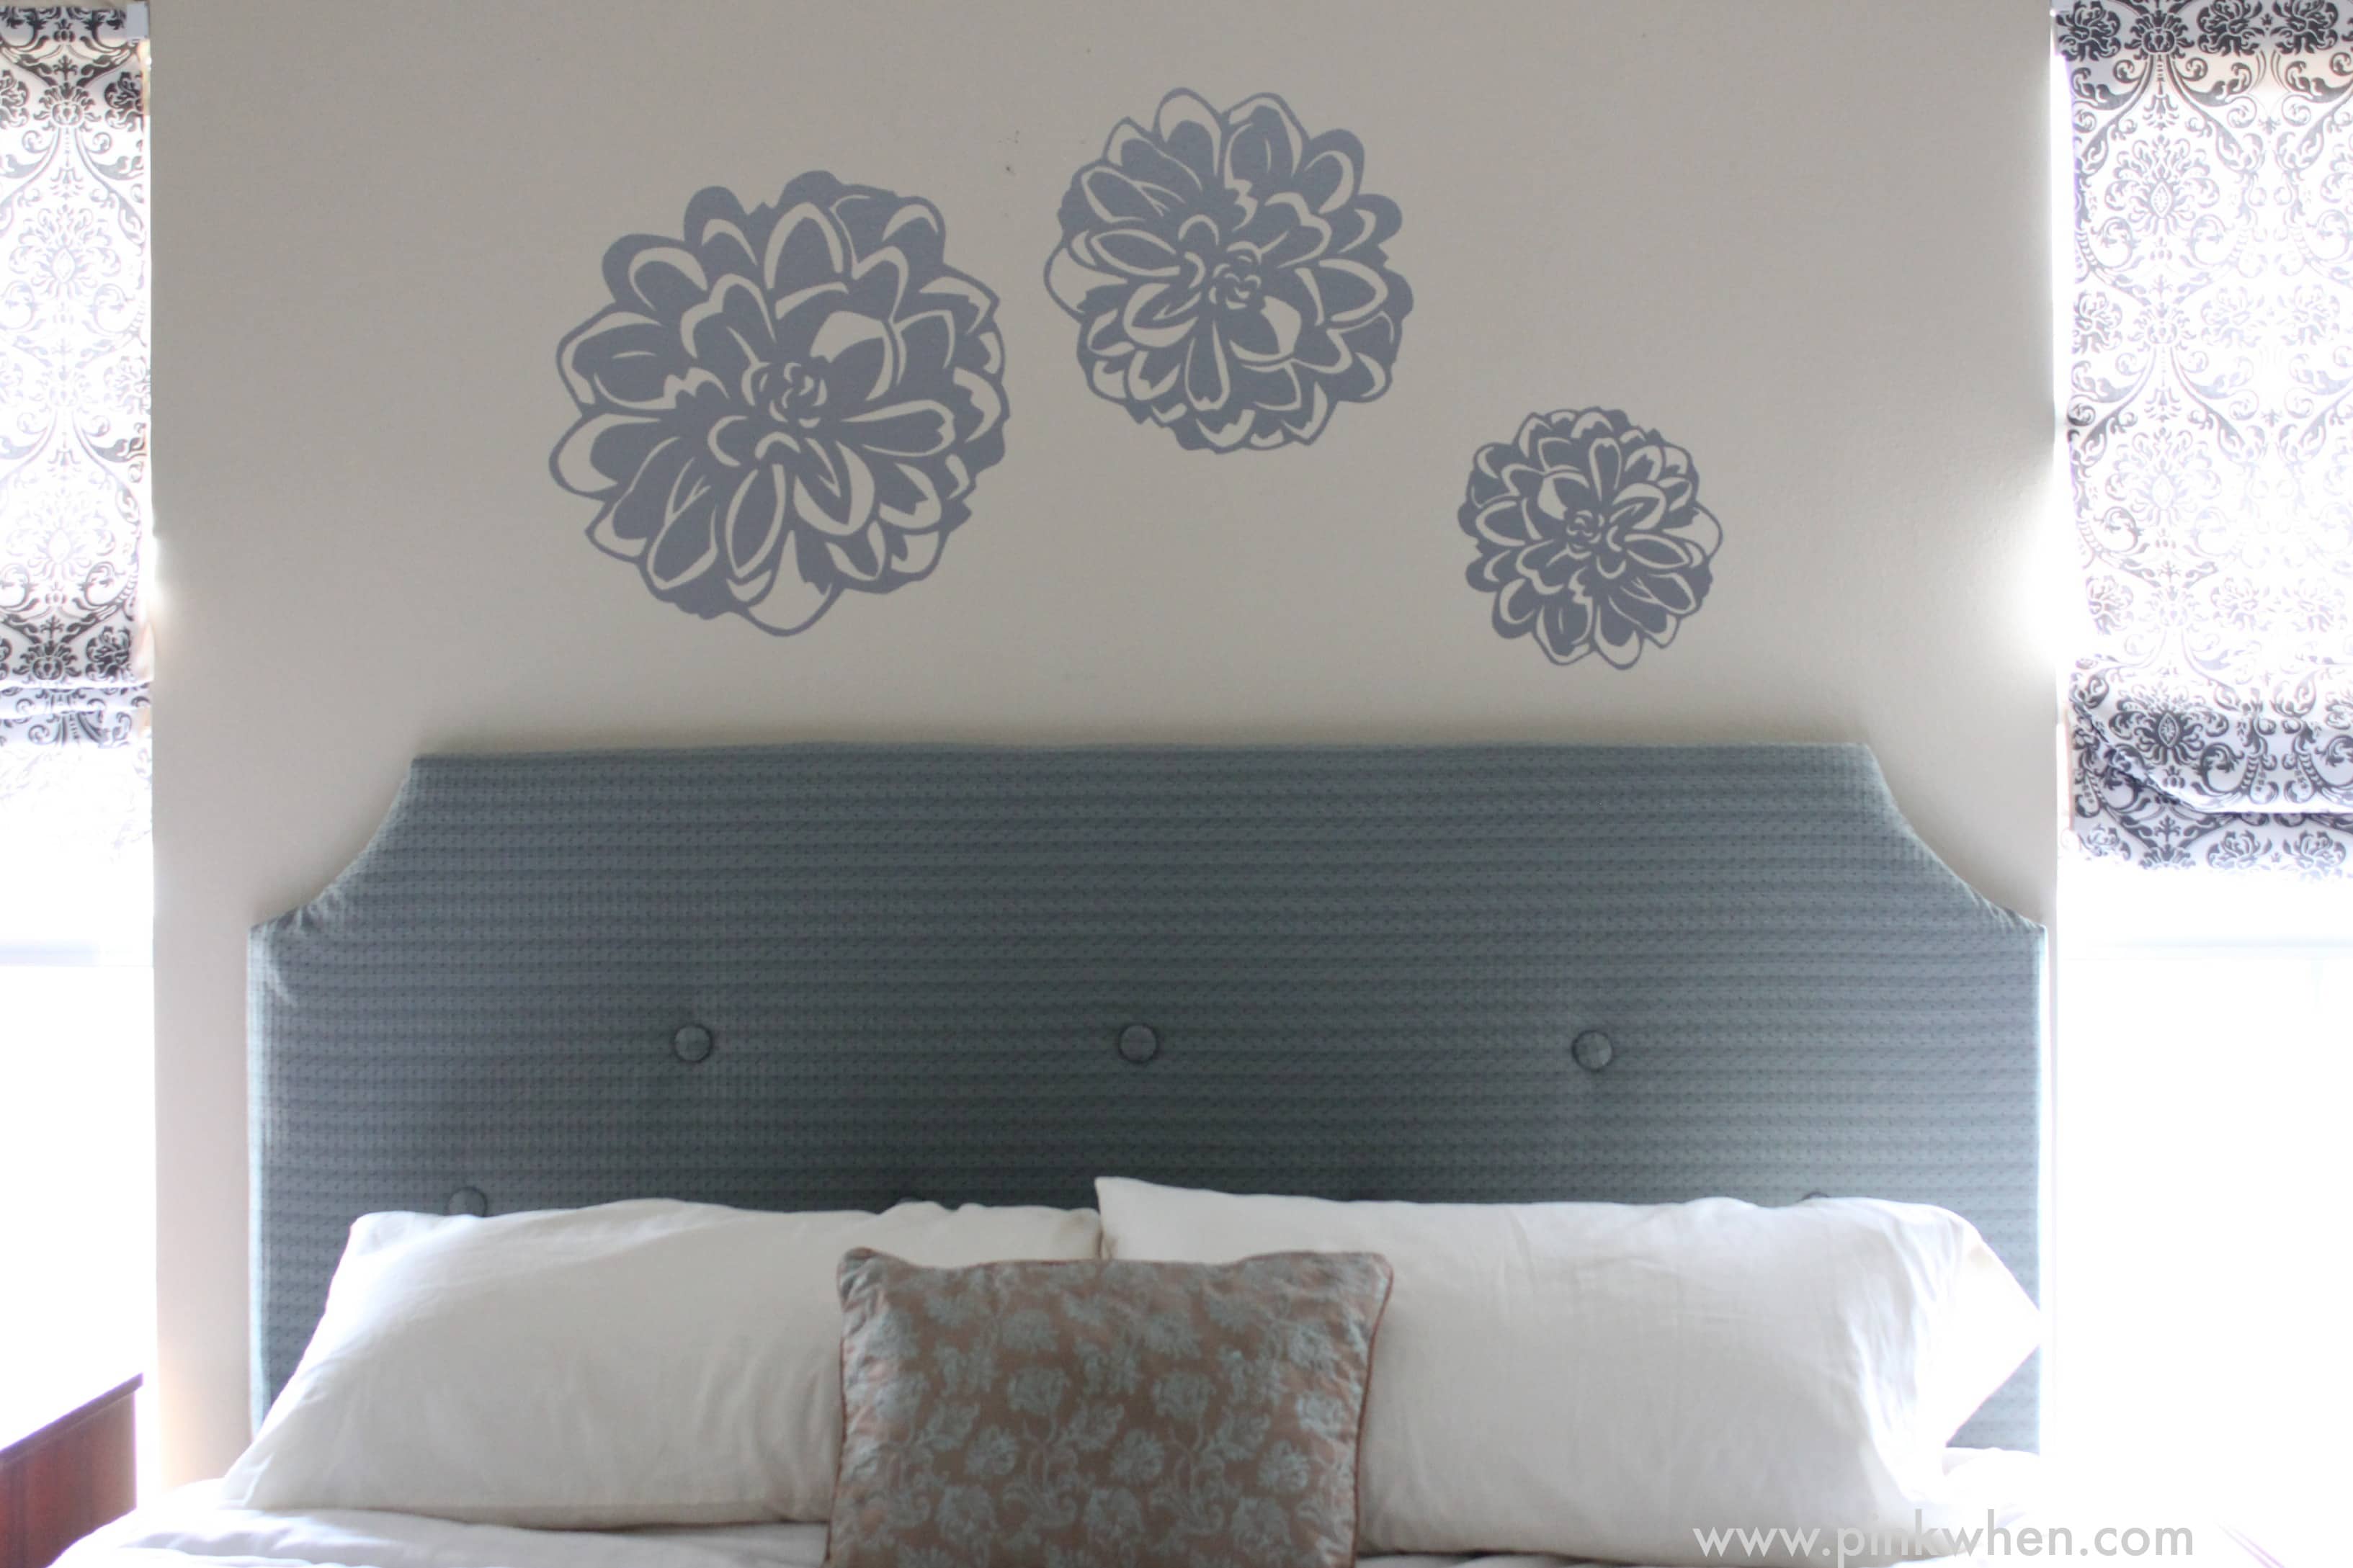
Don’t you love the way it turned out and changed everything? I am so excited about our “not so plain wall” anymore. Not to mention, I will also share how I made this fun headboard a little later on the blog! It’s another fun addition to the room.
Make sure to check out the amazing products over at Wallternatives, there is something for every room.
Thank you again to Wallternatives and the Royal Design Studio for making this Easy & Inexpensive Wall Decor. They have something for every room!