
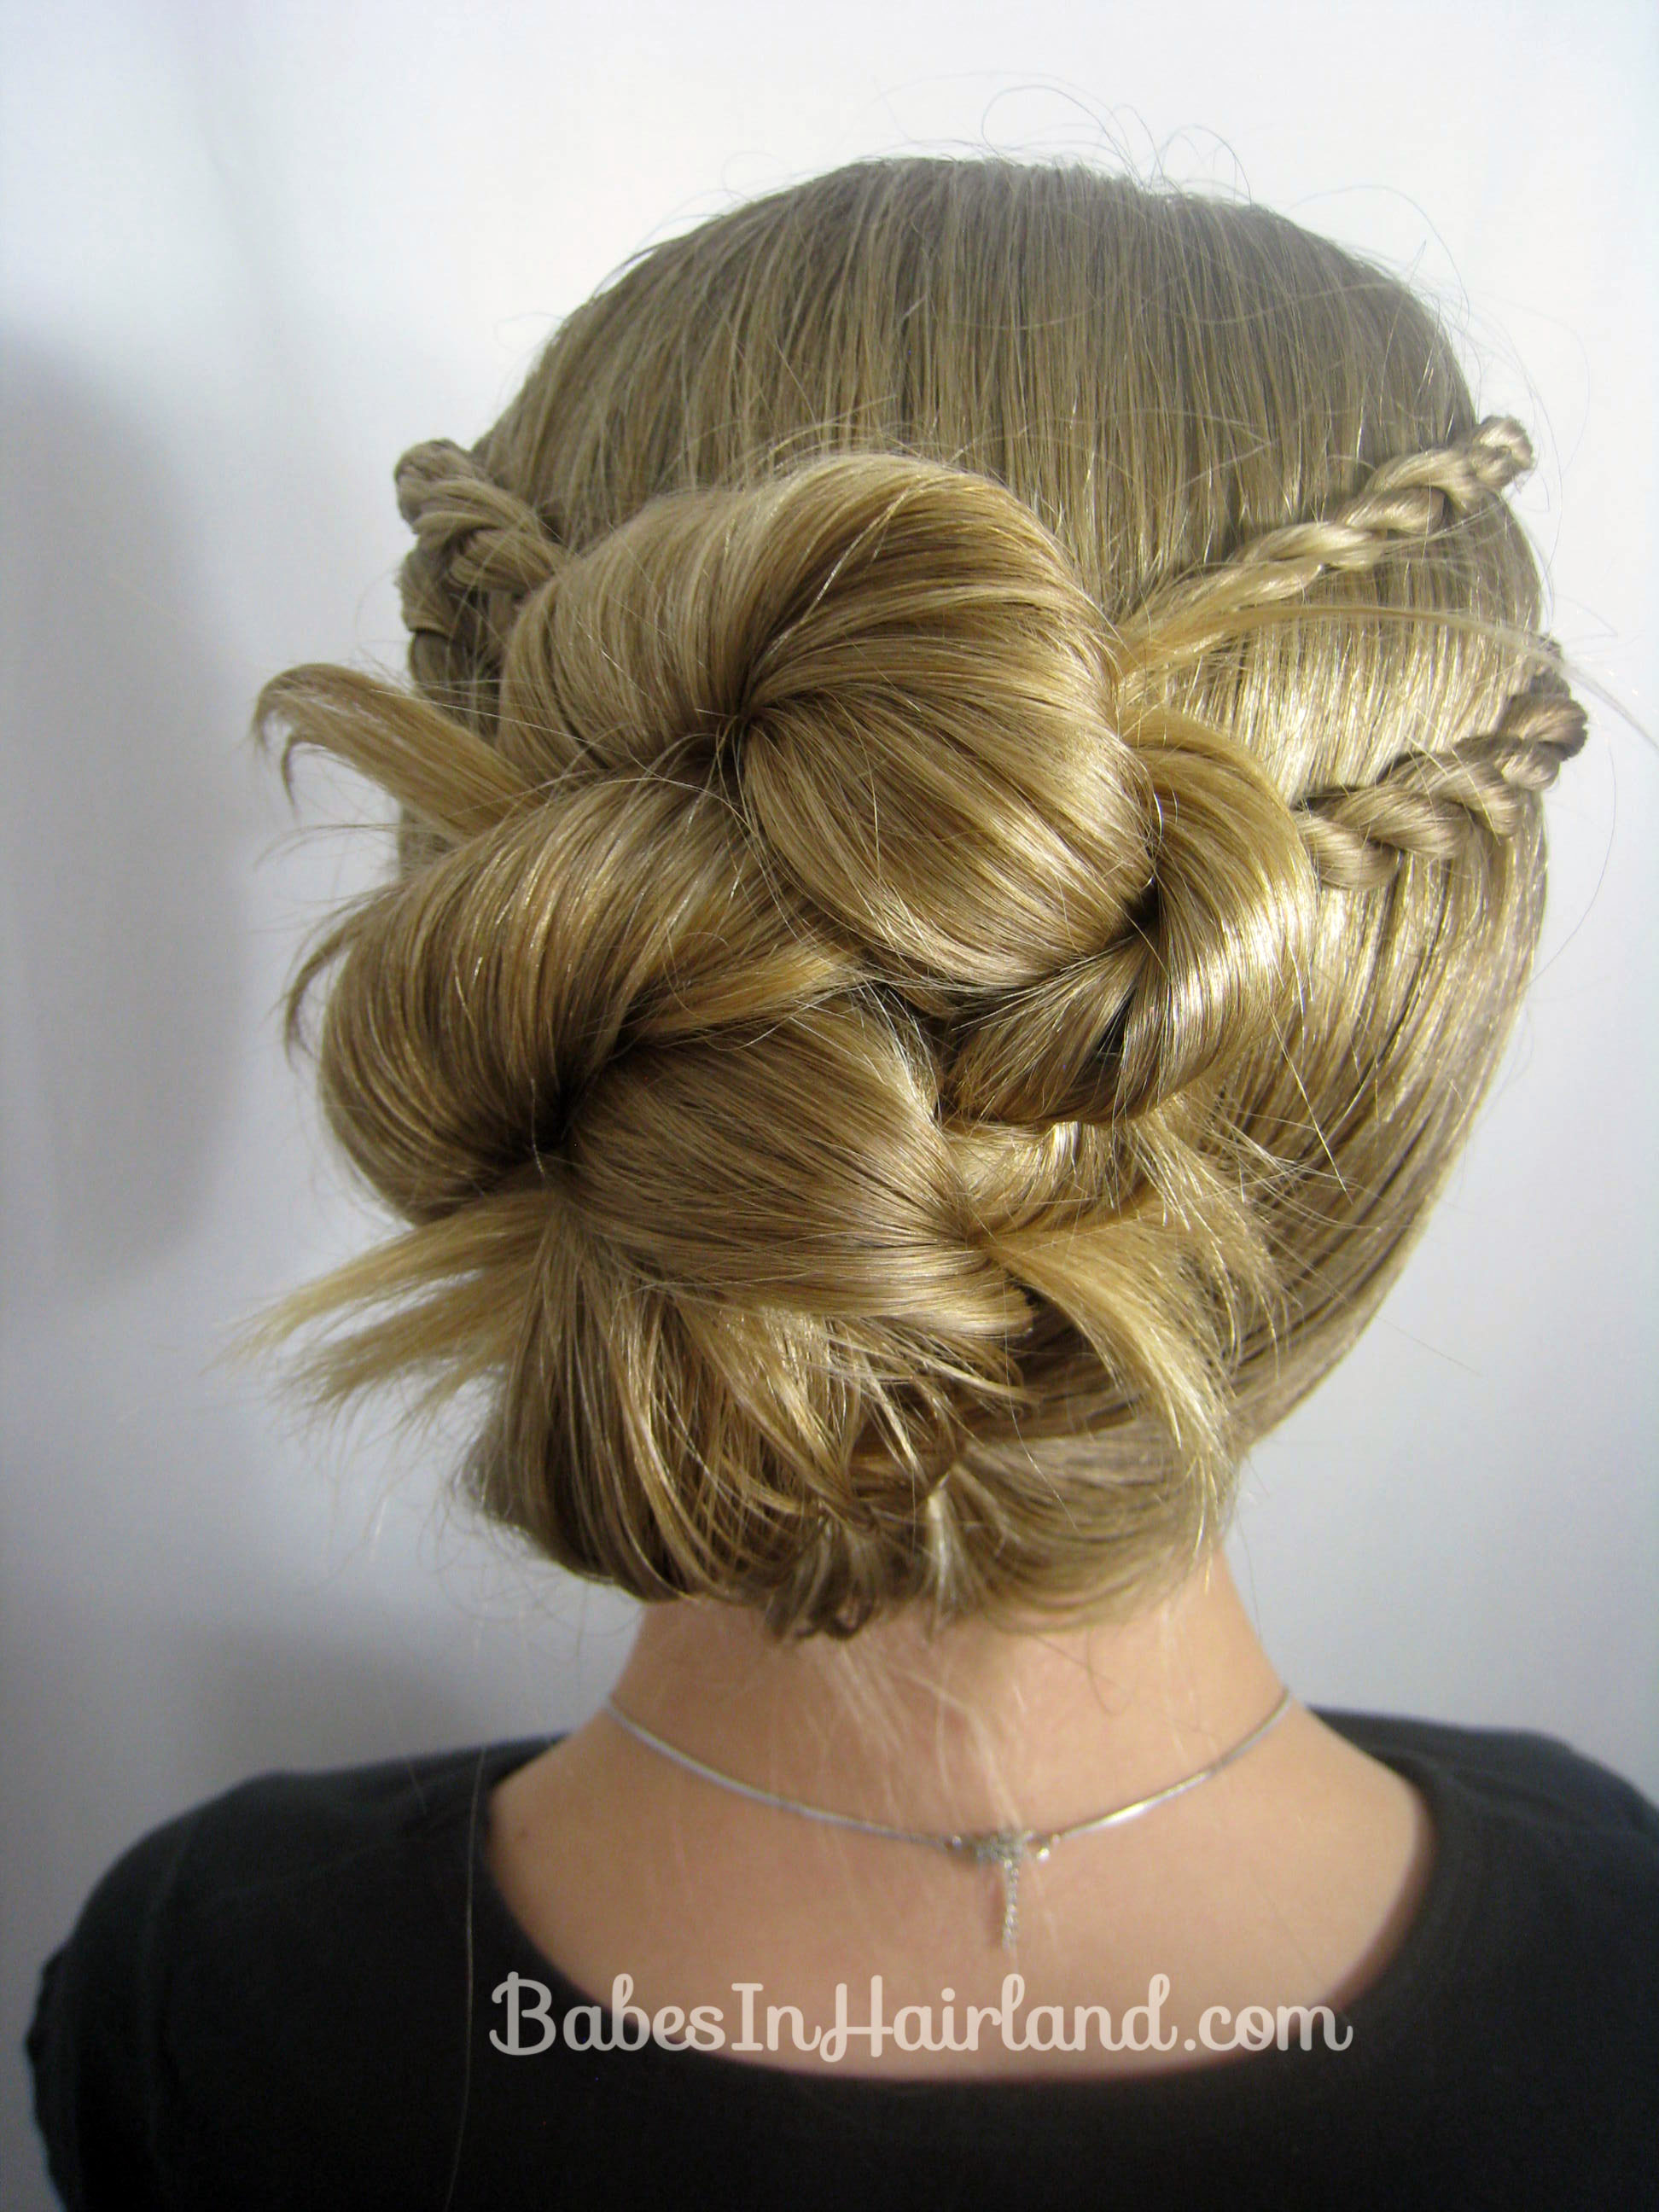
Rope Braid Hairstyle

It seems like a lot of the styles I’m seeing out there these days just keep getting more and more complicated and intricate. While I love those kind of styles, I also love the simple ones that use basic hair “techniques” but turn out awesome too! This is one of those styles.
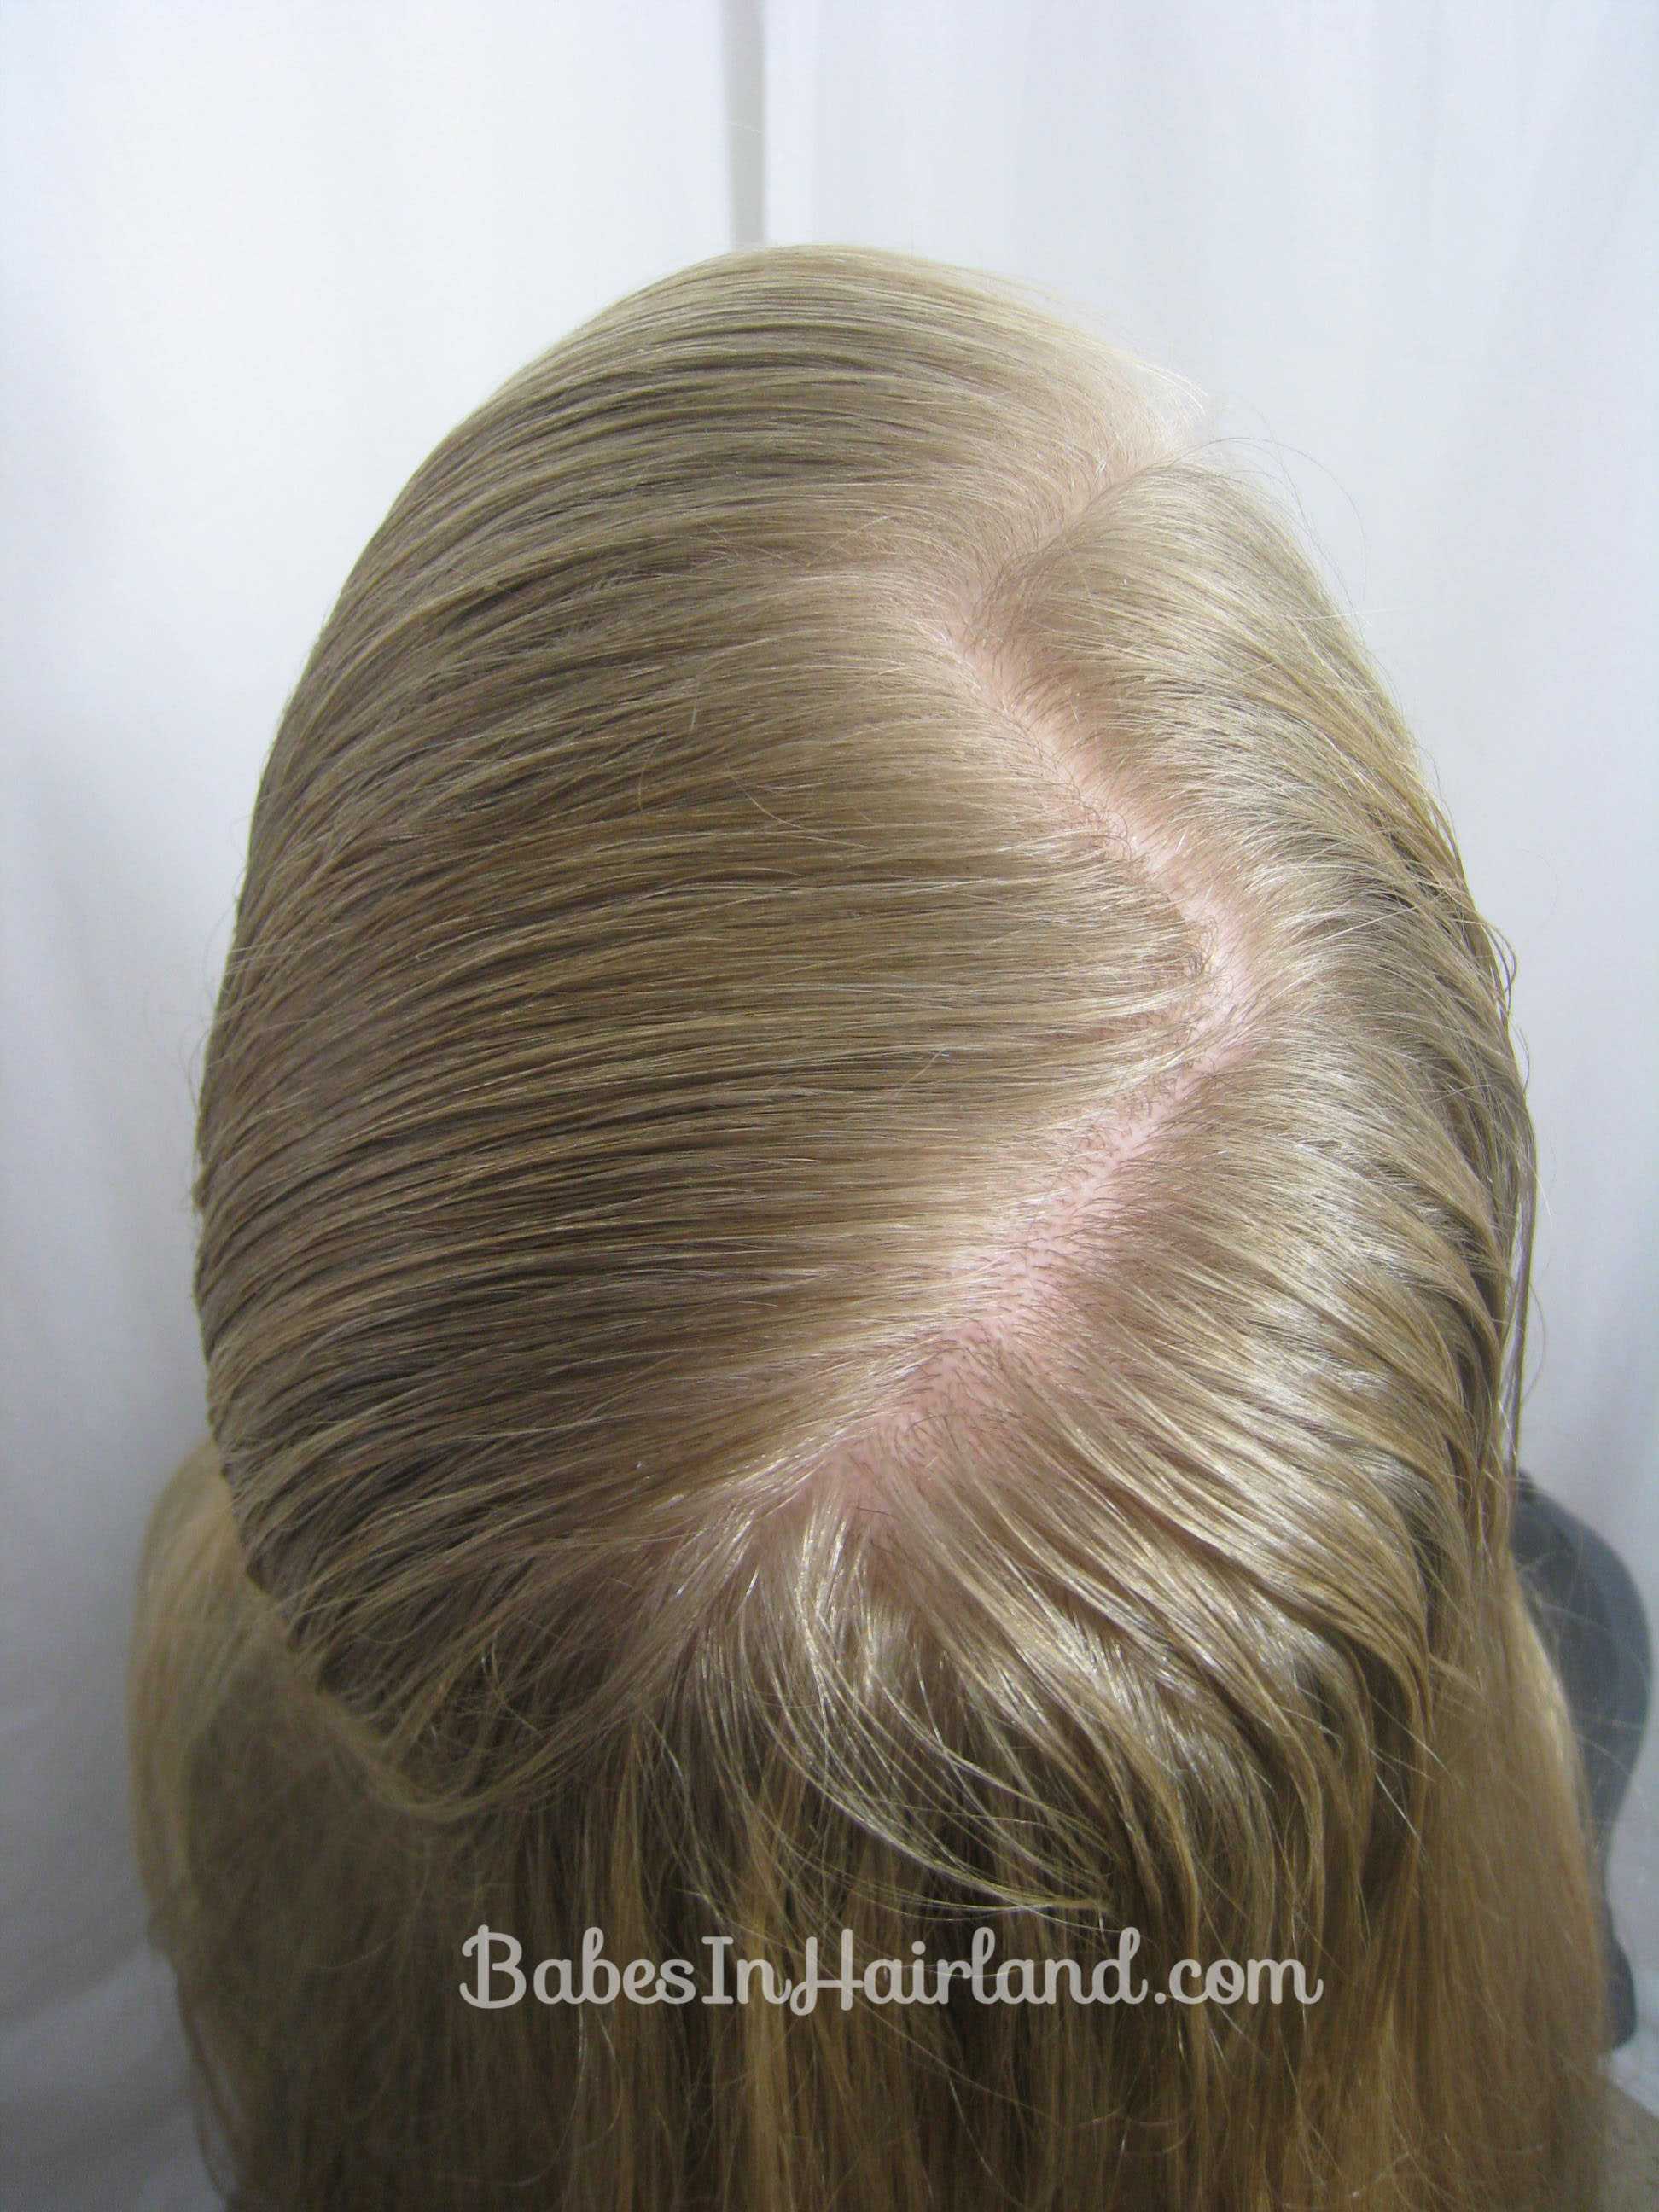
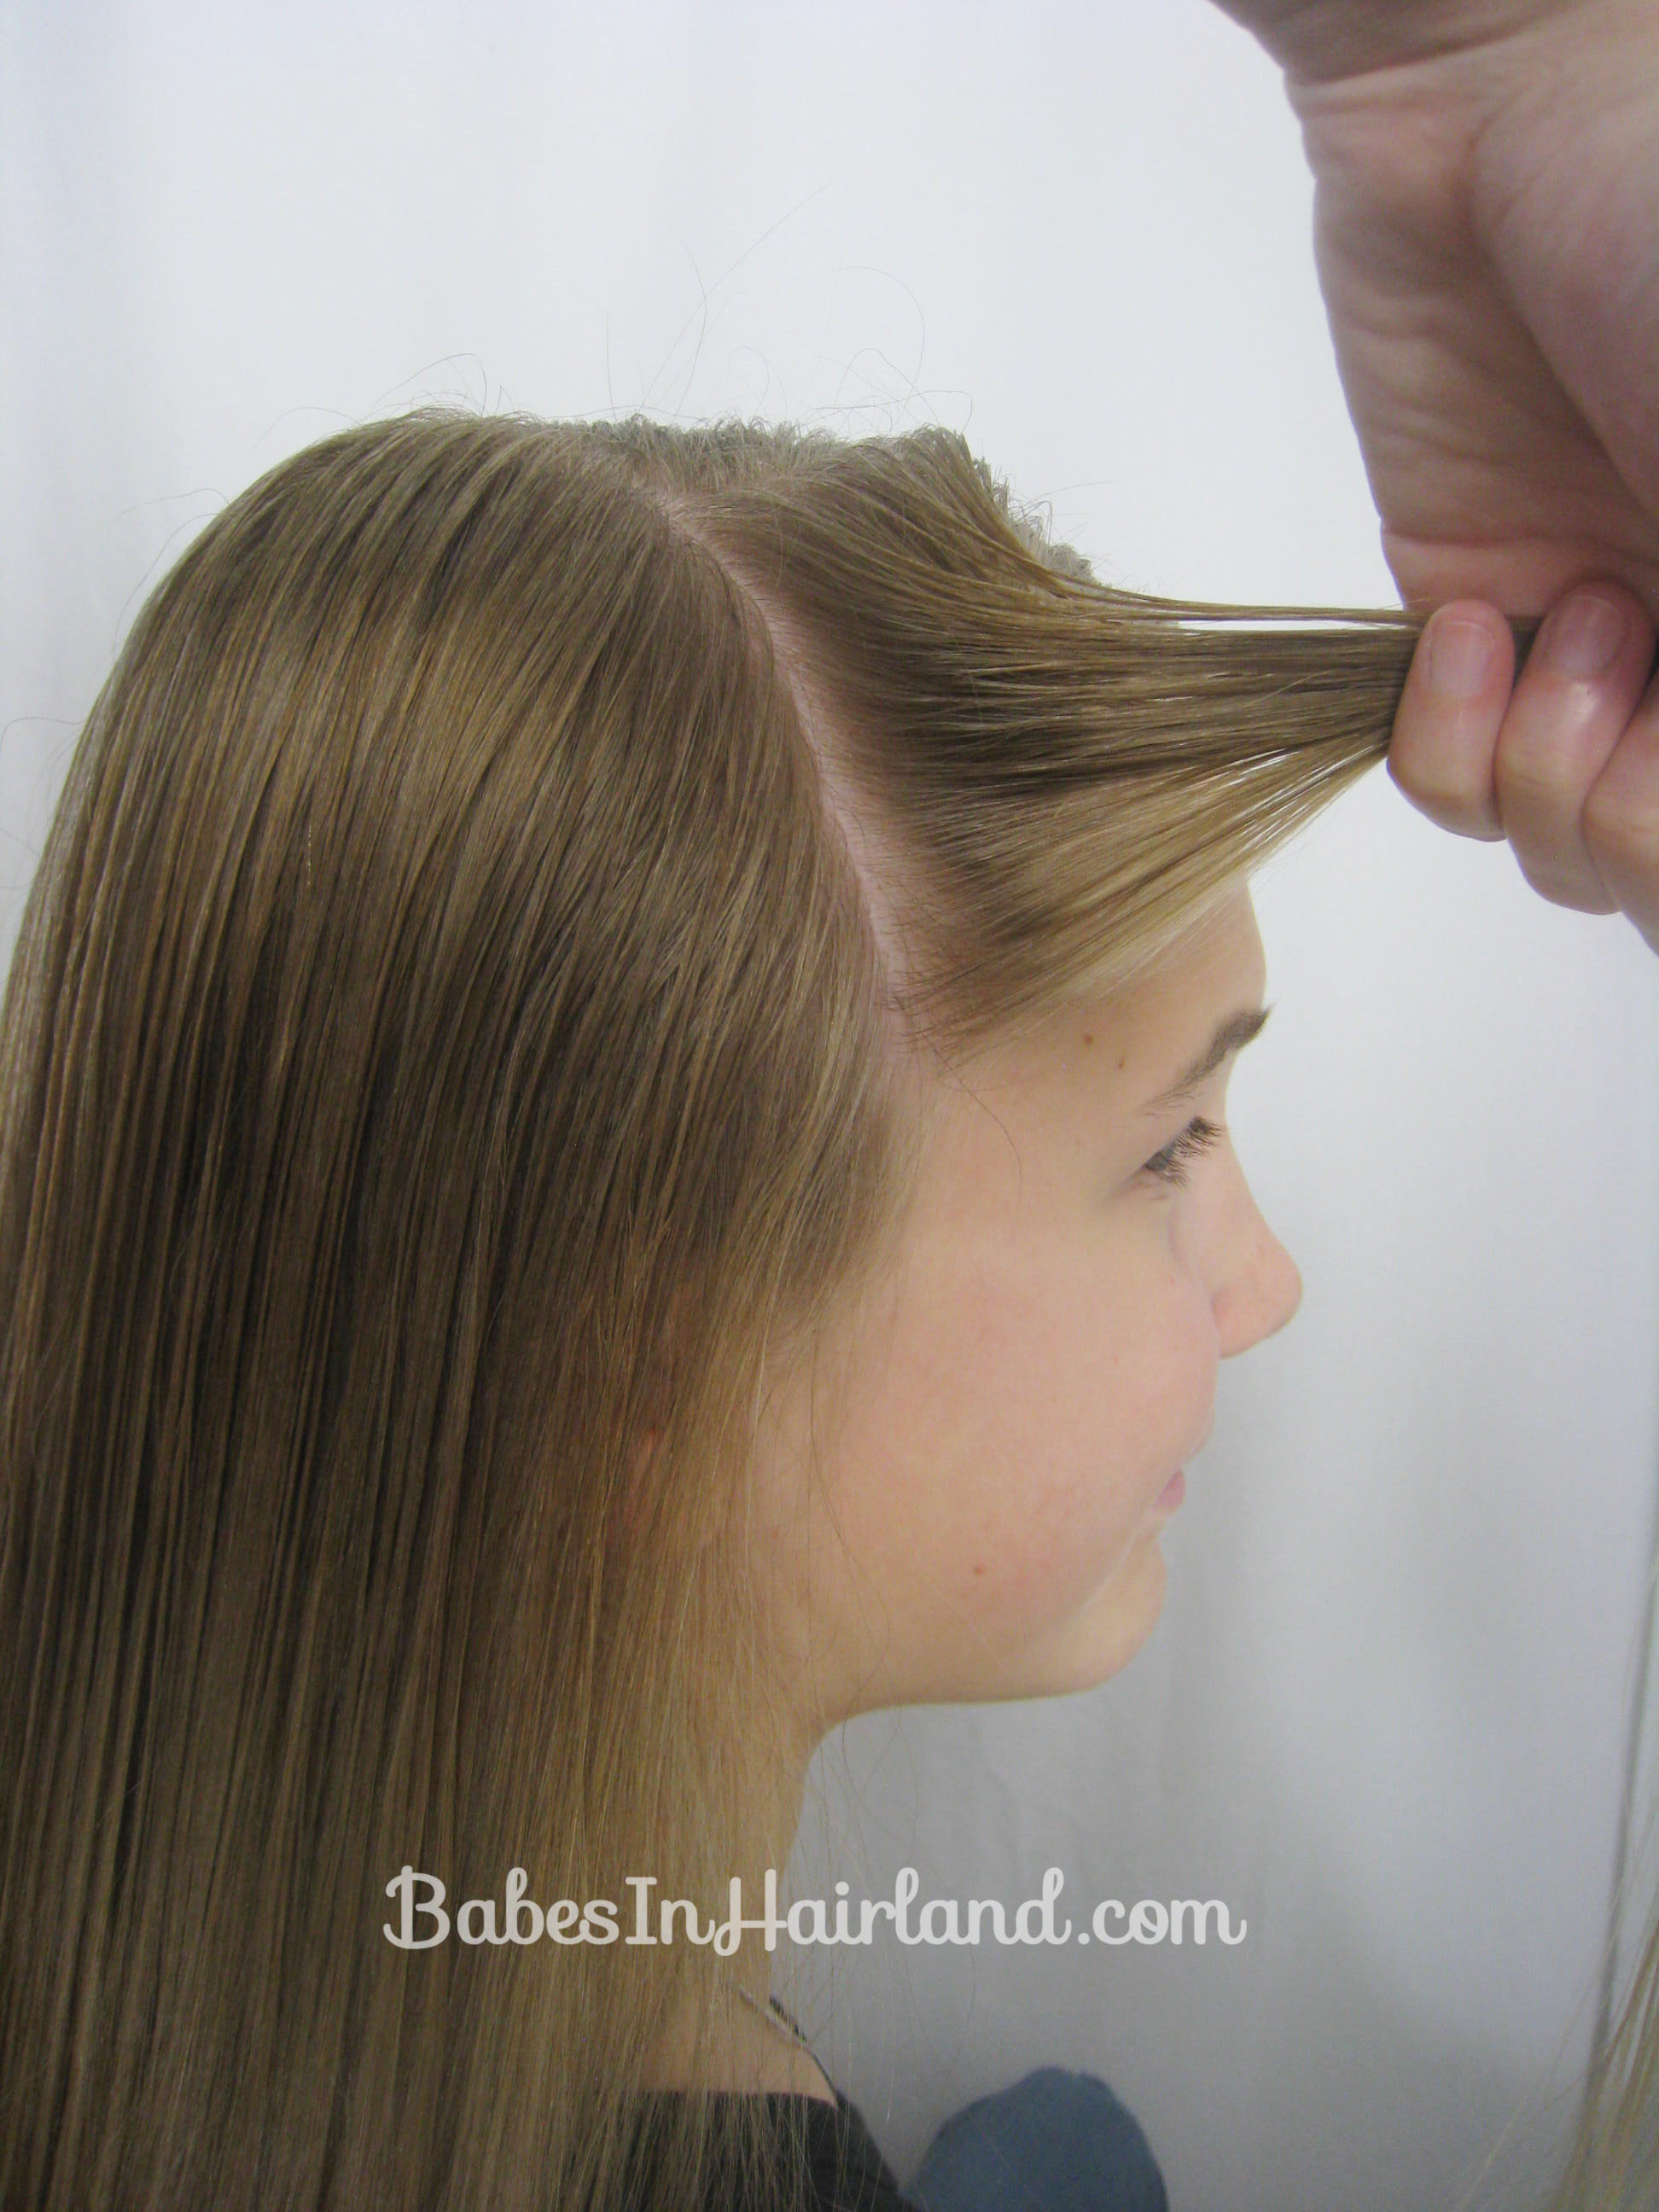
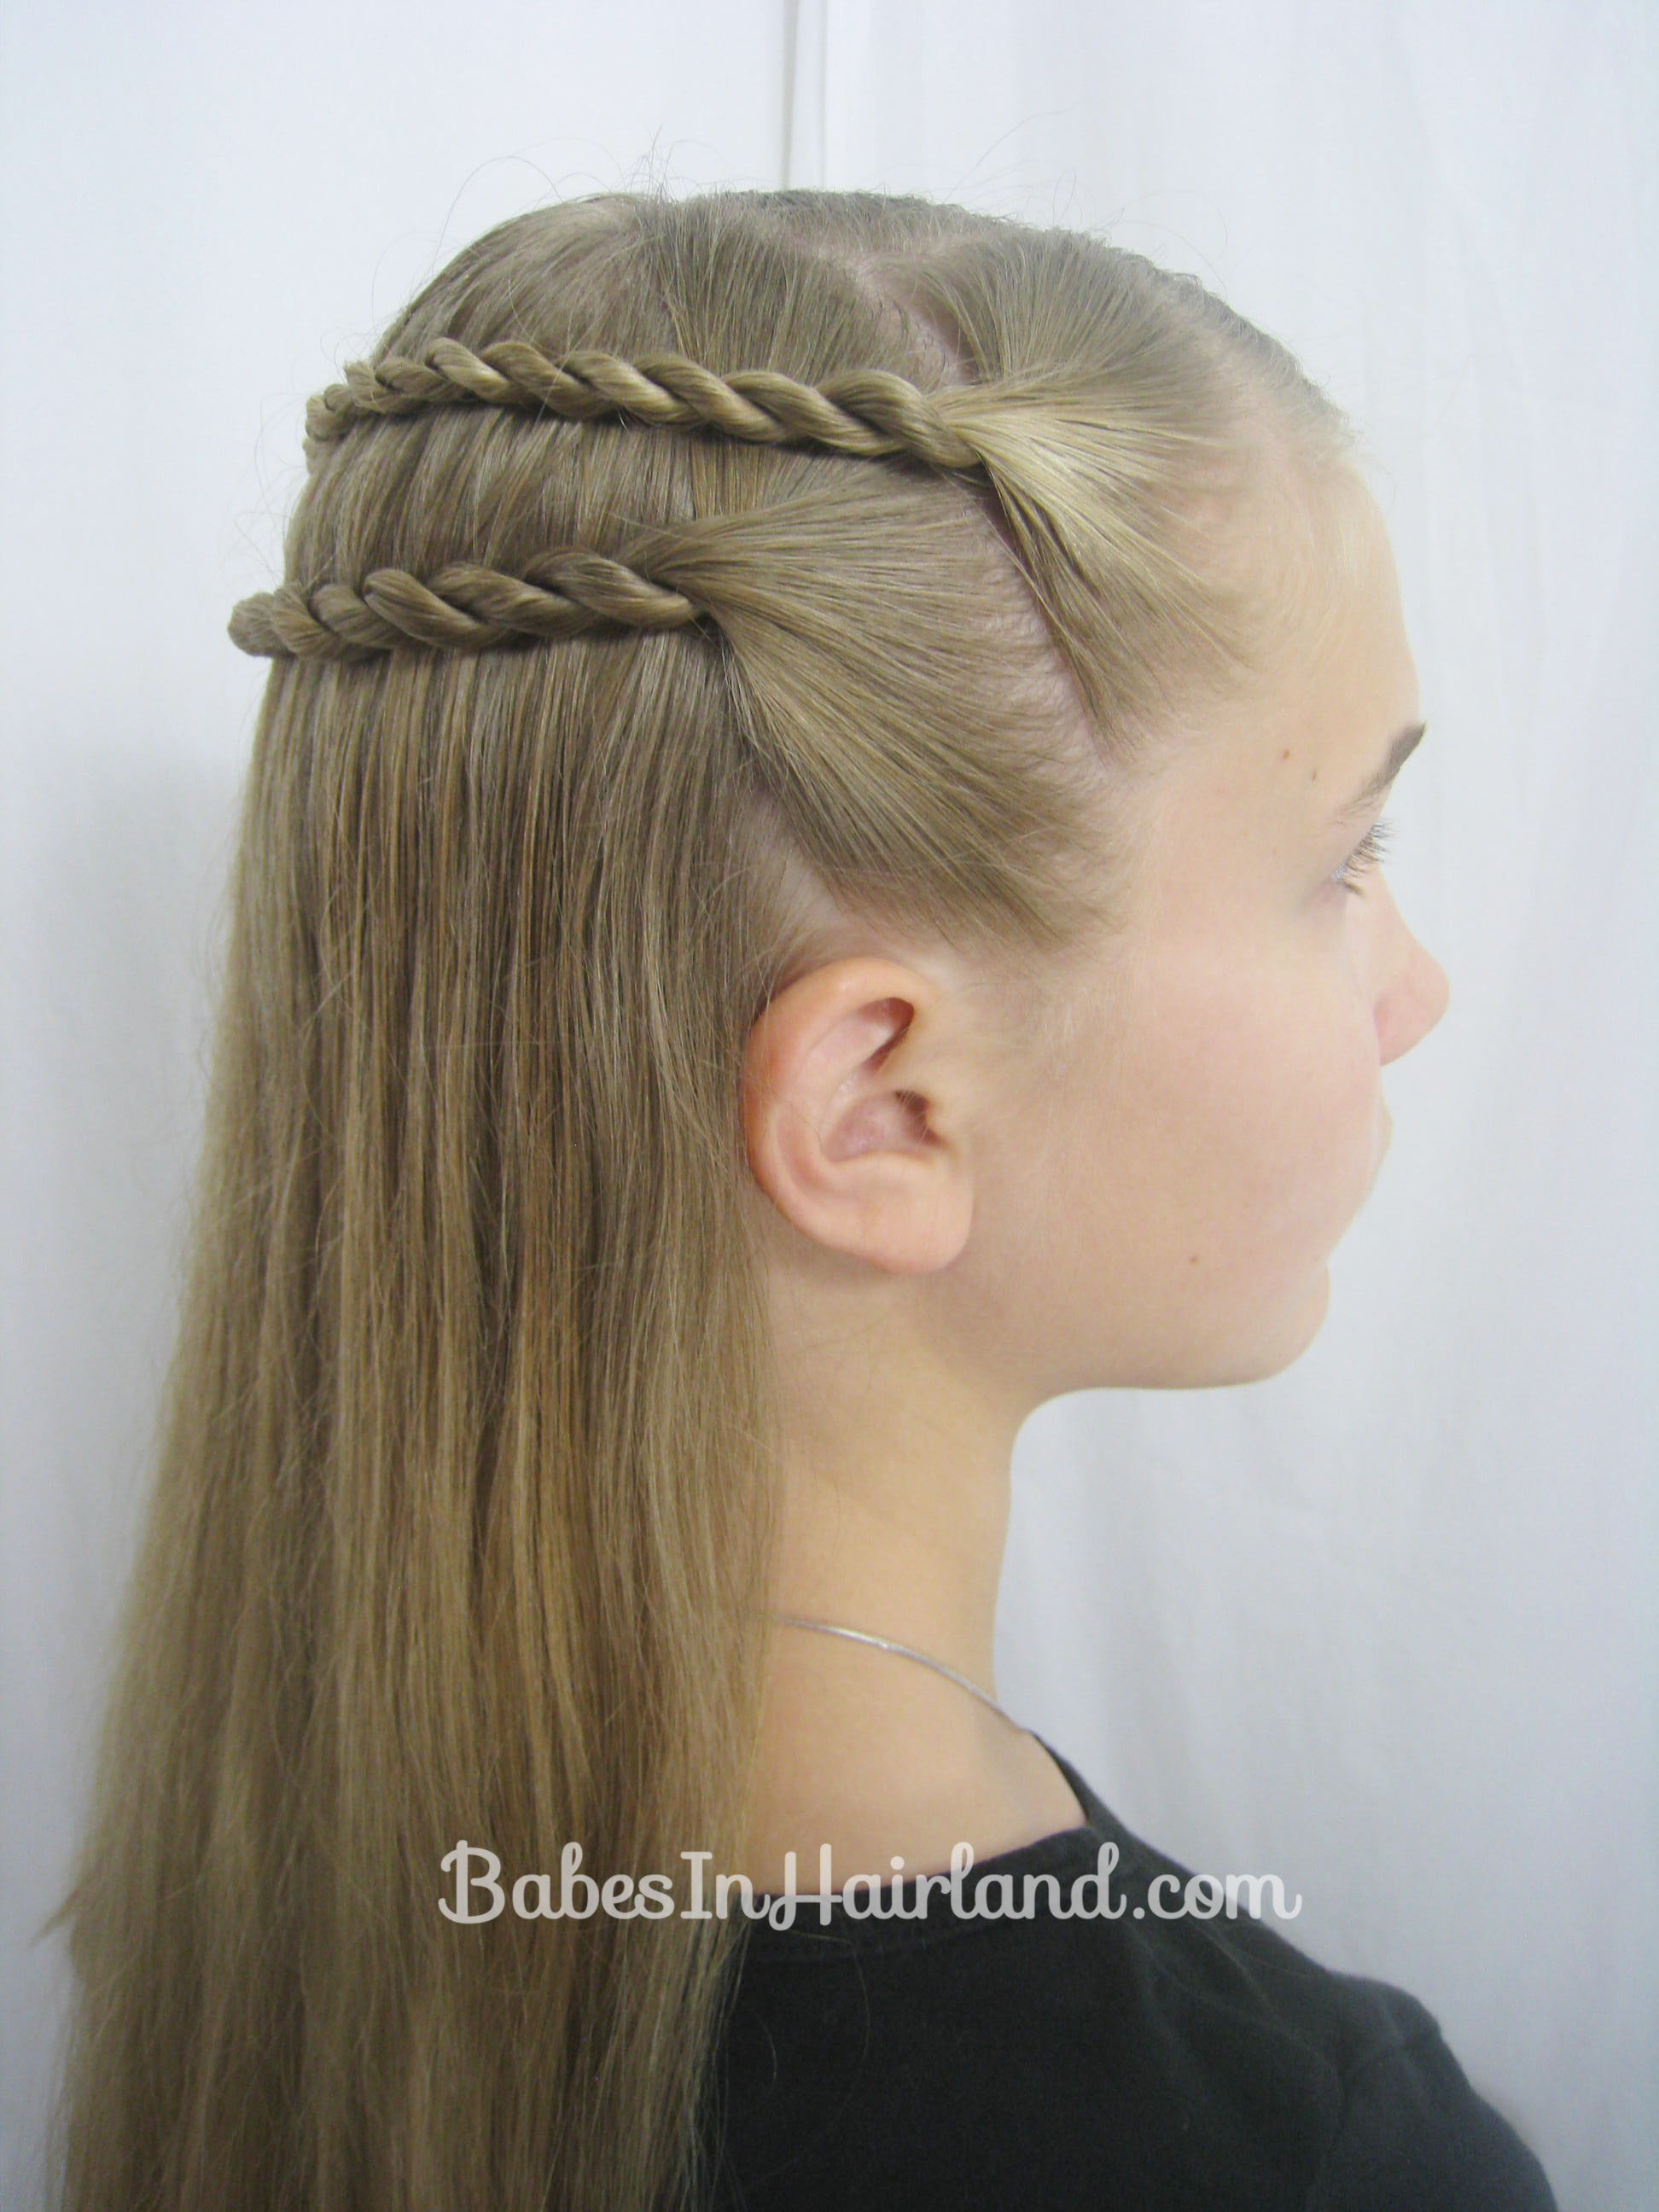
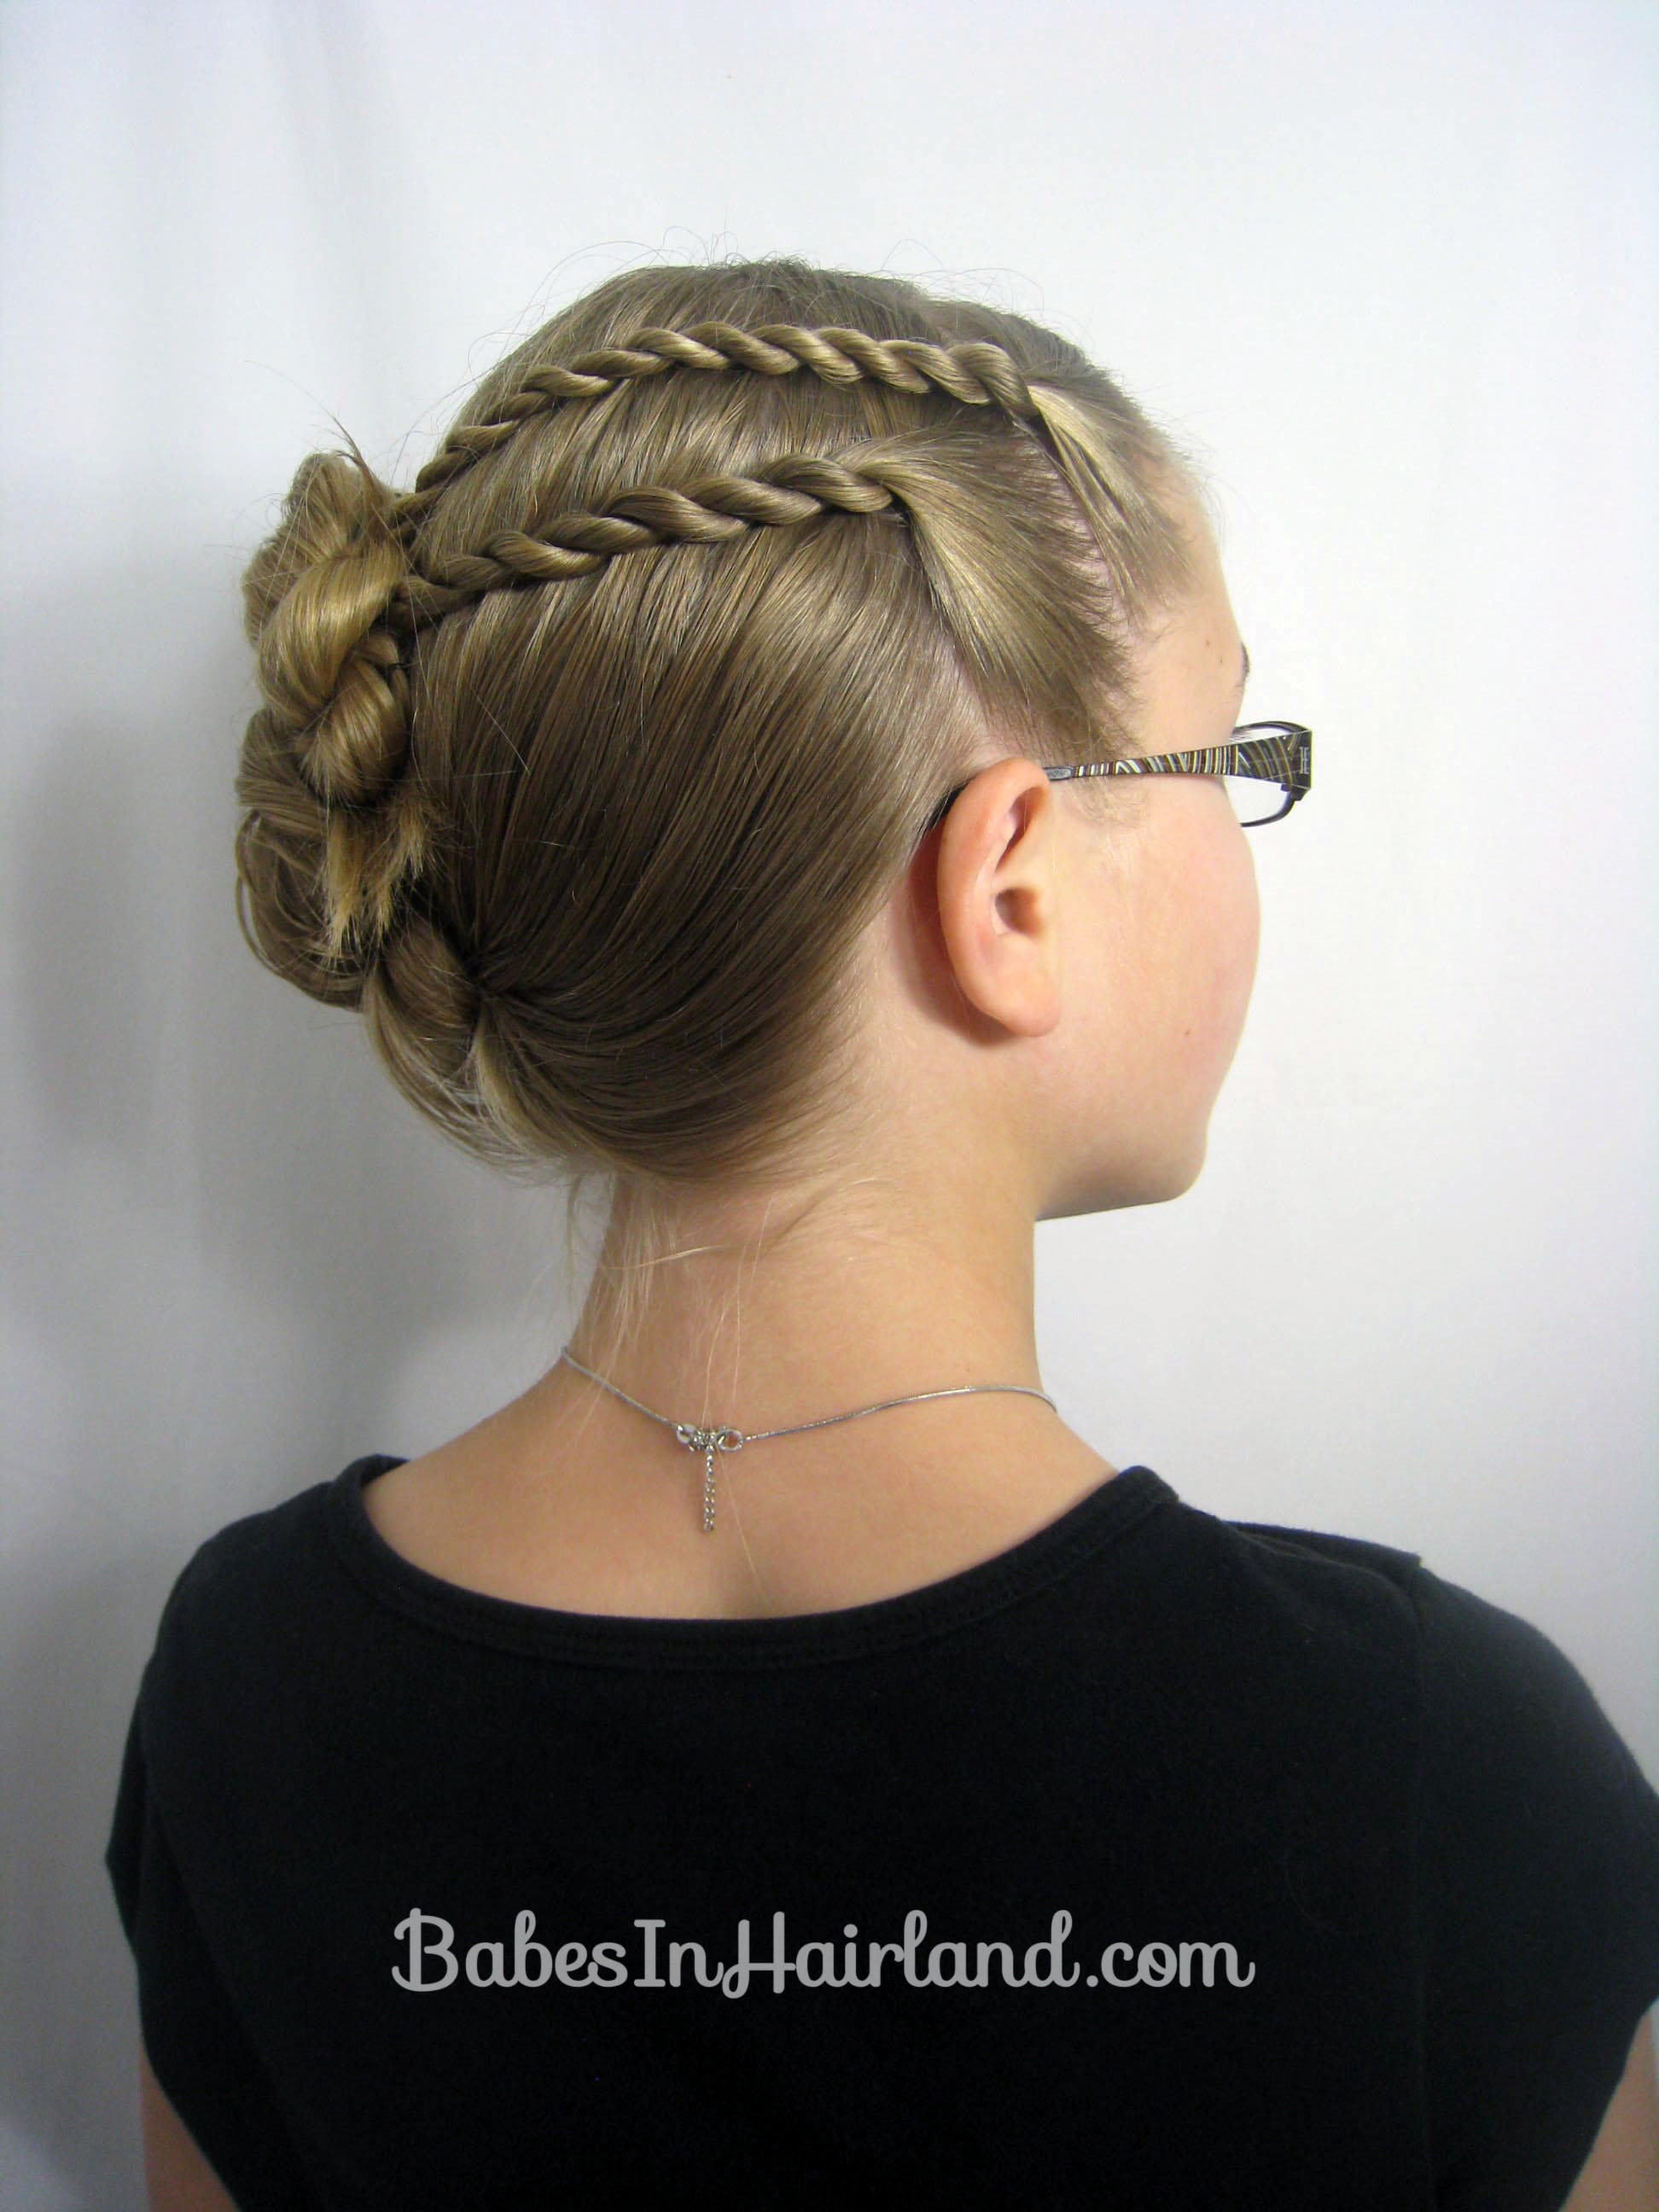
Step 1 – Make a side part – ours was zig-zag


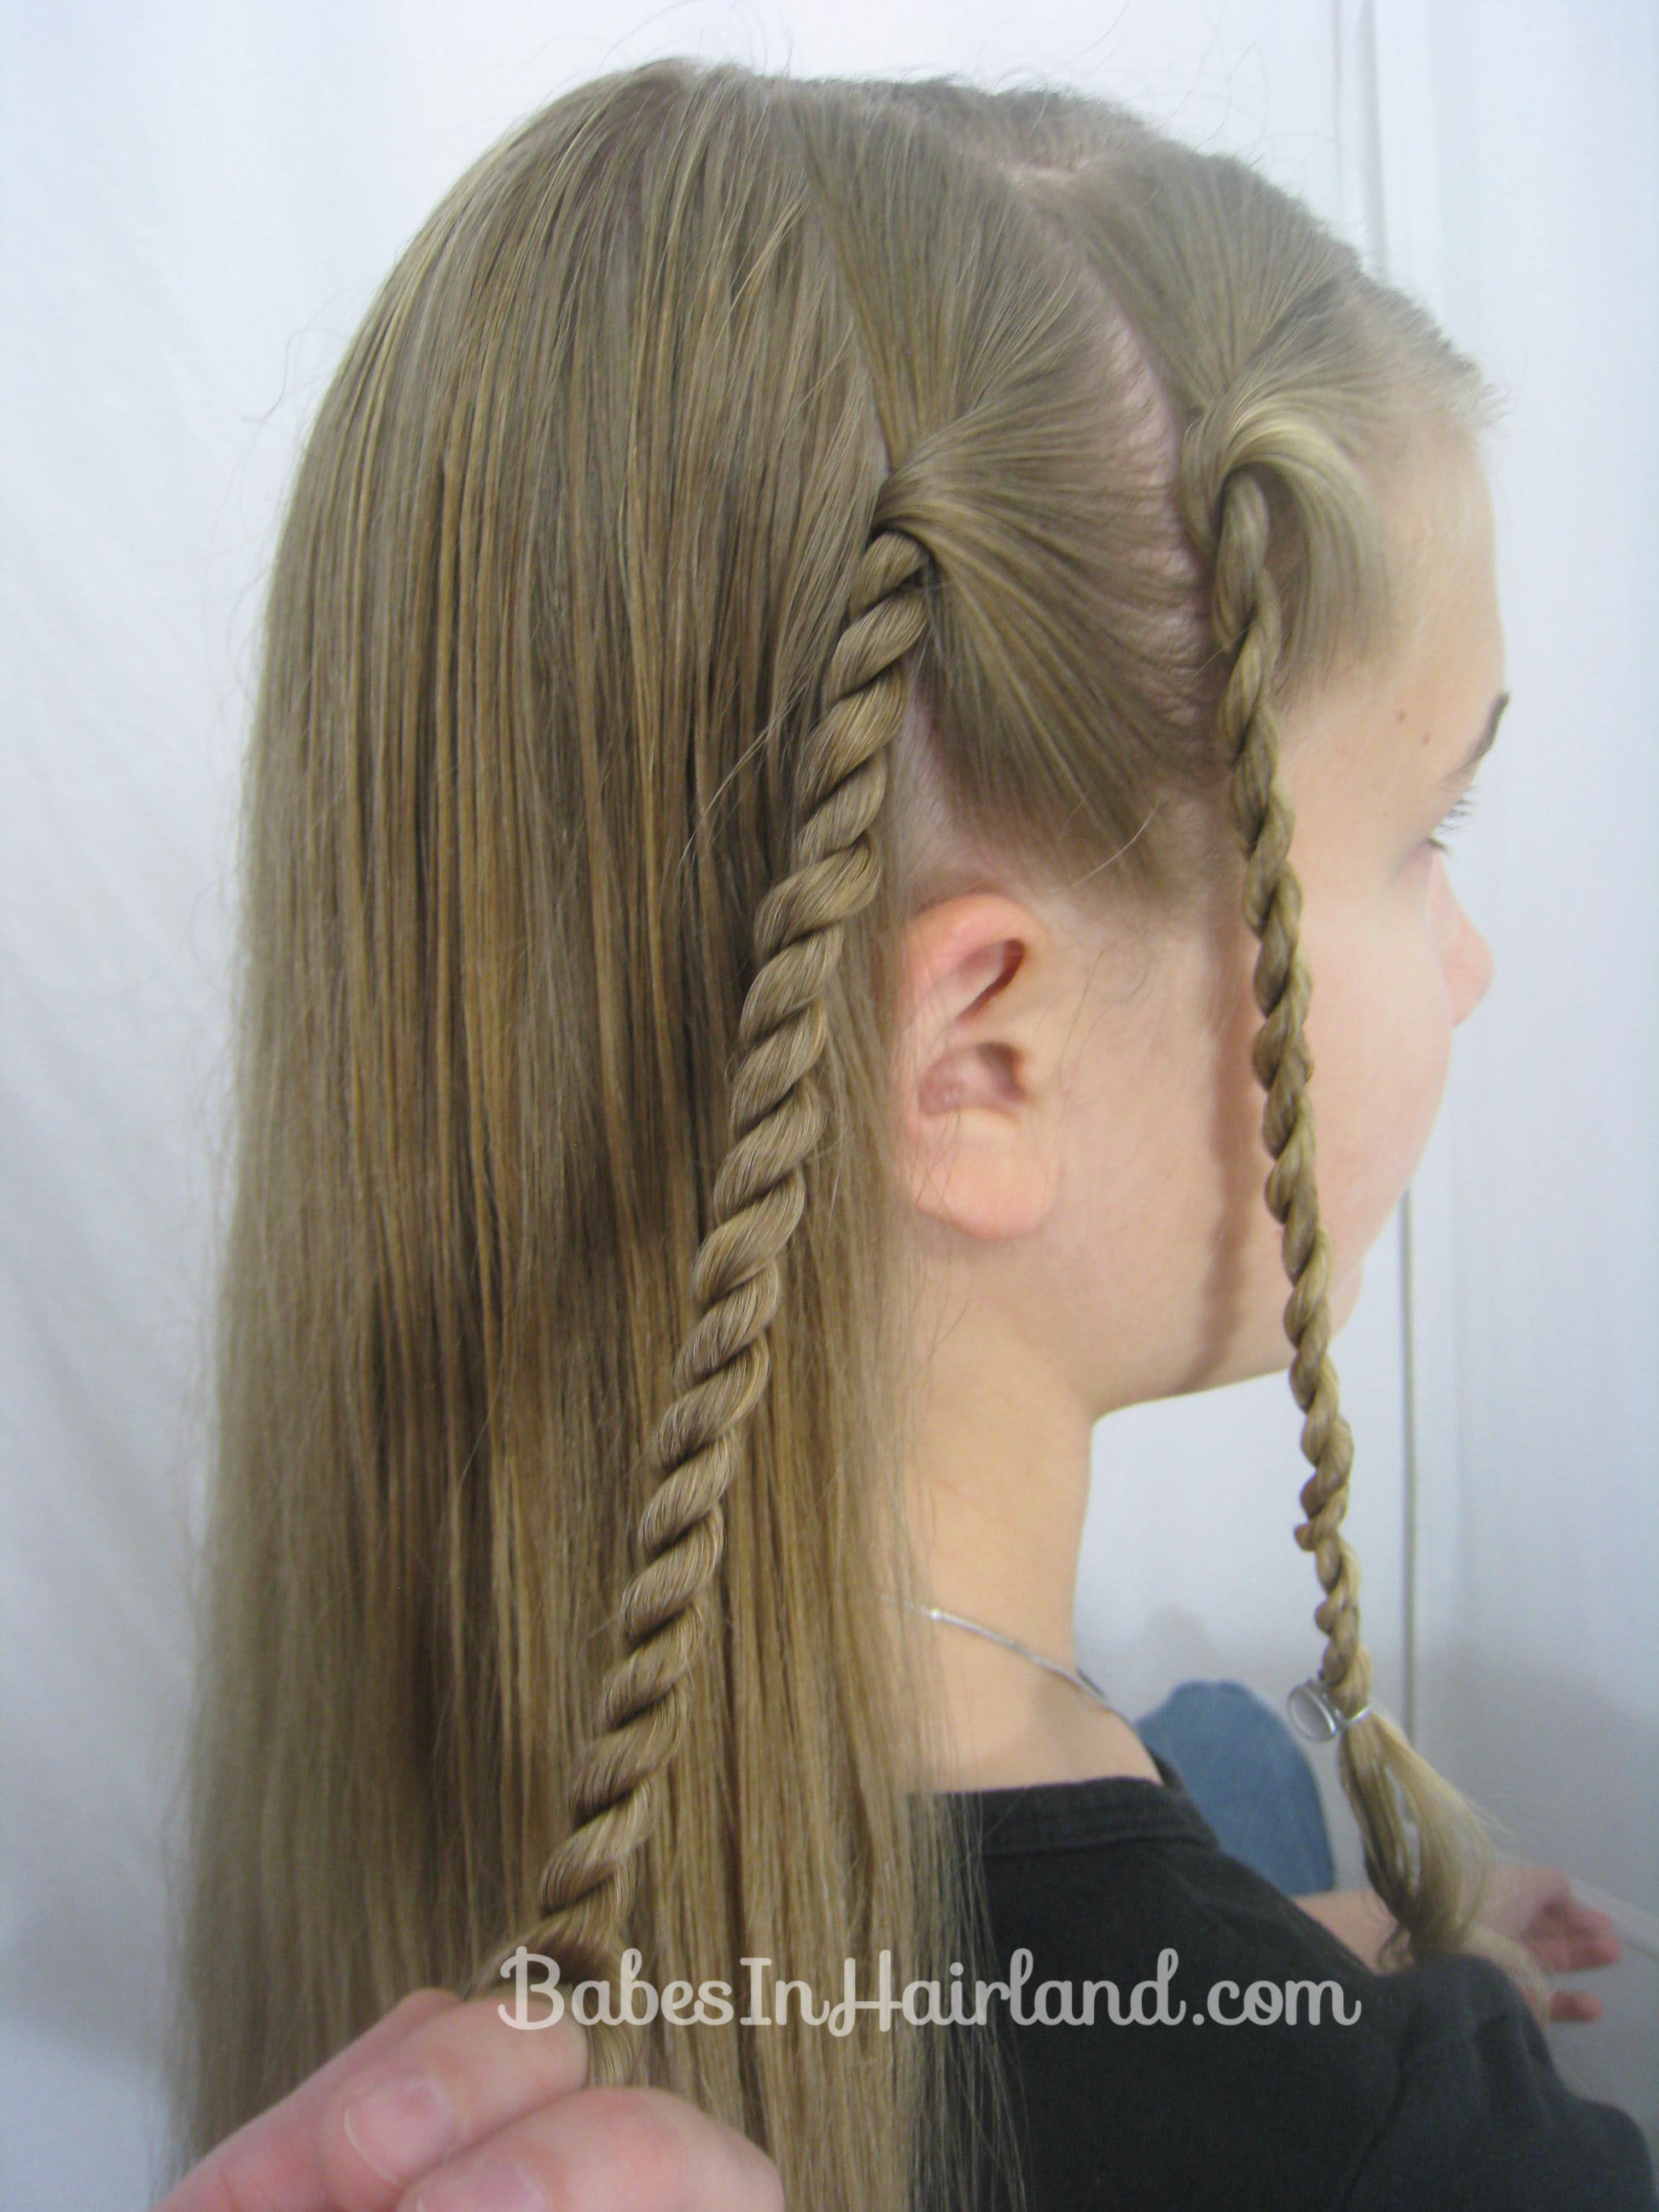
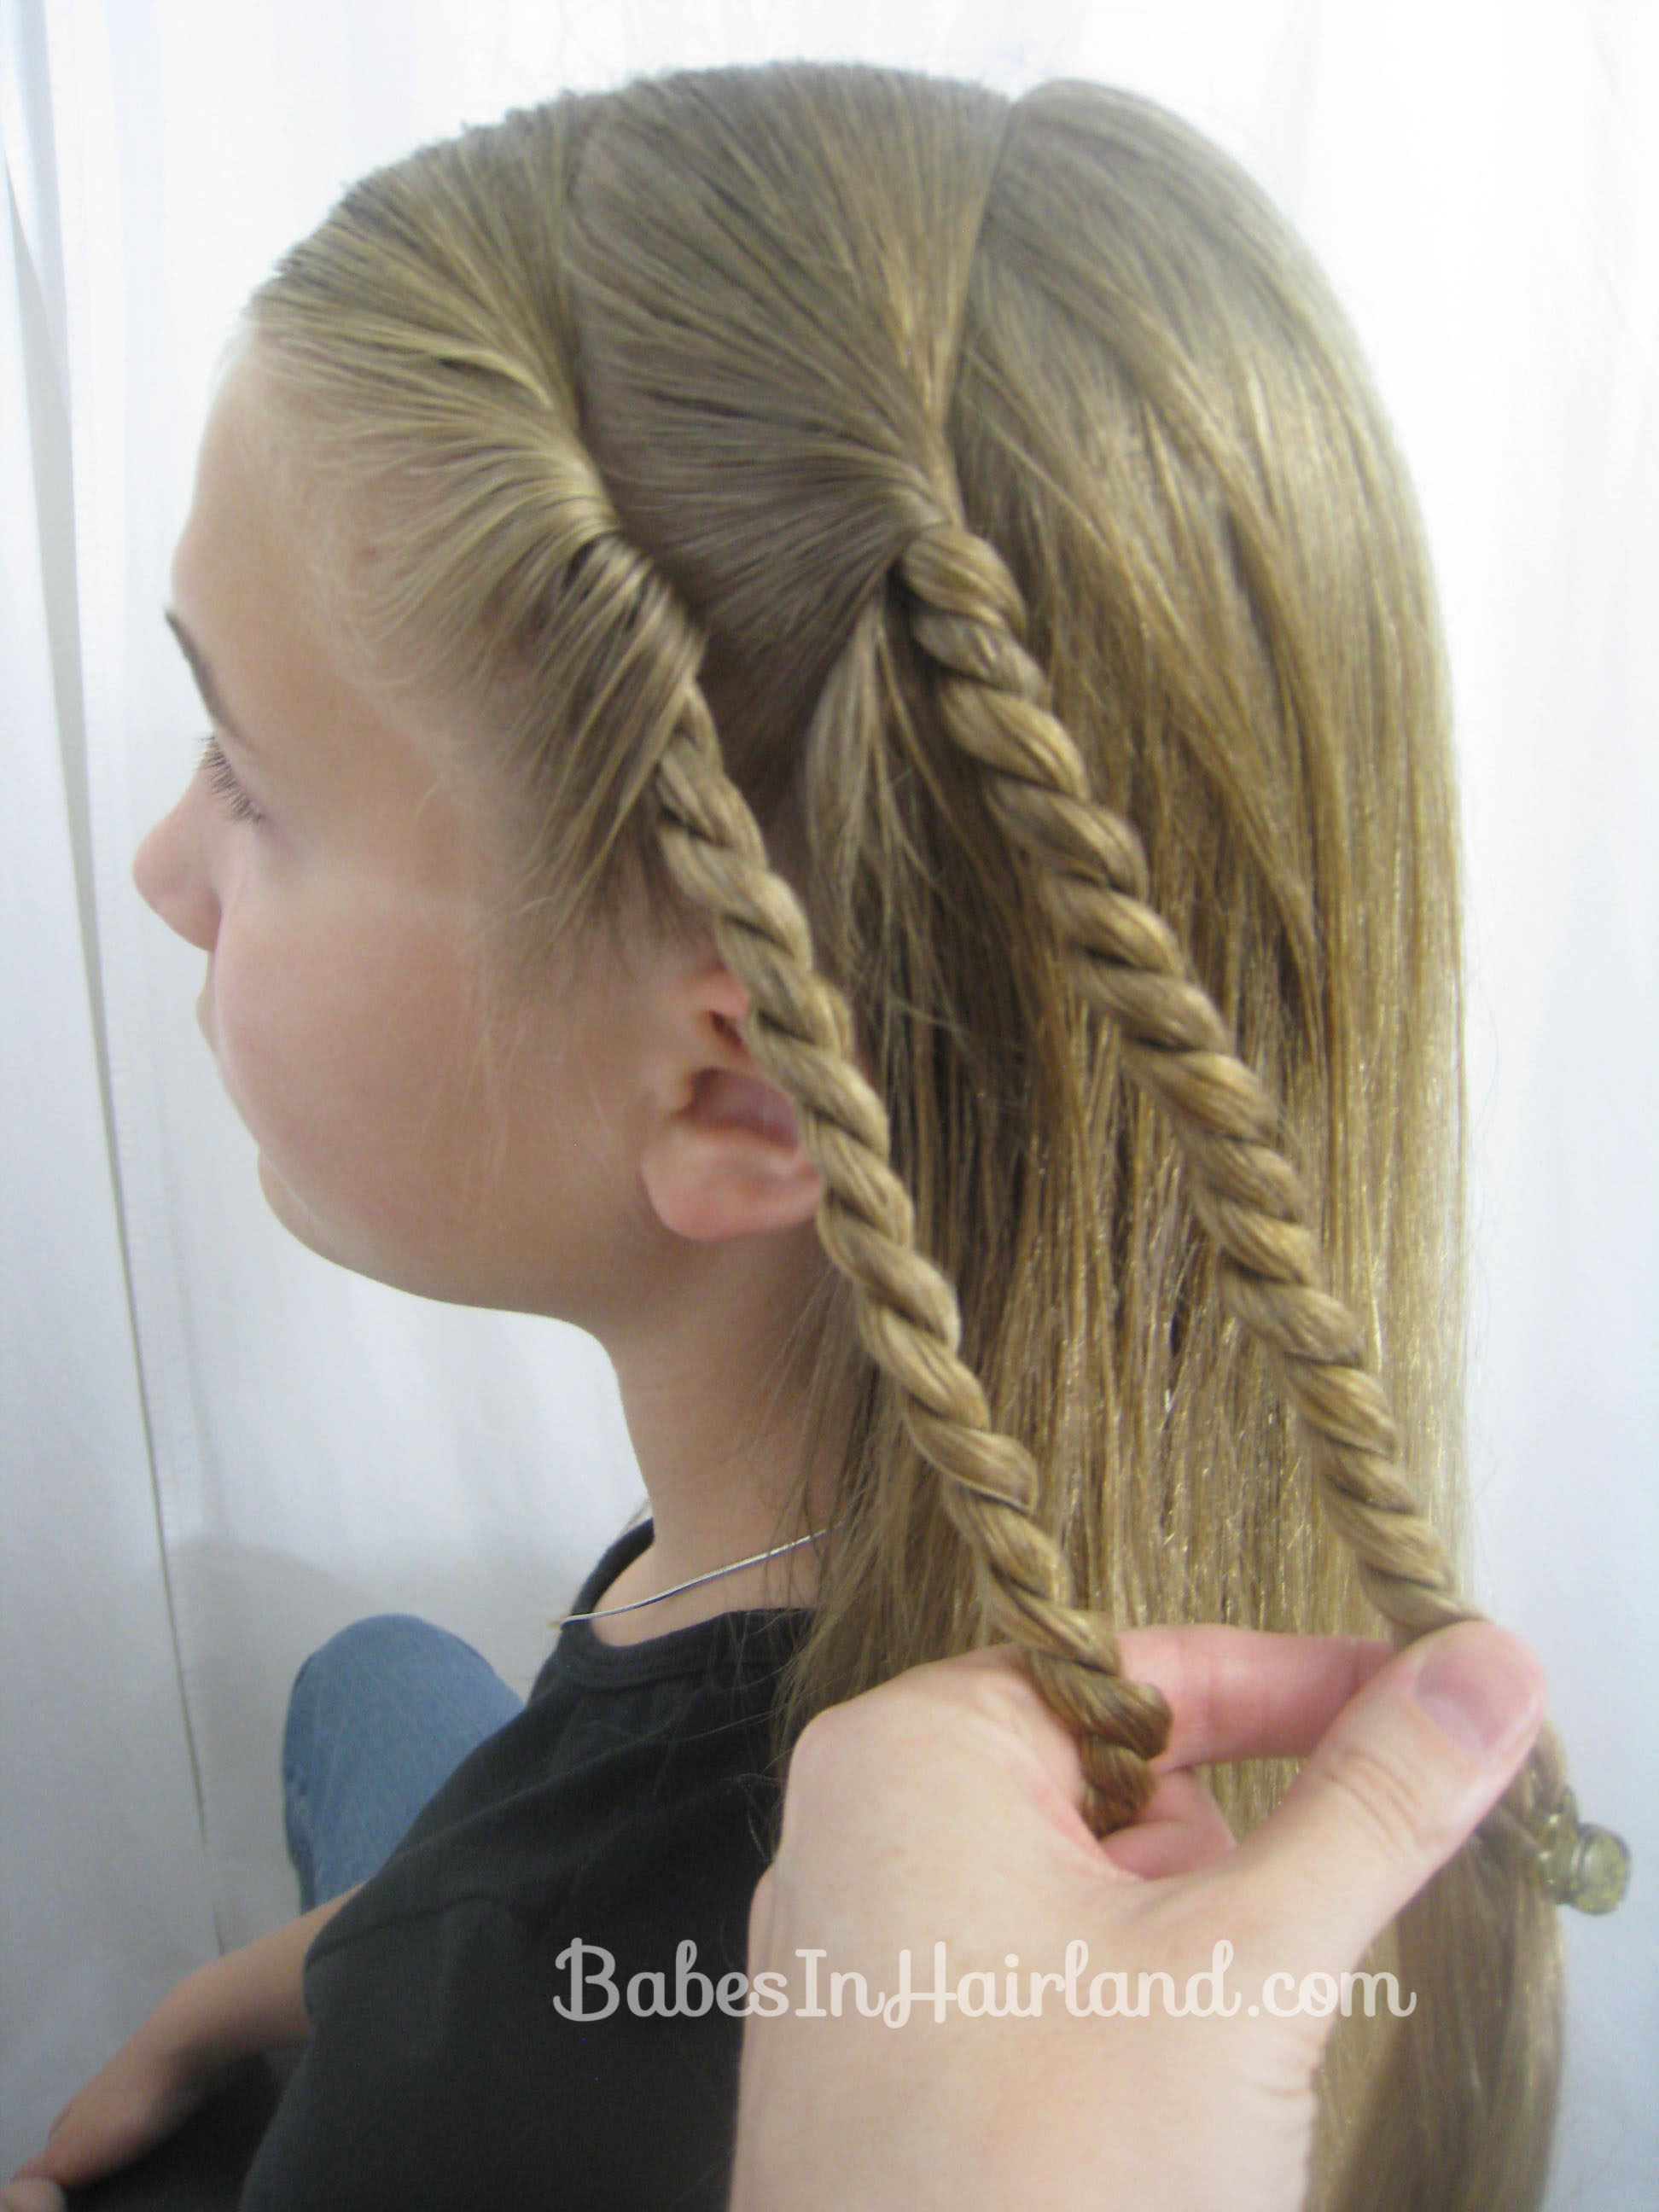
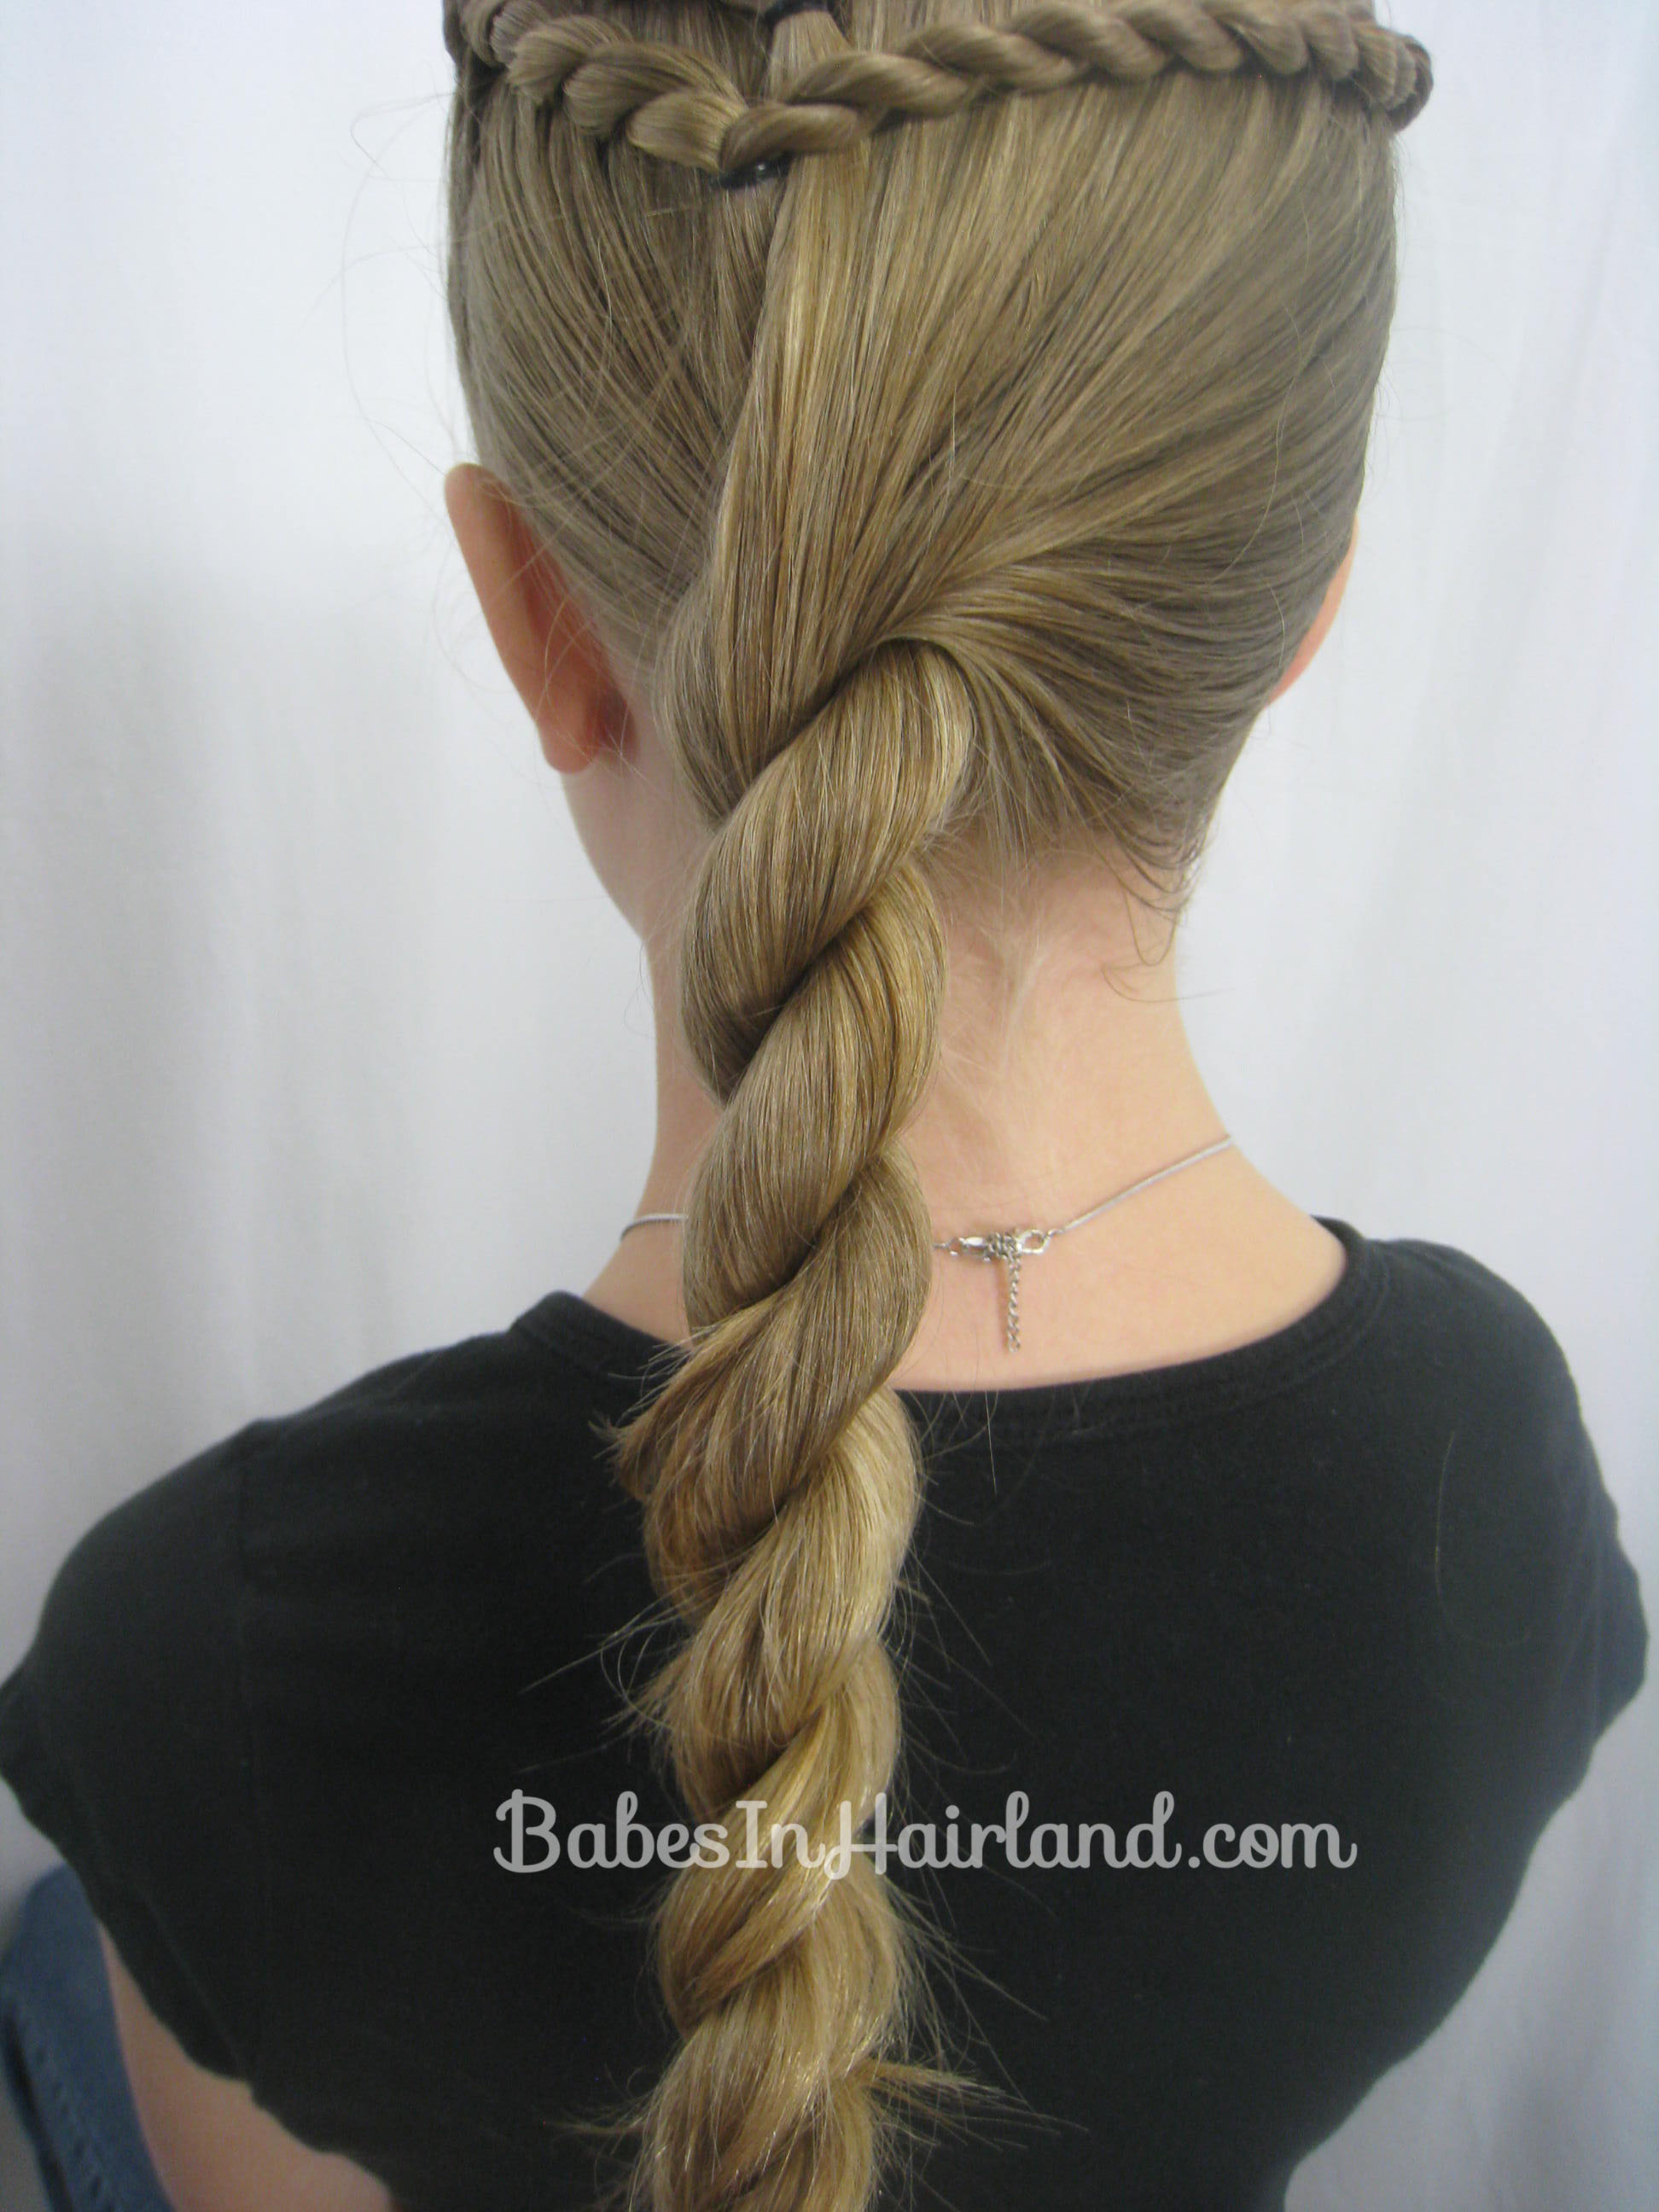
Step 3 – Make a rope braid
If you don’t know how to do a rope braid, check out our old video here. Twist enough that it will reach around the back of the head. Temporarily secure the rope braid/twist with a claw clip.

Step 4 – Make a 2nd rope braid
Right behind the first rope braid, part out another section of hair above the ear and make another rope braid. Secure the end temporarily with a claw clip.

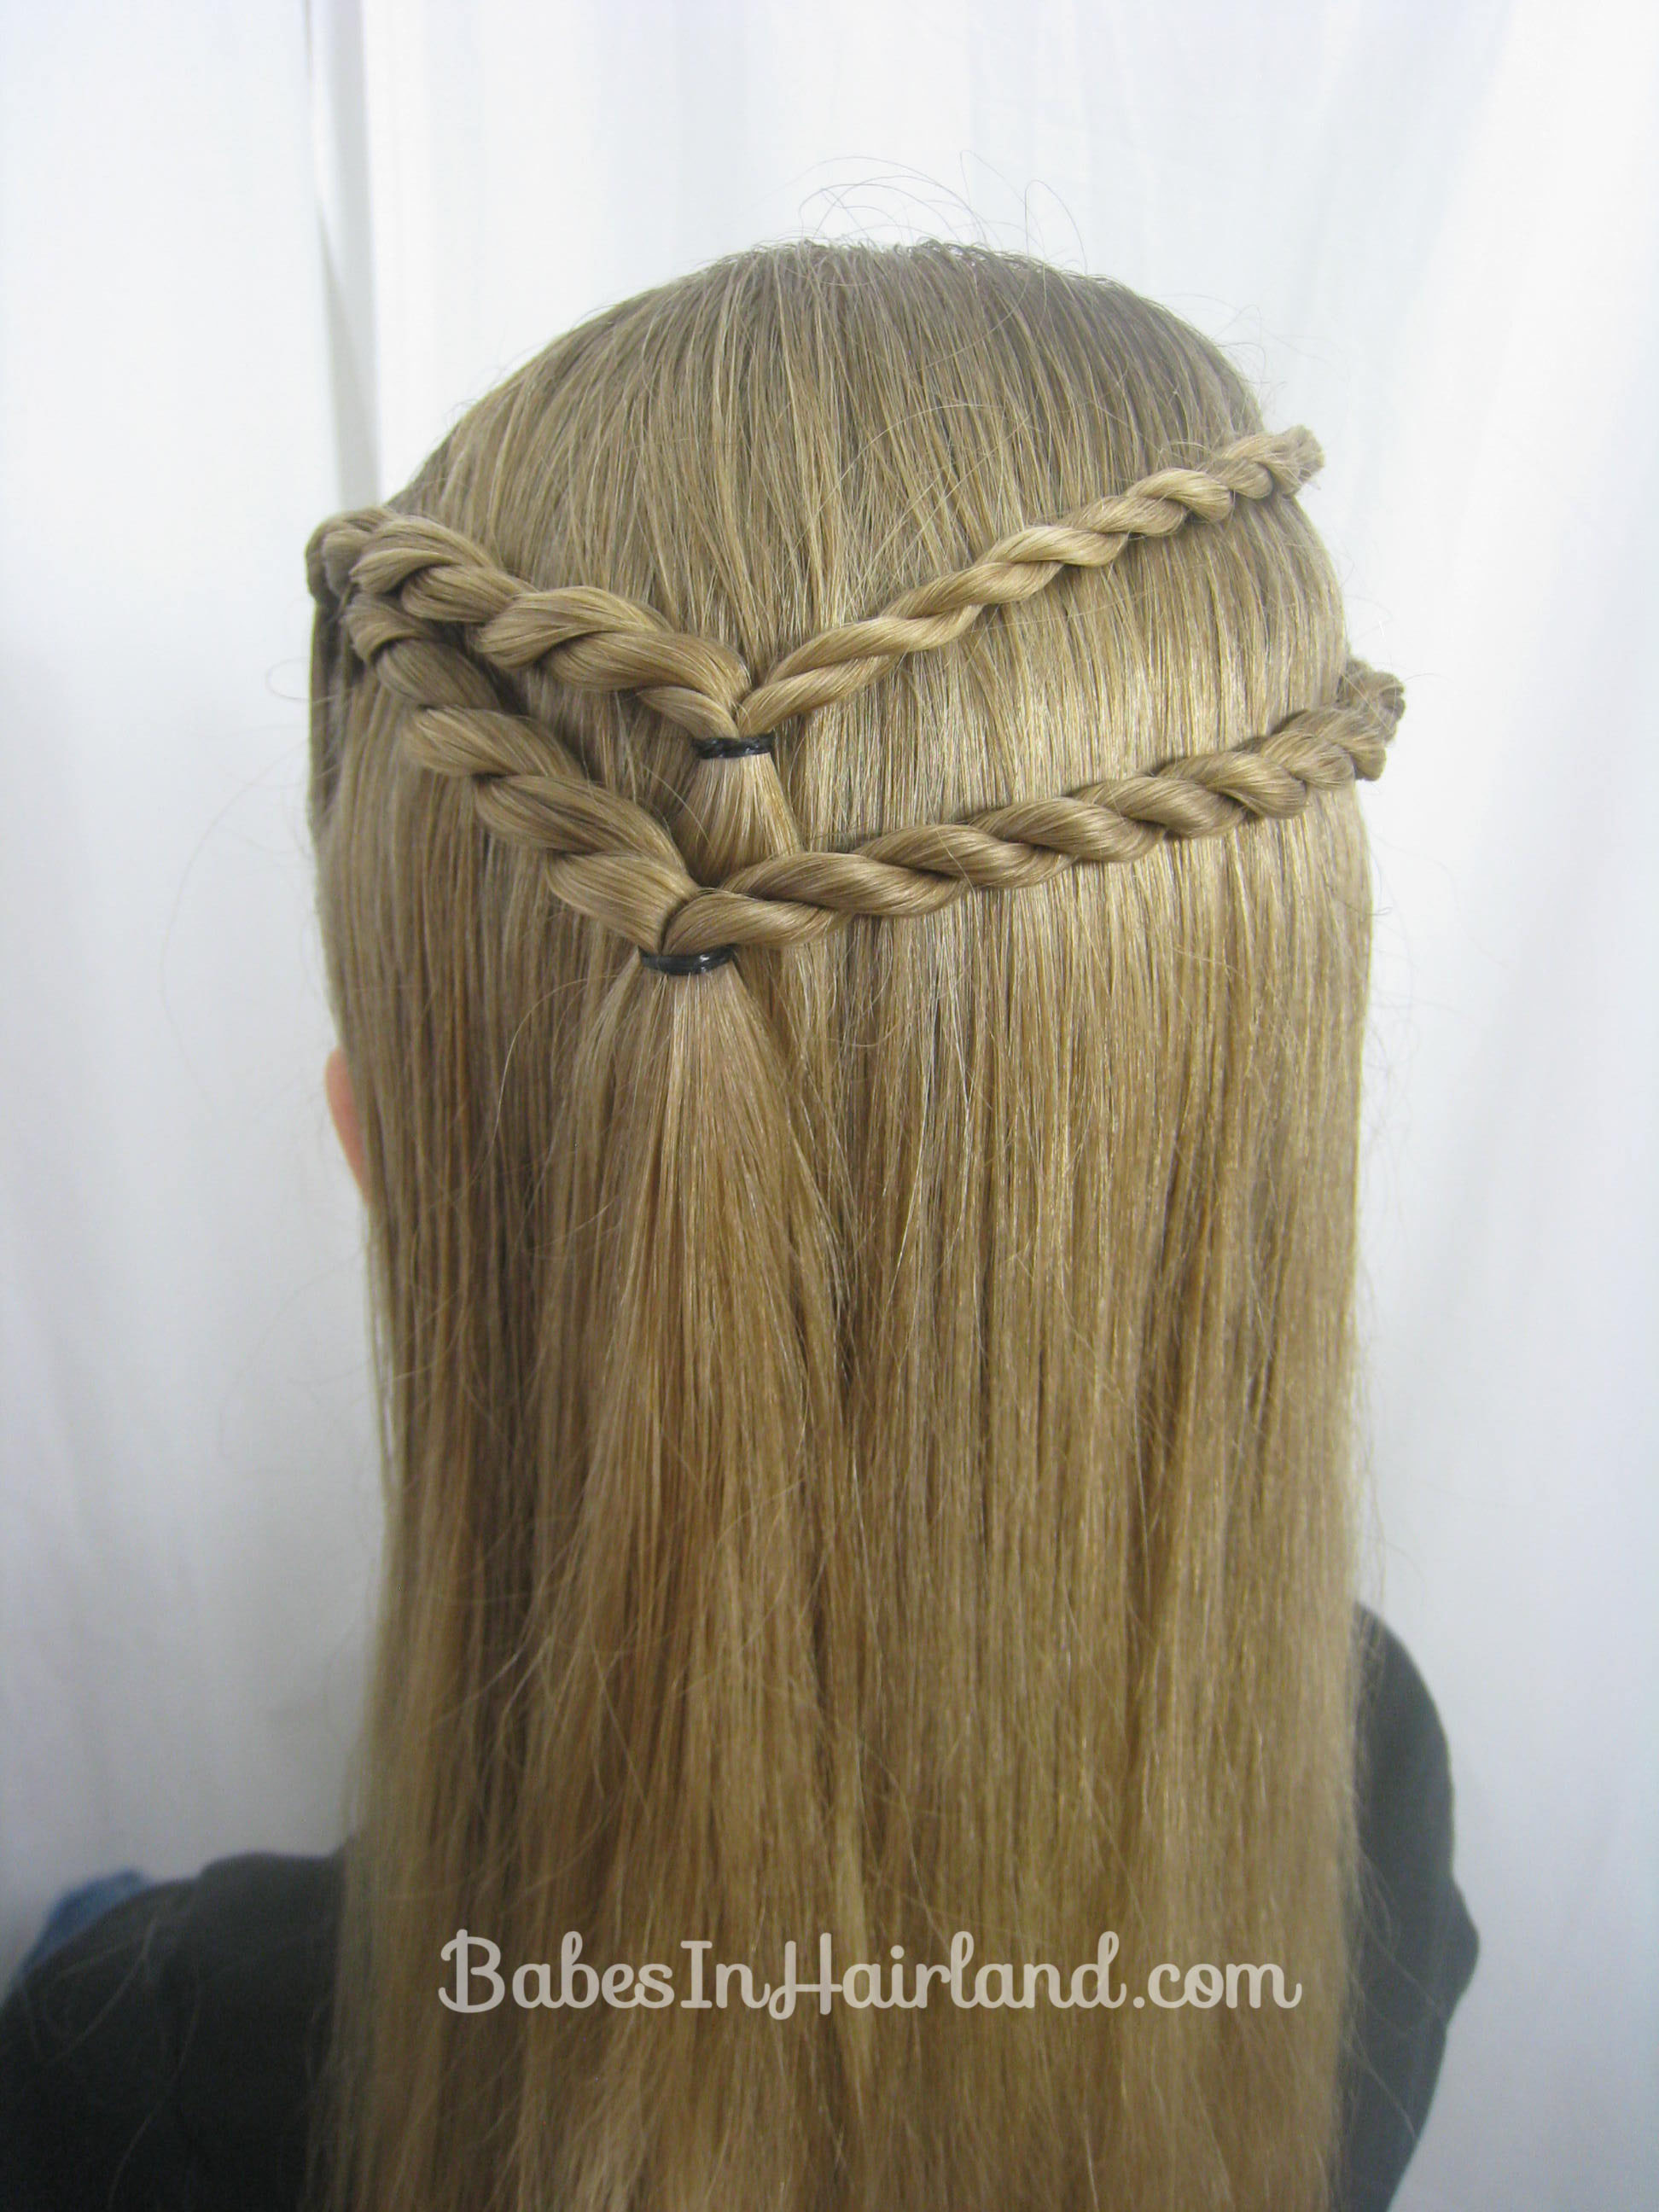
Step 5 – Repeat steps 2-4 on the left side of the head
Sorry, the picture makes my front rope braid look weird and twisted up a bit, but once I pulled it back that disappears. Temporarily secure the end of both of these twists as well.

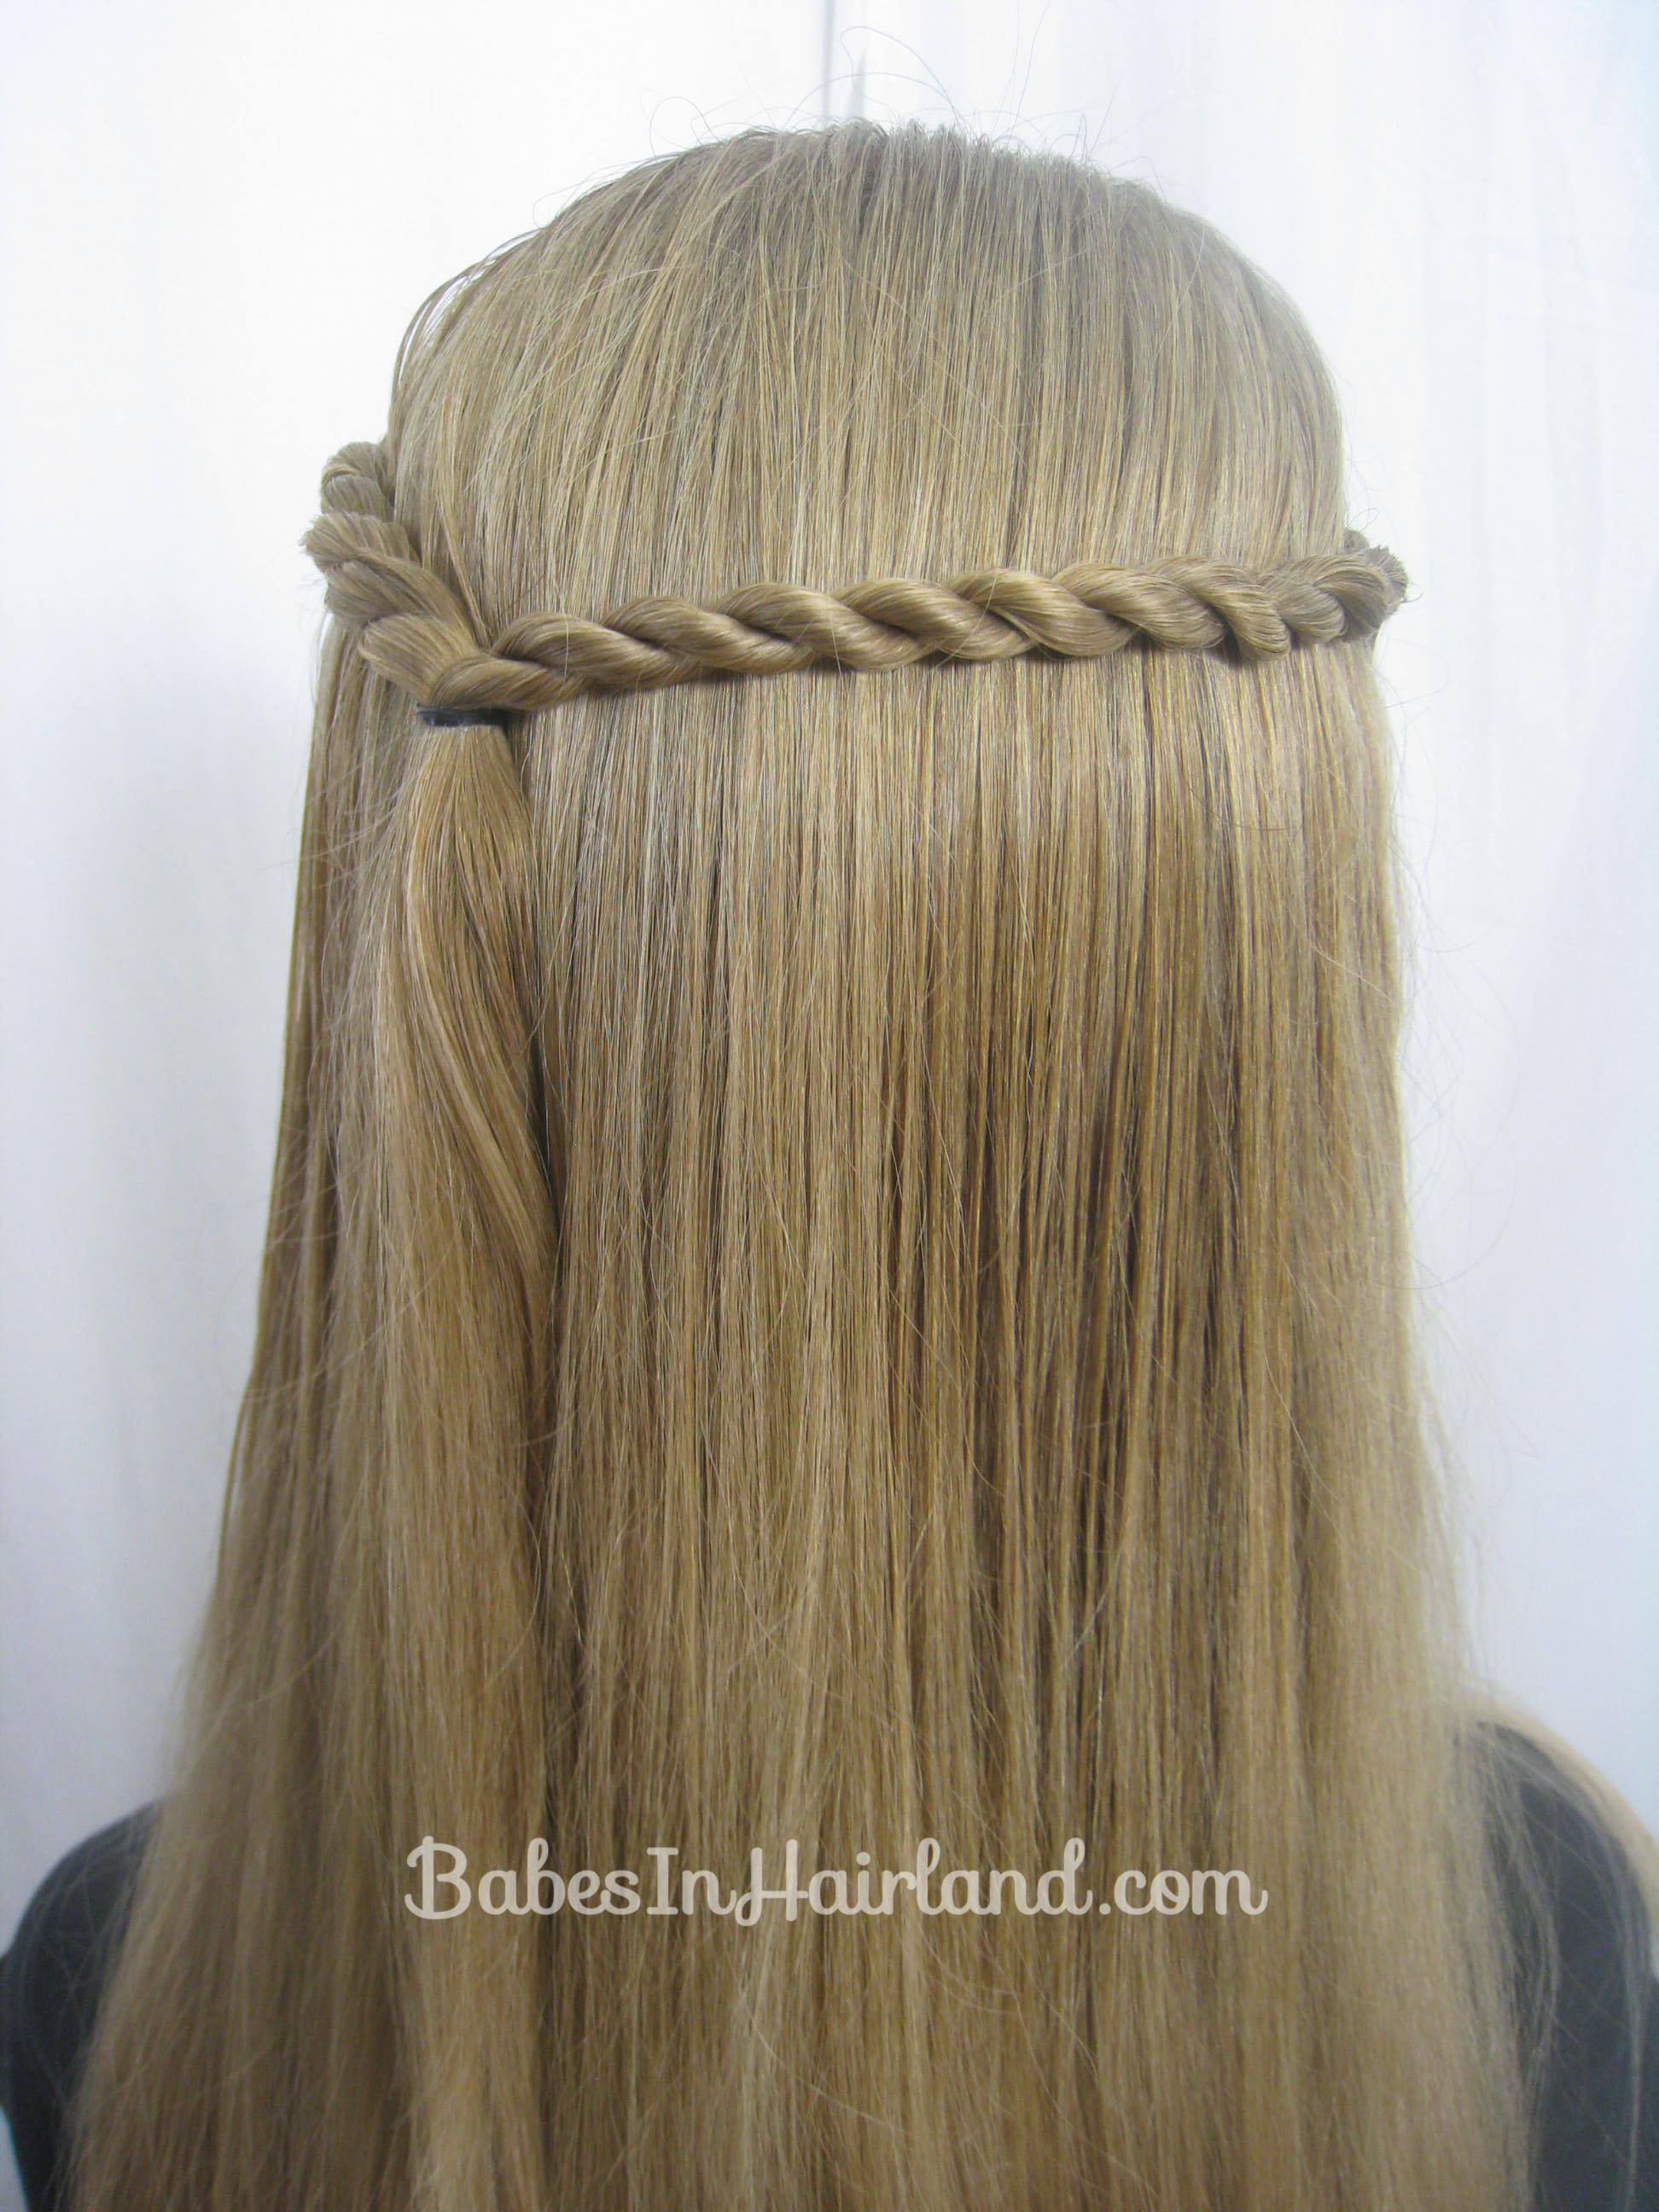
Step 6 – Join the front rope braids/twists toward the left side of the head & secure with an elastic


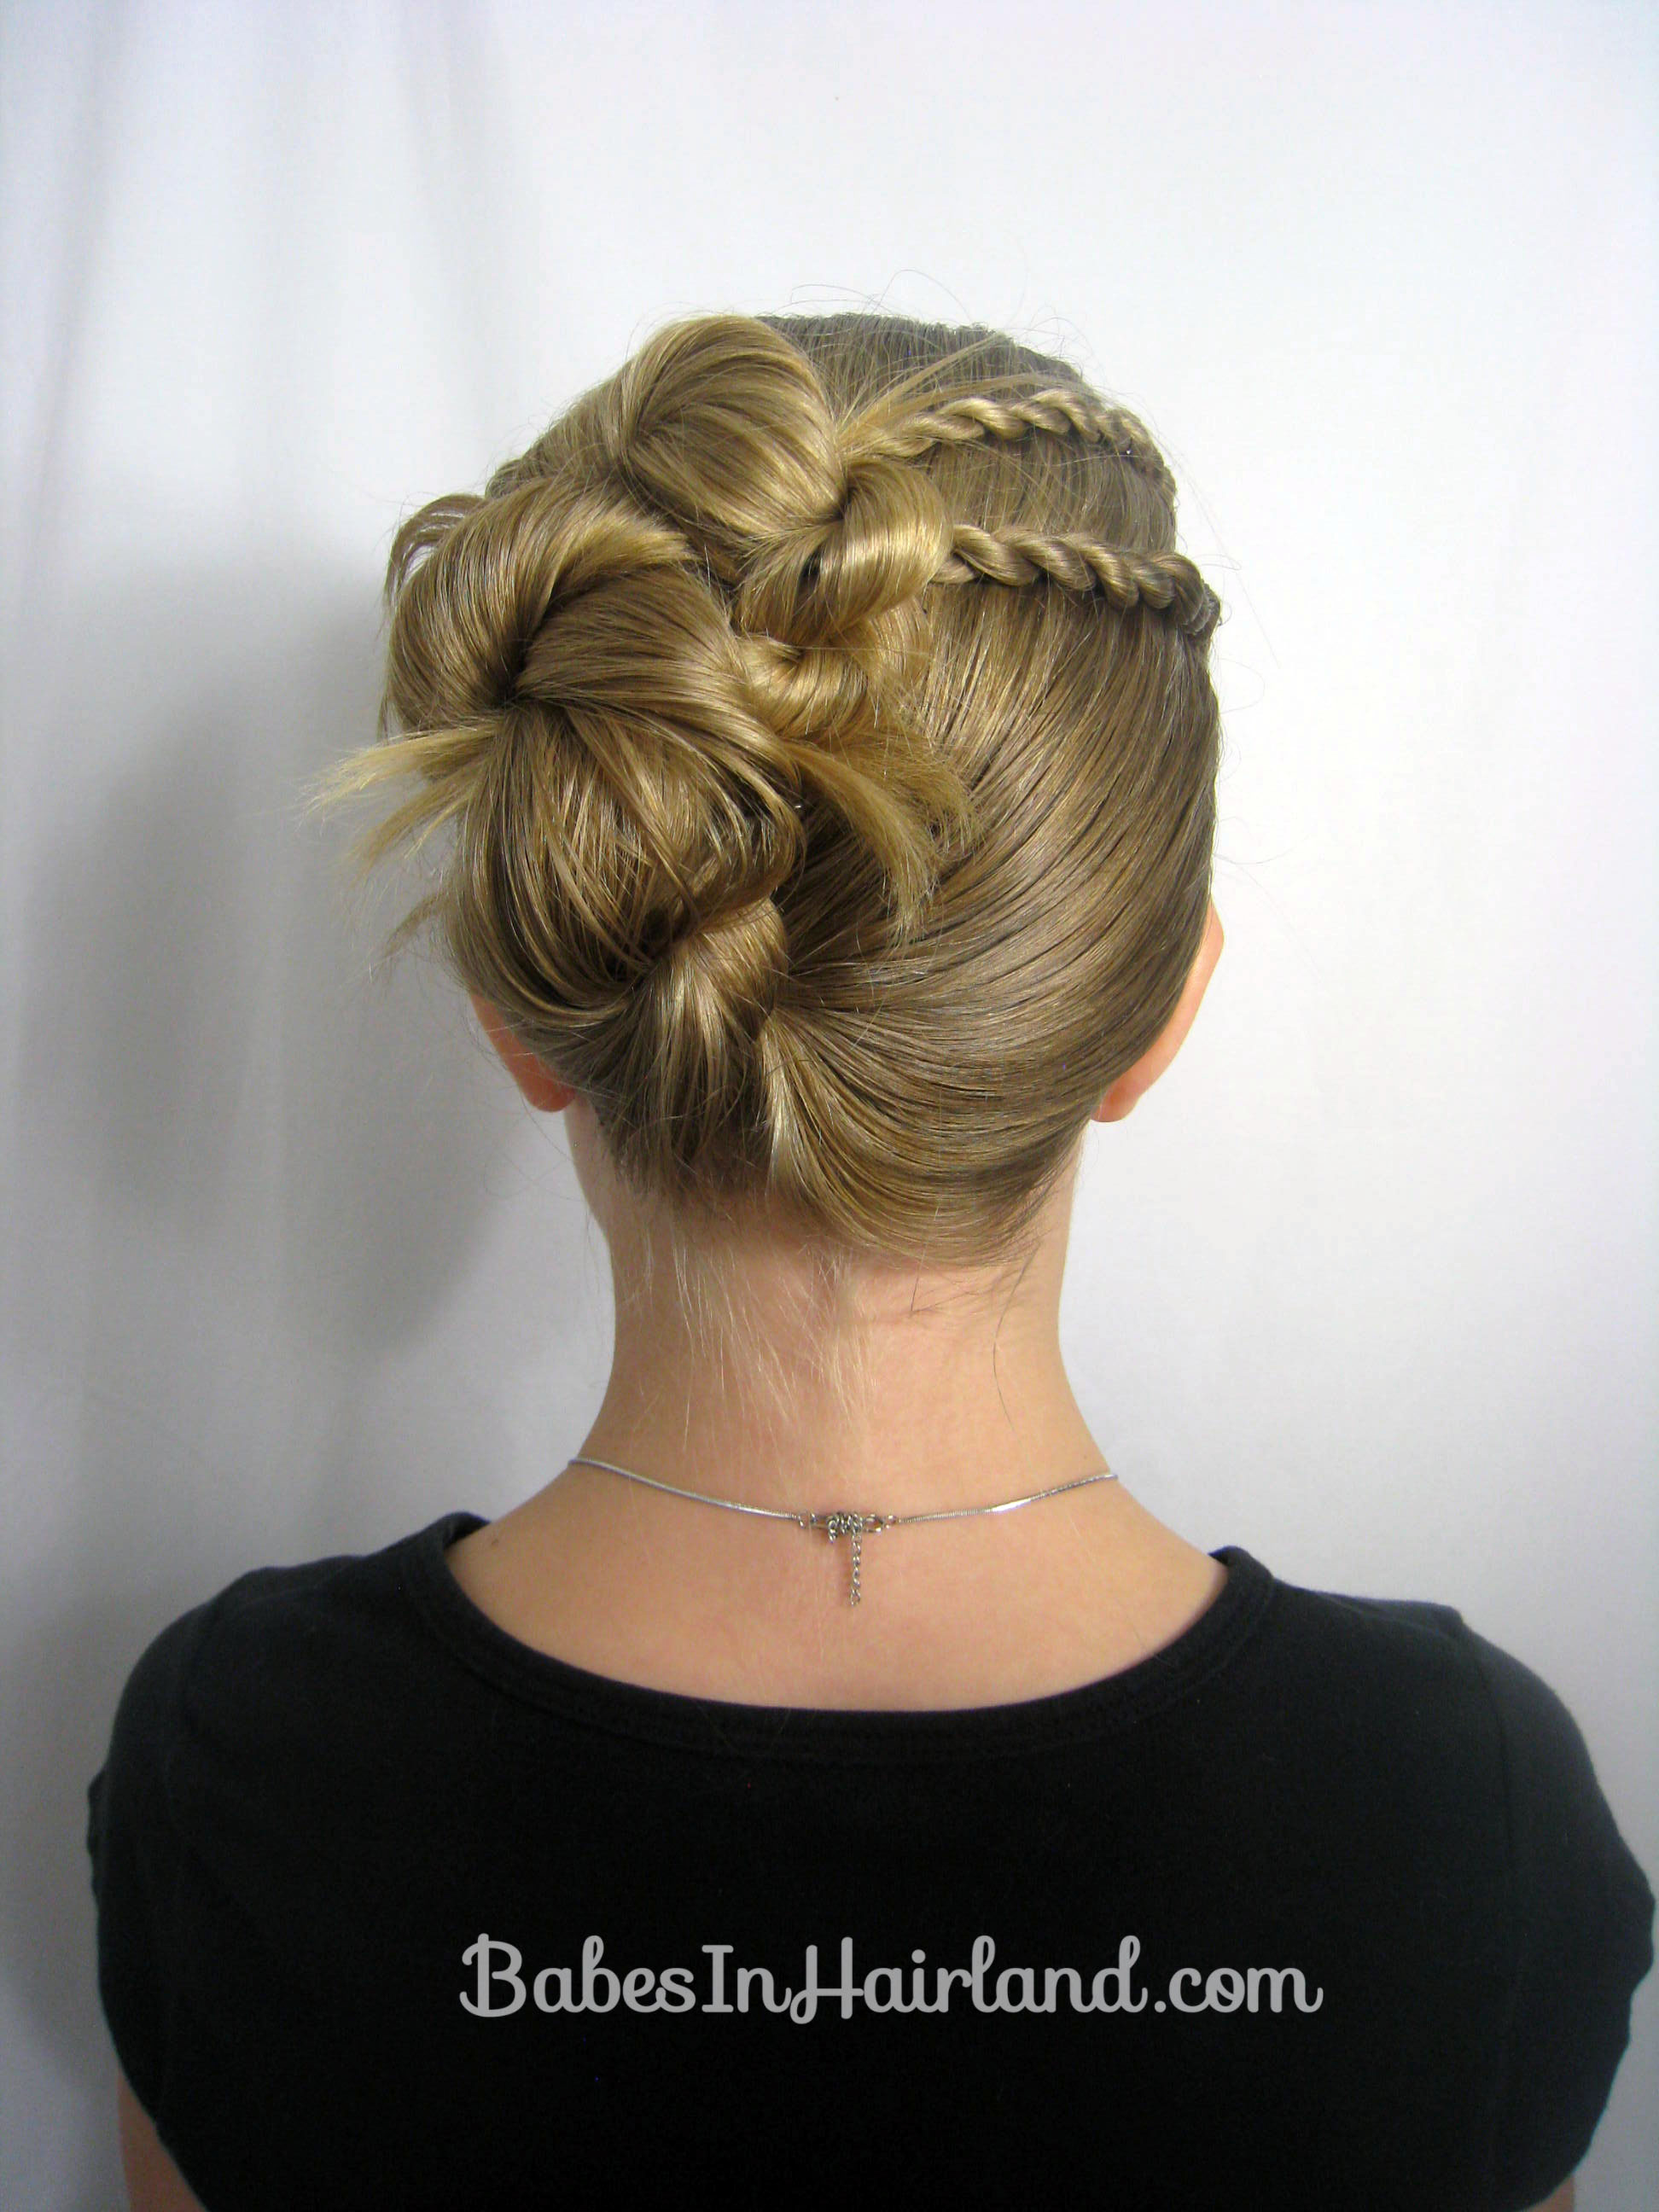
Step 8 – Make one big rope braid with remaining hair
Make sure you pull this off to the side below the smaller rope braid/twists. By doing that, hopefully you’ll get some hairs that stray out of the twist because the angle you are pulling it. (More on that in a minute.) Secure the end with an elastic.

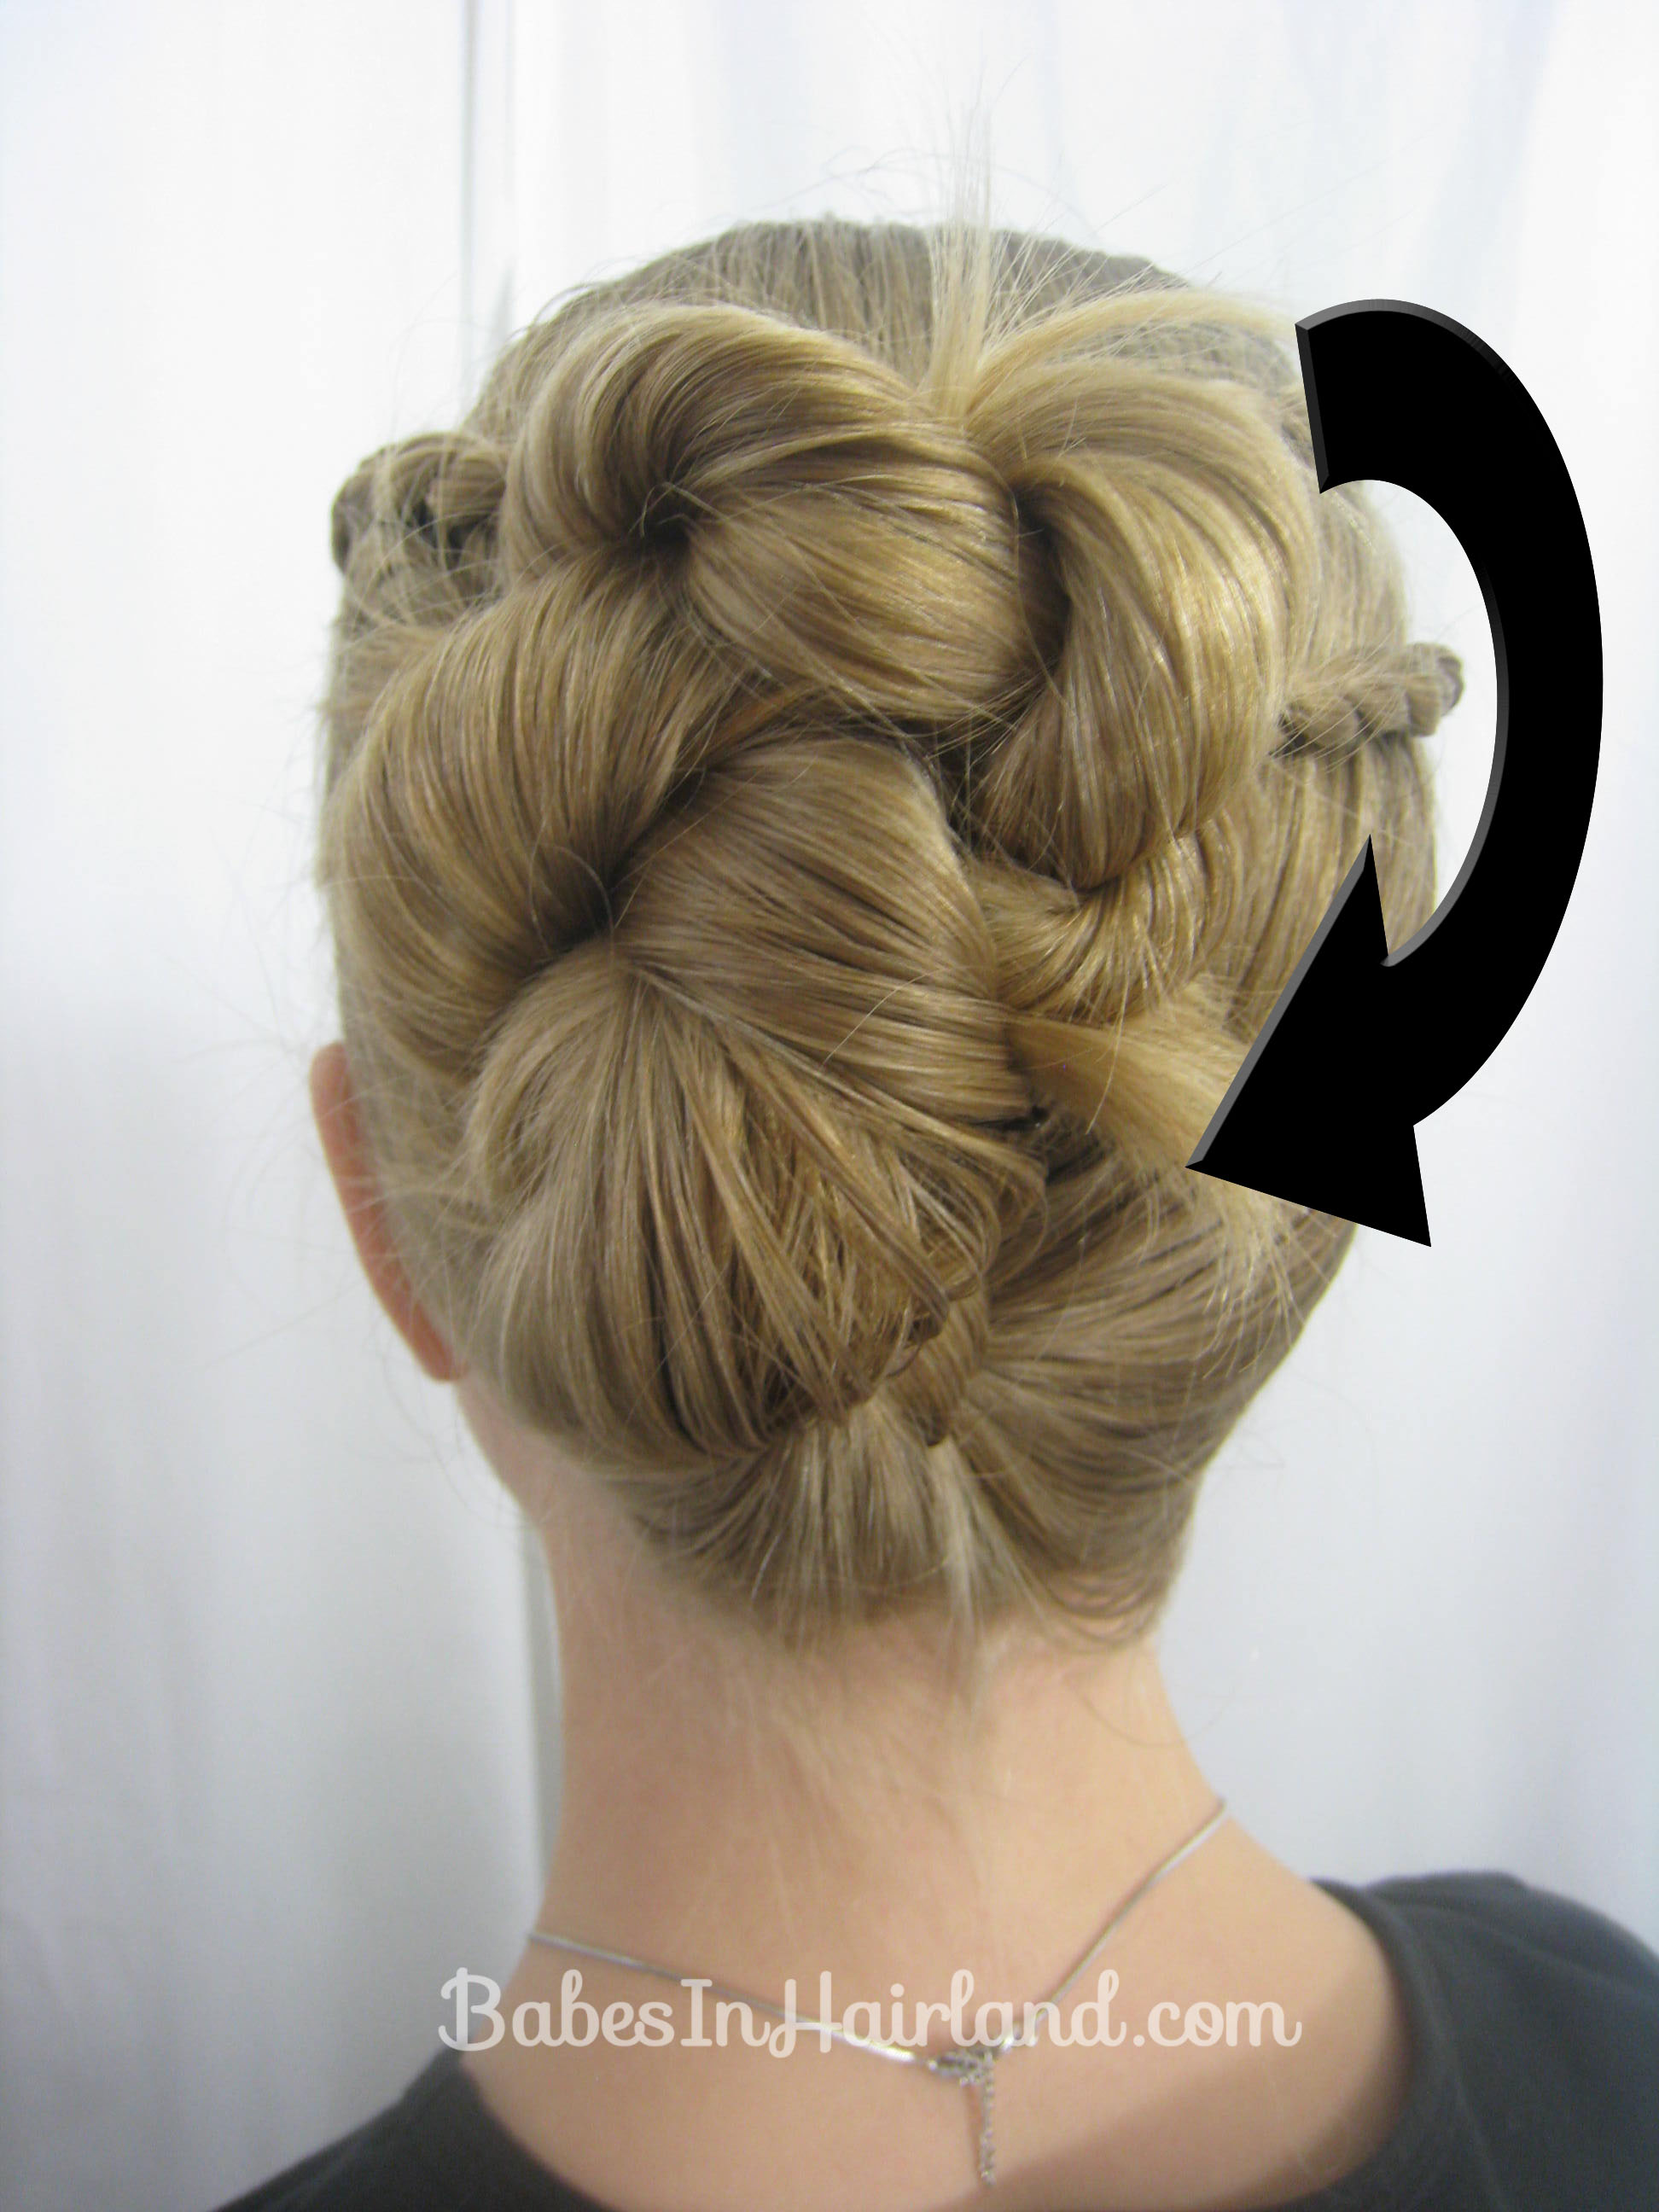
Step 9 – Wrap the rope braid
Bring your rope braid up toward the elastics of the smaller rope braids. Secure with bobby pins so it hides those elastics.

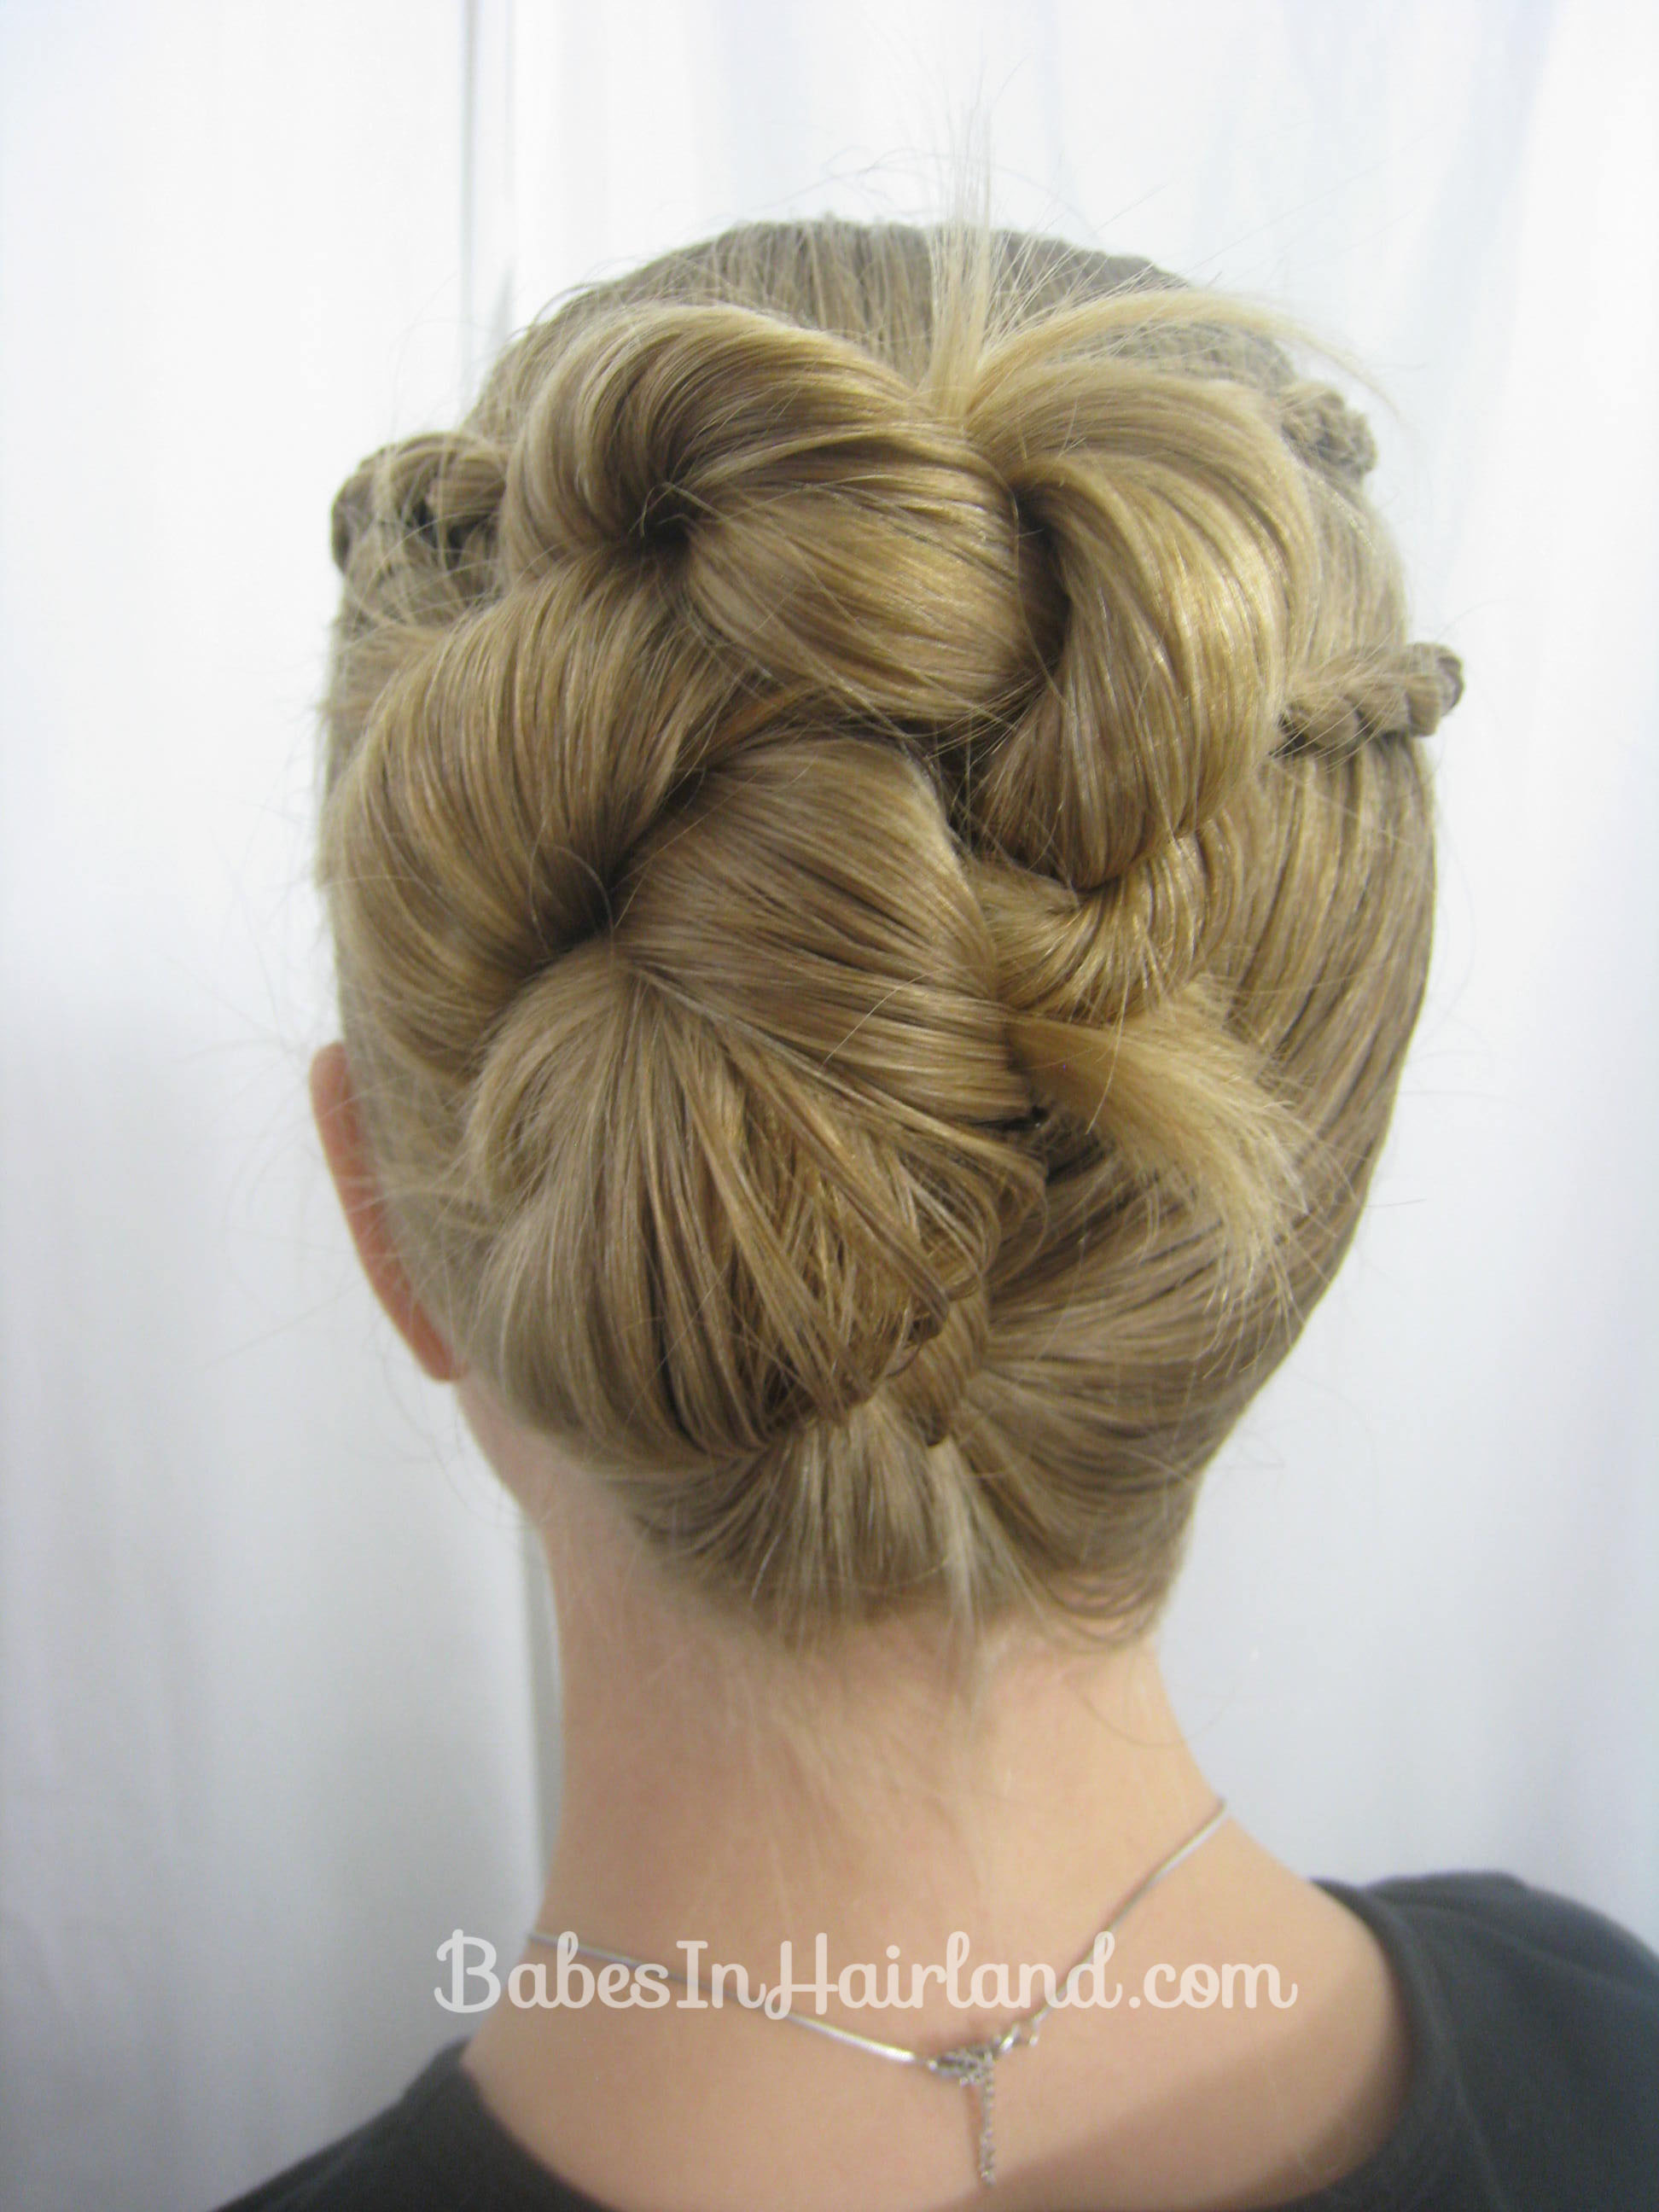
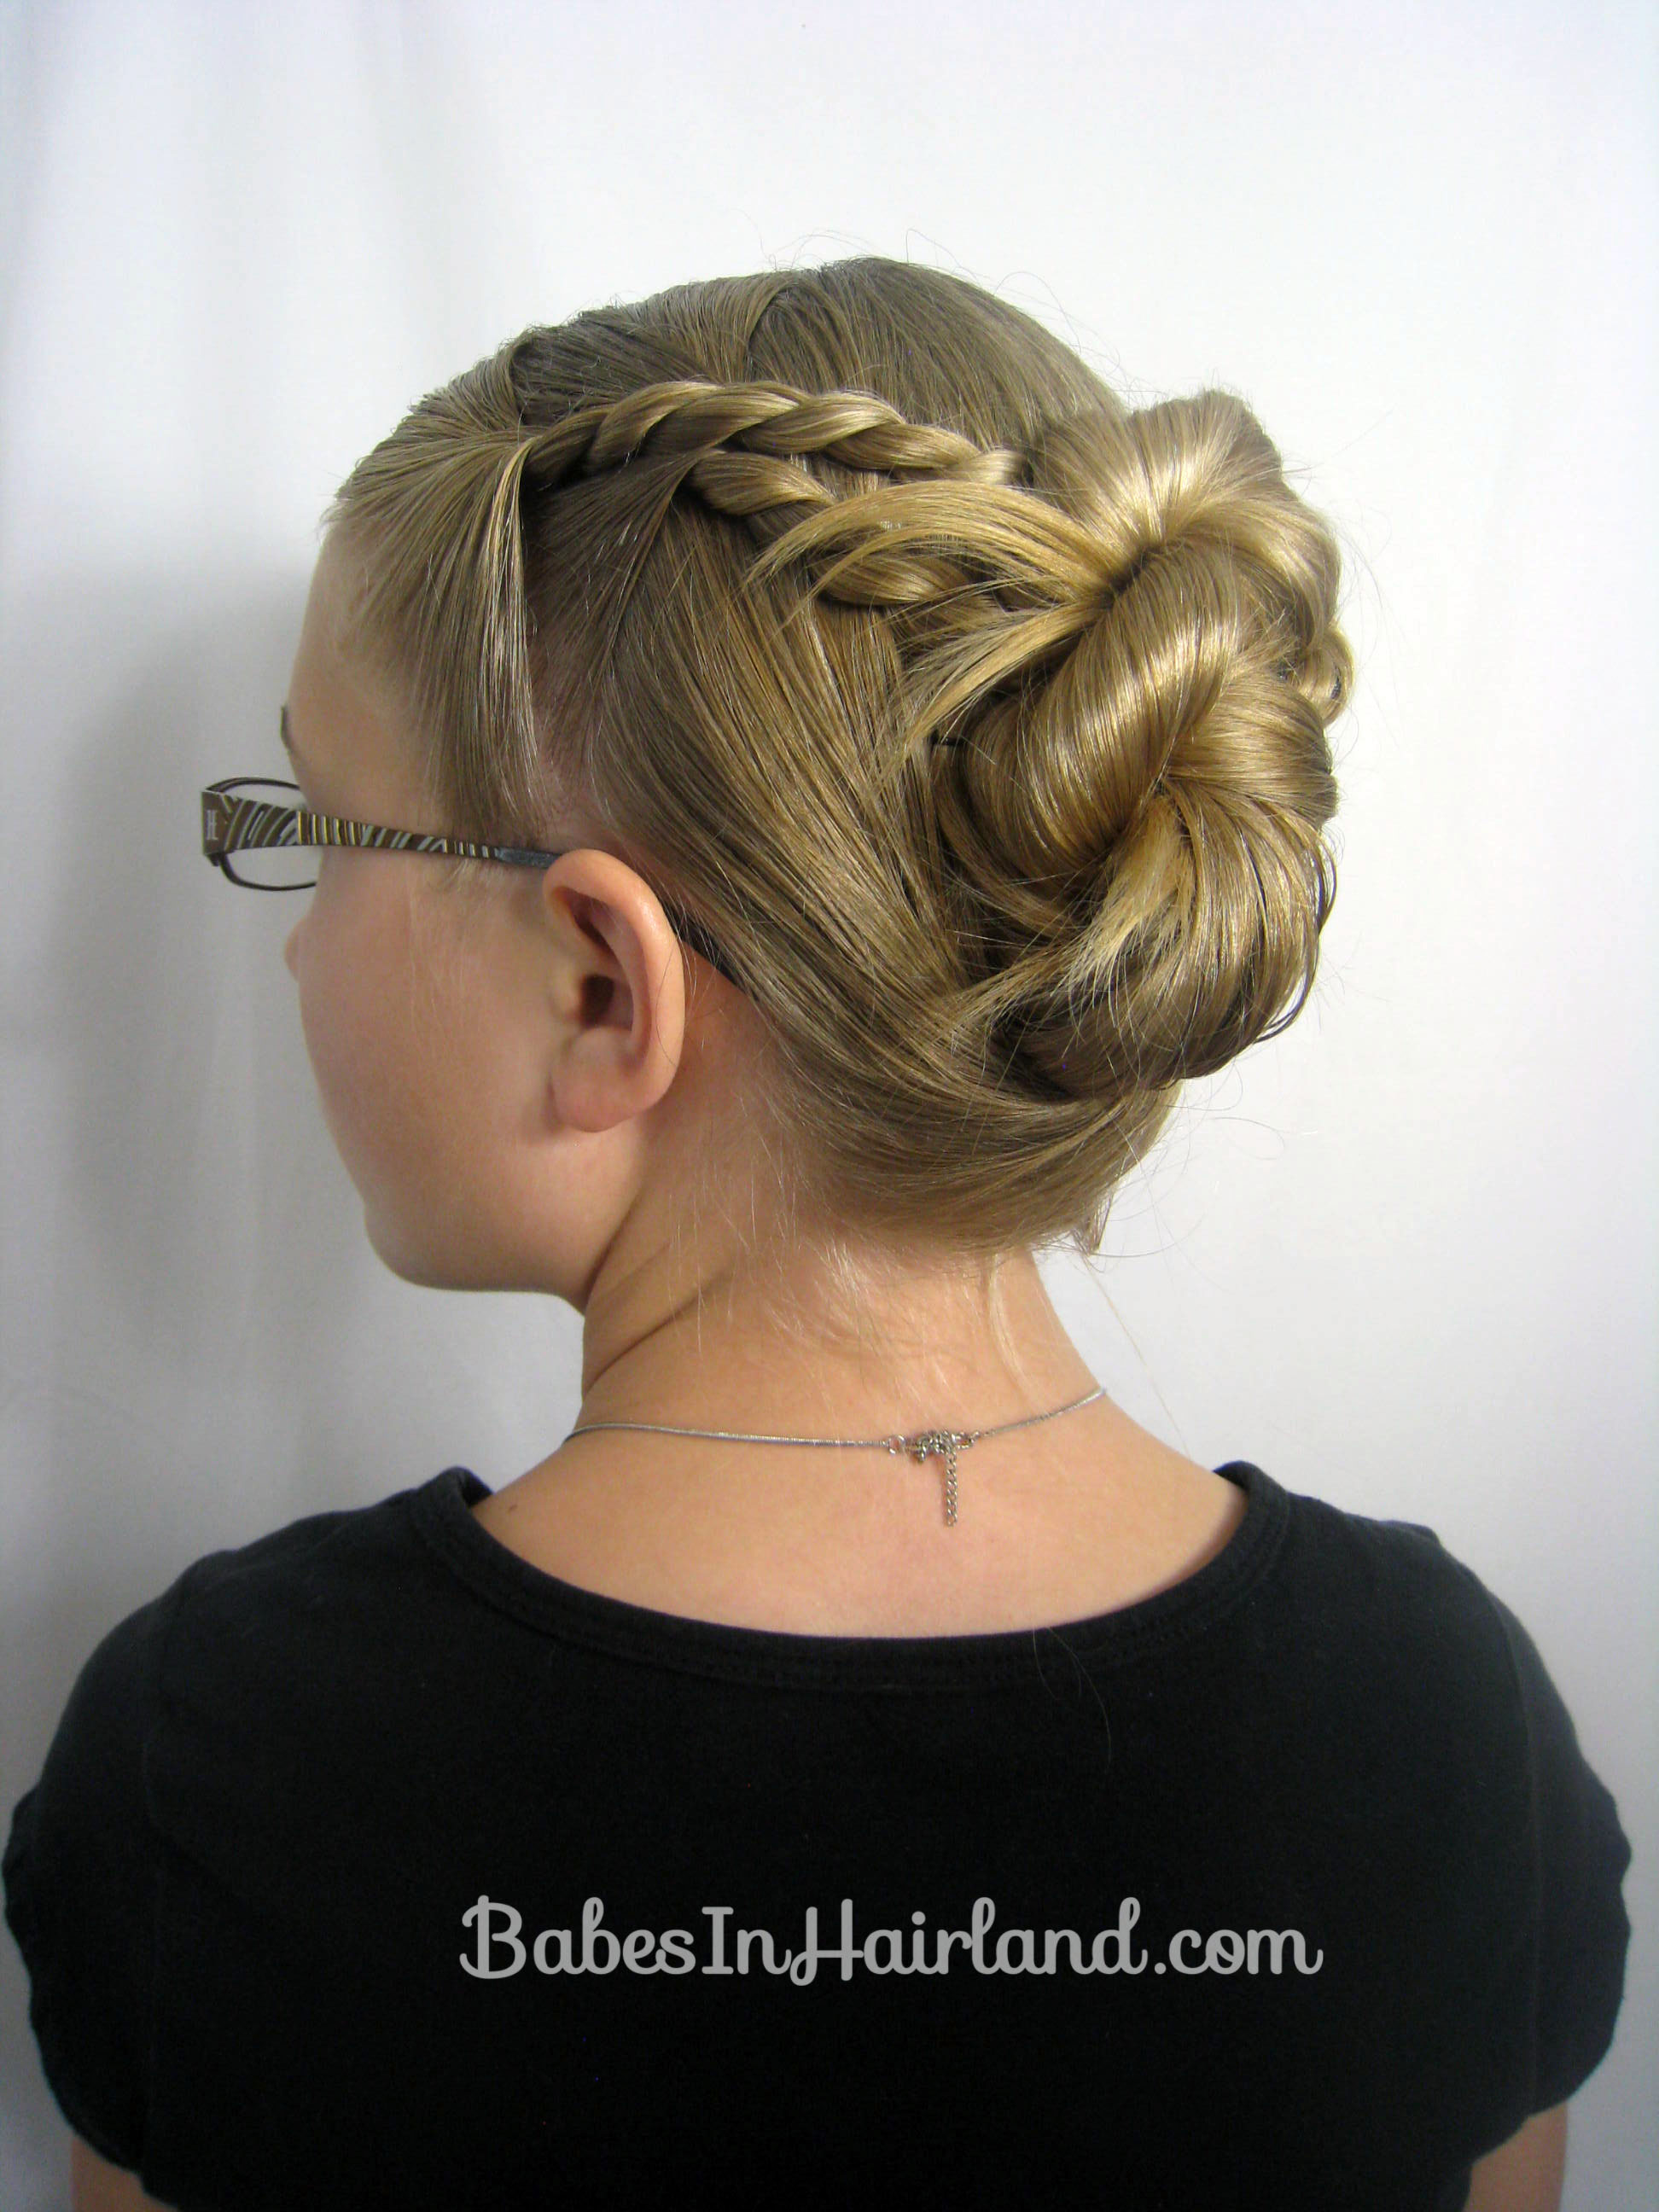
Step 10 – Hide the tail of your rope braid
It’s almost like I made the shape of the letter “P” when I did this. Bring the tail of the rope braid back toward the base of it & tuck it behind & secure with bobby pins as needed. Depending on the length of hair you’re working with will make the look you get vary. Let all the loose hairs stick out if you get those!

Step 11 – (Optional) Pull out shorter hairs & add a bit of product so they “spray” out.
We decided to embrace the fact that her hair wasn’t going to twist all neat & clean in the last part of the style. So we made sure to pull those short hairs out make it a little “messier”.


