
Micro Feather Braid Pullback & Book Signing
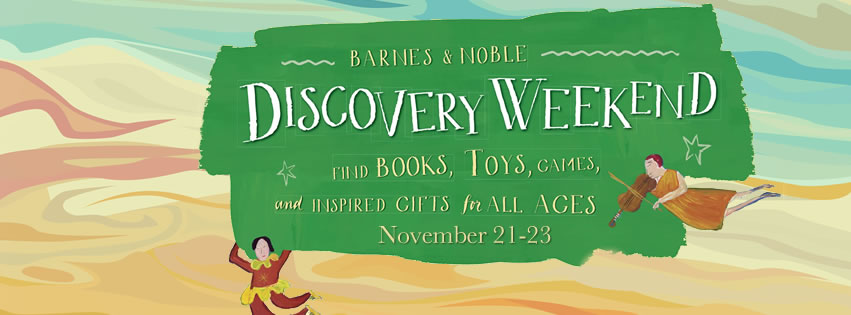
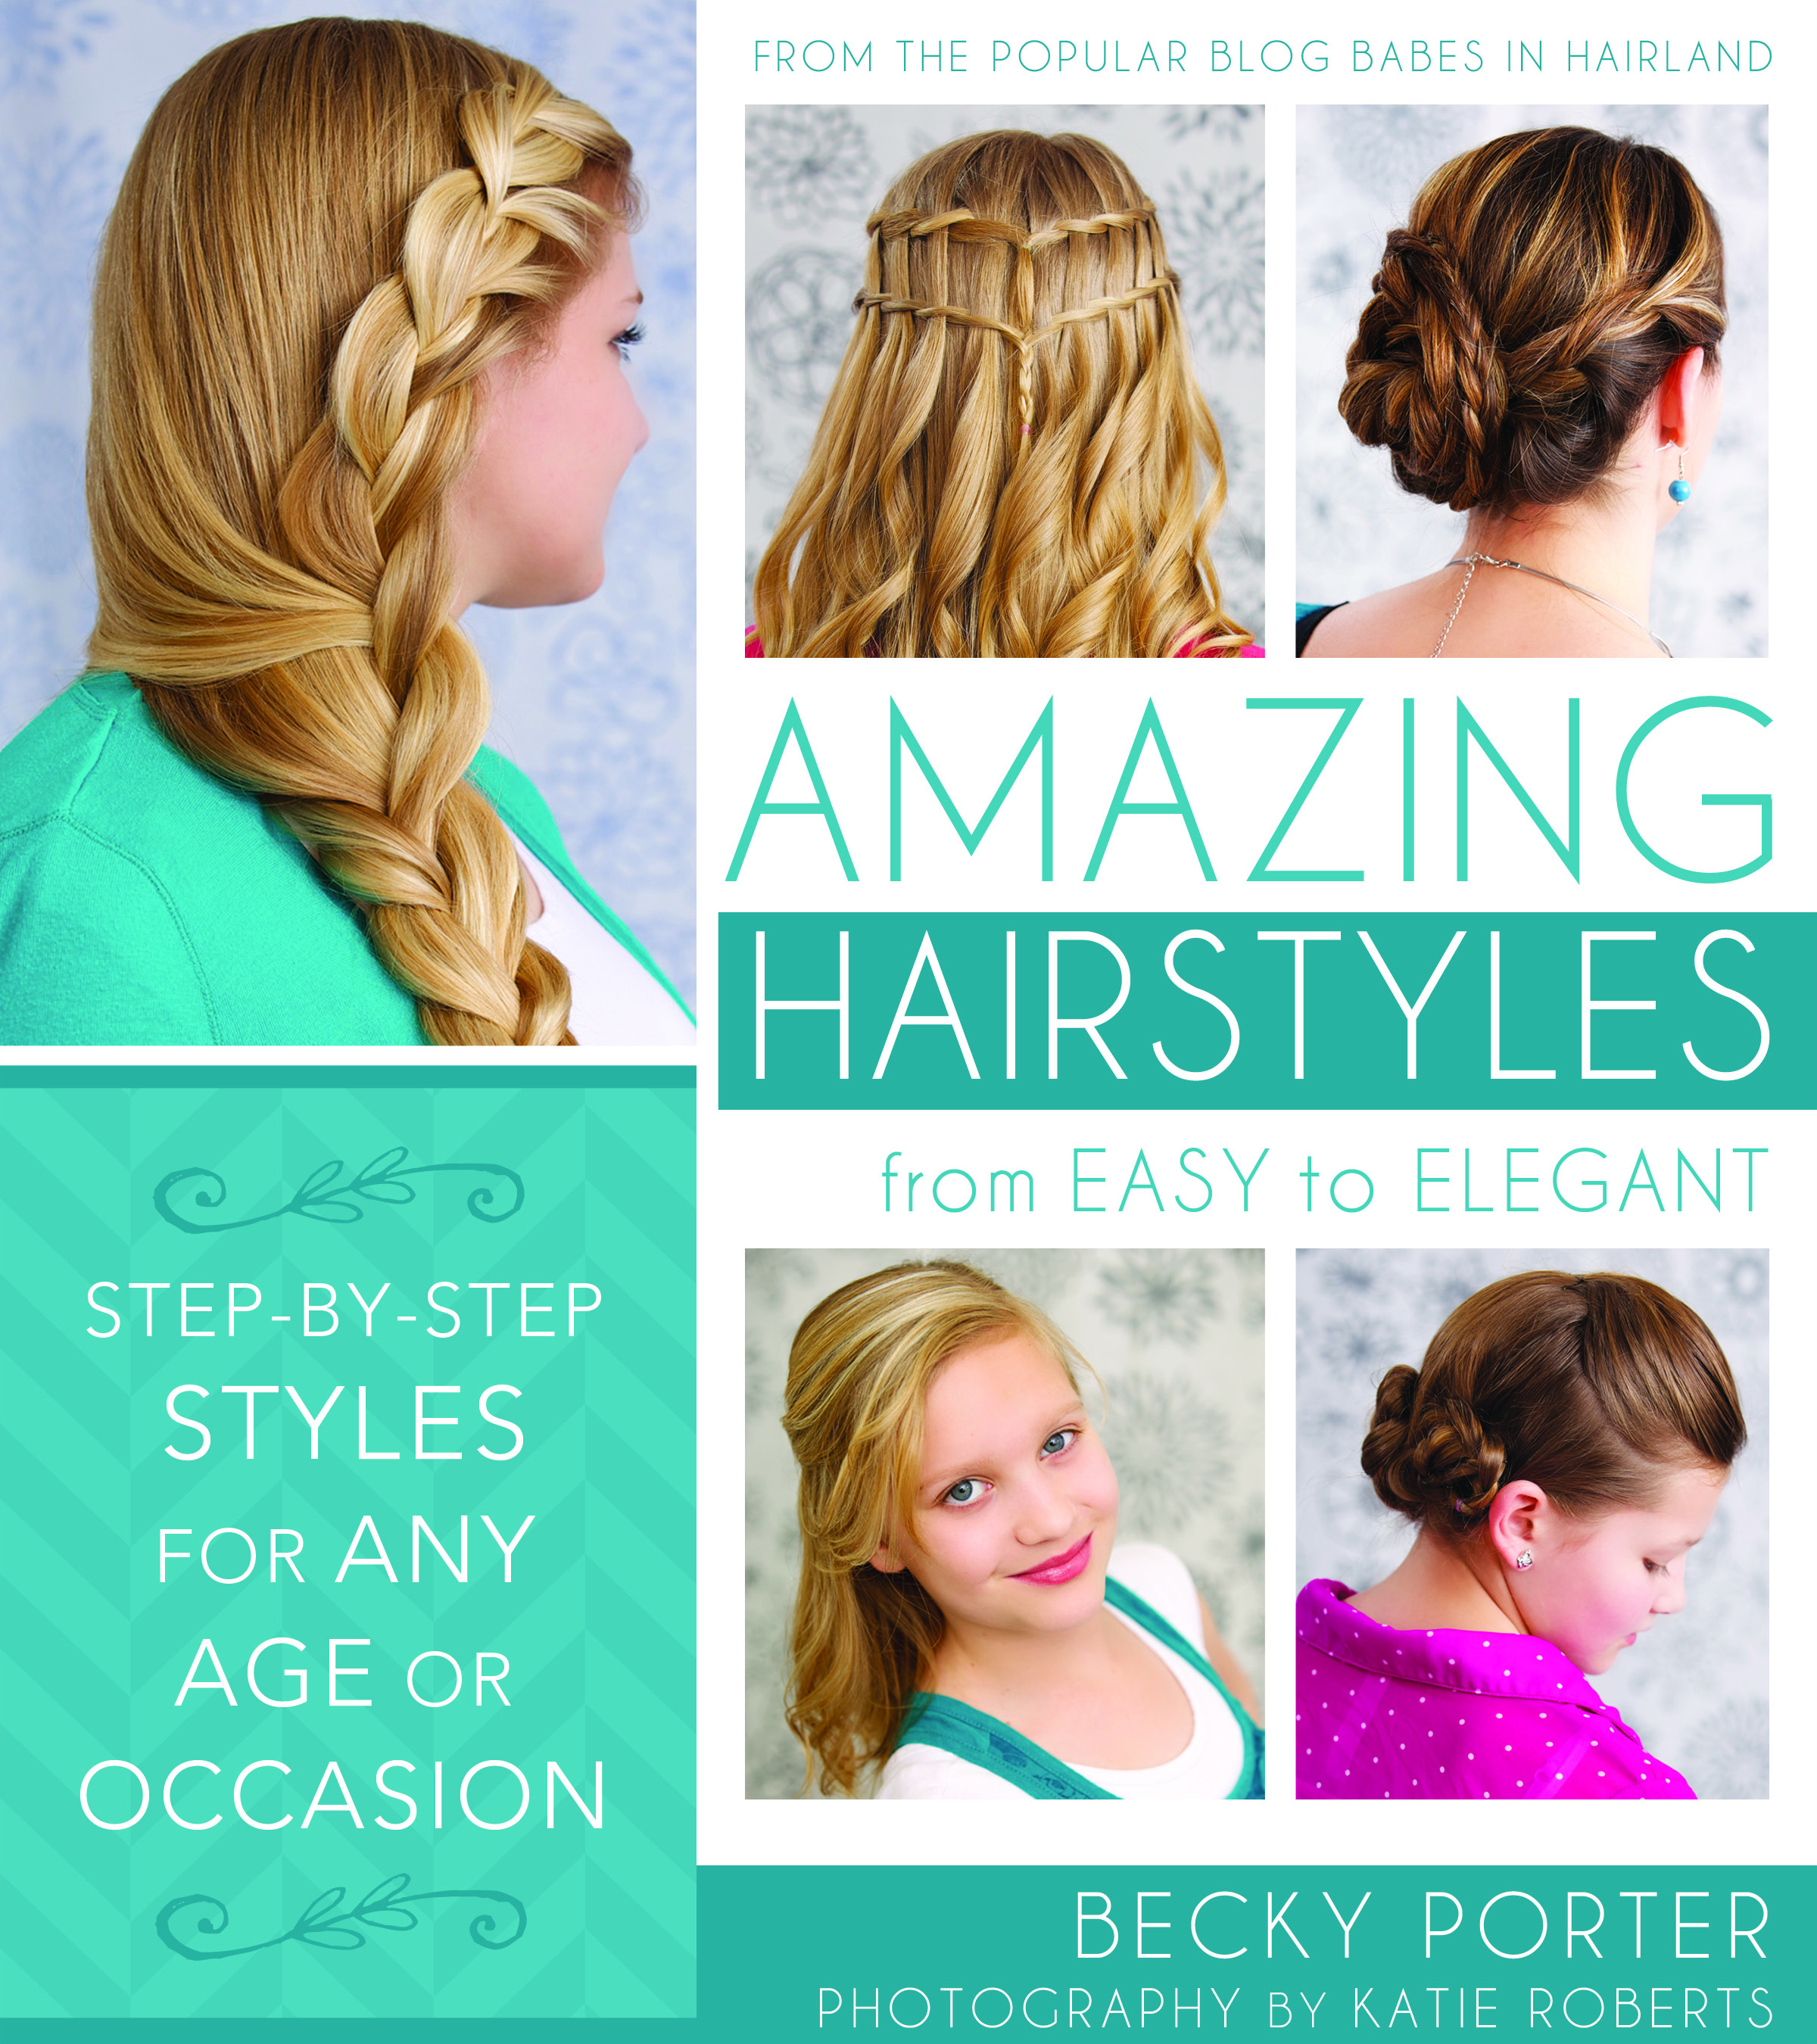
Before we get to our gorgeous style today, I just wanted to let anyone that might be local that we’re having our first book signing this weekend & we’d love it if you stopped by! If you’ve already bought our book Amazing Hairstyles: from Easy to Elegant


If you’re not local, our book Amazing Hairstyles: from Easy to Elegant
Also, real quickly, before we get to our tutorial, we need to announce our winner from the Lilla Rose giveaway that ended last night. Thanks to everyone who entered and to Misty from Lilla Rose for the giveaway!
CONGRATS to our winner:
Emilie — rubygirl***@*****.com — So check your e-mail Emilie!
Don’t forget — Misty is offering you a “Buy 3 get 1 Free” offer through 11/20/14. If you place an order of 3 items from her site then email her the item number ([email protected]) of the free item you’d like (up to $16 retail value). Awesome! You can see the winner announced in the widget at the end of the Lilla Rose post, as well.
* ~ * ~ * ~ * ~ * ~*

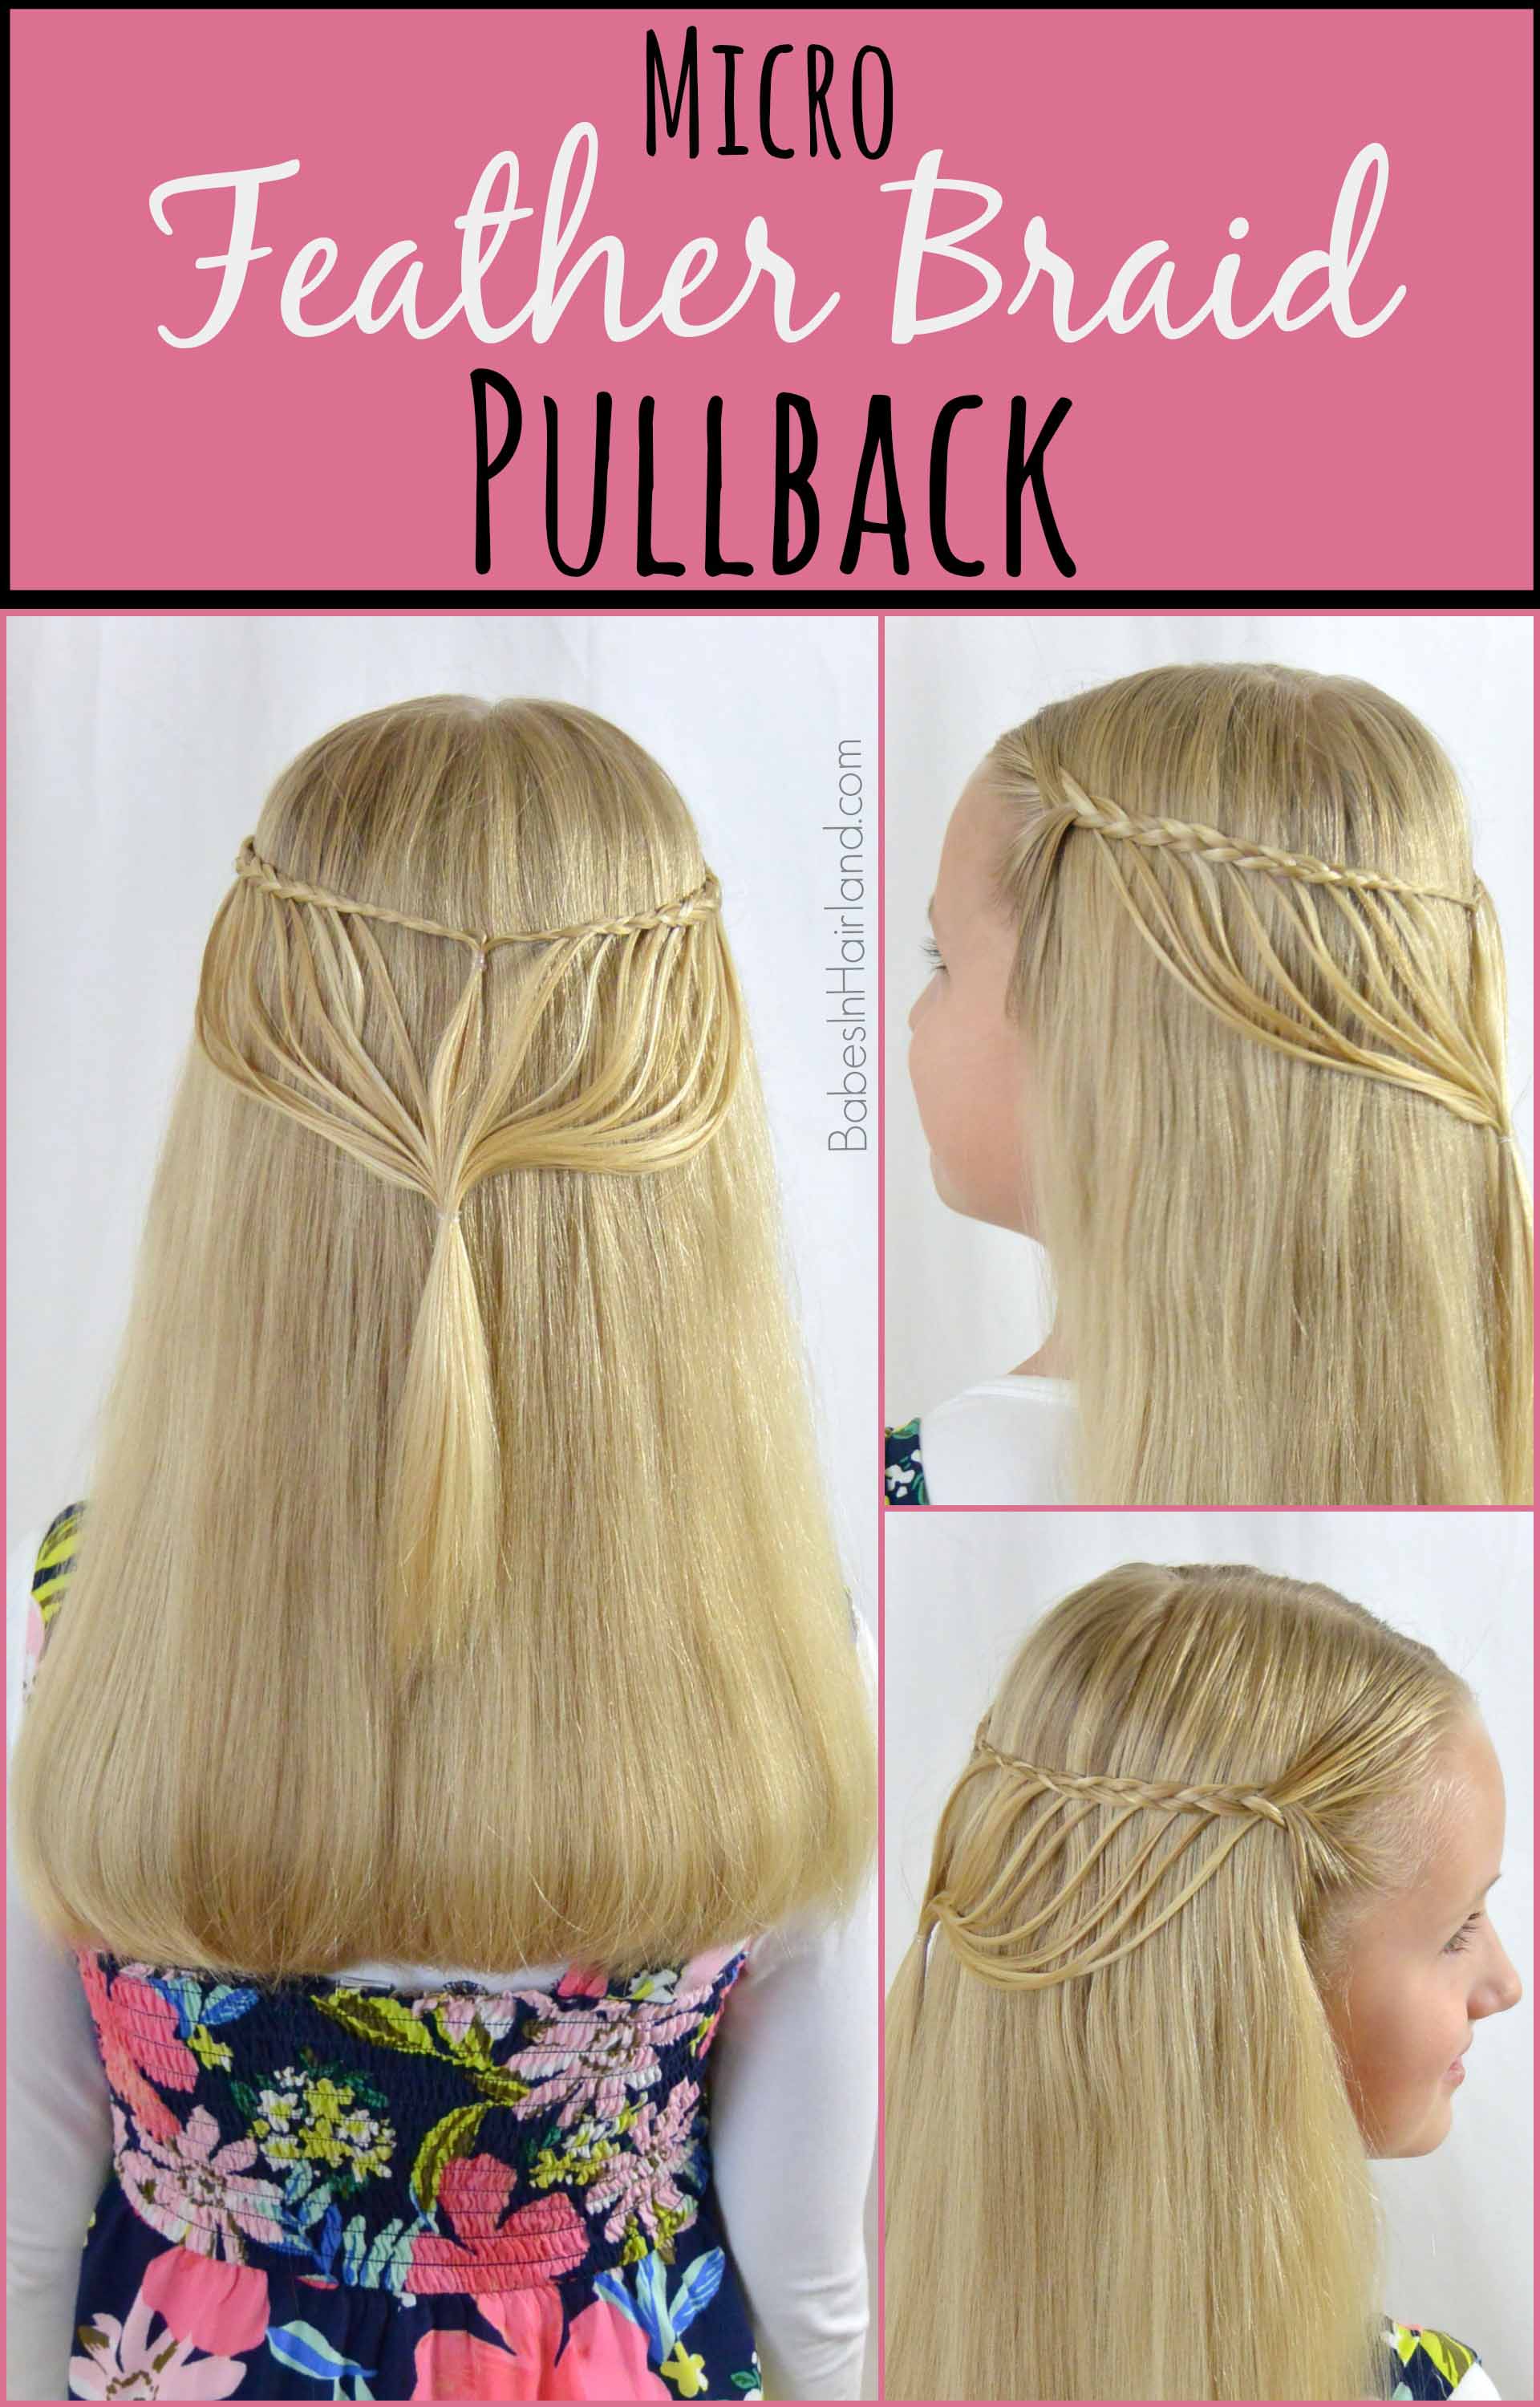
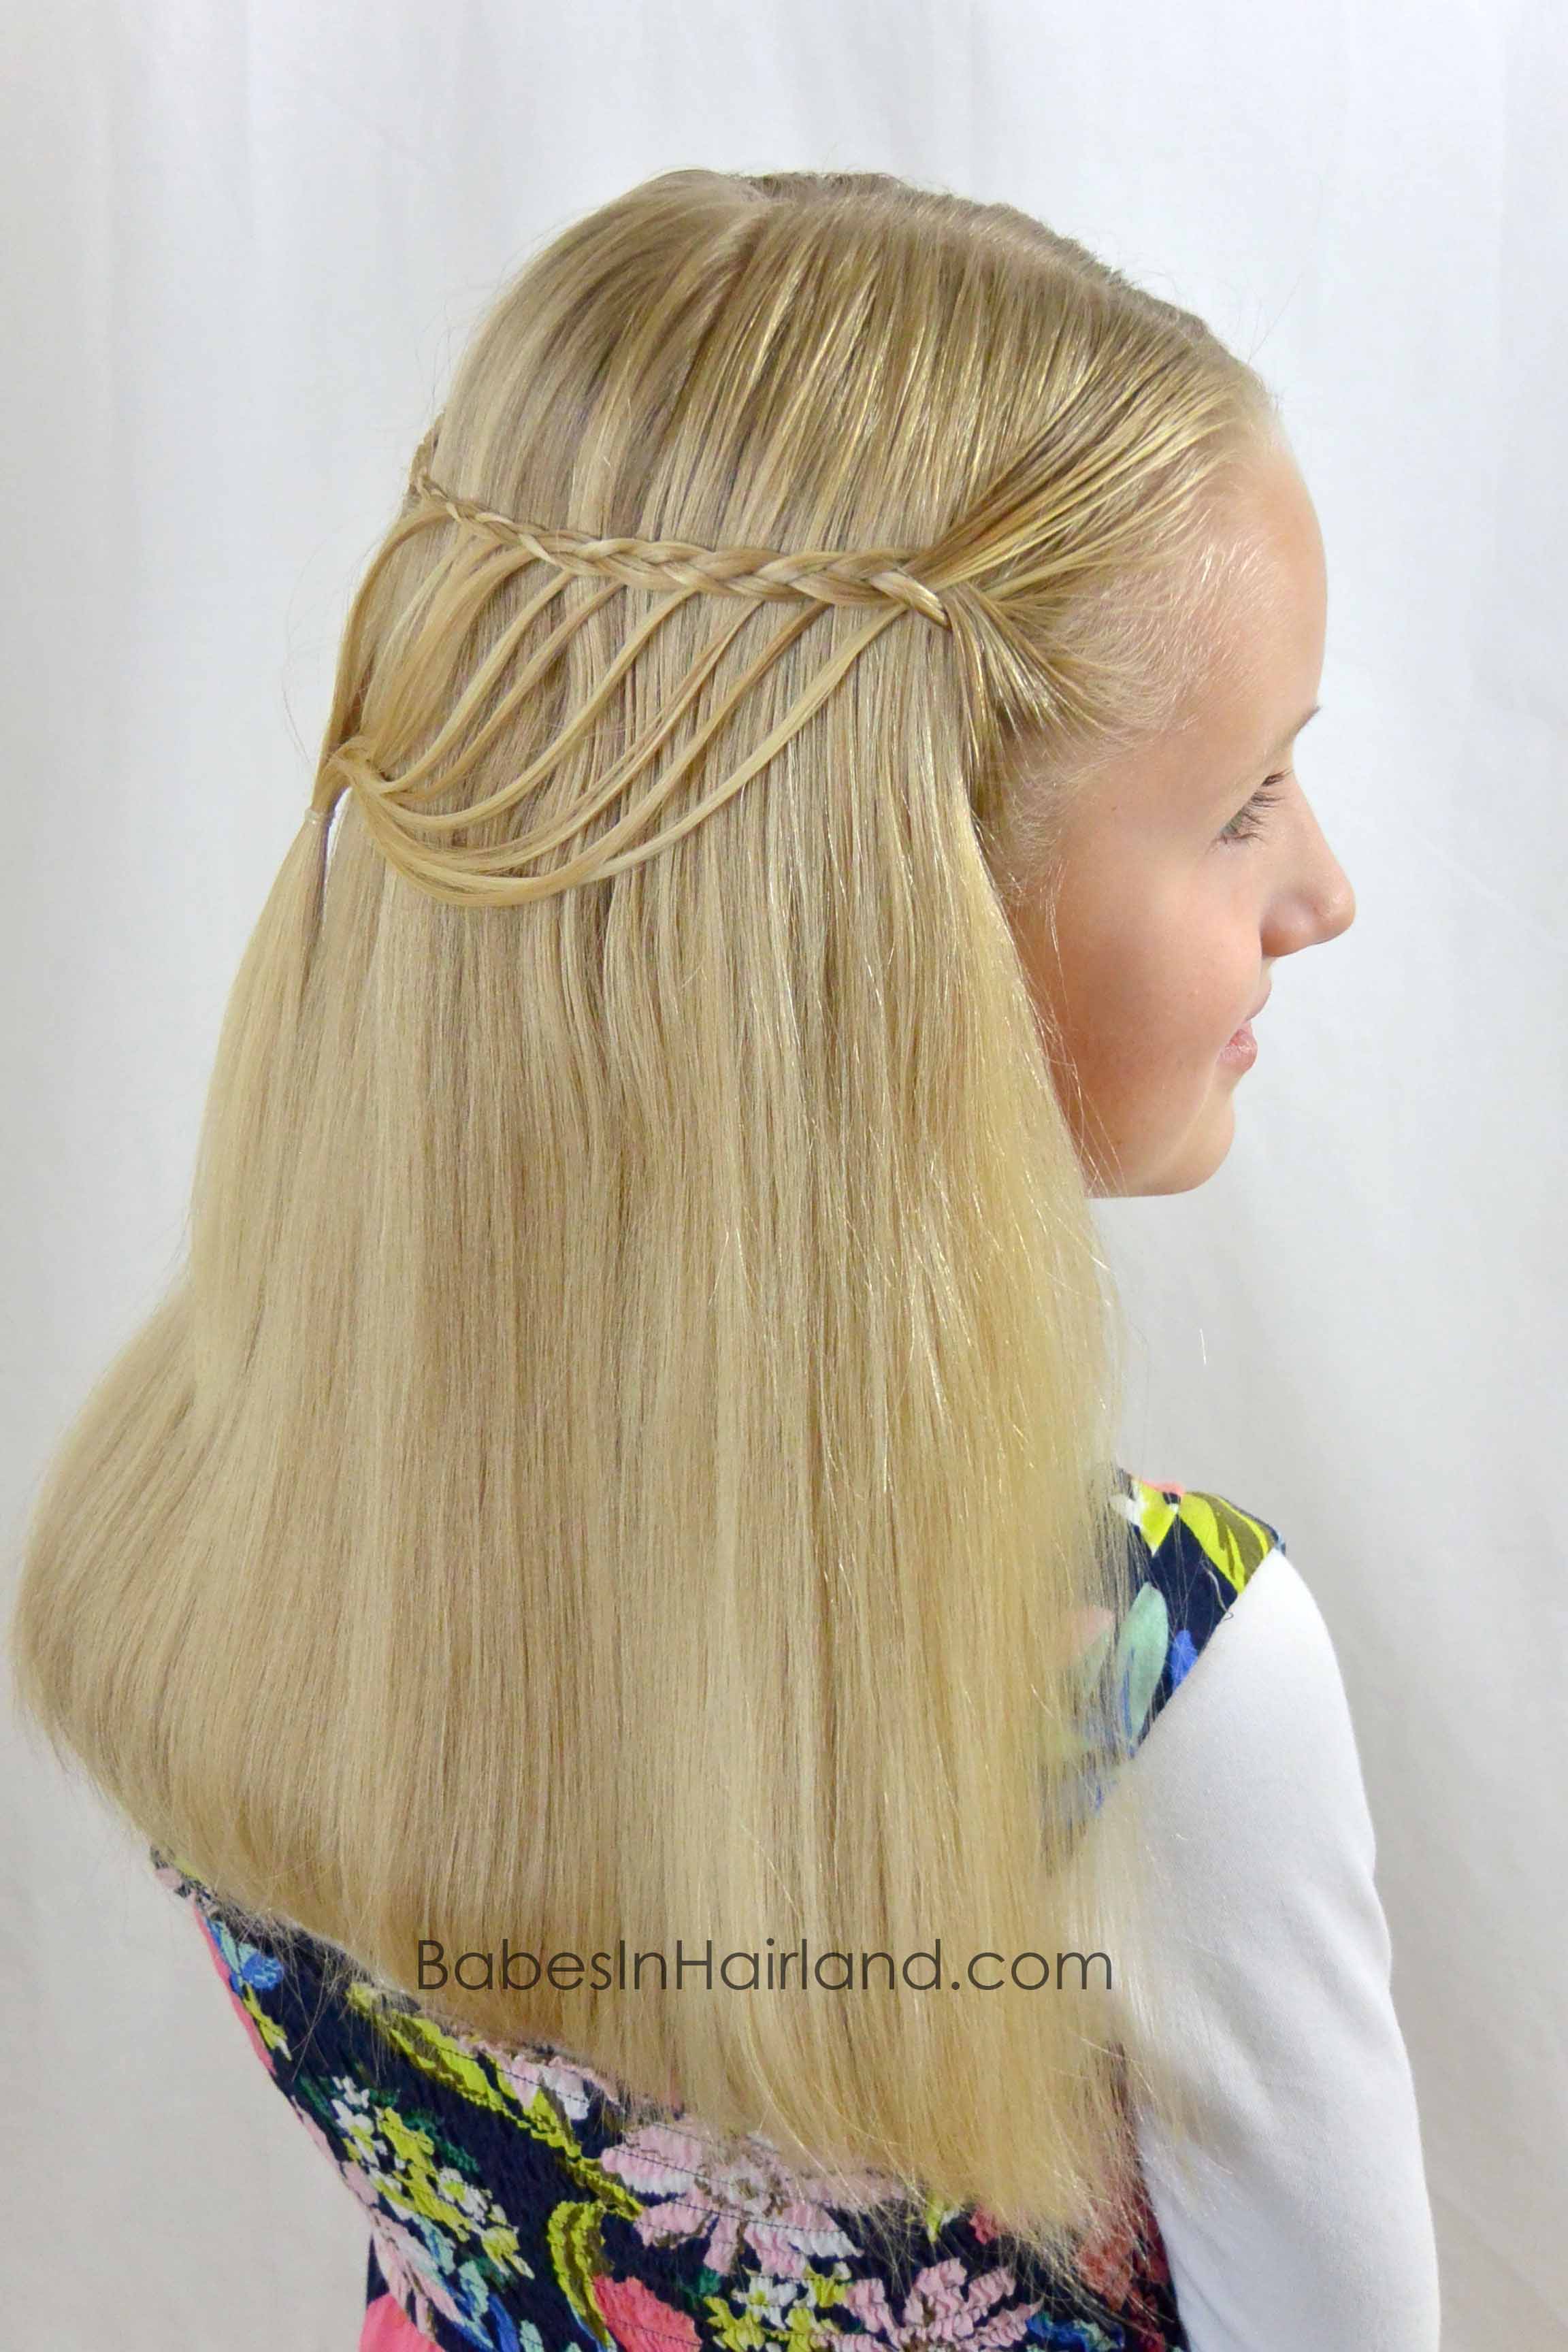
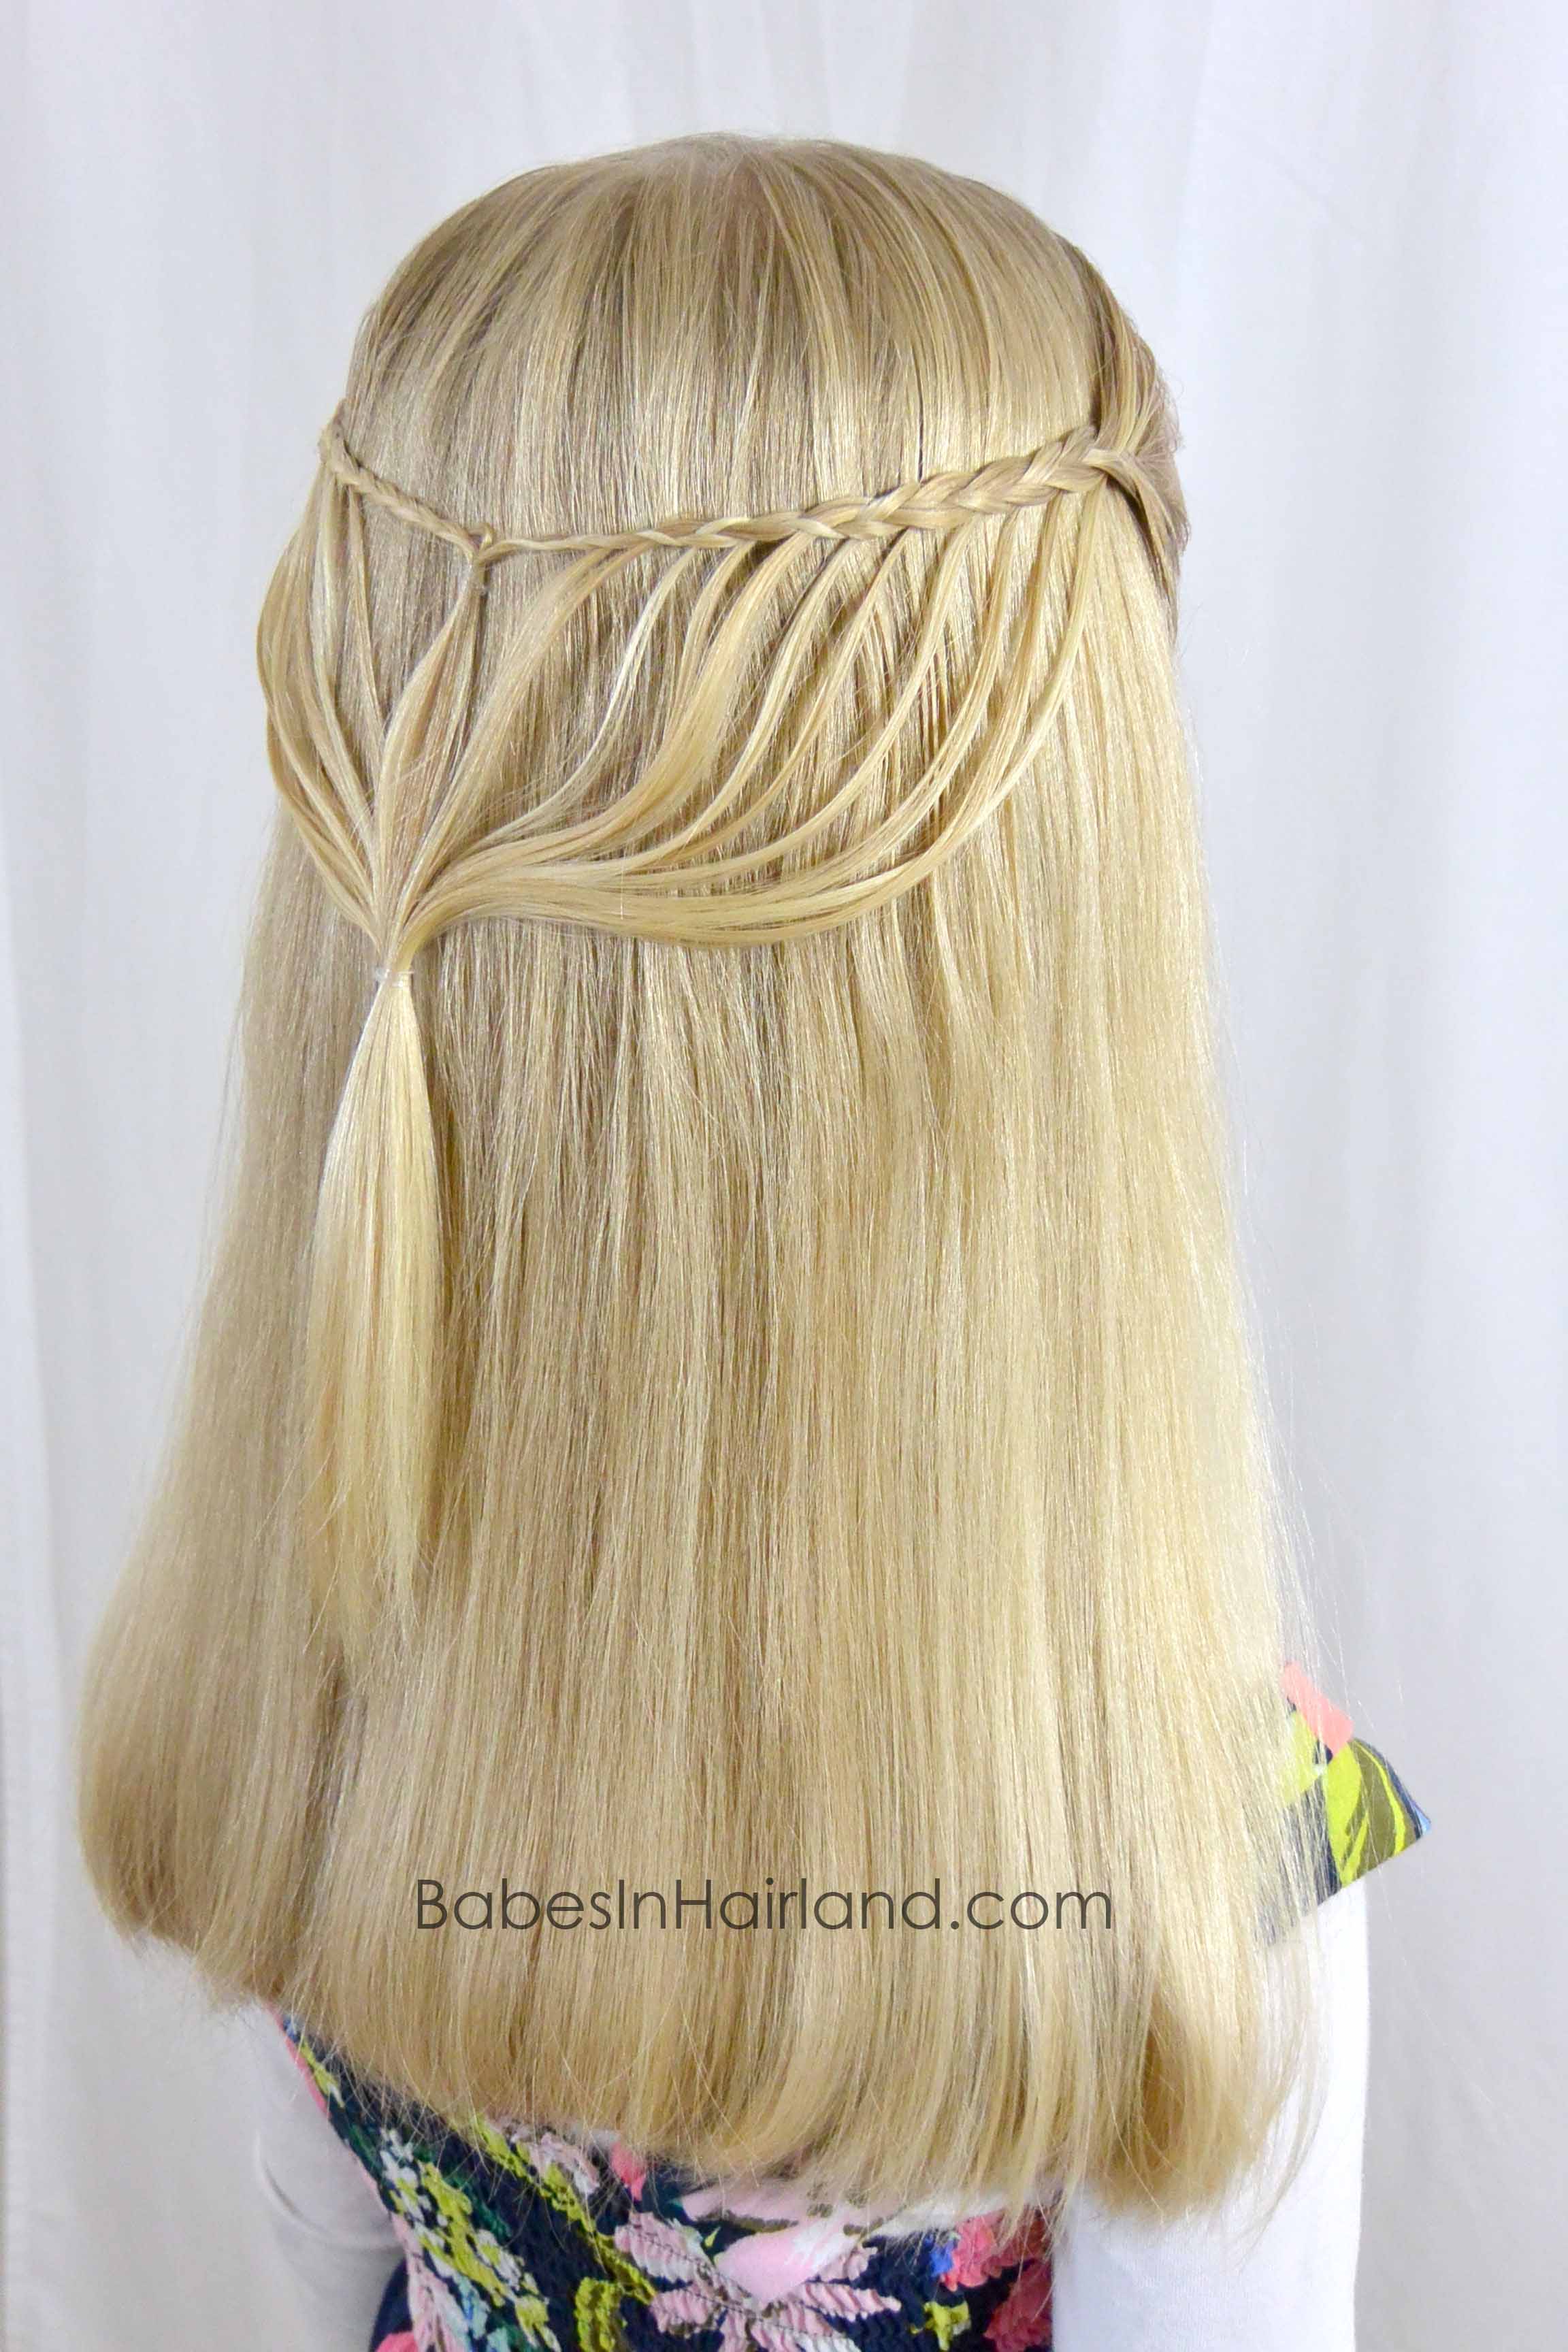
Ok, enough business! On to our beautiful hairstyle for today. Years ago we’d posted a tutorial on how to create a feather braid and done the braid in a ponytail. We’d feathered both sides of the braid & then wrapped it up into a gorgeous feather braided bun. We’ve also done some other awesome styles using feather braids. But today we’re simply using the feathers to create a beautiful intricate looking hairstyle. It looks amazing, but is fairly simple. Watch our video to see how it’s done.

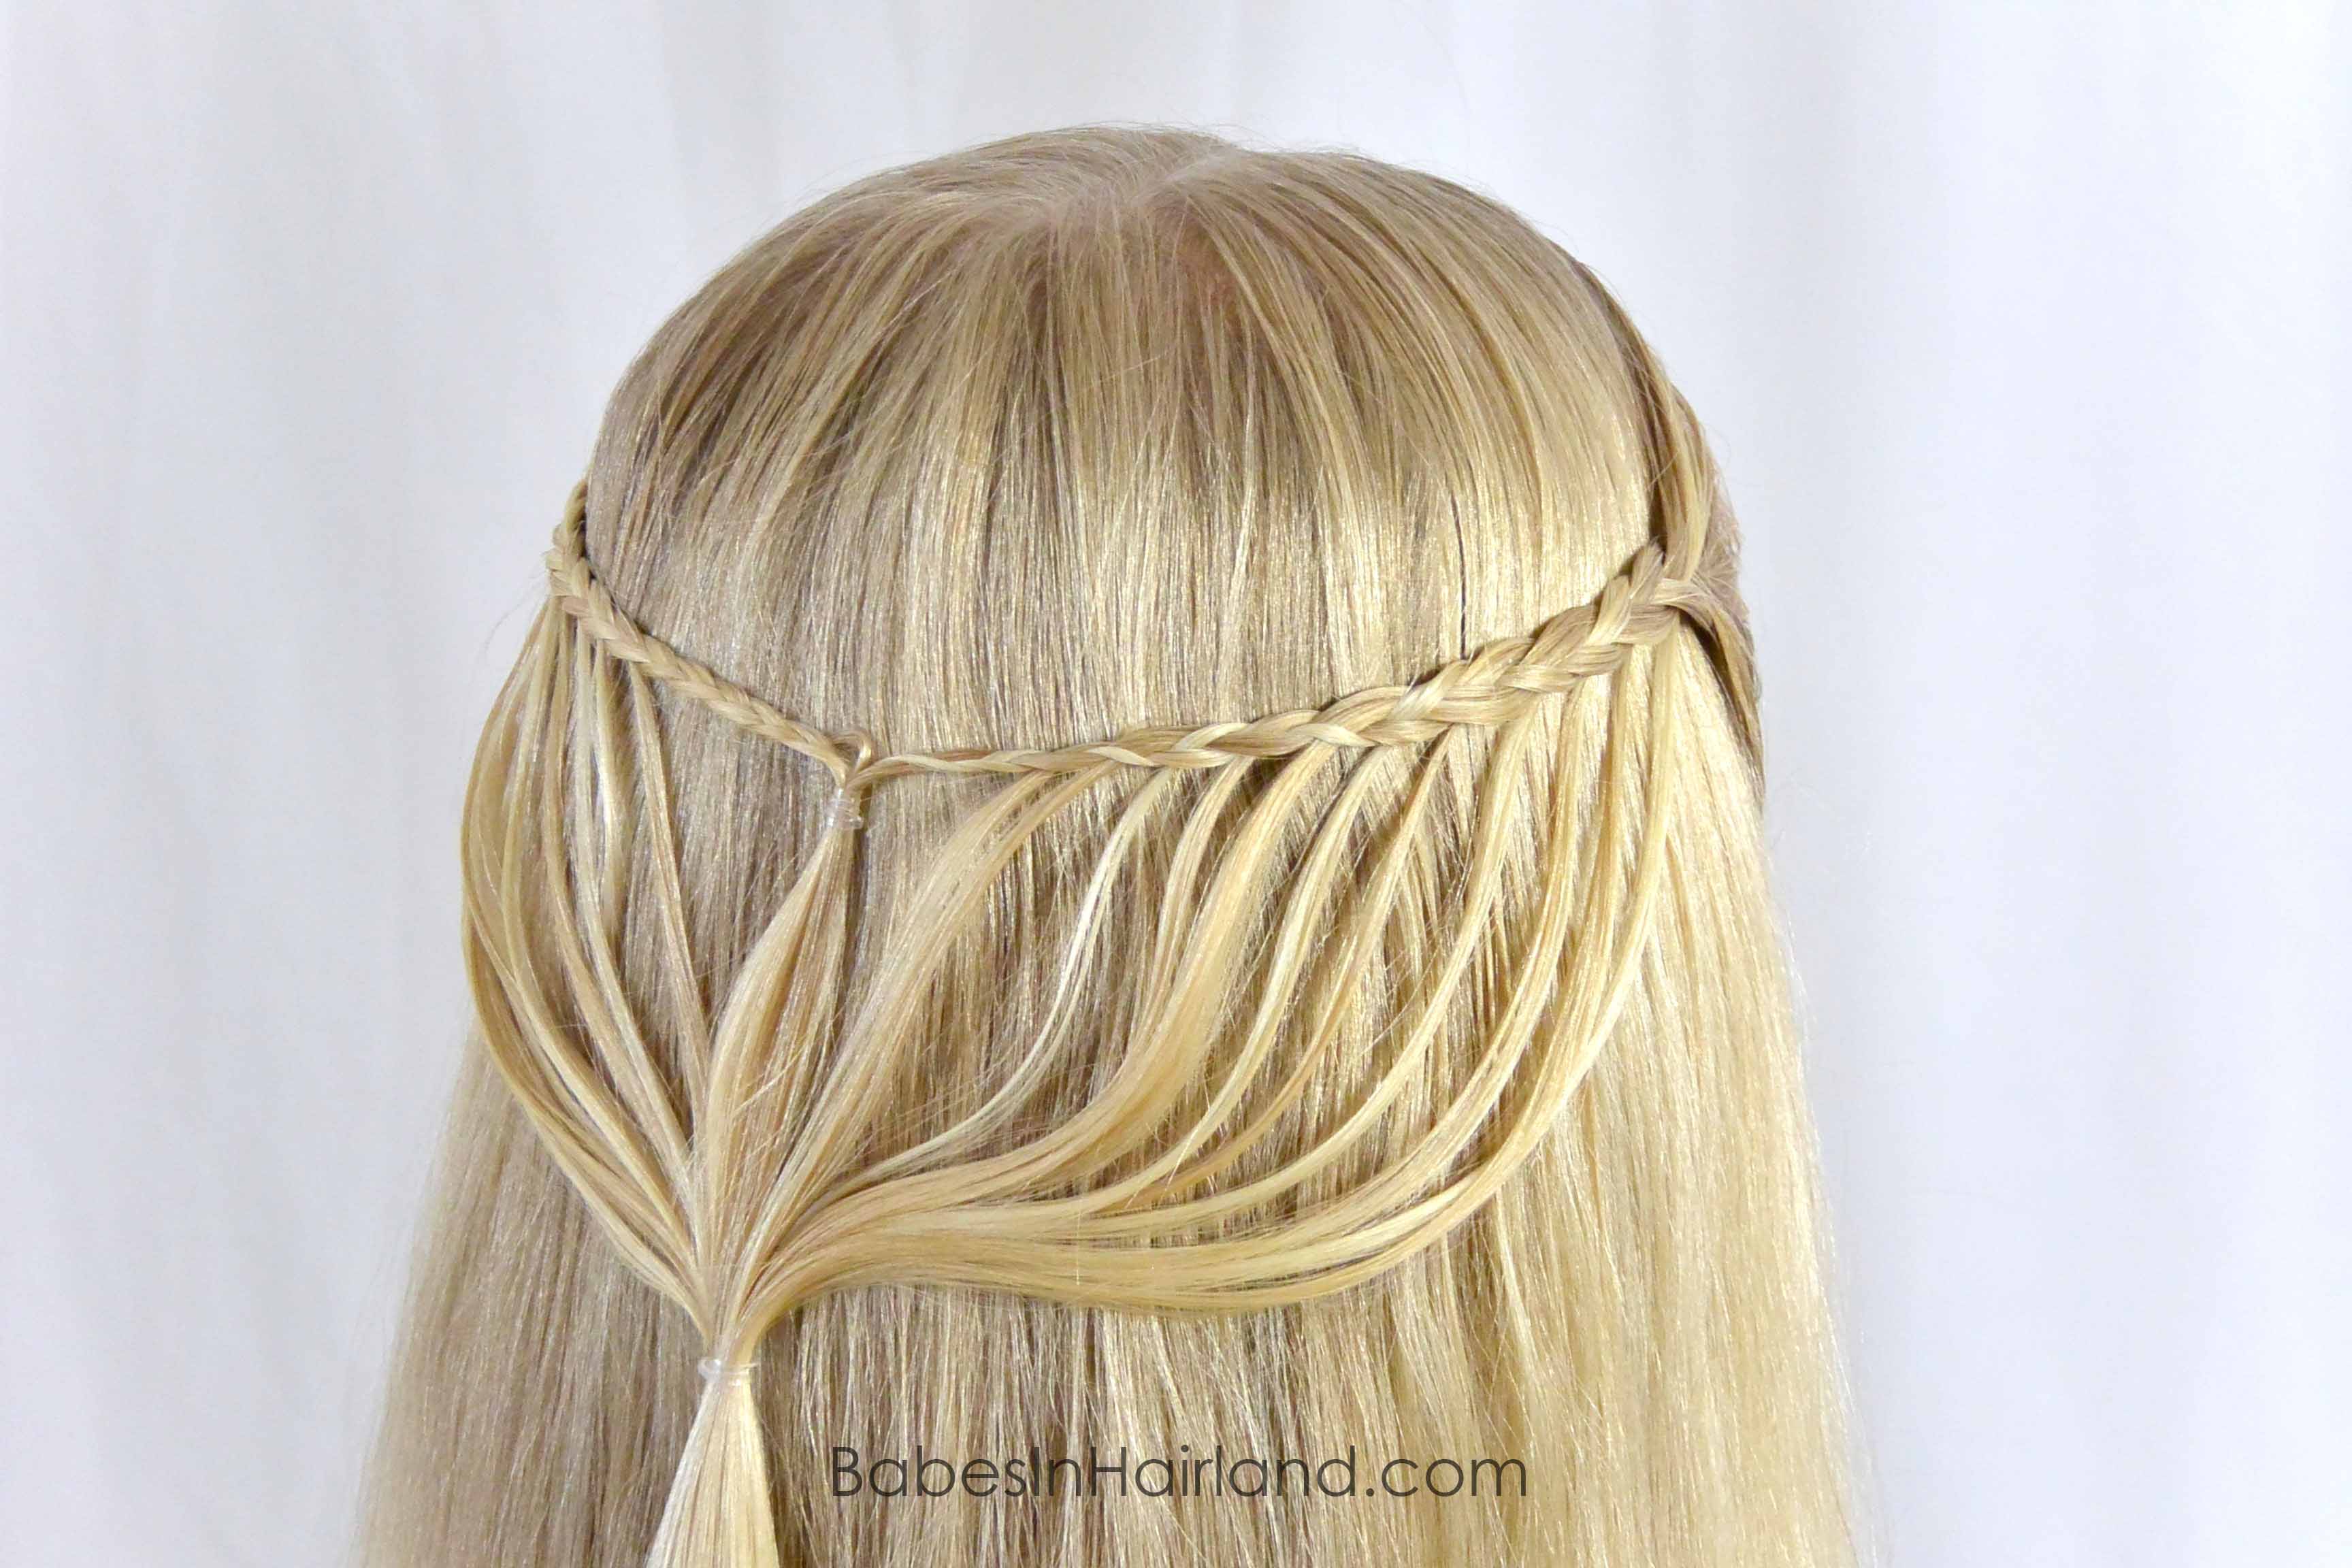
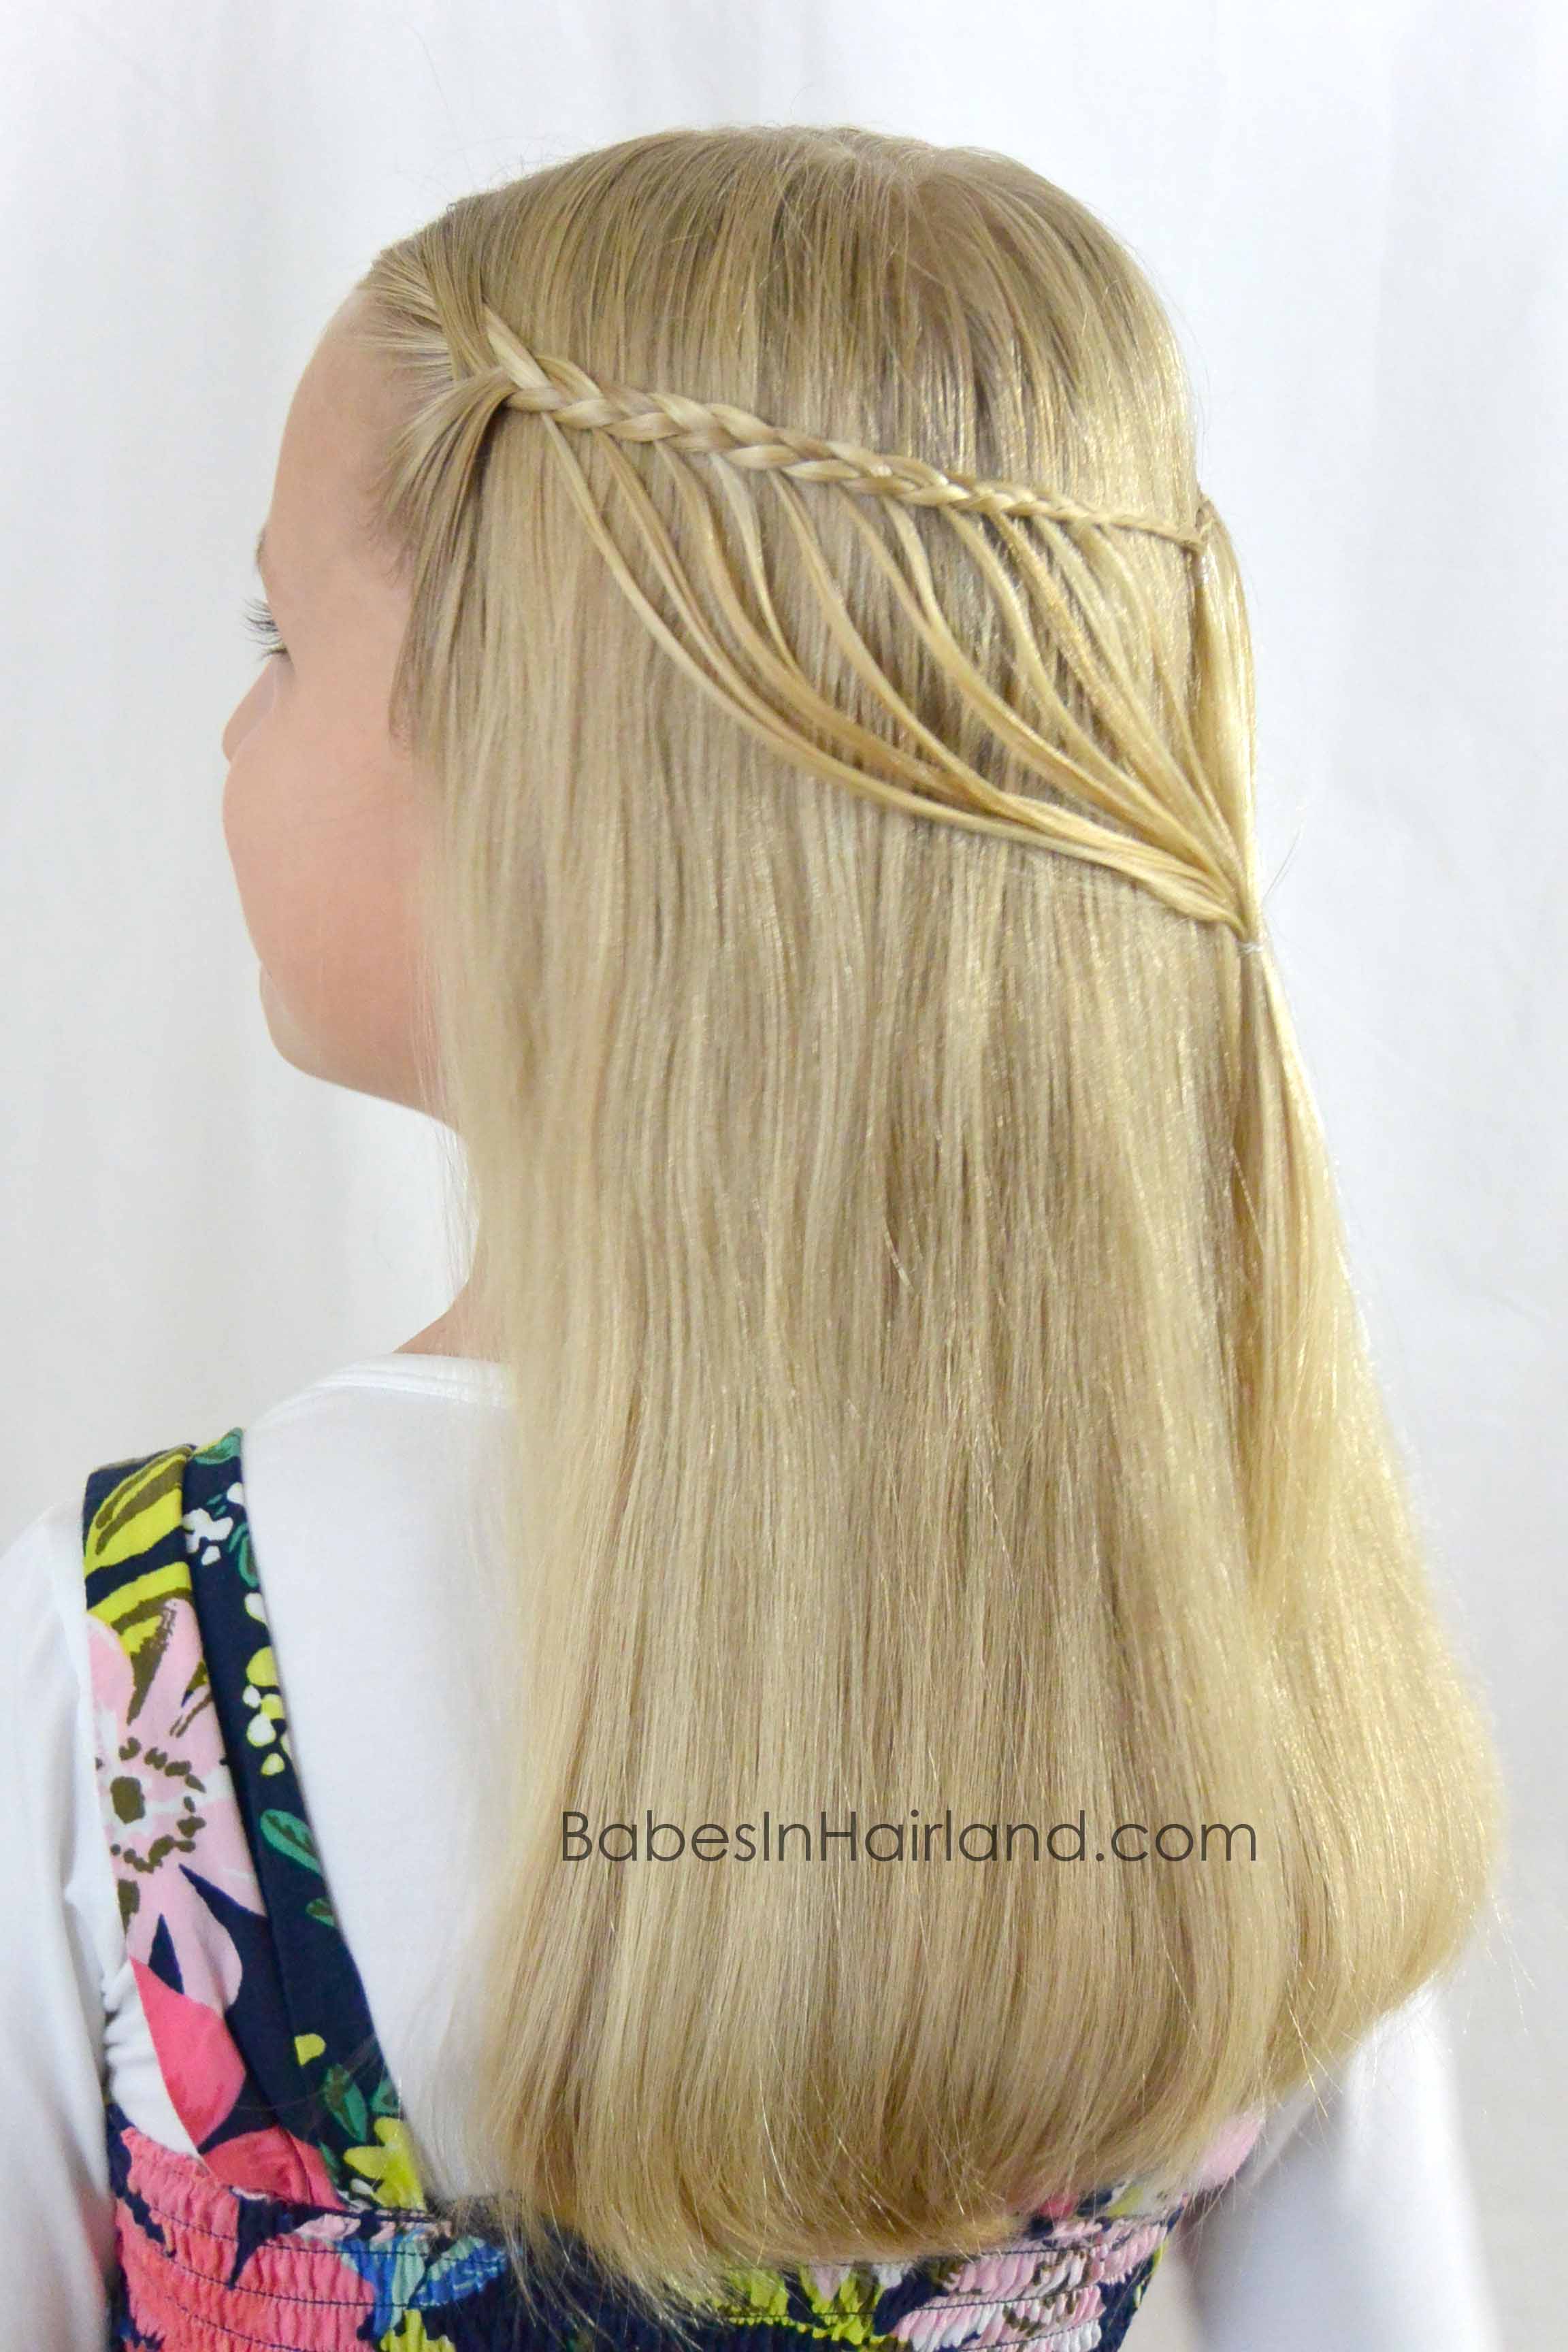
Step 1 – Divide hair down the center of the head back to the crown
Step 2 – On the right side, part hair from center part to the ear. You only want a small amount of hair
Step 3 – Start a regular 3 strand braid and do one full rotation of the braid
Step 4 – When crossing the bottom section over the middle, remove a small amount of hair before crossing it over
Step 5 – Allow that small amount of hair to just hang below the braid
Step 6 – Finish another full rotation of the braid
Step 7 – Again, when crossing the bottom section over the middle, remove a small amount of hair before crossing it over
Step 8 – Continue this process only removing hair from the bottom section
Step 9 – Braid until it reaches around the back of the head & temporarily secure
Step 10 – Repeat steps 2-8 on the left side
Step 11 – Join the braids in the center with an elastic
Step 12 – Using some pomade or other waxy product, apply it to all the “feathers” hanging down below the braid
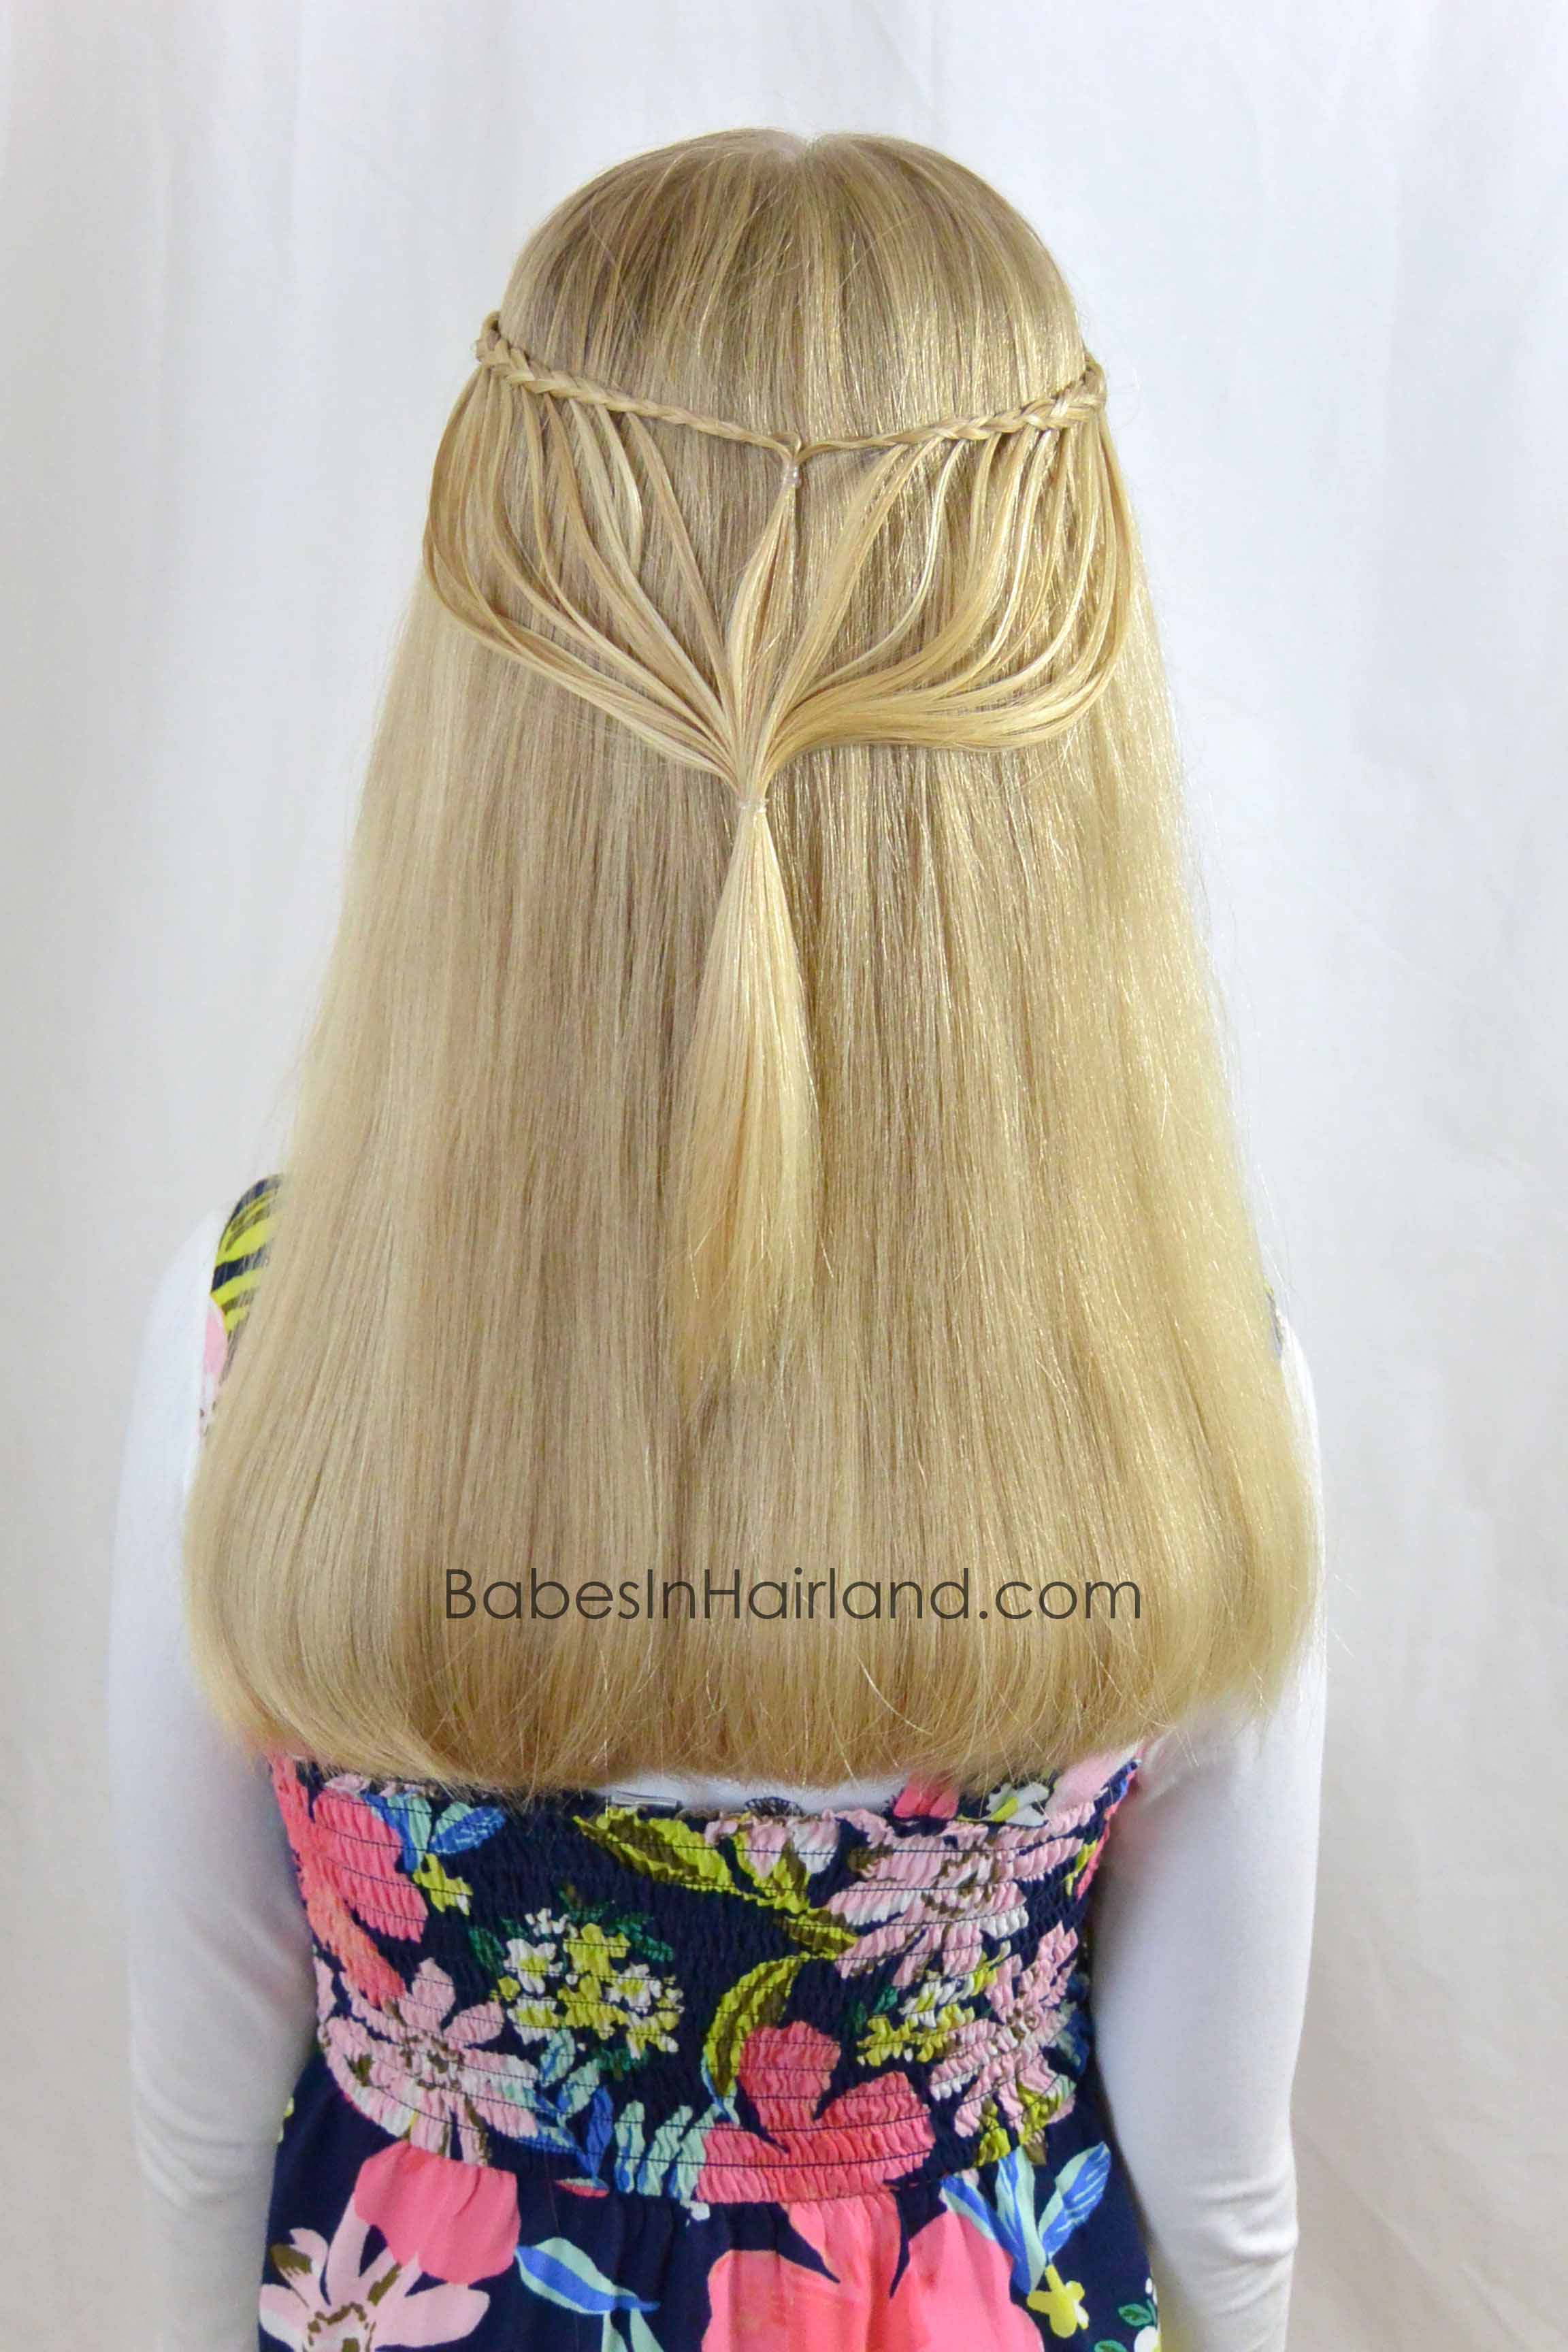
Step 13 – Carefully gather all the feathers from the left and right sides bringing them to the center
Step 14 – With another elastic, join the feathers to the hair that hangs down from the braids in step 11
FINISHED!


See? It’s gorgeous right? This would be great for a school day or a special occasion. We just love this one!


If you love feather braids as much as we do, be sure to check out all of our feather braid hairstyles here! Be sure to share this gorgeous style by clicking the social media buttons below!
And don’t forget to stop by Barnes & Noble to say hello if you’re in the area on Saturday! We’d love to meet you and sign a book for you!
**Disclaimer — This page contains affiliate links. If you click on an item and purchase it, we receive a small % of the sale price. This does not change the price of your item. By purchasing these items it’s like saying a little “thank you” to us!