
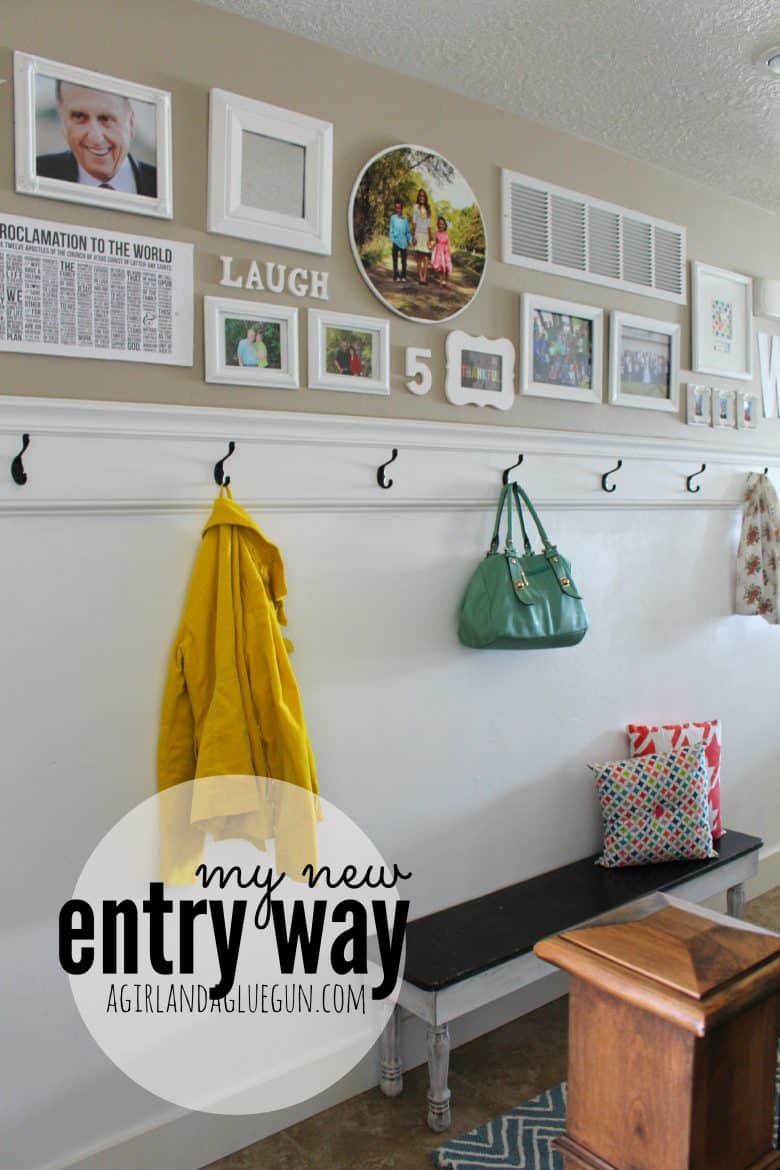
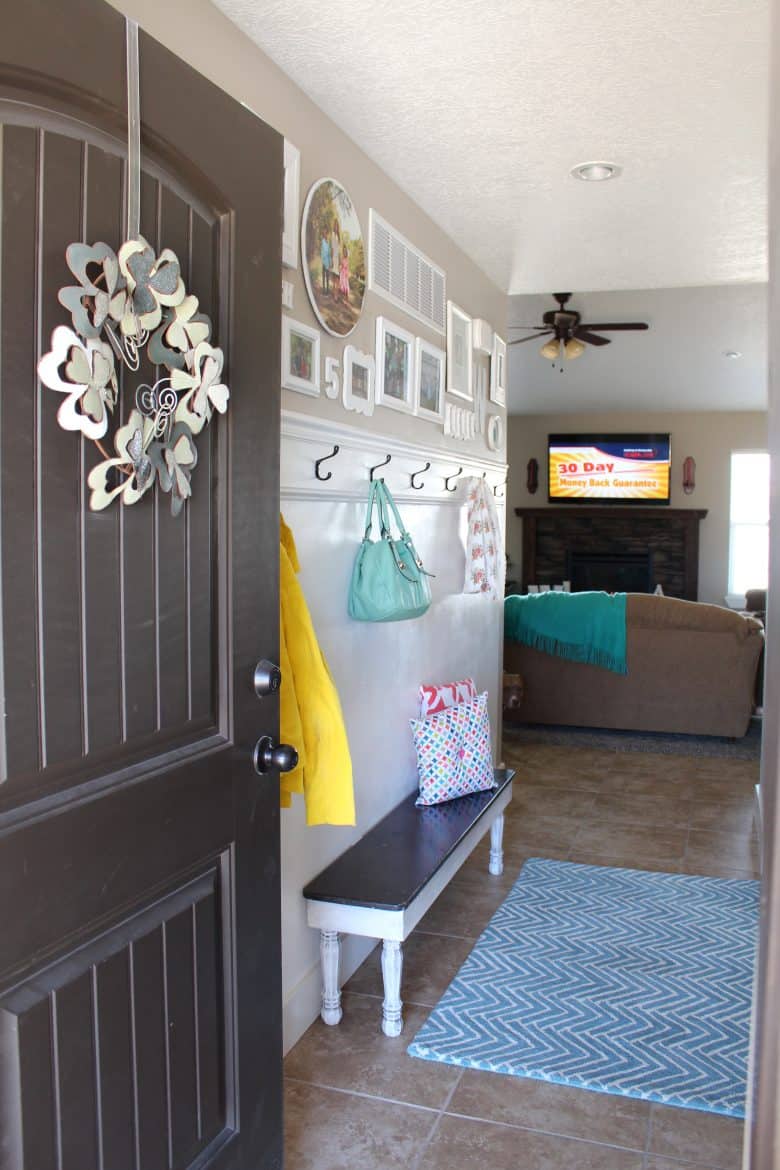
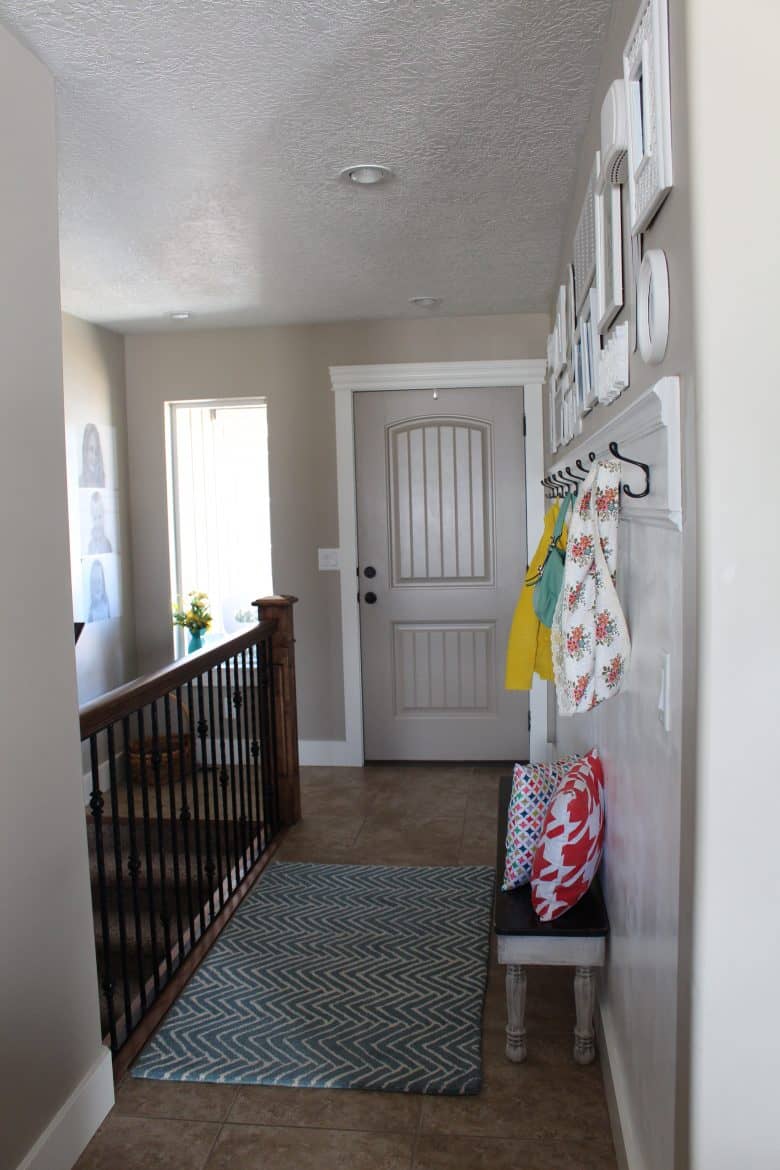
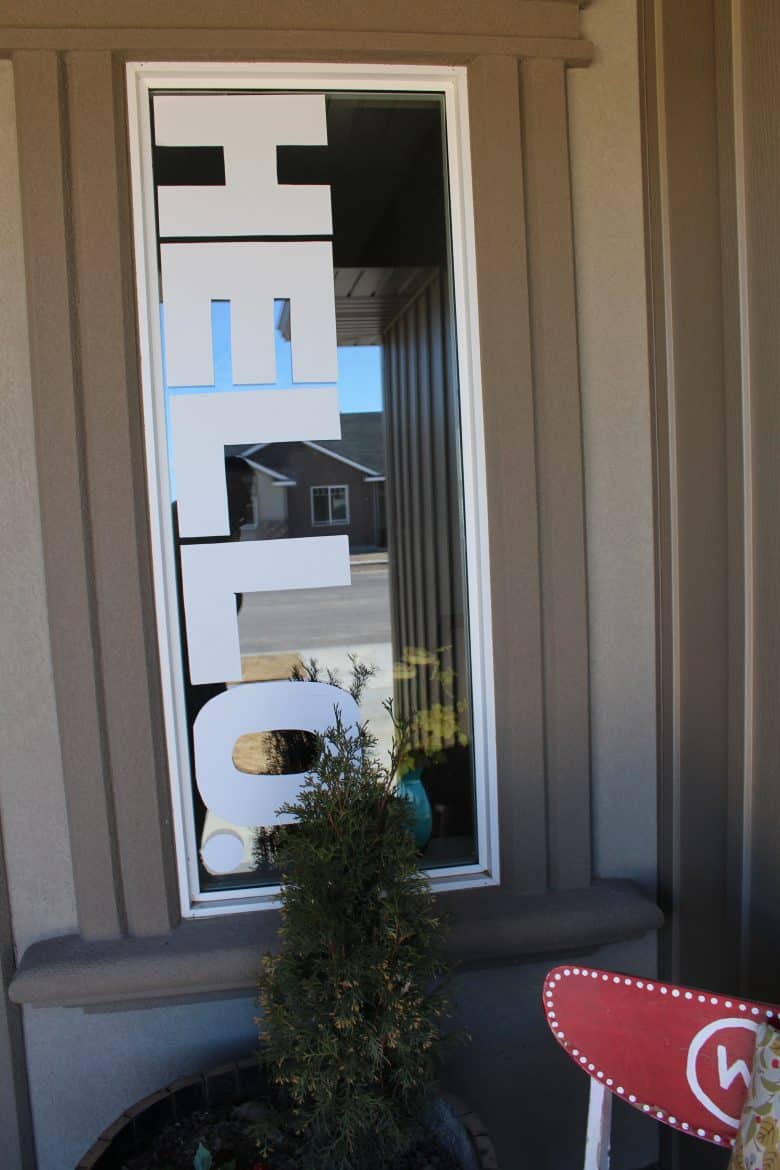
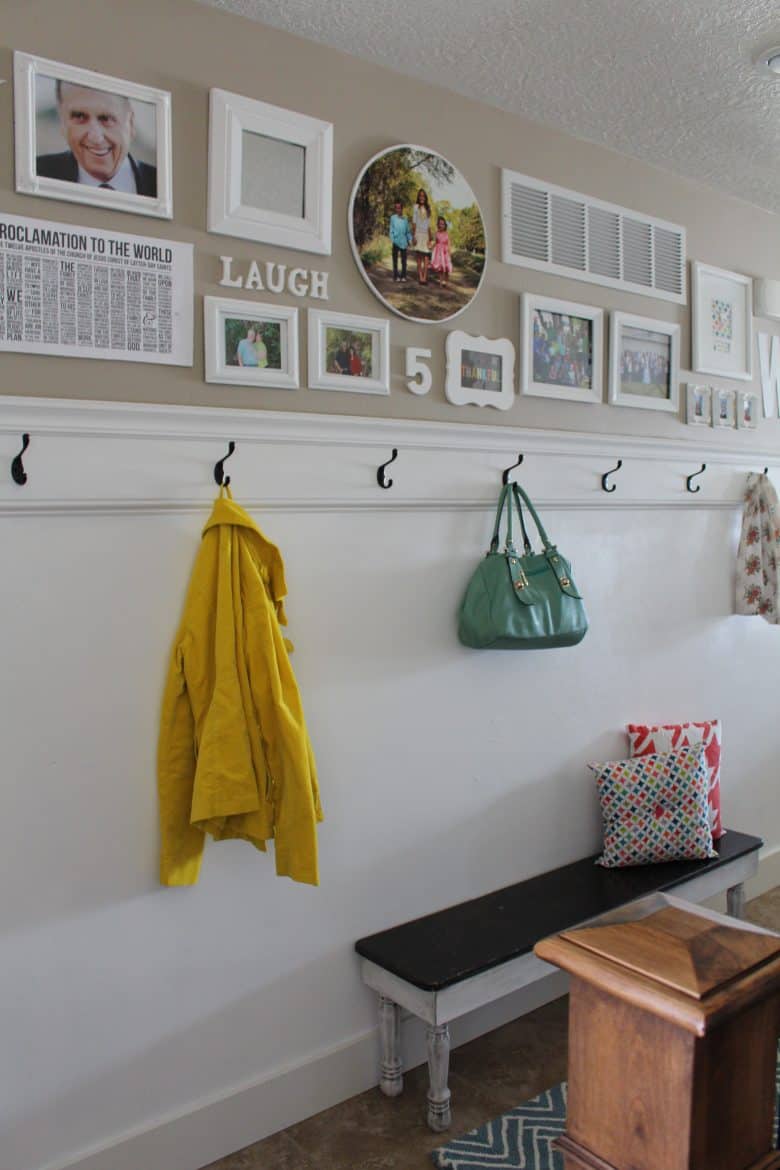
Say hello to my new entry way!!!
Today is April Fools day! But i’ve got no jokes or pranks! just pure awesomeness!
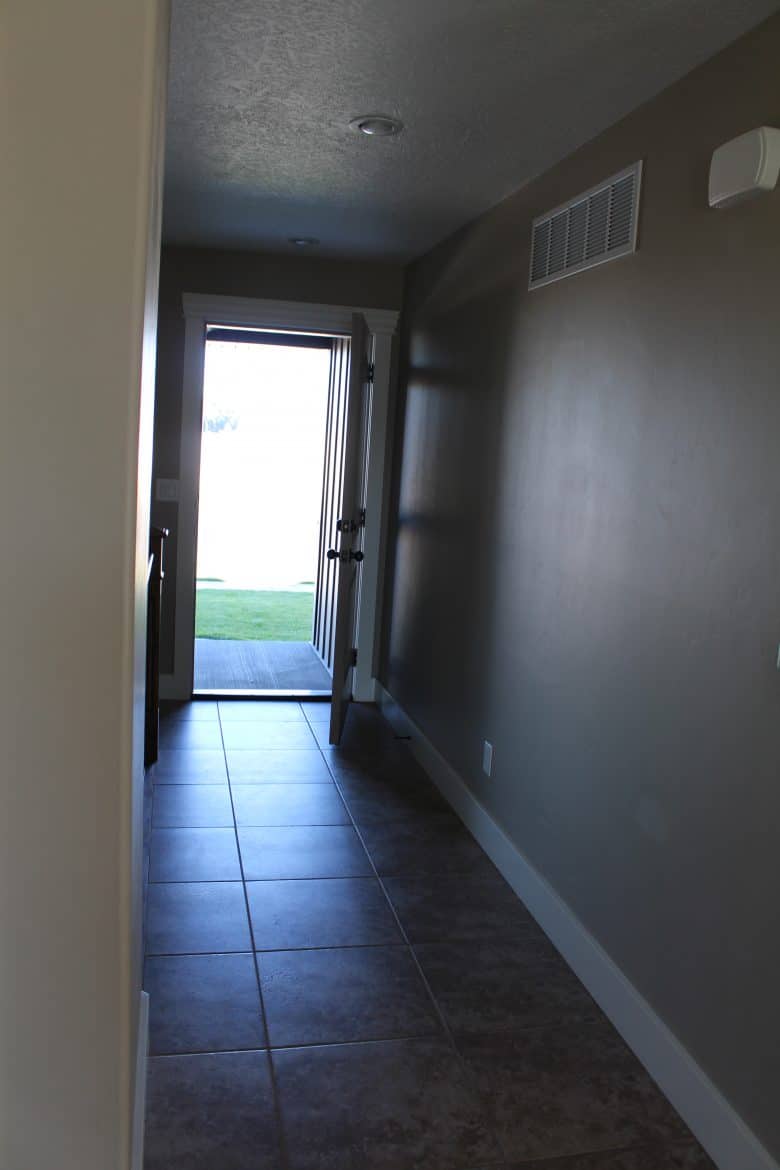
the house process is slllllow going. (i’ve complained before) but i will tell you…once i commit and find that “perfect” (for me) idea –i jump in …..
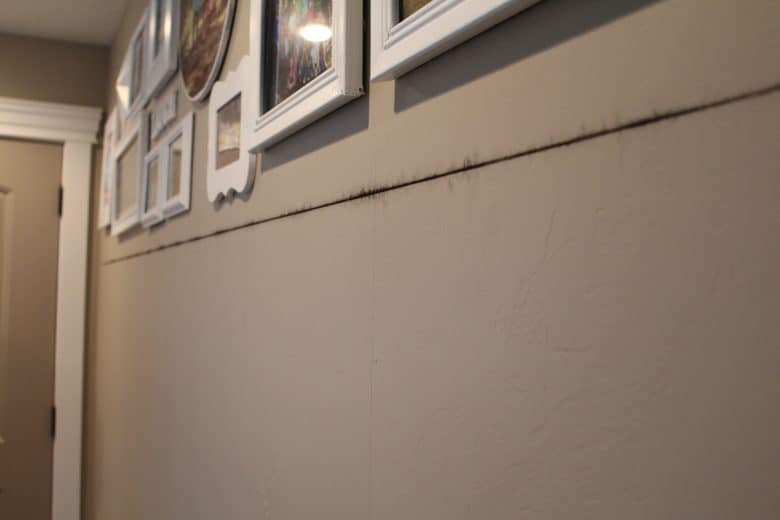
and my entry way was the first thing in the house that has my whole heart! I had this all done and pretty…and then the rest of the house was bare bones with piles of pictures laying all along the halls.
my husband loved it. (sarcasm)


and i knew that we need some hooks STAT.

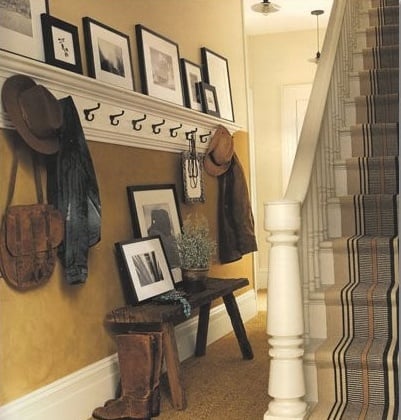
there are so many BEAUTIFUL entry ways on pinterest… but you know..only a select few can actually work with your own house…
and this picture was the one that set the wheels in MOTION!

(can’t find a link!)
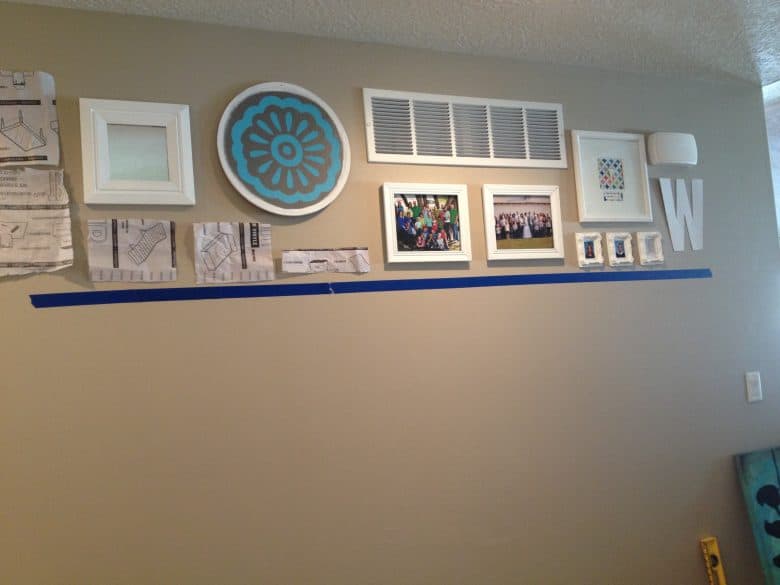
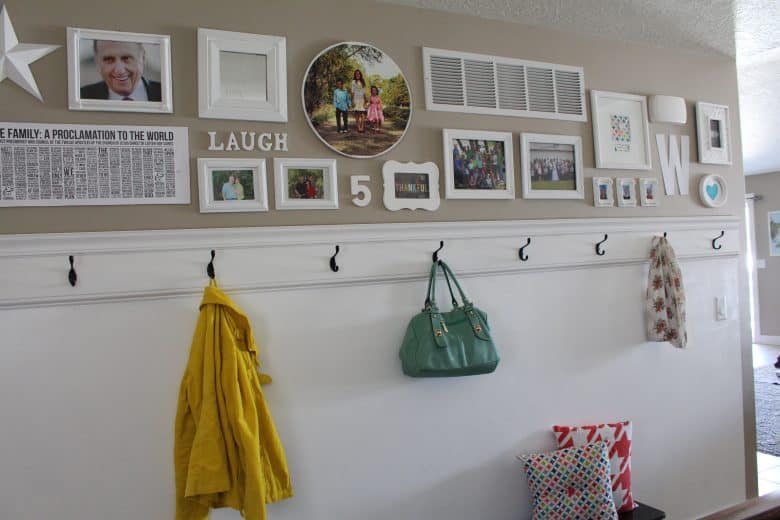
now..i didn’t want a big ledge…i wanted to hang the pictures up in a collage..
for two reasons….
a. doorbell
b. vent.
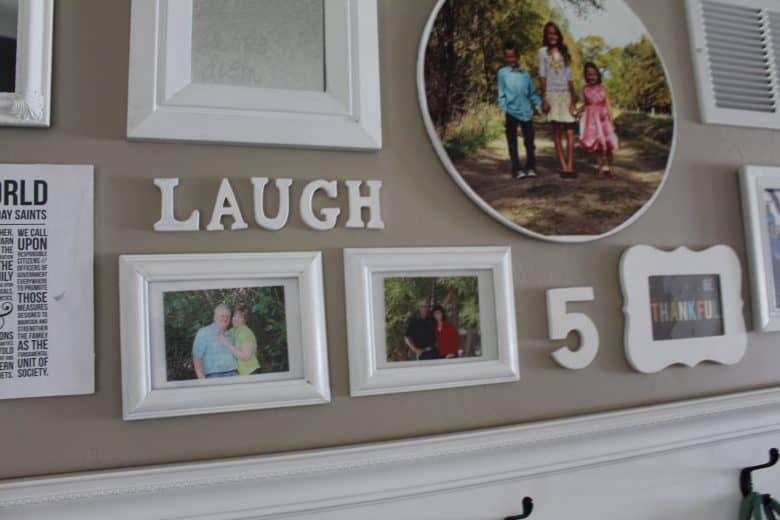
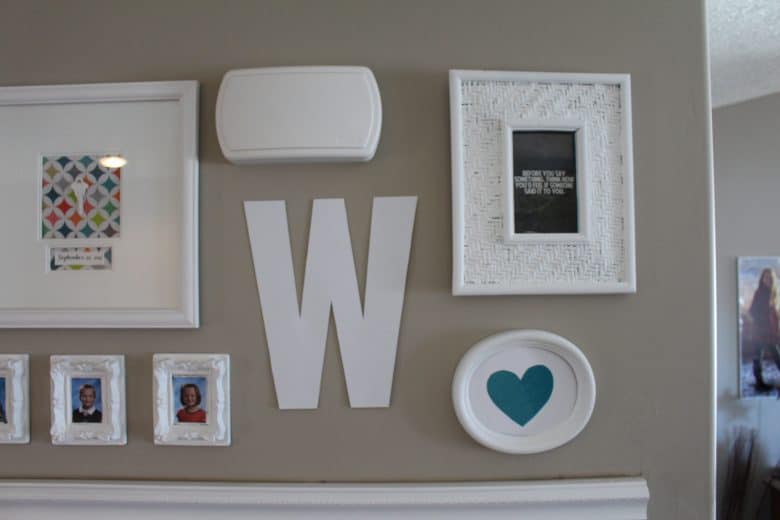
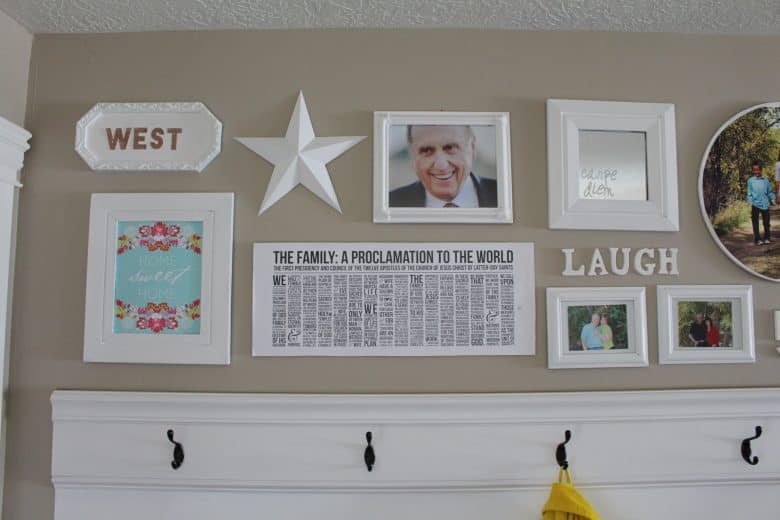
now…be honest…you saw the first picture of my wall all done…did you see them? they sorta blended right in!!!! (which was exactly the goal!)
which is also what set the color scheme of white frames:

can we talk about how much i love paint. it transforms most everything! i had to buy nothing for this part of my wall (except for a couple prints) (do you recognize most of these frames from my family tree wall)
then i hung….(i was even a legit diyer and measured pieces of paper to hang with tape to get a good idea of how i wanted it) this is because at the beginning of my new house i couldn’t put nails in the wall…i bought 50 bucks worth of command strips.
i have since gotten over that….


slowly i cranked out projects…
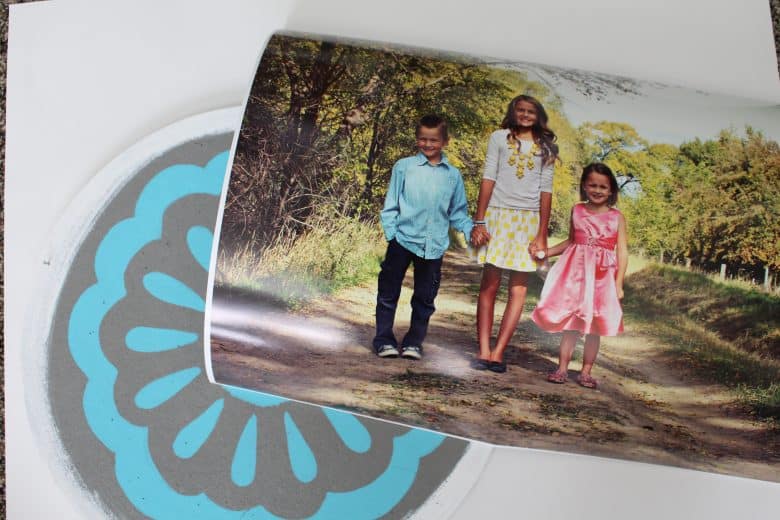
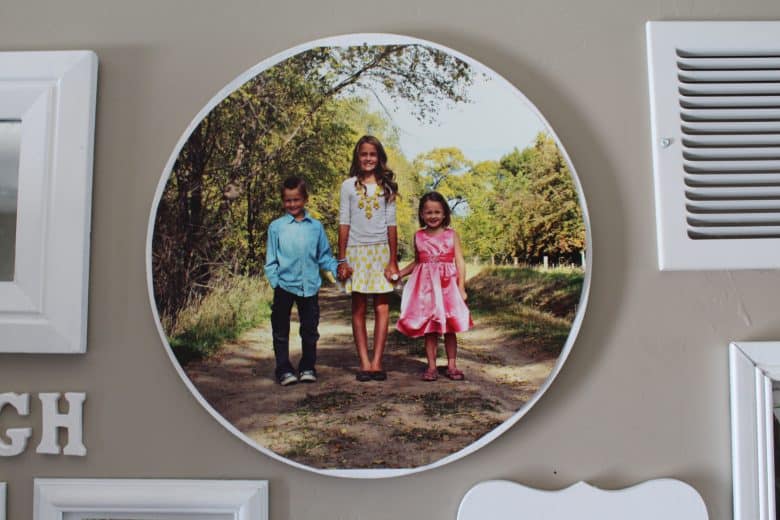
i had to take pictures of my kids and blew it up the biggest costco could go and added it that round cork board i scored a the dollar store about 3 years ago….(biggest regret: not buying 40 of them)

(for the record..you can buy round pieces of wood at home depot!)
spray adhesive and an exacto knife made my favorite thing on the wall…

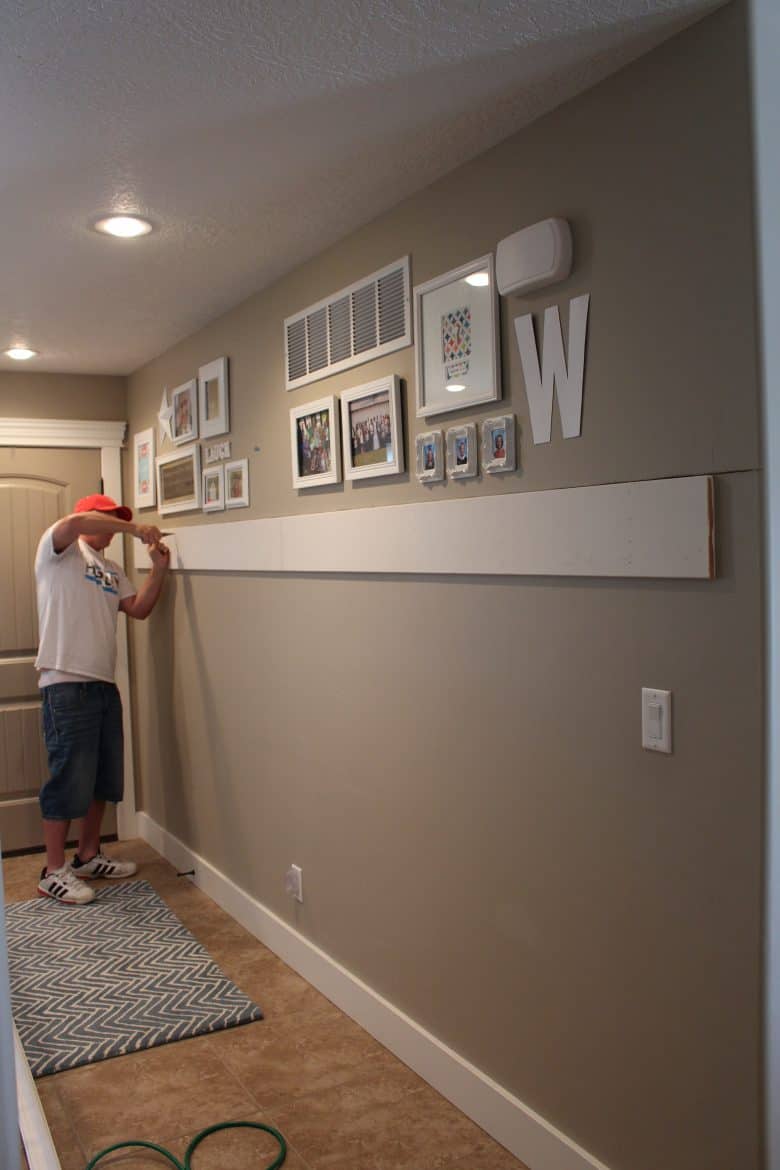
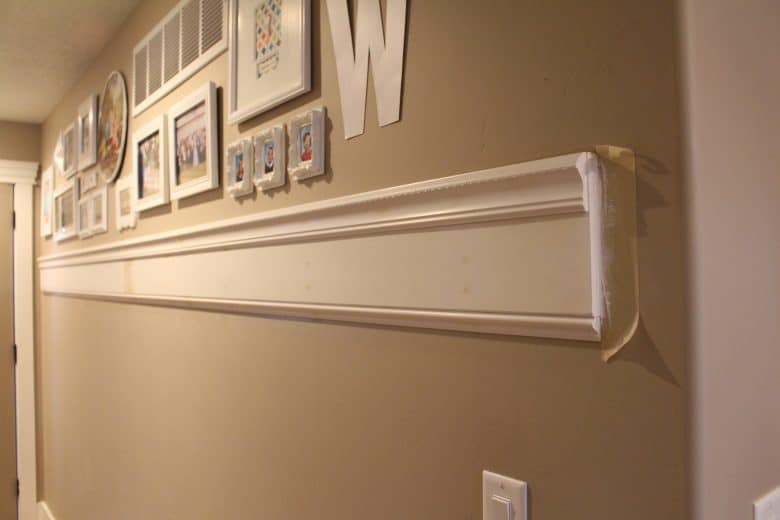
then it was WOOD DAY!!!! I finally convinced my husband to help me do this.

and as i laid out “My vision” on the home depot floor and asked his opinion
he literally said, “I could give a flying BEEP about it” (he did not say beep.)
but he loaded it up and helped me the nail the crap into the wall
and now when people come over he’s all..look at this wall i made and he totally takes all the credit! MEN.
but here’s what we bought:
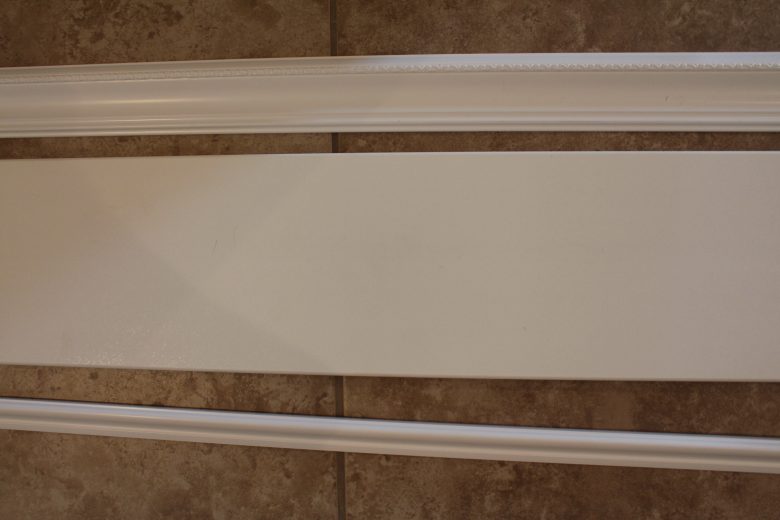

white shelving board…molding for the top
molding for the bottom.
(there are so many options…so you just have to lay it out and see if it sits flush!


the top molding sits on top of the board so the tops of the molding and the board sits flush. and the small molding is underneath….


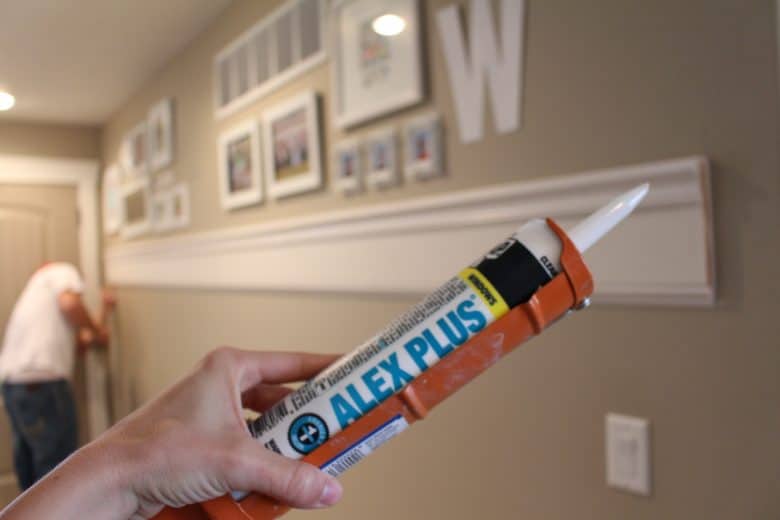
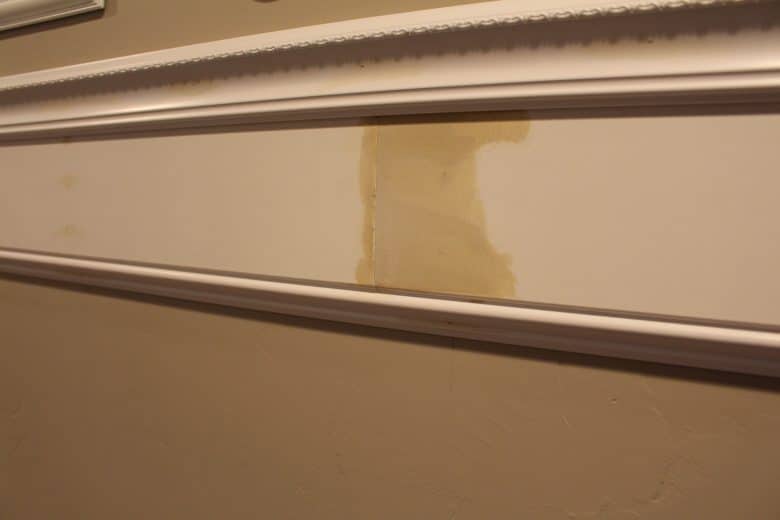
and of course at this point i’m totally like DIY SUCKS.i have no patience to wait 24 hours to sand then do another coat and wait again and THEN PAINT. i wanted it done NOW!!!!!
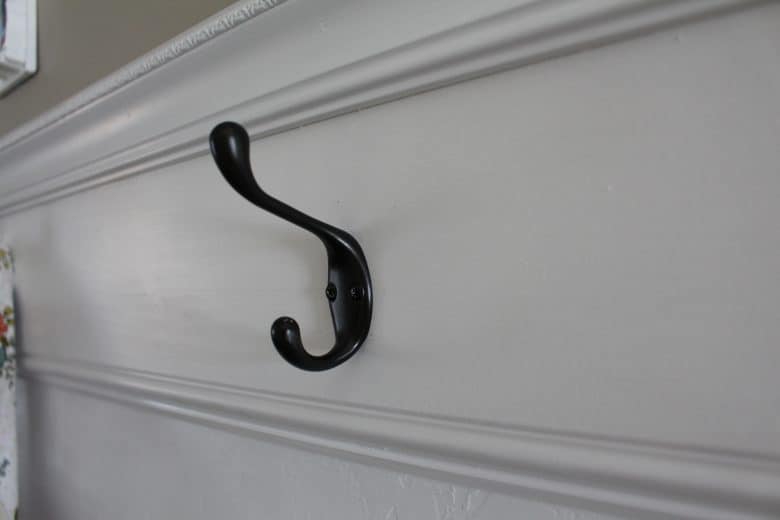
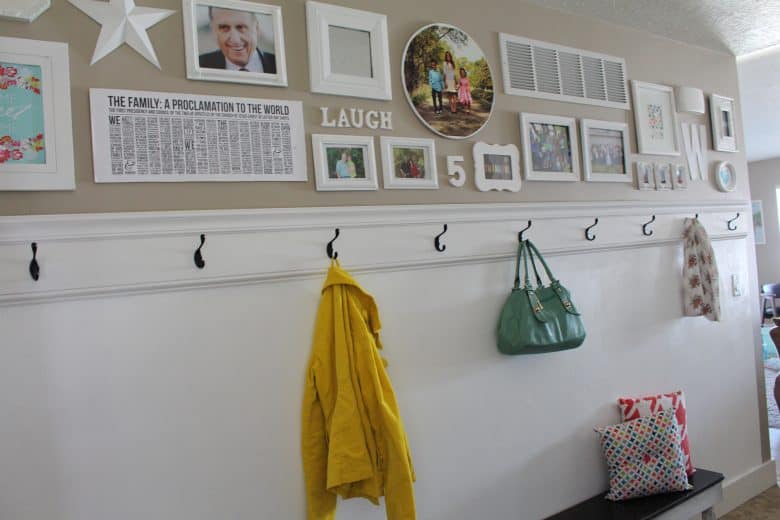
but while i was literally watching paint dry i went on a search for hooks.
and was left wanting.
i had a shape ,size ,and color in mind…but only could find 2 of the three..
so they got a coat of Krylon brushed nickel spray paint!
this is the before……

so let’s chat about the ends…
we bought this piece of wood that at the time i’m all..THIS WILL TOTALLY BE LONG ENOUGH!
and we were about 6 inches short…
and since my husband lacks even less patience than i do…(match made in heaven)
he wouldn’t let me run to home depot to grab another one and said that we would just center it…(leaving a 3 inch edge on both sides)
and it bothers me to this day. but we both know I’m not going remedy it anytime soon.


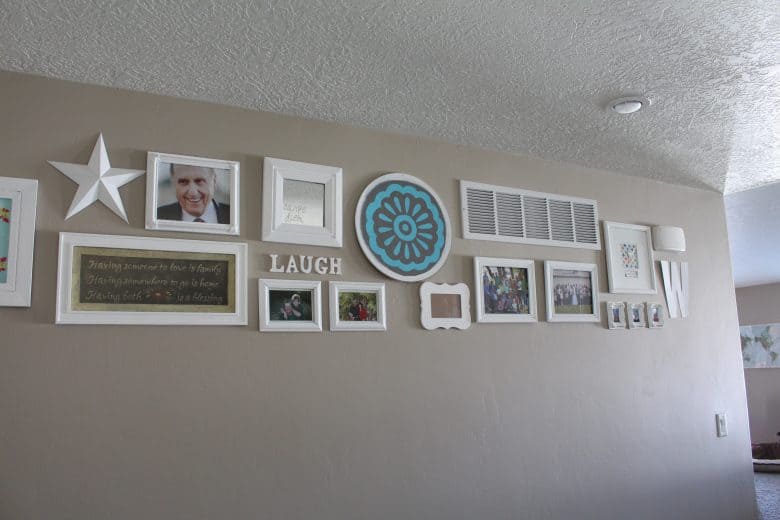
after the hooks got up..i got more motivated to finish up the wall..
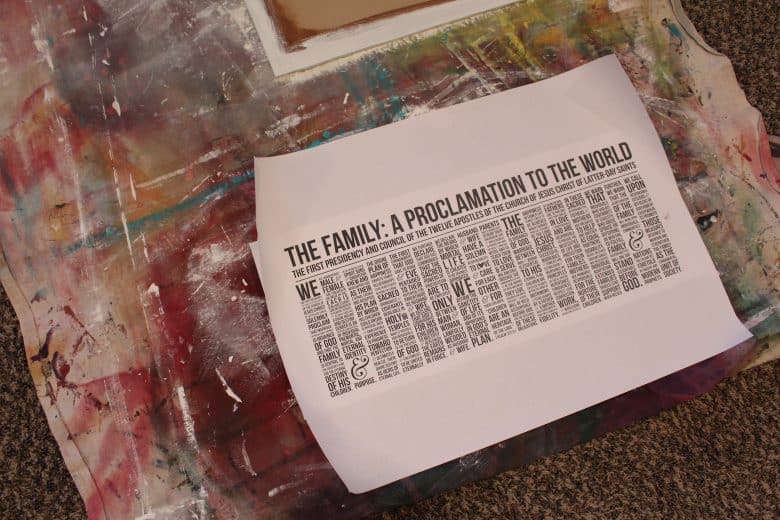
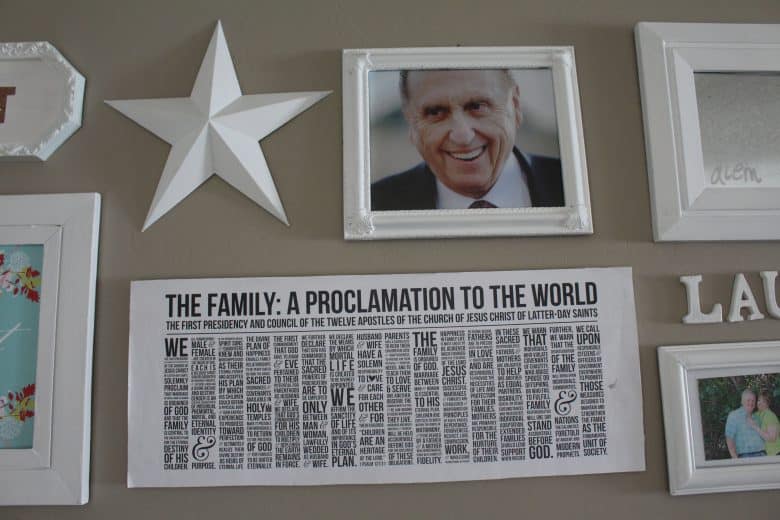
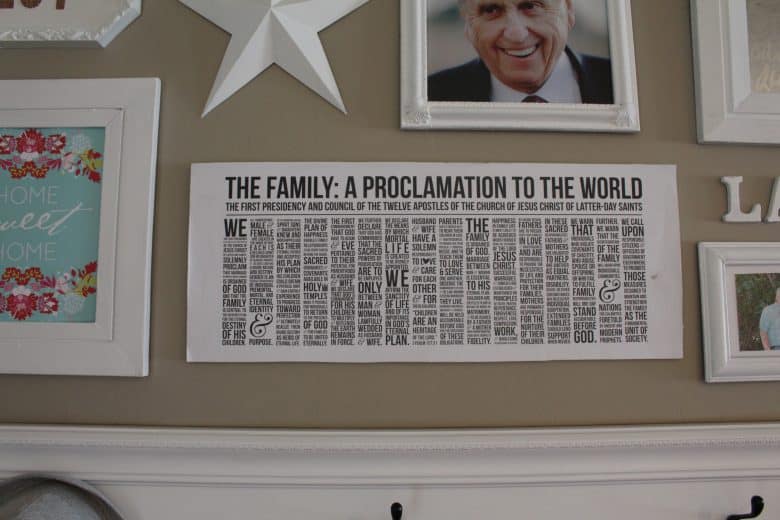
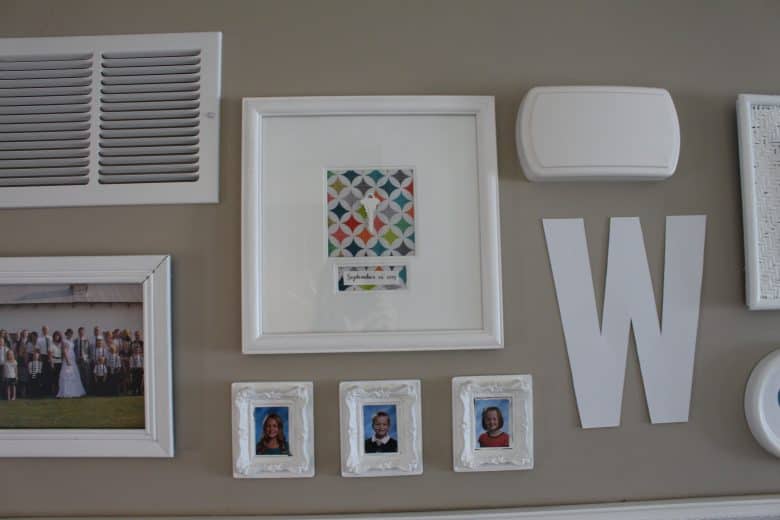
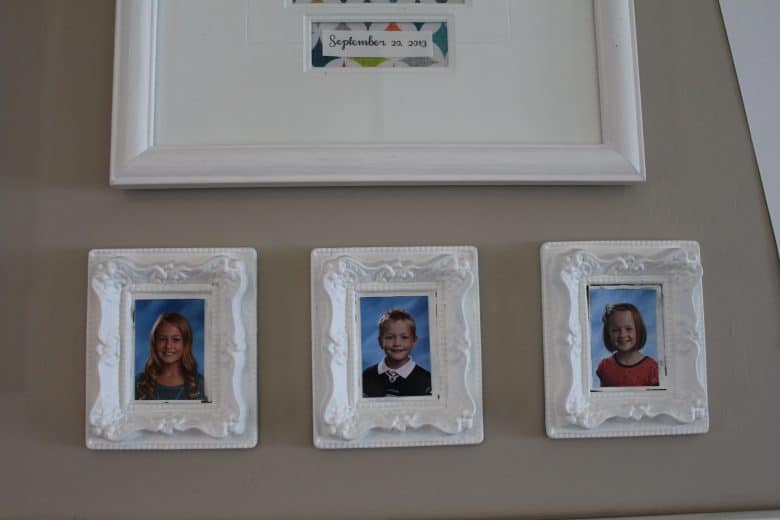
ended up buying this AMAZING family proclamation print from THIS etsy shop...

(i had a frame for it…it’s up on the above picture but i couldn’t make it fit…
so i ended up just attaching it to a board…

i still am looking for a frame…but it’s the most awkward size!
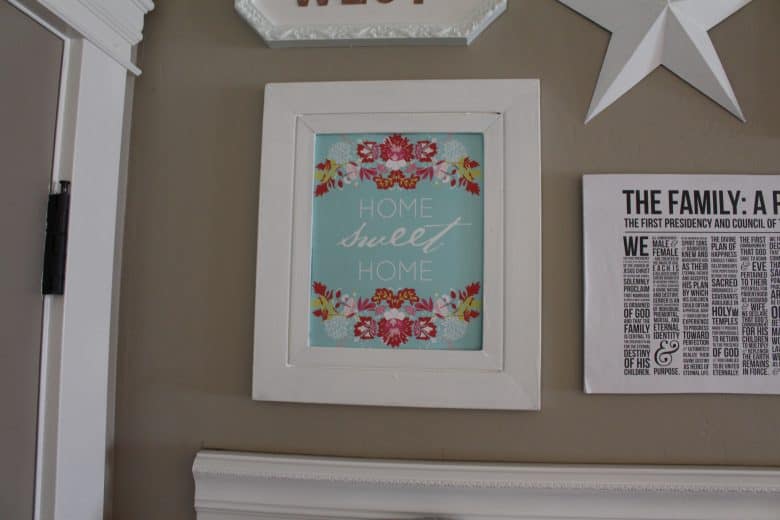
and then i found this fun free printable that i loved the colors…


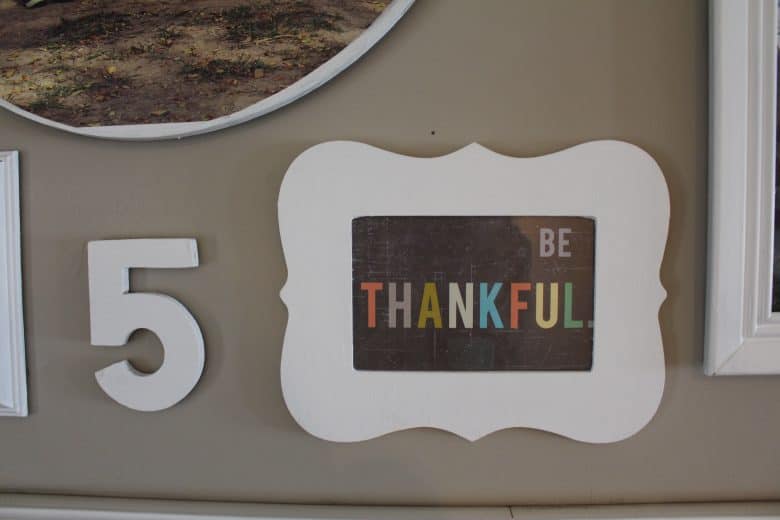
and got this be thankful printable HERE
as you can tell…while the wall is white and pretty…i had to bring in some color…


rug is from rugusa.com–i bought it for my daughters room…but here is sits until i can find a fun striped runner!

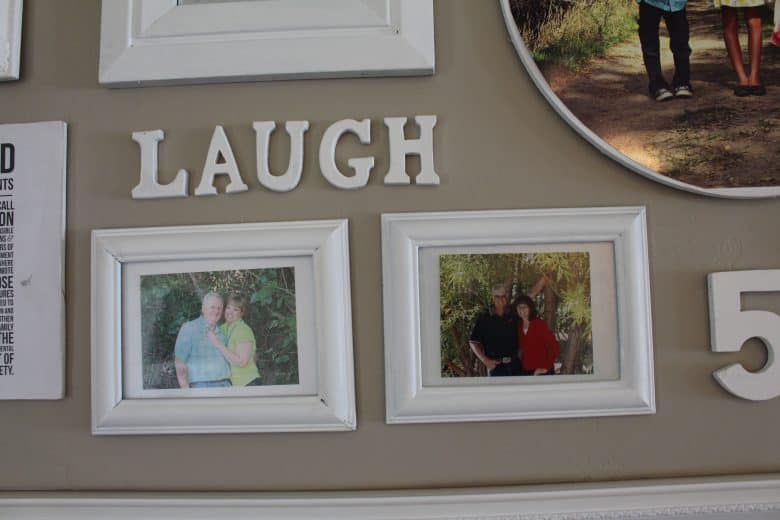
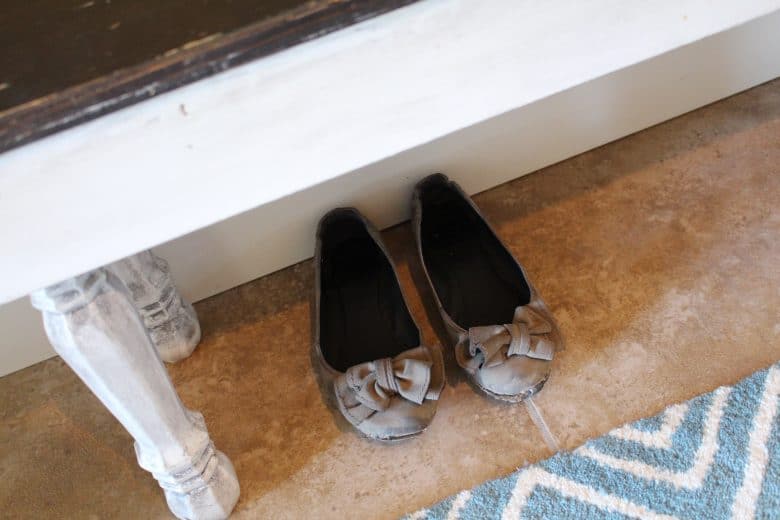
my dad made this bench for my kitchen table..and i stuck it here to see how i would like it…and never moved it back (cause i loved it that much!)
the kids stick their shoes under to keep them out of the way


and i’m kinda stuck on if i should do board and batten..i want it really slim like my Fake board and batten i made with old blinds…(go HERE)
so for know…it just stays white


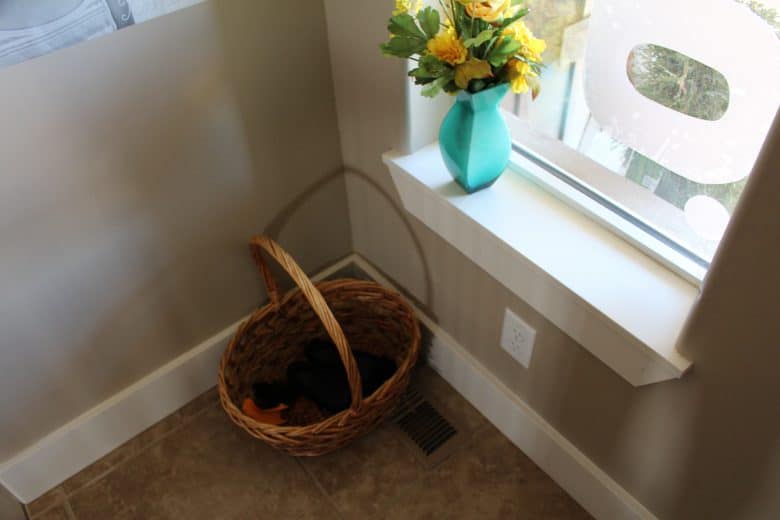
in the corner is a basket and everytime i find something that belongs to the children with rooms downstairs…it goes in the basket. end of the week the basket gets dumped in the garbage.
they learned REAL quick to pick up their crap.

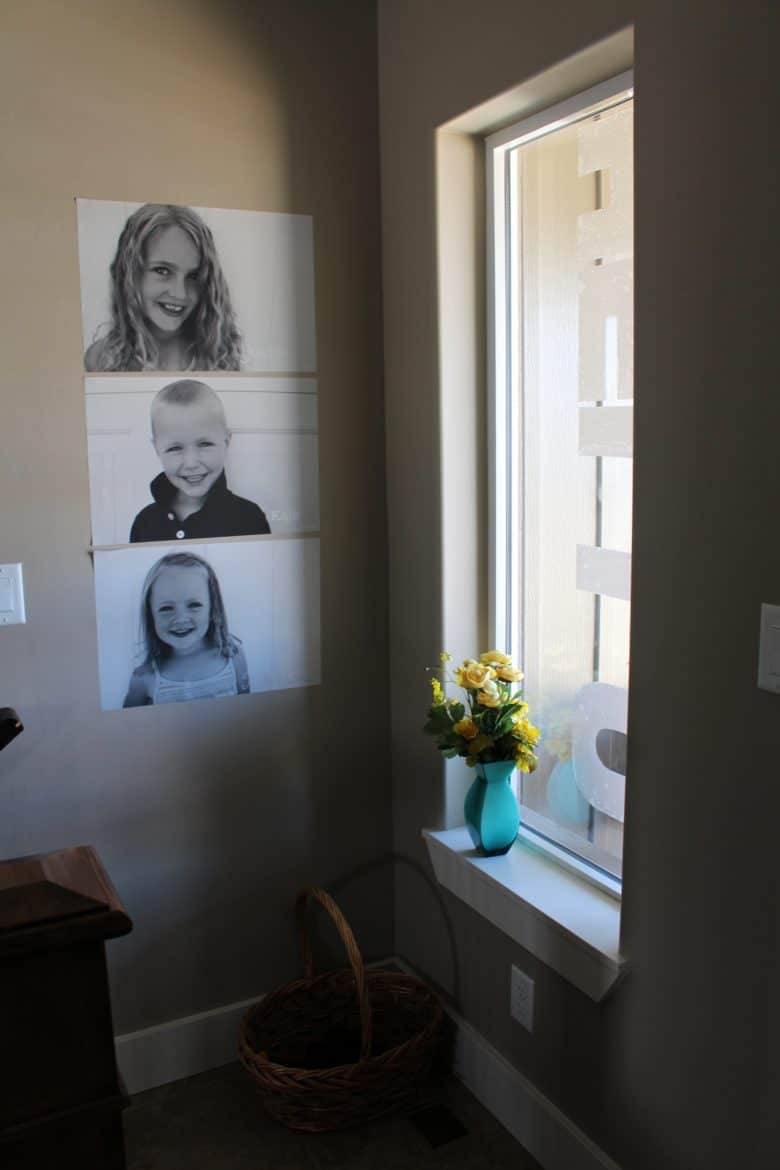
my paper coterie’s pictures made the move with me…even though they are about 3 years old!
(i’m still stuck about this nook…but it’s functional…)


you know…as soon as the kids come home these hooks are covered with backpacks and coats and jackets and hats!

The post Say hello to my new entry way!!! appeared first on A girl and a glue gun.