
Fast n Easy Reversible Baby Blanket

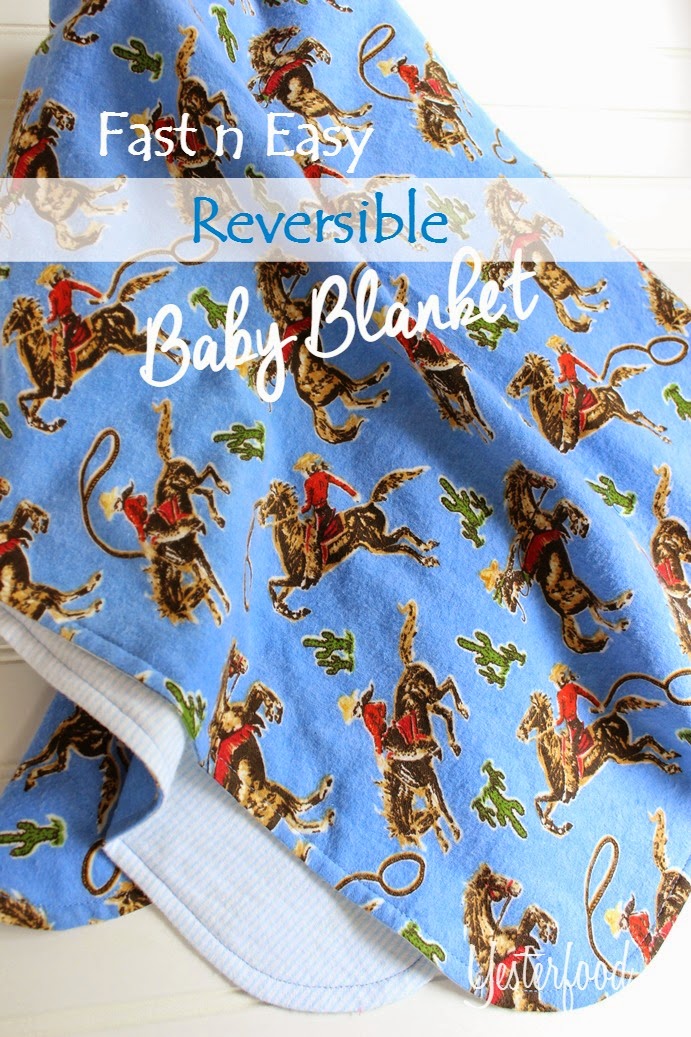
I love to make baby blankets- it's so much fun to customize everything about them, from the colors, to the size, to the the materials used. Here's a fast, easy way to make them, and you can even make burp cloths out of the scraps.
You can use flannel, regular woven cotton, fleece, or a combination. I used flannel for both sides of this blanket. I made it 32" square, but you can make any size blanket you want. Just allow an inch (total) for seams: if you want a 32" blanket, you'll need two, 33" squares of 42" wide fabric; a 36" blanket will require two, 37" squares, etc. Get a little extra fabric if you want to make matching burp cloths or bibs.
(Note: Most baby flannel and woven cotton comes 42" wide. Check the information on the end of the bolt. Fleece can come in different widths).
What to do:
- Wash and dry your fabrics. You want them to shrink now, not after your project is completed.
- Put your two fabrics, opened up with no folds, right sides together, on your cutting surface. Get them as smooth and evenly layered as you can.

- Measure and mark the size you want- I wanted a 32" blanket, so I measured a 33" square. Mark with chalk or a washable/disappearing fabric marker.
- If you want rounded corners on your blanket, trace around an upside down bowl in each corner.

- Cut out the squares.
- Pin the edges all the way around so the fabric doesn't shift while you carry it to the sewing machine.
- Sew around all the edges, using a 1/4" seam allowance, leaving a 6" gap on one side (not on a corner or on a curve) to turn the blanket through.
- If you put curves on your corners, clip your curves. If you kept square corners, trim the ends of the corners.

- Turn the blanket right side out and press. Press carefully- this is what will make your blanket look really nice. (The next step will be to permanently sew those seams into place with top stitching, so pressing is an important step). Turn a 1/4" seam allowance into the gap where you turned the blanket and press. At this point, I usually slip a 6" long piece of narrow iron-on adhesive hem tape in the turning gap and just press it closed (follow directions on the package). Or you can slip stitch it closed.
- Top stitch around all the edges of the blanket with a 1/4" seam allowance, and your blanket is finished!


Coordinating burp cloths
Fast n Easy Baby Blanket may have been taken to some of these fun parties, including Metamorphosis Monday, and was inspired by Quilting in the Rain and Freshly Handmade.
You may also enjoy
Make a Travel Pillow:
Fast n Easy Baby Blanket may have been taken to some of these fun parties, including Metamorphosis Monday, and was inspired by Quilting in the Rain and Freshly Handmade.
You may also enjoy
Make a Travel Pillow:


More posts from Joy @ Yesterfood