
Mason Jar Gift Bags Tutorial

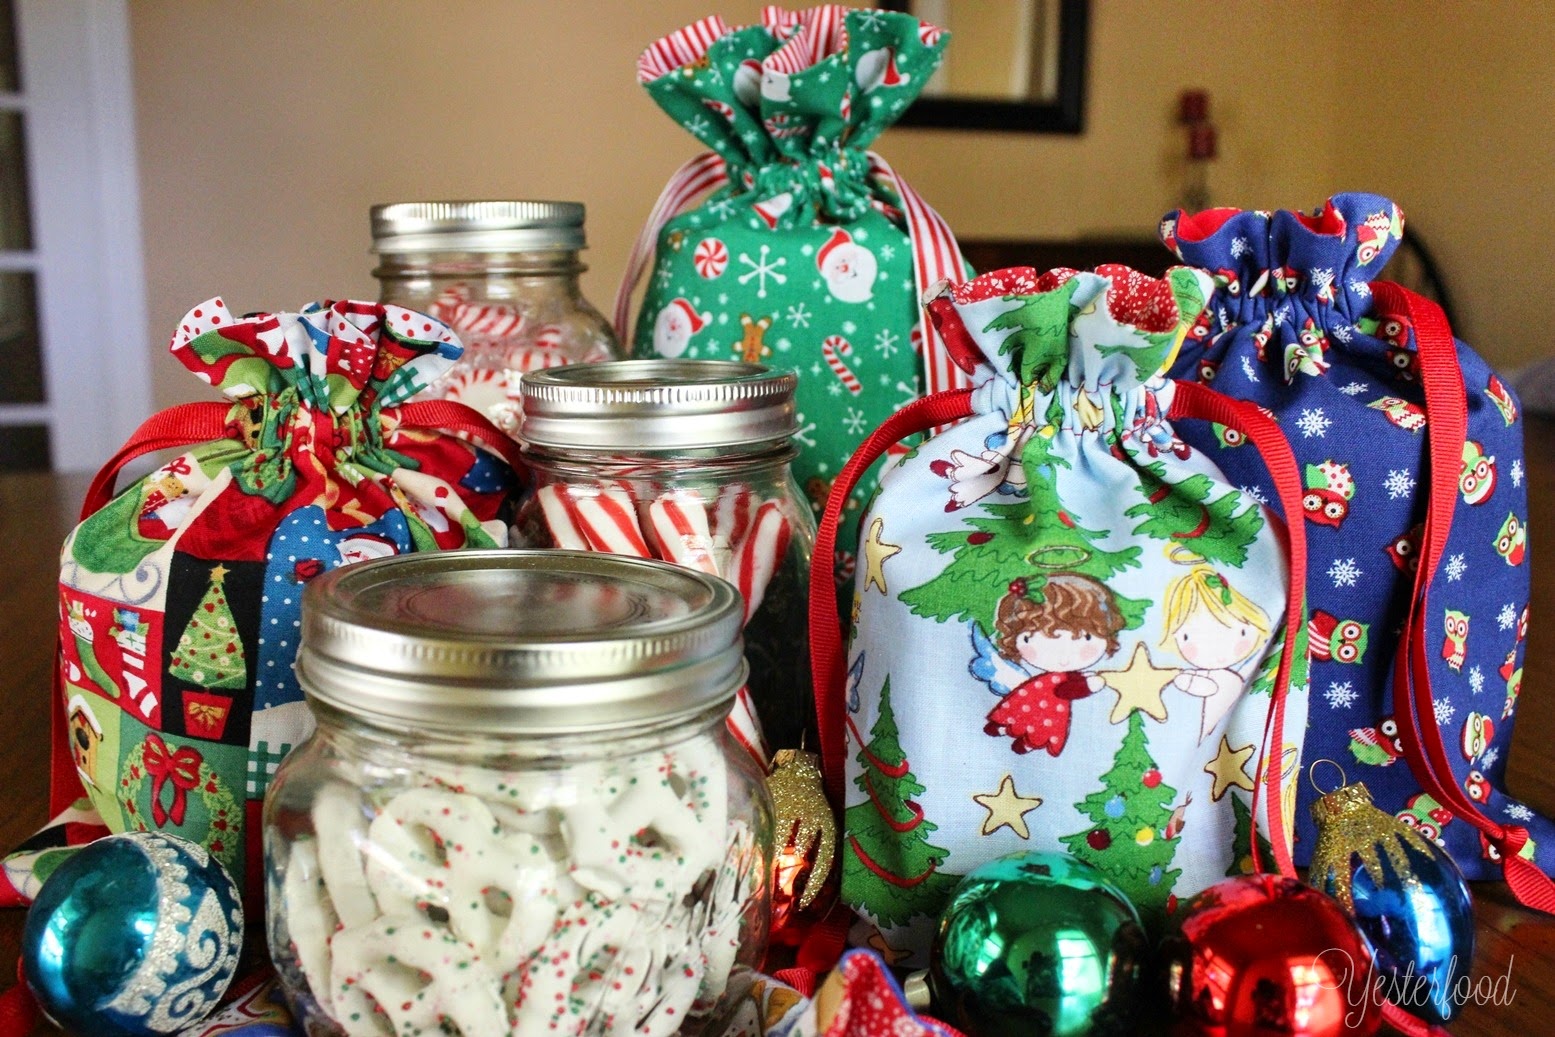
Do you like to give gifts in mason jars? There are so many ideas for what to put inside-candy, jams, cookie mixes, candles, even sewing kits. Here's how to wrap them up so the contents are a surprise: cute fabric drawstring bags!
I recently made a drawstring bag using this tutorial by the very talented sewist, Pam from Threading My Way. She created a lovely, fully lined bag. I made a few changes to the process, then created several sizes to accommodate mason jars in all sizes from 4 oz. to quart! Now the lucky recipient gets two gifts- the contents of the jar, and a pretty fabric bag. You could even make the bag from non-seasonal fabric so they could use it year-round.
Now go raid your fabric stash! :)

You'll need:
- fabrics of your choice (amounts vary depending on what sizes you make; fat quarters work well for most sizes)
- coordinating thread
- coordinating 3/8" ribbon (grosgrain works best for not raveling) or cording
Here are the jar sizes and fabric needed:
- 4 oz: 6.25" X 7" (cut 2 of outer, 2 of lining); 2 lengths of ribbon, 20" each
- 1/2 pint: 6.25" X 8.75" (cut 2 of outer, 2 of lining); 2 lengths of ribbon, 20" each
- pint (short): 8" X 9.5" (cut 2 of outer, 2 of lining); 2 lengths of ribbon, 25" each
- pint (regular mouth and wide mouth): 7.25" X 10" (cut 2 of outer, 2 of lining); 2 lengths of ribbon, 23" each
- quart (regular mouth and wide mouth): 8" X 13.75" (cut 2 of outer, 2 of lining); 2 lengths of ribbon, 25" each

Directions Print
All seam allowances are 1/4", unless otherwise noted. Pictures show the largest bag (quart size) being made.
1. Find the size jar you are using in the chart, above. Cut two rectangles of fabric for outer bag, and two rectangles of lining fabric.
2. Right sides together, stitch around sides and bottom of outer bag. Right sides together, stitch around both sides of lining. Stitch across bottom, leaving a 2" section open for turning the bags right side out later.

3. Press side seams open (makes threading the ribbon through later much easier), trim corners. Turn outer bag right side out.
4. Tuck outer bag inside lining, right sides together.


6. Stitch tops together, then turn both bags right side out through opening in lining. Tuck lining into outer bag. Press top edge of bag. Slip stitch opening in lining closed.


7. Mark two stitching lines, one 2" down from top of bag, and one 2 and 5/8" down from top of bag. Mark with chalk or air-soluble marker. OR, you can mark these distances on a piece of tape on the plate of your sewing machine. Stitch all around bag on both sets of lines, backstitching a few stitches across each seam.

Important note: this largest bag is the only one to have a 2" space at the top. All the rest of the bags have a 1" space at the top. For all the other size bags, measure down 1" from the top of bag for the first row of stitching, then 1 and 5/8" down from the top of bag for the second row of stitching.

8. Using a seam ripper, open stitches at seam between rows of stitching on outer bag side only (do not open stitches on lining). Do this on both sides of bag. This is why you did the backstitching/double stitching in step 7. It keeps that one little opening from unraveling further.

9. Using a large safety pin or bodkin, thread a length of ribbon through one side of casing, bring it back out through the same side and knot the ends. Cut the ends at a 45 degree angle to prevent fraying. Repeat with second length of ribbon on other side.


- Original Drawstring Bag by Threading My Way
- Mason Jar Gift Bags may have gone to these fun parties, including Metamorphosis Monday!
Here are some great ideas for gifts-in-a-jar:
Praline Sauce:


//
var _gaq = _gaq || (); _gaq.push(('_setAccount', 'UA-40392858-1')); _gaq.push(('_trackPageview')); (function() { var ga = document.createElement('script'); ga.type = 'text/javascript'; ga.async = true; ga.src = ('https:' == document.location.protocol ? 'https://ssl' : 'http://www') '.google-analytics.com/ga.js'; var s = document.getElementsByTagName('script')(0); s.parentNode.insertBefore(ga, s); })(); <\/p> //
More posts from Joy @ Yesterfood