
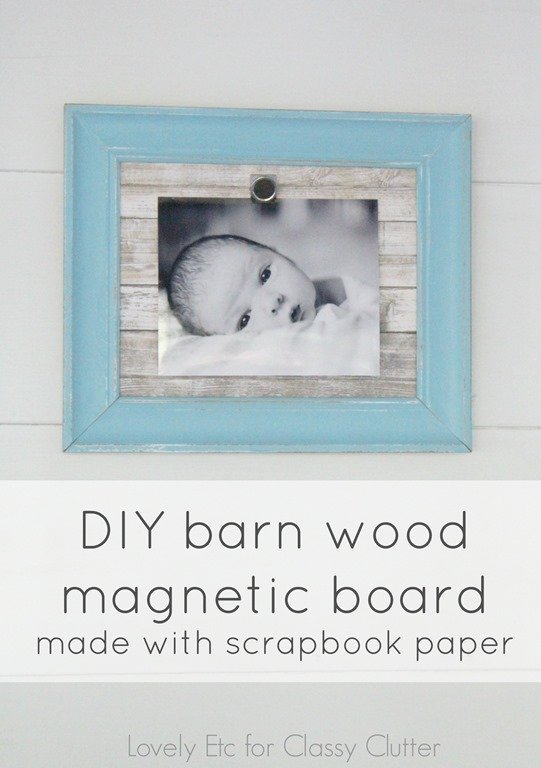
DIY Barn Wood Magnetic Board
Hello, hello! It’s Carrie stopping by from Lovely Etc. again to share another fun, inexpensive DIY project.

I don’t know about you guys but I absolutely love the look of aged wood. Barn wood, pallet wood, whatever you want to call it, it is beautiful. The problem is finding the stuff can be a real challenge and a lot of work. Luckily, today’s project doesn’t actually require you to scout out authentically aged wood at all. All you need are an hour of time and a few inexpensive supplies.

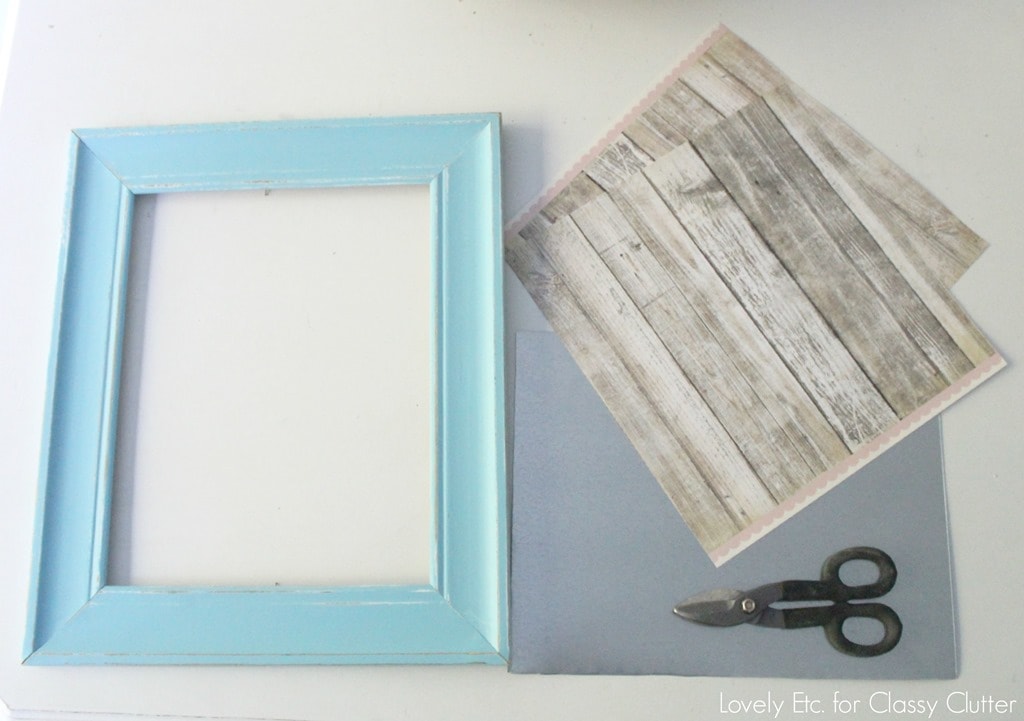
Materials
Frame – you can use any old frame you have at home or find one inexpensively at a thrift store. The great thing is the frame doesn’t even need to have glass for this project.
Sheet metal – you can buy a 2’x3’ sheet of sheet metal at your local home improvement store for around $10. That will give you enough for several projects.
Tin snips – These are like scissors that cut metal. If you don’t already own some, you can get a pair for less than $5.
Wood print scrapbook paper – I bought mine at my local craft supplies store buy you can also buy it on etsy.
Magnetic Board
Turning all of this into a magnetic board is pretty simple. First use a marker to trace the cardboard from your frame onto the sheet metal and then use your tin snips to cut it out. (You should definitely wear gloves for this – the metal can be sharp!)
Next you want to cut your scrapbook paper to be that same size.
When I got to this step, I had a little problem. My frame is bigger than a single sheet of scrapbook paper and when I layered two sheets, there was a very obvious seam.

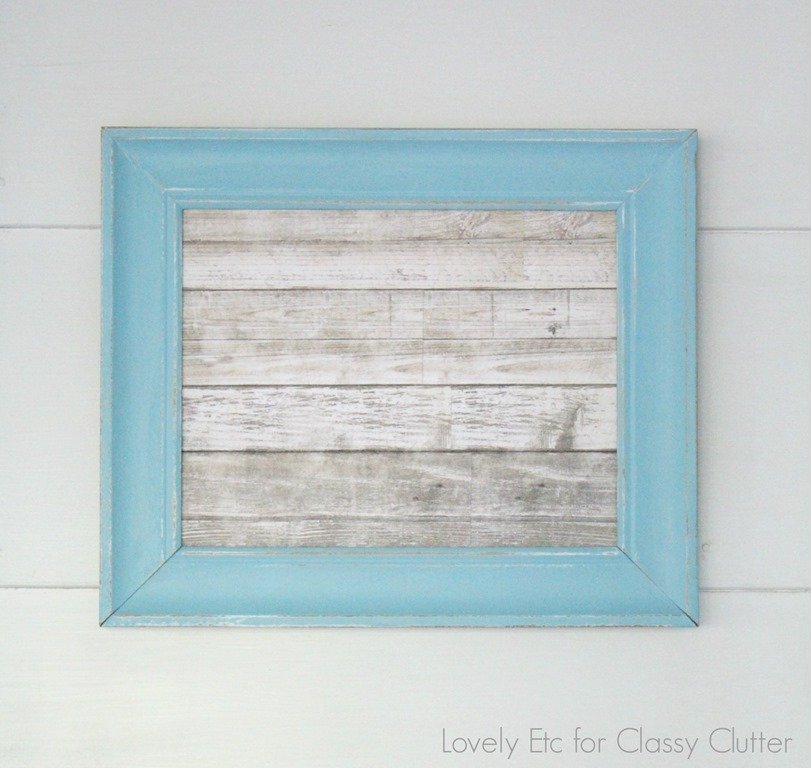
That seam was just crying out “This isn’t real wood! It’s just paper!” Luckily I came up with a great solution. Since I wanted it to look like real wood, I decided to treat it like real wood and cut the different ‘planks’ different lengths.


I used a little two-sided tape to tape the two pieces of scrapbook paper together and then cut the paper to be the same size as the sheet metal I had cut earlier. Then all I had to do was put everything together. I put the scrapbook paper into the frame followed by the metal and the cardboard that came with the frame.


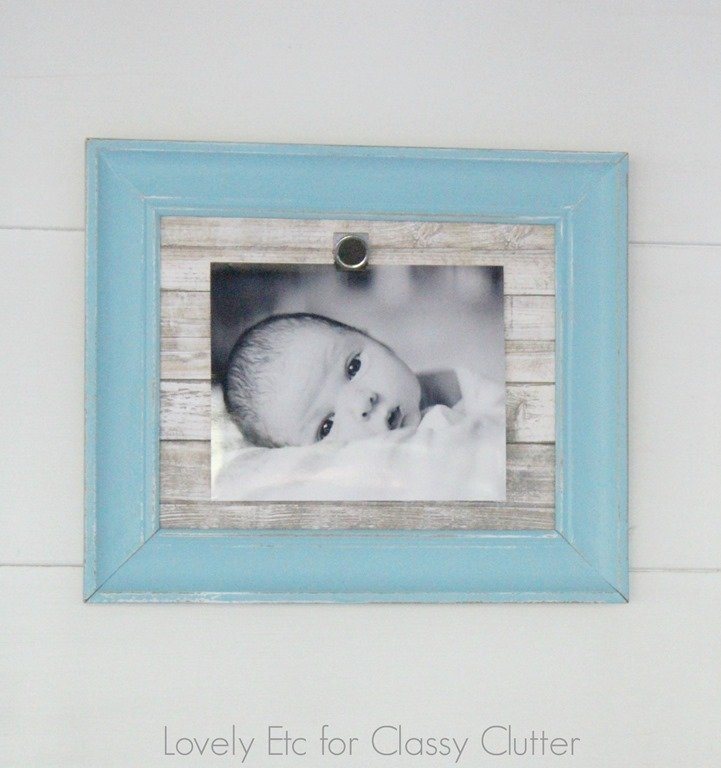
I tried it out with a few photos stuck on randomly and it looked super cute. But I liked it even more with one photo as the star.

The clip holding the photo is a simple magnetic clip from Target. I love how simple it is to change out the photo or even switch it out for free printables, invitations, and reminders instead.
And I swear you would never guess that this wasn’t made with actual wood. I am already brainstorming new uses for my wood plank scrapbook paper!
This is adorable Carrie!!! Thanks for sharing this awesome craft with us! That wood scrapbook paper is amazing!!
Be sure to follow Carrie on Pinterest, Facebook, Instagram, Twitter, and Google

The post DIY Barn Wood Magnetic Board appeared first on Classy Clutter.