
DIY Photo Frames

I've been needing to getting around to rotating Poesy's toys again for some time now. Rotating has been a great way to keep her interested in the toys she currently has in her room, which helps with her need to always want new toys. When I feel her losing interest, I simply pull out the (large) box of stored toys and switch things up. It's a great system, except for the part where you are basically rearranging the bedroom every few months. After this month's switcharoo, I found myself with a big, ugly, blank wall. So, today I'm teaming up with Canon USA to bring you a simple and fun way to fill a large wall!
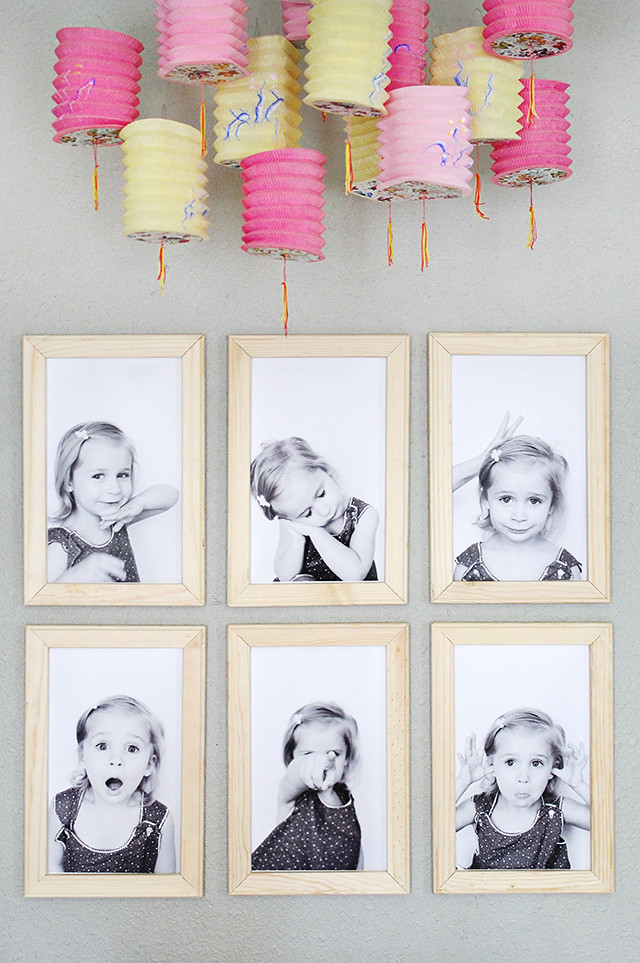
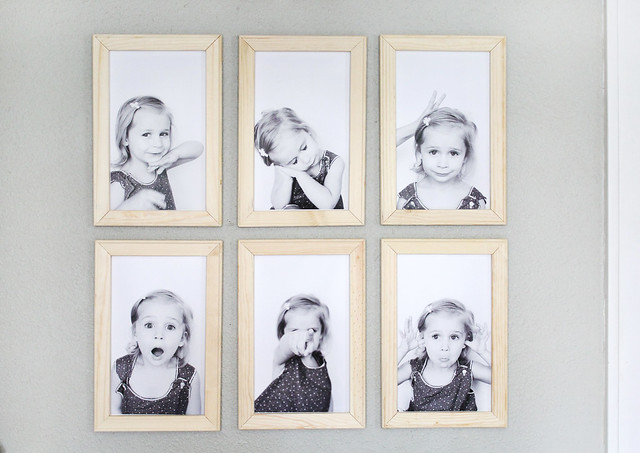
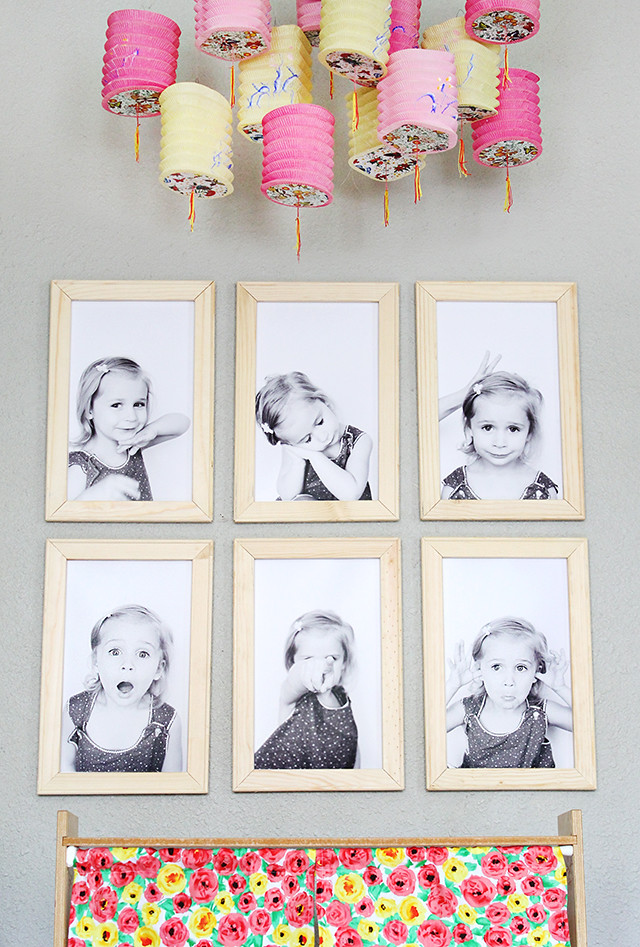
The first thing I did was set up a large white poster board and had a photoshoot with Poesy. I love shooting photos of kids because it's so easy to get real emotions from them. "Poesy, how do you feel when someone takes your toy? Poesy, how do you feel when it's bedtime?" I had SO MANY adorable pictures, it was hard to choose just six!
The first thing I did was set up a large white poster board and had a photoshoot with Poesy. I love shooting photos of kids because it's so easy to get real emotions from them. "Poesy, how do you feel when someone takes your toy? Poesy, how do you feel when it's bedtime?" I had SO MANY adorable pictures, it was hard to choose just six!

After I made some decisions, I printed my photos out with my Canon PIXMA iP8720. This printer prints large photos! I used 13"x19" photo paper to make these prints!


Instead of spending a bunch of money on frames, I went the cheap route and bought canvas stretchers at the craft store. I trimmed the photo to fit the back and used a staple gun to secure them. I added an additional staple at the top for hanging.
The nice part about these canvas stretchers is that you can make them lots of different sizes and each frame only ended up costing about $4! I love budget friendly projects.
The nice part about these canvas stretchers is that you can make them lots of different sizes and each frame only ended up costing about $4! I love budget friendly projects.


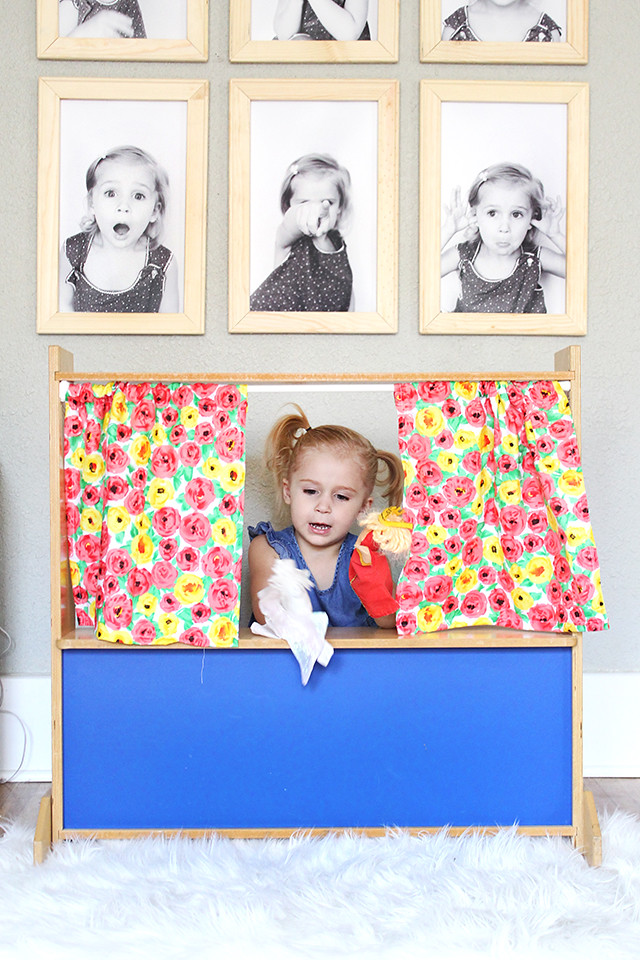
I'm super happy with the way this project turned out! That wall has been needing something special for quite a while and I think this was the perfect fit! So much personality! xo.


More posts from Katie Shelton