
Coffee Table Turned Desk
Today’s post is coming to you from Amber, creator of the blog The Restless Arrow (formally The Queen and Her Court) , who will be sharing an awesome project that will blow you away! We love Amber’s blog and her fresh ideas and style. We are very excited that she is sharing her coffee table to desk transformation.
________________________________________________Hey there!
I am so honored to be guest posting with some of my favorite girls! Aren’t they amazingly talented!?? I even thought we were going to actually meet in person when they were down South on vacation but we just missed each other!
They have been so encouraging to me…especially as I started this One Room Challenge that turned from a Craft Room Makeover to an Outdoor Room Makeover.

Since it finally came time for our family to purchase a new computer, my room moved to the top of the list.

You see, the floor was painted (with a SHARPIE!!) with flowers. But, we knew buying a new computer meant having a place for it to go that was away from our boys. Enter this painted floor:

Not good. I also needed a desk (to put the computer on-again, out of reach!) so after painting the floor (eleven times! That’s a story for another day!), it was time for a desk. I had LOVED chunky, round legs but it just wasn’t in the budget to buy a table or a desk like I envisioned. I knew we had an extra table in one of the boys’ room that wasn’t really being used and I had a vision to add legs and make it my desk!
So I did what any normal person would do when they needed a desk….I took the whole family to our local home improvement store and purchased deck posts!

Before I could take a good before picture when we got home, my husband had those legs off in no time (before we left, I made sure they would come off easily without changing the top of the table).

The hardest part was probably the first step. Because the end of the deck post is round, my husband took his miter saw and flattened the end.

We measured the other legs (posts) to be sure they were all the same length and sawed off some of the top (technically the bottom) of the leg post, as well.

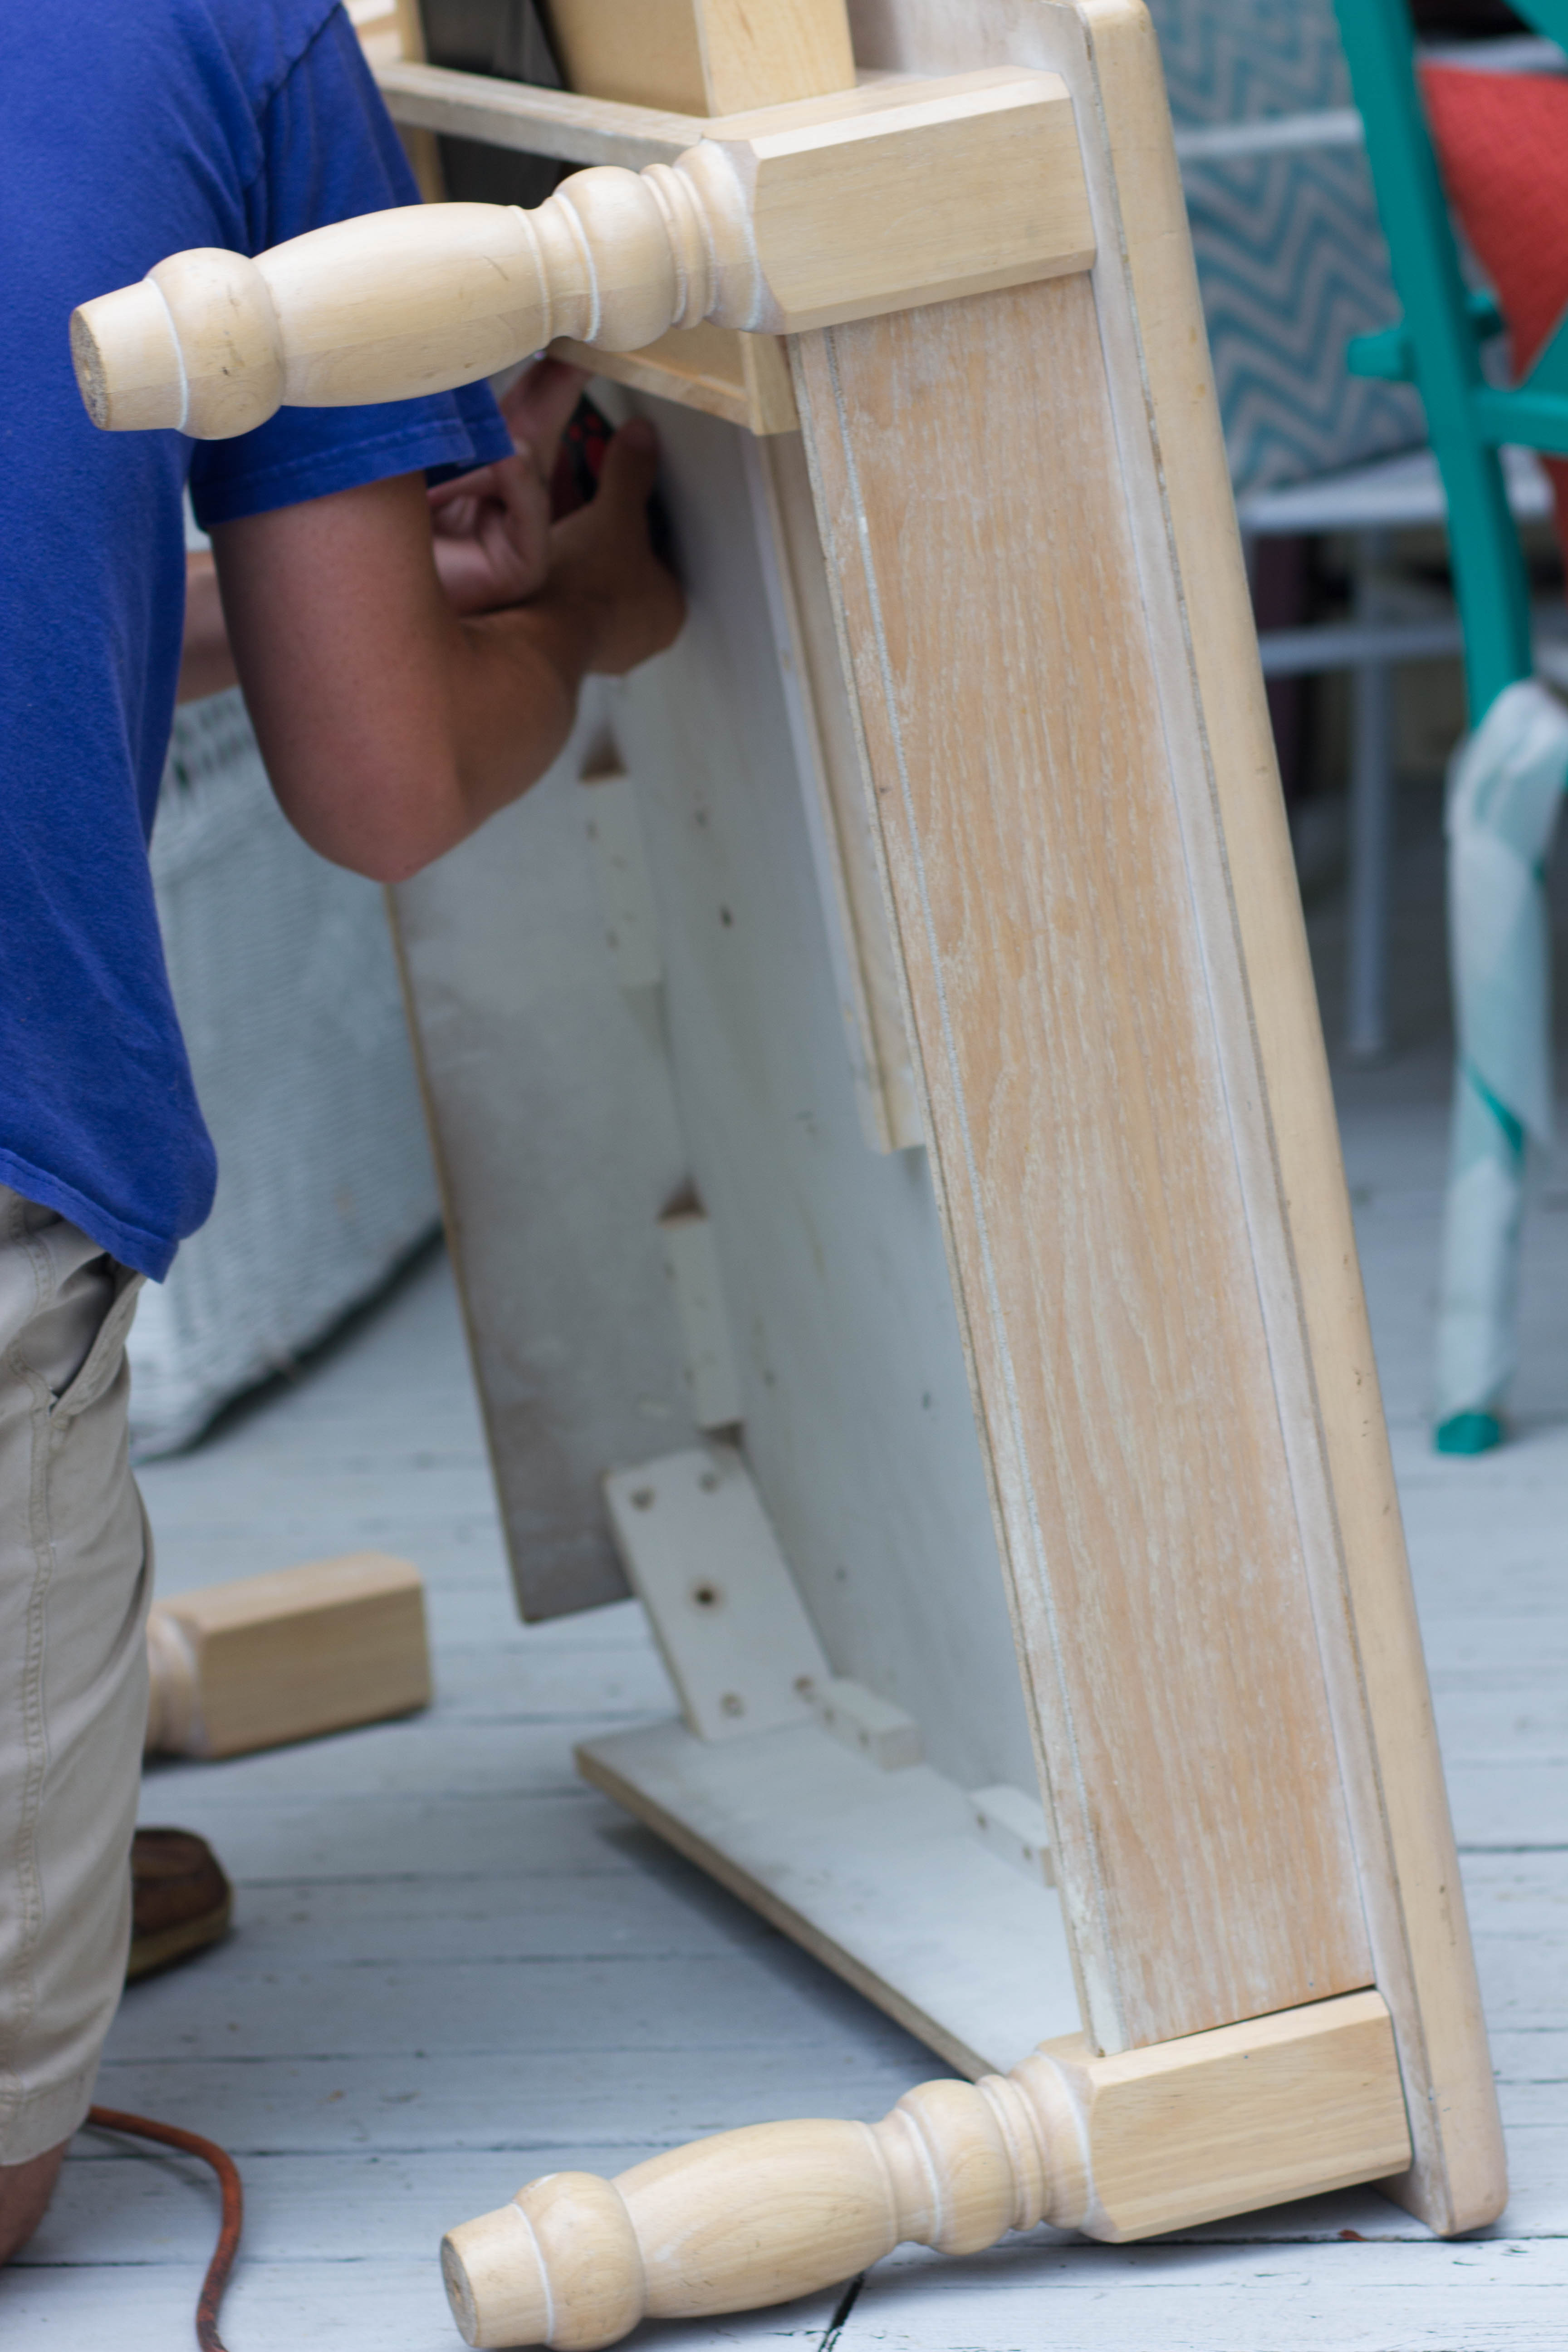
The rest is so simple. He took off the previous legs and we took off all four angle braces that were not serving a purpose other than making it sturdier. (Since our legs wouldn’t fit with the braces, we had to remove them.)


We thought we may be able to screw them in from an angle but my husband remembered our extra L-brackets from our DIY Pallet Sofa and DIY Pallet Sectional and we used eight (two per leg) of those instead.


Once the table was put together, it was time to figure out what kind of finish I wanted. I really thought I wanted a natural finish but I’ve learned I really love painted furniture and definitely wanted a coastal cottagey vibe in here.

I found a couple of tutorials for the barn wood finish like I envisioned but this one from the House of Smiths helped me the most. I skipped some steps in her tutorial so here’s what I did:
- Stain it with Rust-o-leum’s Weathered Gray.
- Prime it (seriously, I didn’t think this made sense, but do it.) with a flat, white paint.
- Repaint using the color you desire for the finish. In my case, it was a leftover gray from a sample I had.
- Barely mix some black acrylic paint with your paint from the previous coat.
- Sand it lightly.
- Seal it.
The tutorial I found was much more detailed but like I said, I skipped a lot of the steps so I thought I’d just share what worked for me!


I painted the legs, but didn’t seal them, for the final step of the make-over. Because of the length of the legs and the lack of width in our staircase, we had to remove the legs to get the table upstairs. Lastly, the legs were screwed back into the tabletop.


I’m in love. Really. I was determined to only put things in this room that I was truly in love with and this started me off right!


Thank you, again, Emily and Erin, for allowing me to share with y’all today!
________________________________________________What an amazing transformation! Thank you so much, Amber, for sharing your talent with us today!
________________________________________________ You may also like:


