
HALLOWEEN NINJA COSUME TUTORIAL

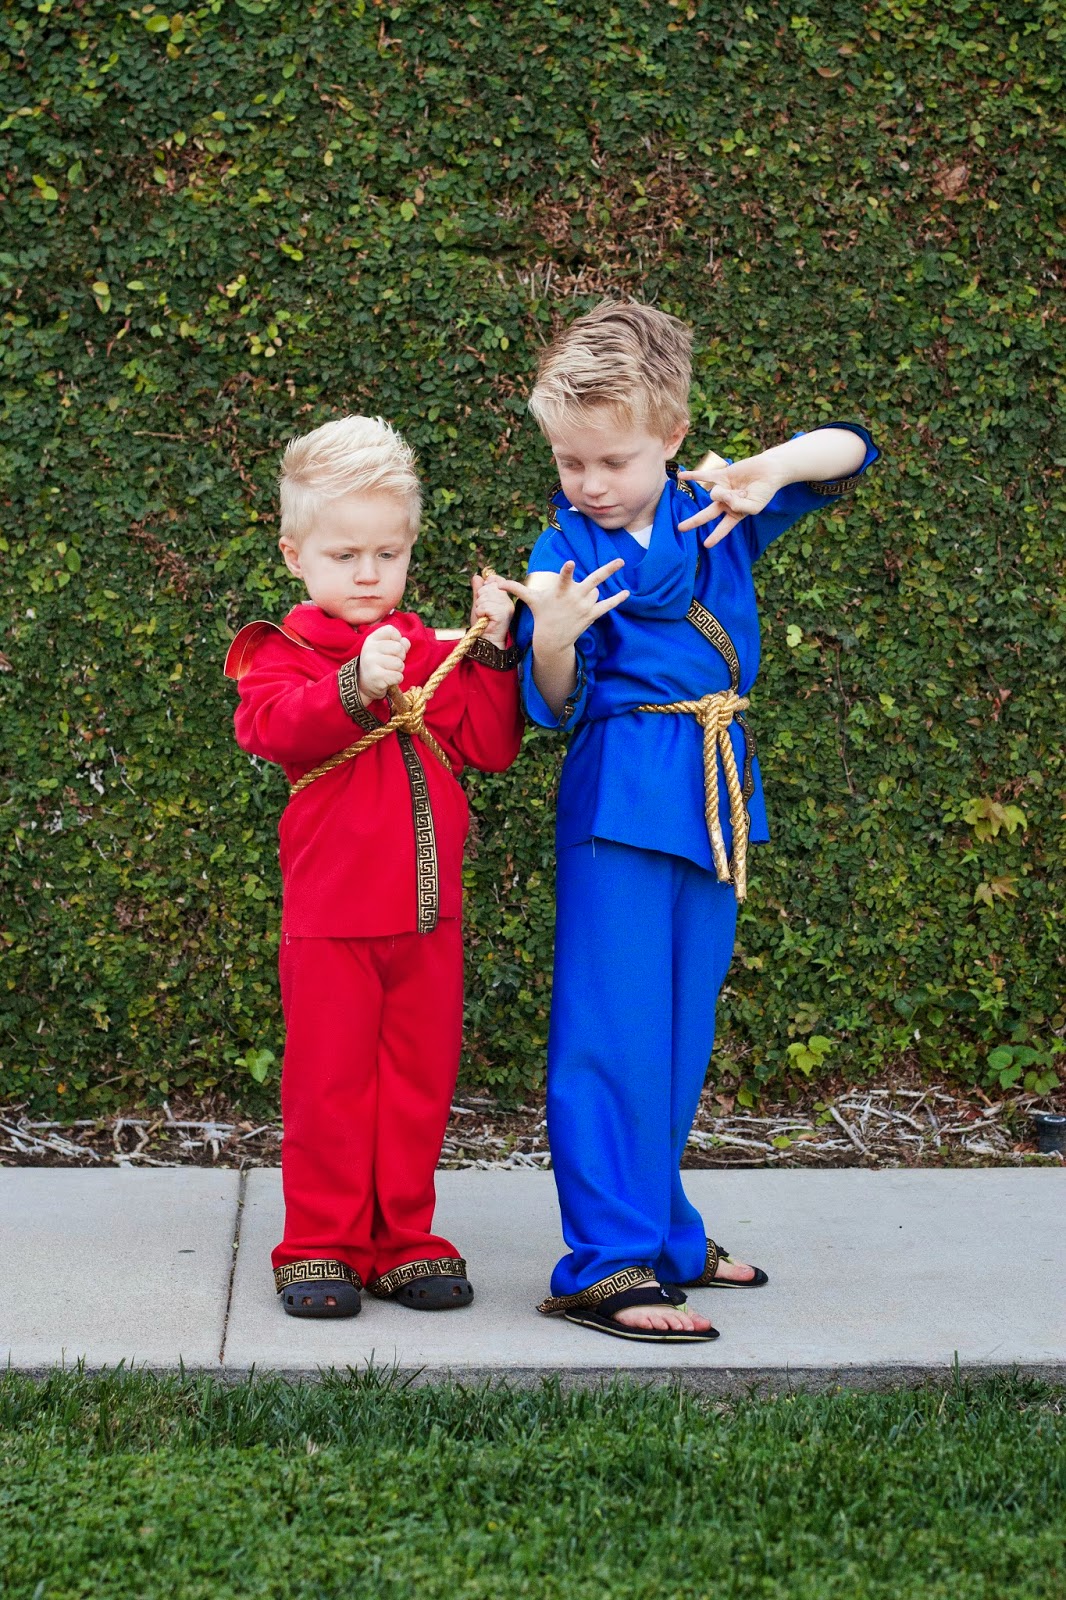
Do your kids go back and forth over what they want to be for Halloween as much as mine do? One day they were going to be Ninja Turtles, the next they were Mario and Luigi. So I usually hold off on buying fabric for their costumes until 2 weeks before Halloween and go with whatever their latest desire is and tell them there is no turning back. So a Red Ninja and a Blue Ninja it was! Technically these are ninjas from the show Ninjago (which they pronounce incorrectly as "Ninja-Go!" and it is adorable). I wasn't about to attempt the cardboard lego-head look, so I just made the costumes as close to the characters as I could. And if you ask me, these ninjas have some pretty sweet Ninja-Go! moves. (keep your eyes peeled for the raised pinkies)


I'd say that Crocs and flip flops really complete the look.
Make your own! They are fun, fairly simple, and a lot better looking than some of the store bought ninja costumes (although those are always so tempting when I am up sewing into the wee night hours).
Click through below for the tutorial...
Make your own! They are fun, fairly simple, and a lot better looking than some of the store bought ninja costumes (although those are always so tempting when I am up sewing into the wee night hours).
Click through below for the tutorial...


Materials:
- 1 1/2 yards fabric for 4T/5T (1 yd fabric for 2T/3T)
- 3 yards of trim
- 1 1/4 yards of rope
- 1 yard of 1" wide elastic
- matching thread
- 15" thick gold leather/ribbon

Step 1:
Using an existing top and pajama pants, lay them flat onto you fabric folded lengthwise and cut to create your pattern pieces. Make note of the fold in the first photo above, to keep your pieces symmetrical.
*When cutting out your pant legs cut the top of the pants 1 1/2" above the actual pant. This will be turned over for the waistband. Also, the front of the waist is usually about an inch lower that the back of the waist, so make that adjustment after cutting out your 2 pant sections.
Step 2:
Place your two top front piece r.s. together on top of your top back piece. Stitch with 1/4" s.a. along the neckline, and along the sides, leaving an opening at the top for the sleeve hole.
Step 3:
Fold your sleeve piece r.s. together and stitch along the side with 1/4 seam allowance. Do this to both sleeves.
Step 4:
With the top section still inside-out, slide one sleeve right-side-out into one of the arm holes, matching up the seam allowances. Stitch the sleeve around the hole with 1/4" s.a. Repeat with second sleeve.
Step 5:
Fold a pant leg r.s. together lengthwise and stitch from the bottom of the inside top curve down the full length of the pant with 1/4" s.a. Do the same to the second pant leg. Then with both pant legs still inside-out and facing the same direction, slide one pant leg into the opening of the other pant leg, matching up seam allowances at the top. The curves at the top of the pant leg should all match up and form a U when flattened (see photo). Stitch along this curve 1/4" s.a. and turn r.s. out.
Step 6:
Fold the top of your pant waist over (with the raw edges facing inward) 1 1/2" and press. Stitch along the edge of the fold leaving a 2" opening. Cut elastic to measure 1" larger than your child's waist (when fitted snug around the waist) and insert it into the 2" opening for the waistband. Stitch the elastic together once it has gone all the way around the waist, and then stitch the 2" waistband opening closed.
Step 7:
Now attach the trim. I didn't really measure my trim out for each area, I just grabbed my trim, laid it on top of the edge of the section I was adding trim to, with about 1/2" overlapping the fabric, and stitch it to the fabric all around, cutting off when you get to the end. Add from No Fay to the trim edges to keep from fraying.
For the "Ninja Masks" (I'm going to go ahead and use that term lightly), I just cut out a rectangle that measured from ear to ear, create a few small pleats and stitch those up, and attach some elastic that will fit their head so that it is snug but not too tight.
I also cut some of the leather trim about 7" per shoulder, and hot glued it along the curve of the shoulder to give it a bit more "warrior" feel. I got extra brownie point from the boys for this touch.
Then hot glue/tape/burn the edges of the rope to keep from fraying and you have your belt!
More posts from Leanne Barlow