
DIY Mod Podge Planter

One of the best things that’s happened since the creation of FoodFash is the realization that creating things, being a maker, is huge part of what makes me happy. Whether it be with knives and pots, scissors and fabric, or lens and subject – spending time with my crafty side to the tune of a nostalgic playlist is, often times, right where I need to be.

So right before the new year, when I had this overwhelming urge to renovate my bedroom, I knew I wanted to balance purchased items with some DIY. A few Google searches later and I was acquainted with Mod Podge and “fine paper”. I first made canvases to hang on the wall and then, with the leftover paper, experimented with a planter. A planter that is too cute and too easy not to share!

Supplies:
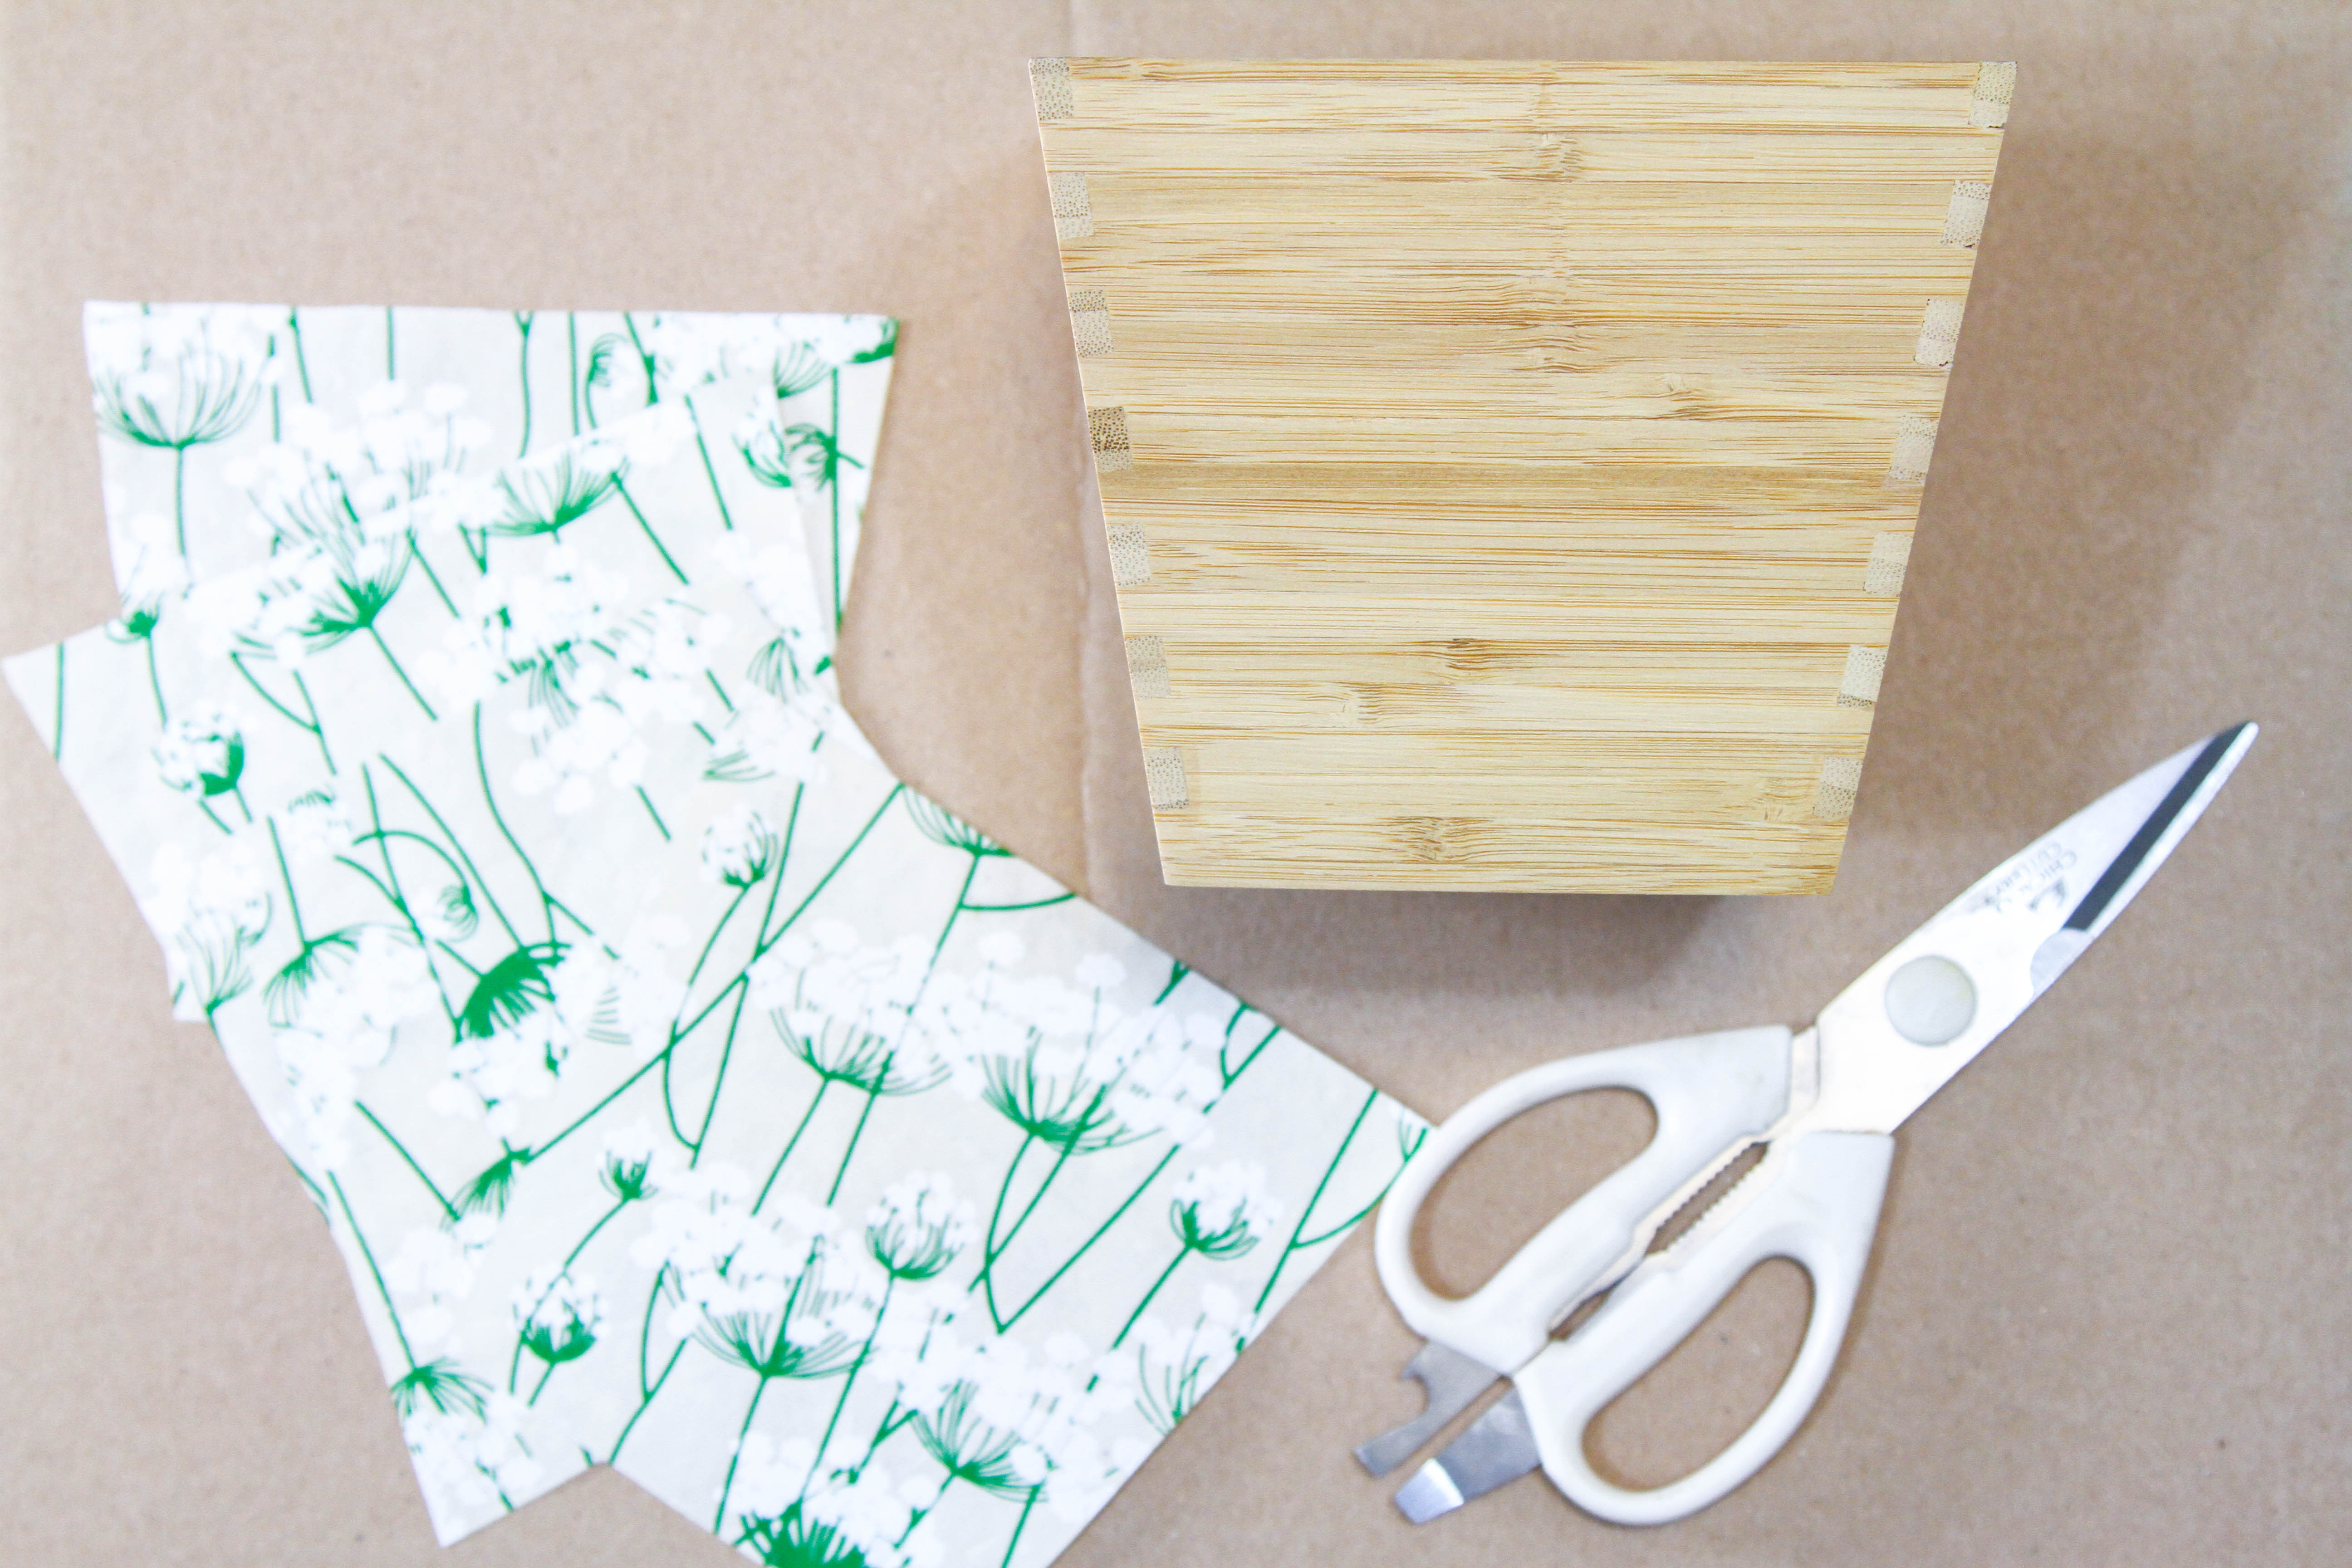
- Wood Planter {Ikea – $5.99}
- Fine Paper {Paper Source – $6.50}
- Tools: Scissors, Pencil, Paint Brush
Directions:
1. Place the side of the planter on the paper, making sure the direction of the print is correct.
2. Trace around the planter {repeat until you have 4 traced shapes}.
3. Cut out the shapes and set aside.
3. Use the paint brush to generously coat Mod Podge on one side of the planter.
4. Place one of the paper shapes on the planter and, starting from one side, gently press the paper onto the planter, removing any creases or bubbles {repeat on each side}
5. Let the planter dry for about 30 minutes.