
Vegan Sugar Cookies
I can't even begin to tell y'all how empowered I felt yesterday afternoon baking these delicious and beautiful cookies. You know for the few years I have been slowly but surely trying to step up my cooking game but I had never really attempted much baking. Mostly because the idea of learning to bake didn't interest me and trying to accommodate recipes for two and then still one child with severe food allergies seemed daunting. Truth be told, pretty pastries look hard y'all. But armed with the confidence of a a few recipes and the determination to make something special and safe for my little man I dove in head first. And I think I've found a not only a delicious cookie recipe that is allergy friendly (dairy free, egg free, and peanut free) but I may have just discovered a new passion in the kitchen!
Vegan Sugar Cookies
(These are peanut-free, dairy-free, and egg-free)


VEGAN SUGAR COOKIES
1 1/2 cups powdered sugar
1 cup of vegan buttery spread (make sure you use the sticks not the tub) room temperature
1/4 cup vanilla soymilk
1 teaspoon vanilla extract
2 1/2 cups of all purpose flour
2 tablespoons cornstarch
1 teaspoon baking soda
1 teaspoon cream of tartar

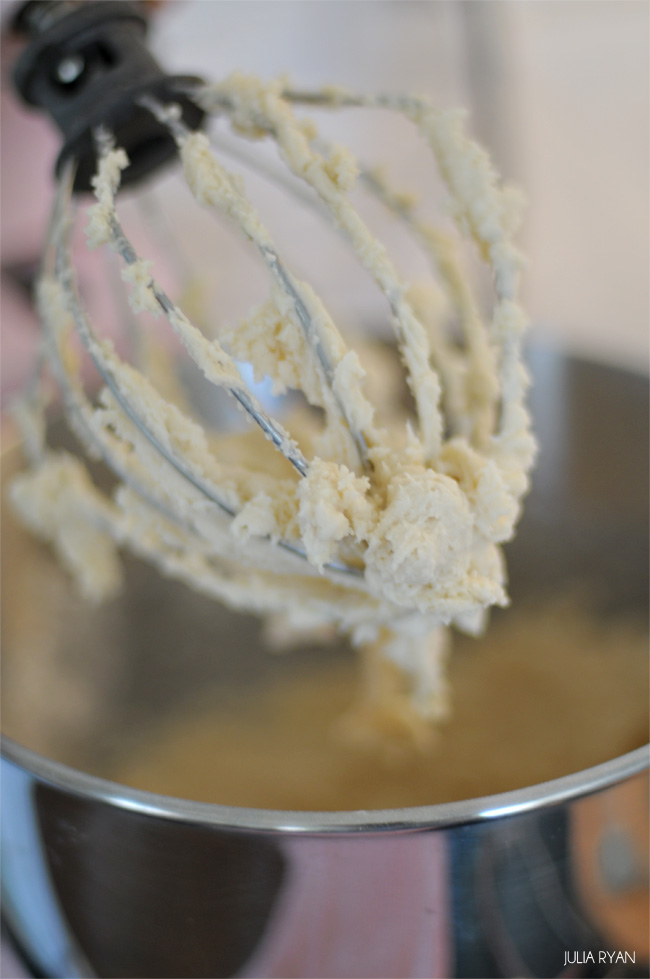
In your electric mixer bowl, combine 1 1/2 cups of powdered sugar, 1/4 cup of soy milk, and 1 teaspoon of vanilla extract and beat on medium until combined. Using a sift, add in flour, cornstarch, baking soda, and cream of tartar until well blended.
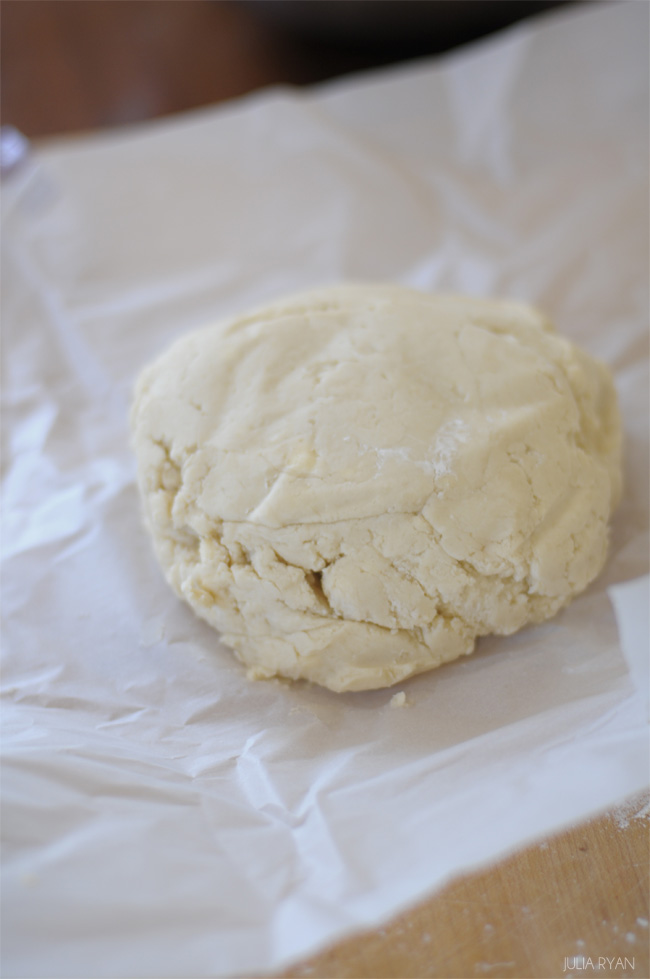
Place on a sheet of parchment paper and wrap up. Refrigerate for at least two hours.
Place on a sheet of parchment paper and wrap up. Refrigerate for at least two hours.


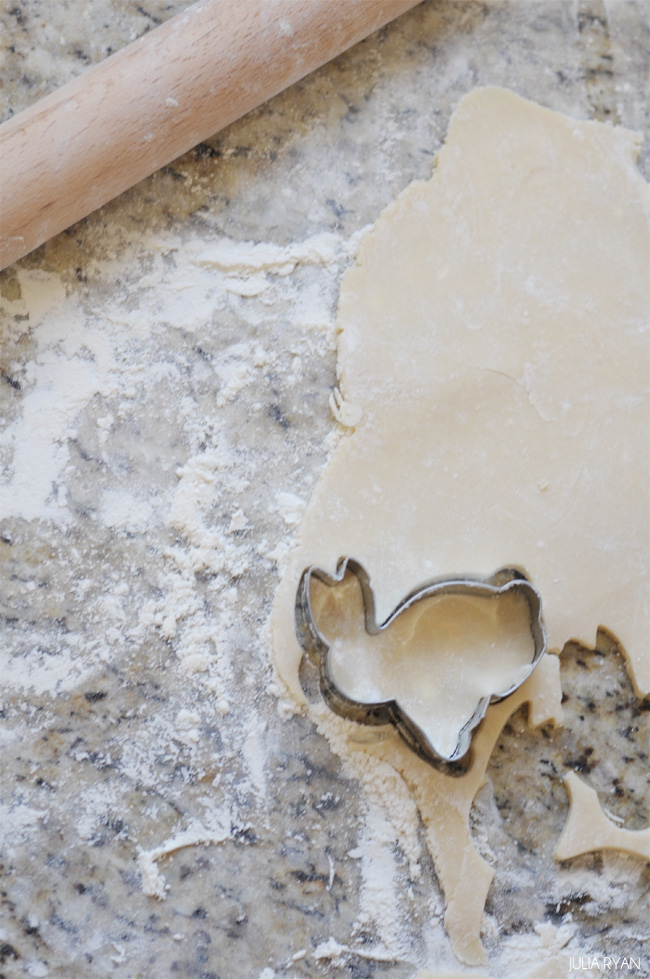
Remove from paper and place on a well floured surface. Roll with a floured rolling pin until about 1/4 inch thickness. Cut out shapes with cookie cutters and place on a cookie sheet also covered in parchment paper.
Bake on 375' for 7-9 minutes or until edges are slightly golden brown. Remove from the cookie sheet and allow to cool on a rack until no longer hot to the touch.


VEGAN SUGAR COOKIE ICING
4 cups of powdered sugar
4 tablespoons of vanilla soymilk
1 teaspoon vanilla extract

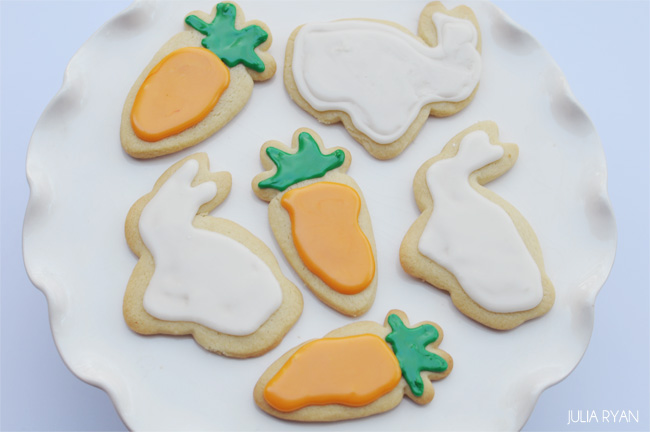
I made the whole batch of icing in a mixing bowl and then separated out a portion into two smaller bowls in order to make three different colors. I dyed one orange using four drops of yellow food coloring and one drop of red. The other bowl was tinted with three drops of green dye. Obviously the white for the bunnies didn't need to be tinted at all.
I placed a plastic bag in a clean bowl and spooned my icing in. I then lifted the bag out, tied a knot, and clipped a tiny hole in the end to create a piping bag. I did this with all three colors.

Begin icing by tracing an outline of the area you want to fill. Immediately fill in the center using a zigzag pattern similar to when you use glue. Careful not to fill in the entire area or you will have incing melting all over the place and running off the cookie. Use a toothpick to guide the icing and fill in the entire area. It helps if you ice the cookies while they are still slightly hot. This technique is a game changer!

Sit back and admire your work! Enjoy! I bought carrot and bunny cookie cutters obviously to practice this recipe in time for Easter. You could also just roll your dough into a log and slice for round cookies. I can't wait to start scheming different cookies for the next holiday! This was just too much fun!
And no, I didn't create this recipe through hours of countless guessing and measuring and science experimenting in the kitchen. I found it the new-fashioned way, online. Click here for the original recipe. Pawleys Island Posh
More posts from Julia Ryan