Geometric Mountains DIY Wall Art
I am proud to be a 3M sponsored blogger, and, as part of my responsibilities, I get the opportunity to evaluate ScotchBlue™ Painter’s Tape. Opinions are my own and additional products used in the project were selected by me.

This fun wall art project combines so many of my favorite things into one piece: geometric designs, ombré, shades of blue, mountains, gold accents, and natural wood. You could create a very similar piece on a canvas, but I especially love the way the natural wood looks next to the painted areas. This wall art is actually pretty easy to create thanks to ScotchBlue™ Painter's Tape, however it took me a while to get here. For me this was one of those projects where I had too many ideas spinning around in my head at the same time, and it was hard to settle on just one. Originally, I had taped out this abstract geometric gem, and I had created a color palette with a lot of different colors, but I ended out settling on this mountain design because it is so much easier to recreate. I'm glad I did, because there is something really beautiful about the simplicity of these mountains.


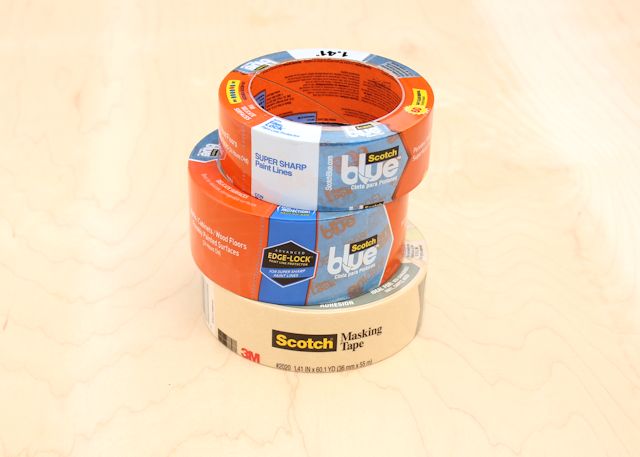
What you need:
- ScotchBlue™ Painter's Tape Delicate Surfaces with Advanced Edge-Lock™ Paint Line Protector 2080EL Delicate Surfaces with Advanced Edge-Lock™ Paint Line Protector 2080EL
- Finely Sanded Plywood (I used 1/8 inch)
- Acrylic Paint (blue and white)
- Gold Paint
- Paintbrush

What you do:
1. Start by sanding your wood surface and wiping it off with a slightly damp cloth. The plywood I used was already very smooth and I only needed to lightly sand near the edges.
2. Plan your design. I sketched a little design to follow on a piece of paper and used that as a model. You could also lightly sketch the mountains onto your wood surface with pencil and erase them at the very end.
3. Use the ScotchBlue™ Painter's Tape to tape your mountain design. The tape is easy to tear, but I used scissors to get precise edges for my mountain peaks and valleys. The tape is also easy to remove if you want to slightly adjust your design as you go along.

4. To make sharp points for the peaks and valleys, cut both edges at an angle. When I first started I was having to cut the edges a few times to get them to line up, but after a few pieces of tape, I'd gotten the hang of it.

5. Once you've finished your whole design and are happy with it, you're ready to start painting. I mixed together the shades of blue paint colors I was planning on using before I started. I made sure that I had more than enough paint to cover each area. If you run out of paint and need to mix more, it's almost impossible to exactly recreate a color. It's recommended to have a base coat for best results using ScotchBlue™.
6. Start painting the mountains. Paint away from the tape edges. I painted two or three coats.

7. Let the paint dry for 24 hours before putting painter's tape on top of painted areas. Now tape off three mountain peaks. I made them diamond shapes.
8. First paint a coat of white paint and let it dry, then add a couple coats of gold paint.


The ScotchBlue™ Painter's Tape is great for using on delicate surfaces and leaves very clean and precise lines. I really love the way the natural wood surface looks against the painted white geometric mountains. I also love how you can see a little bit of brushstrokes if you look closely. I made sure that they were all vertical. If you don't like this look, you could use spray paint instead of acrylic paints or use more coats of paint.

Be sure to check out the ScotchBlue™ Painter's Tape Website for more information and inspiration. You can find everything there from helpful tutorials to creative project ideas. You can also follow along on their Pinterest page, Twitter page , and Facebook page.

More posts from