
How To Make Clip Ins For Natural Hair

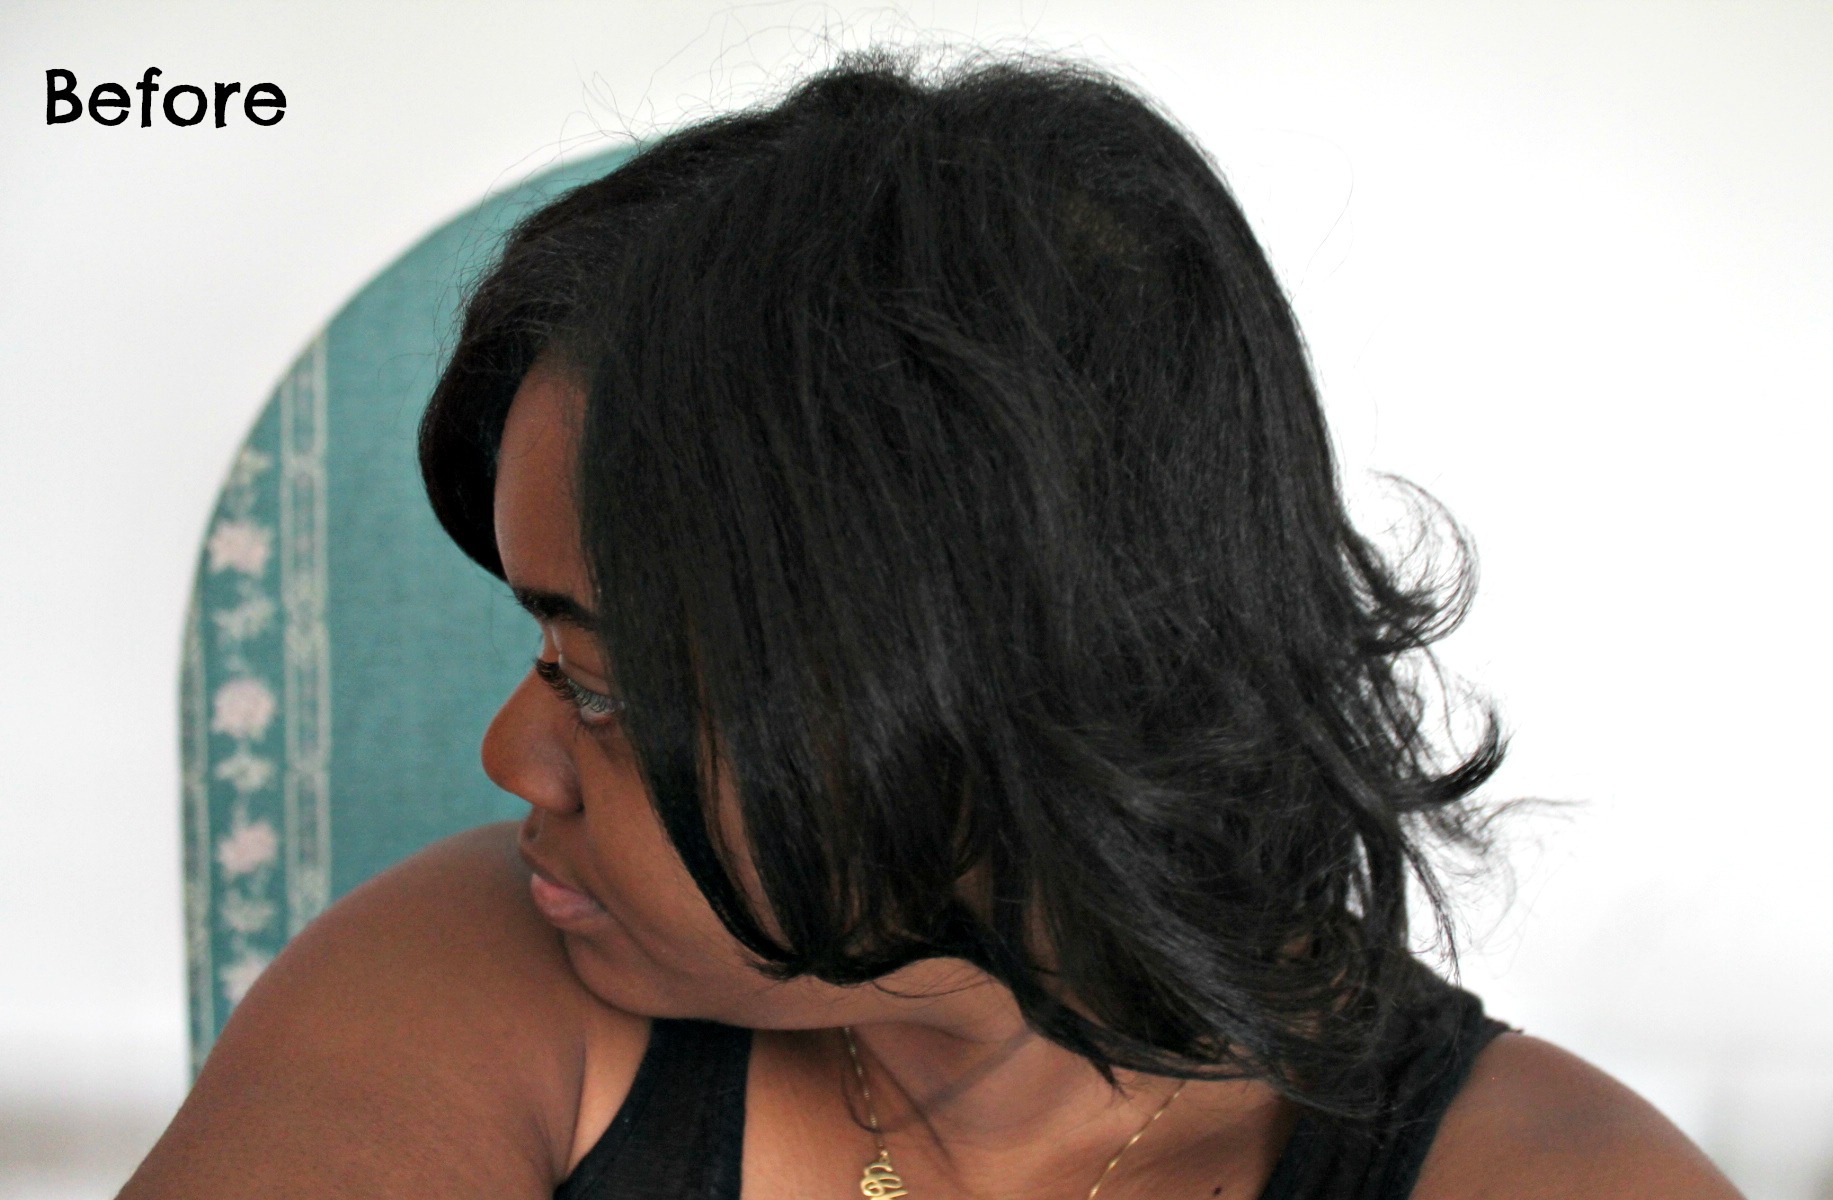
Over the Thanksgiving holiday, I got my natural curls blown out for a length check and also because I traditionally heat-style my hair for the Holiday season. I’ve been doing it for a few years now and I am SO pleased with how my hair has grown and flourished since going natural back in 2010. The only thing that frustrates me about straightening my natural hair is that because I have really fine hair, I can never achieve the volume I want. I’m very happy with my length at this point (my hair is about 12 inches) but with longer length comes less volume for me.
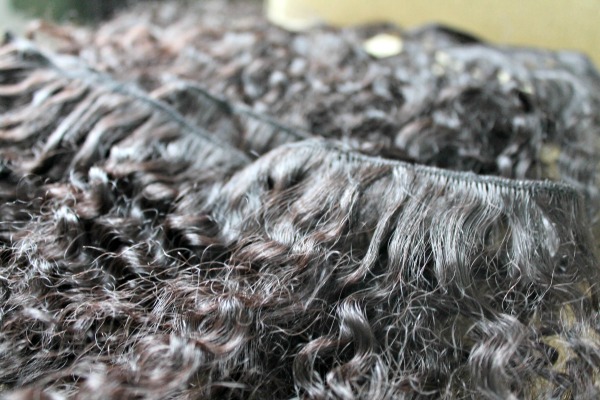
So this year I opted to make clip ins for natural hair using some Afro Kinky extensions I was gifted by True Indian Hair. I’ve been familiar with True Indian Hair for quite a while now. I filmed a video tutorial with them for Vibe Vixen a few years ago and the owner Karen Mitchell is very sweet and super knowledgeable about the hair extensions industry. I loved using their Indian Afro Kinky texture in 14″ for this look.

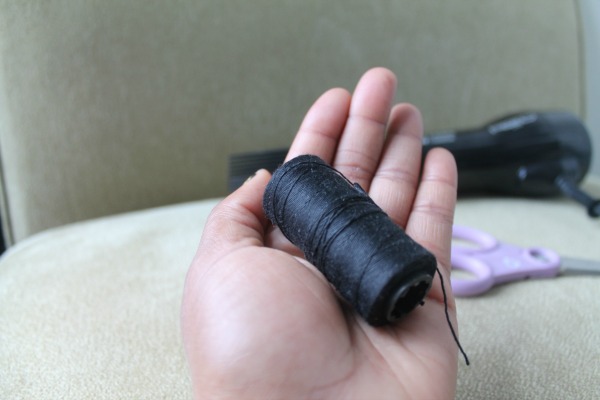
What You Need:
- Scissors
- Weaving Thread
- Wig Clips (2-3 per track)
- Afro Kinky textured extensions (14 inch – I used just one bundle for this look)
- Blowdryer
- Shampoo, conditioner & styling products
Step 1: Measure & cut extensions

Cut the extensions to your desired length by measuring around your head. Be sure to leave space around the peripheral of your head for some of your own natural hair to cover up the tracks.
2. Sew Wig Clips to Hair

You want to set aside at least 2-3 wig clips for each of the extensions you’re using to make a clip-in.


Make sure you sew them on securely! The last thing you want is for your clips to slip off. (Ain’t nobody got time for that)
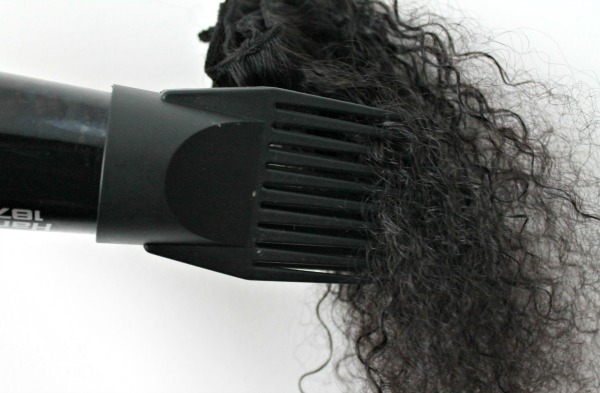
3. Wash & Blowdry the Hair

This step can actually be done first, but I opted to wash my hair after the clips were sewn on there. Washing them in individual pieces as opposed to in the bundle is actually easier for me. Use your favorite shampoo and conditioner. The hair will need to be damp so you can blow-dry it.

Next step (for me) was blow-drying my clip-ins so that they would blend with my pressed natural hair. If you’re planning to wear your clip ins curly, feel free to skip this step altogether.

Once you’re done blow-drying, the hair should be straight but still have volume. That’s the beauty of afro kinky extensions, they don’t get bone straight so they blend really well with your hair if you have Type 4 curls.
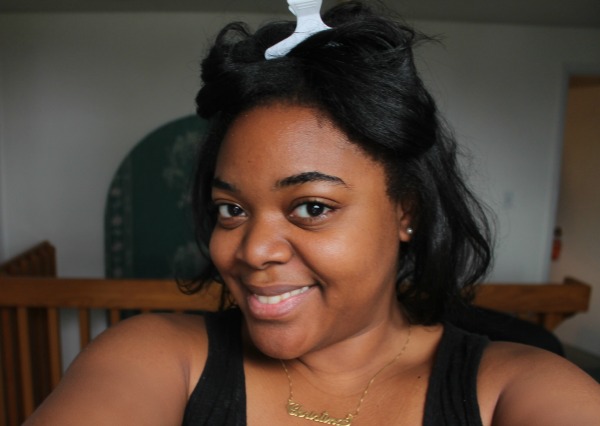
4. Section Hair & Install Clip Ins

I used duck-bill clips to section my hair and installed the clip-ins (I made three total) into my hair from the bottom, working my way up.

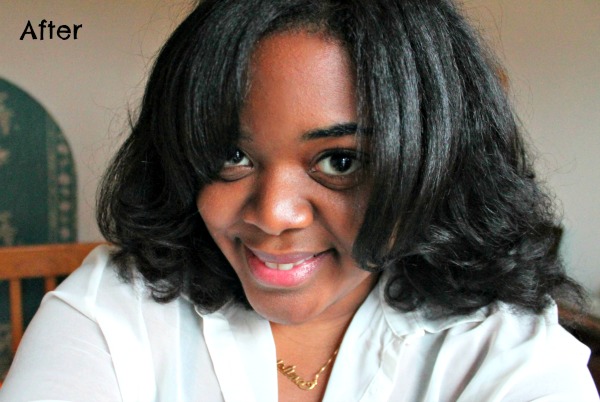
They blended in really well. and gave my hair just the right amount of volume. I styled the hair in soft curls using my curling wand and heat protectant (I really like Ouidad’s Mongongo Oil – wrote about it here). Here were my results and a before/after comparison so you can see the difference.


If you want to try this hair, head over to True Indian Hair and use the code LOVEBROWNSUGAR for 10% OFF until 1/20/14! I used their Indian Afro Kinky texture and mixed it with my curls to achieve this look.

Anyone else out there with natural hair that’s fine in texture? Would you consider using clip-ins? Have you? Soundoff below.
The post How To Make Clip Ins For Natural Hair appeared first on LoveBrownSugar.