Some nursery progress... lighting and nook plans


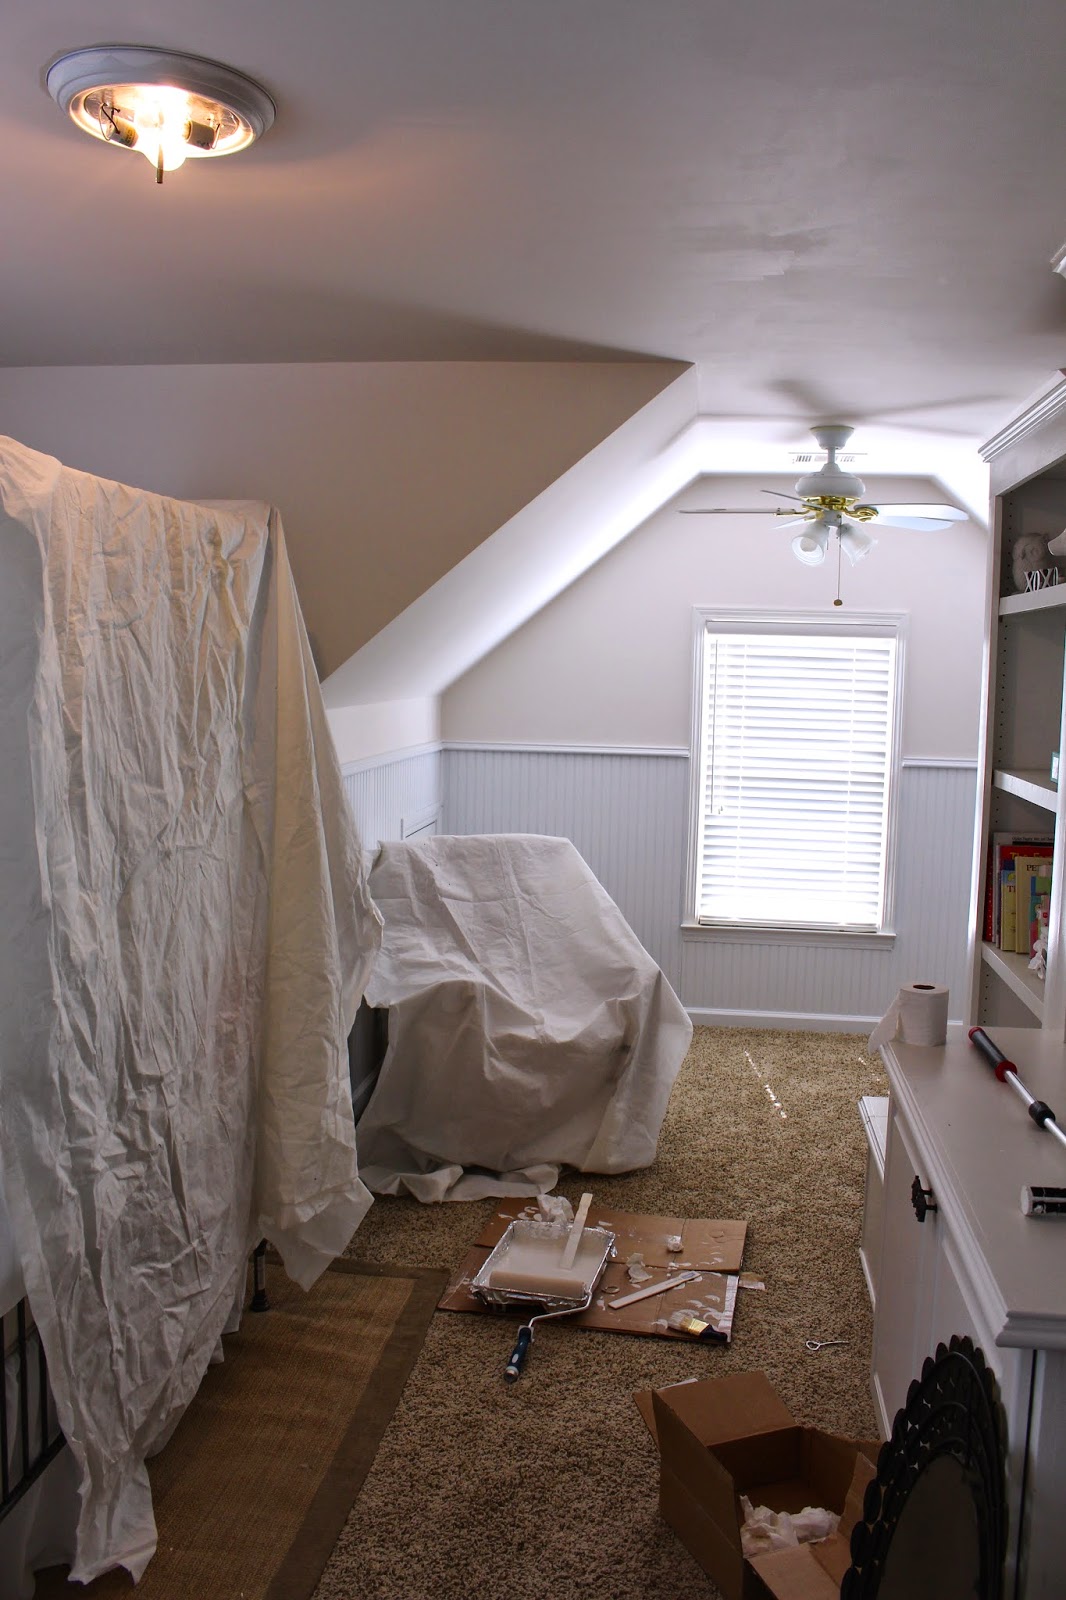
...with the help of my sweet nursery-painting husband, and Sherwin Williams paint in Marshmallow.
You may notice the (de-boobed) boob light in the photo above. Not really anything I was super excited about. Also, the fan in the little nook area. A lil' backstory... When the room had the bunk before, the previous owners must have swapped the fan (which was originally meant to be in the middle, large part of the room) with the little boob light because of the bunk bed. The last thing you need is a kid getting a fan blade to the head while climbing up to bed. So that made sense for that situation.
Problem was, the room is wired for the fan to be in the middle of the room. There are two switches on the wall that control that particular fixture box (one for the fan, one for the fan light), and then a third, single switch on the wall to control a singular fixture in the little nook.
While it worked with the fan, you couldn't control the fan and light separately and because the boob light was wired to a fan box (with two controls), one switch on the wall was useless.
So we figured it would make the most sense to put the fan back where it belonged so we could control it correctly from the entrance of the room and pick out something a little fun for the nook.
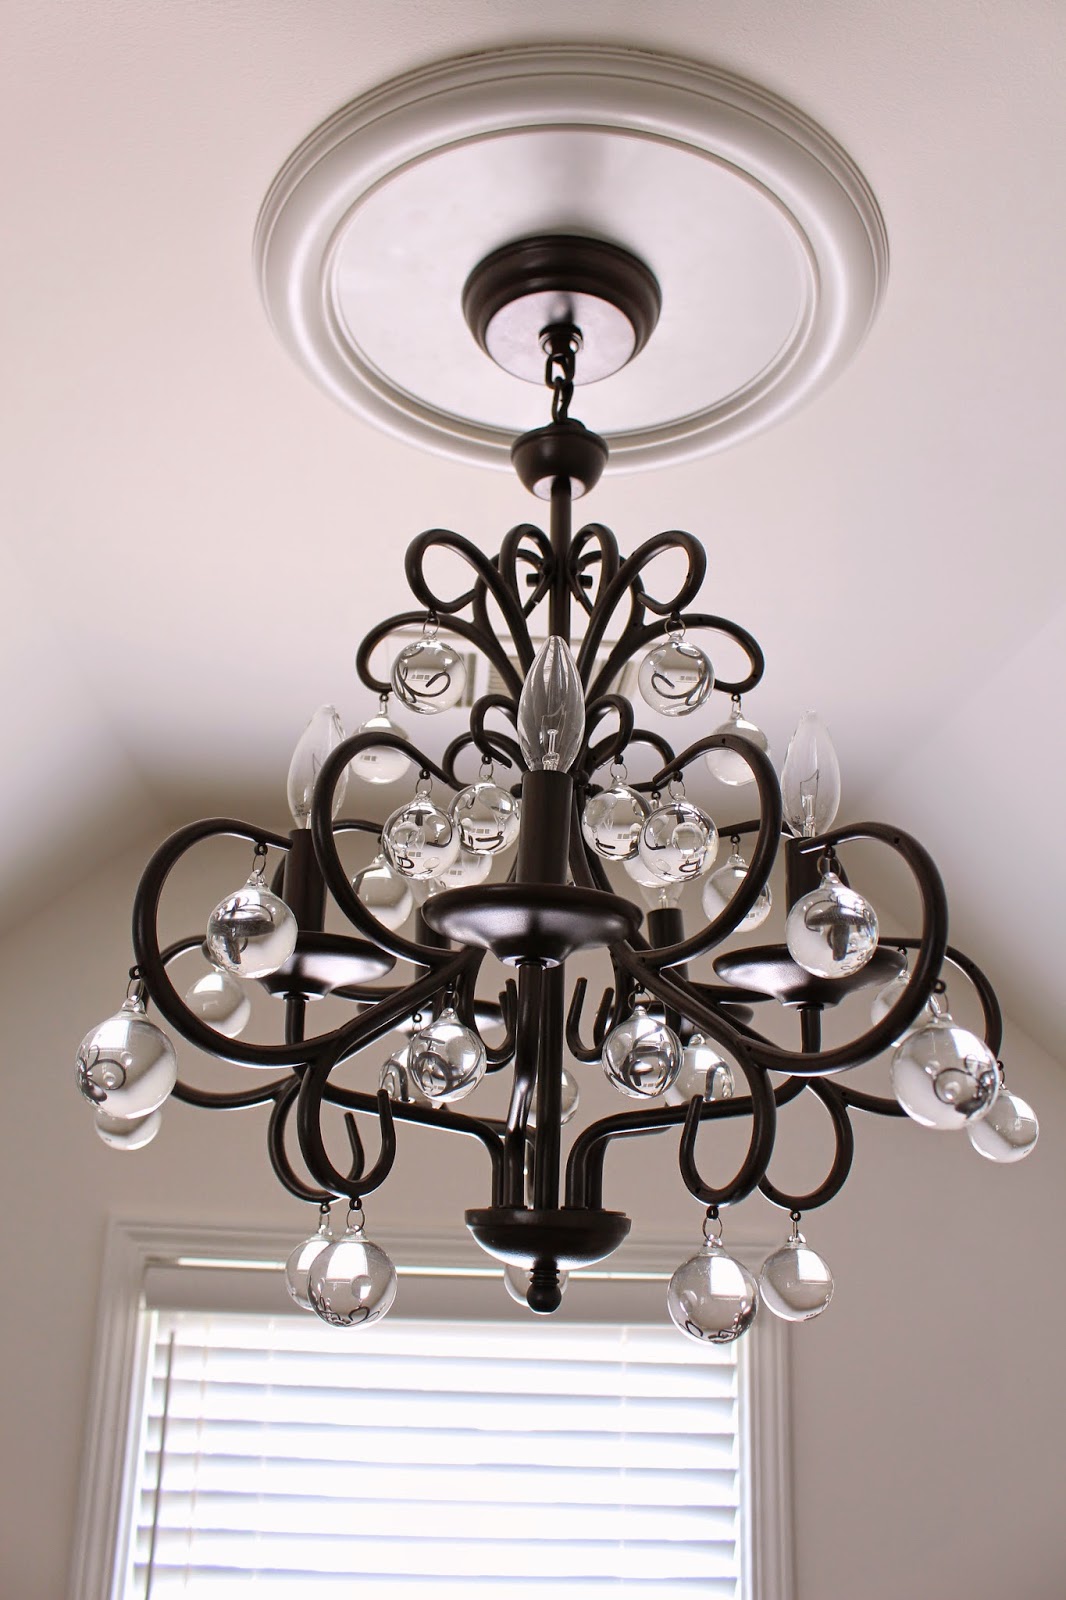
Here's the "little something fun" we picked out for the nook...

Well, I should say I picked it out. Brad isn't too choosy in the chandelier-picking-out department. I've been eyeing this beauty at Pottery Barn for years and years. My version is from Overstock, almost exactly the same, and best of all, a fraction of the price. But there are some differences...

It looks great once it's up, the glass accents are solid and heavy, and it's the perfect size for the room. It's not too large, and we can still easily walk beneath it. One of the reasons I didn't purchase this before for any spaces at our last or current home is because it's an odd size. To me, it's too small for over a dining table or a large room, but it's perfect for a smaller bedroom, or in our case, what will become our gal's little play nook. It looks a bit young and whimsical too, which I love.
The problem with this fixture is that you have to definitely work for that cost savings. Brad (or my dad who is a retired electrician) always wires our fixtures within reach, which is never a big deal. Brad can get a fixture put up in no time (he had the fan hung and wired in less than 10 minutes). But this fixture was totally unassembled. Each arm and socket was completely separate, which meant the fixture itself had to be wired correctly before even wiring to the box in the ceiling. One. Million. Wires. It was ridiculously hard to get all of the correctly joined wires shoved into the small space at the bottom without loosening any of them. It was a hassle. If you were going to hire an electrician to hang yours anyway (which you totally should always do if you aren't familiar with wiring fixtures), then they should do this step for you. But I guess in the long run, the trouble was worth the savings. There was seriously a moment where we were going to put the whole thing back in the box and splurge for the Pottery Barn (assembled) version because it initially freaked us out a bit.
The fan is working out so much better in the main part of the room as well. We decided to use the one that was already there because it seems to be working perfectly and isn't hideous. I'm really glad we were able to keep a ceiling fan in there and also have some fun with a chandelier. I'm a big believer in ceiling fans in bedrooms. Seriously couldn't survive without one.
About the little medallions around the fixtures on the ceiling... They're awesome. Seriously wish I would have put these on all the fixtures we swapped out when we moved in. They're really cheap and you can get them at any "big box" home supply store. Seriously it makes such a big difference!
I keep referring to the little area as a "nook". Our plans for this space is to eventually have it house a lot of her play things. Just to keep things a little separate from the main part of the room. Plus, there's a little fun finished play area in one of the little wall spaces. I would have LOVED that as a kid! Granted, I more than realize that when she becomes more playful and mobile, the whole room will likely look like a toy explosion, but it is nice to have a little designated area to put them all in.
I absolutely cannot wait to show you all the drapery and crib! So much progress has happened in there lately. My goal is to be pretty much done with the nursery sometime in December. I know it feels like we have forever to go, but I always knew I wanted to enjoy this whole nursery-decorating process and not be stressing at the last minute. Since this is a home we want to stay in for a very long time, I wanted to go ahead and really create her her own special place here that she can grow into. I figured that since parts of October, November, and pretty much all of December will be pretty busy for us, it would be best to get the major stuff out of the way now. Since she's due in January (and I'm thinking I'll definitely not be into doing anything too major around that time), I'm glad it's coming along at a great pace so far!
We also made a pretty big change in the family room! So much to share in the next few weeks. We'll talk about all that soon... ;)

post contains affiliate links
More posts from